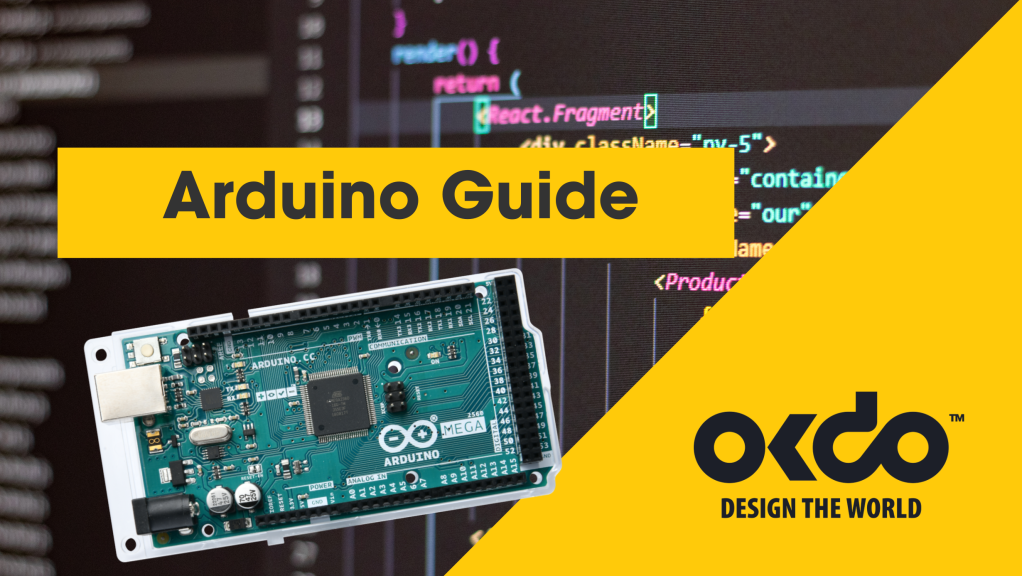
From students and teachers to hobbyists and professional programmers, Arduino has won fans all over the world with its innovative development boards. This open-source platform offers an ideal entry point to the world of electronics – and it’s flexible enough to power more advanced projects too!
In our ultimate guide to Arduino you’ll find out:
So if you’re ready to learn more about what’s achievable with Arduino, jump in below!
What is Arduino?
Arduino is an Italian company that designs and manufactures widely popular development boards for electronics projects.
Arduino boards are entirely open source, as is their Integrated Development Environment (IDE) software, empowering a global community of enthusiastic makers to build and adapt them to their needs.
The Arduino platform was first designed for quick and easy prototyping among students with little prior programming knowledge. Having released several new boards and compatible components since, Arduino now appeals to advanced tinkerers, artists, scientists and professional developers too!
You can use Arduino devices to read inputs, like information from light, motion or GPS sensors, and turn them into outputs, like switching on a light. You’ll do this by sending instructions to an Arduino board through the platform’s free programming software.
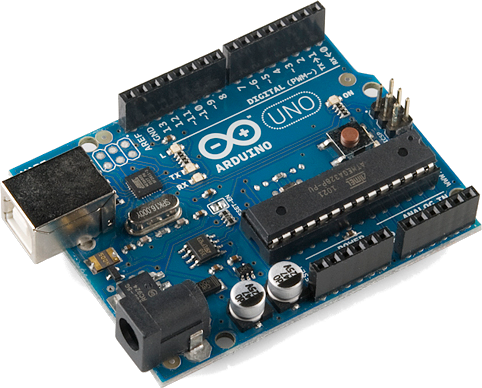
Arduino boards vary in design, but their basic components include:
- Digital and analogue pins for connecting other components
- A power connector to power the device itself and connected components
- A microcontroller chip for loading and executing programs
- A serial connector for communicating with the board from a computer
- Other small components like an oscillator and a voltage regulator
Why choose Arduino?
So why might you want to use Arduino for your projects? From its accessible platform to its large community of creators, you’ll find lots to love about this global brand no matter your level of knowledge or experience.
- Easy to use: Beginners can unbox and program a board in minutes using Arduino’s simple IDE, making it ideal for novices and students.
- Advanced capabilities: Ready to step up your skills? The platform offers plenty of scope for advanced and professional users too!
- Cross-platform: You can run Arduino’s IDE on Windows, Macintosh OSX and Linux operating systems. This isn’t the case with most microcontrollers.
- Low-cost: Arduino boards, kits and components are relatively inexpensive compared to other microcontrollers, while its software is totally free to use.
- Open-source software: Experienced programmers have the option to extend the Arduino software to learn more about the programming language that it’s based on.
- Open-source hardware: Advanced circuit builders can also take advantage of published Arduino board plans to make their own versions of the module.
- A thriving community: Whether you have a question or want to show off your creation, the Arduino forum has thousands of active users who share tips and inspiration daily. Why not get involved?
Arduino vs Raspberry Pi
If you’re just getting started with programming and researching different devices, you might be wondering what makes the Arduino different to the Raspberry Pi. They’re both fantastic tools for a range of electronics projects – but there are some key differences between them too.
The main one, however, is that they’re actually different types of devices.
So, what’s the difference between Arduino vs Raspberry Pi?


Arduino boards are based on a microcontroller, which is a small computer that’s ideal for running one program at a time. They’re great for executing repetitive tasks like recording the weather or turning on an LED.
A Raspberry Pi is a single-board computer with a microprocessor that can run multiple complex programs at the same time like a regular computer operating system does.
Arduino® Shop
The right device for you will depend on the type of projects you want to explore. Arduino is perfect for quick projects and prototyping, while the Pi will handle more complex computing activities.
What can you do with Arduino?
Here’s where the real fun starts! You can create lots of exciting projects using an Arduino board and accessories like Arduino shields, sensors and displays. Check out the amazing ideas shared by the Arduino community on Arduino’s project hub to see just what’s possible with a little tinkering.
Our very own projects hub is a great resource for inspiration too. Here are five of our favourite Arduino projects:
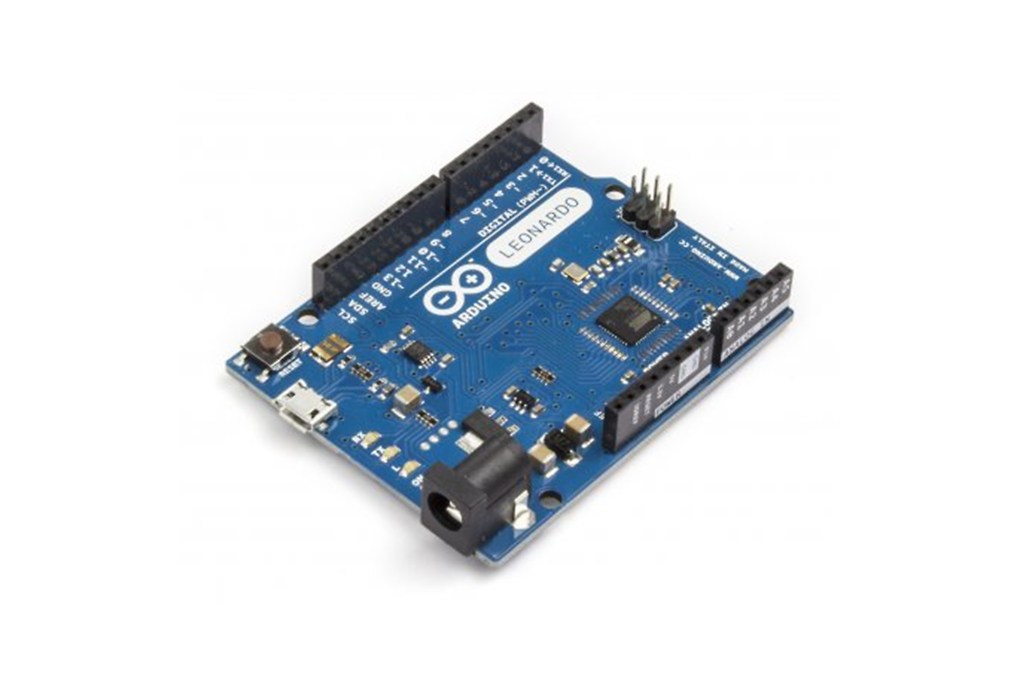
1. Connect a Grove Thumb Joystick for total control – 0.25 hours, easy, 3 steps
Do you need some joystick control for a gaming or robot control project? Follow our quick and easy guide to connecting a Grove Thumb Joystick to an Arduino Leonardo board.
2. Get stable readings from rotary encoders – 0.25 hours, easy, 3 steps
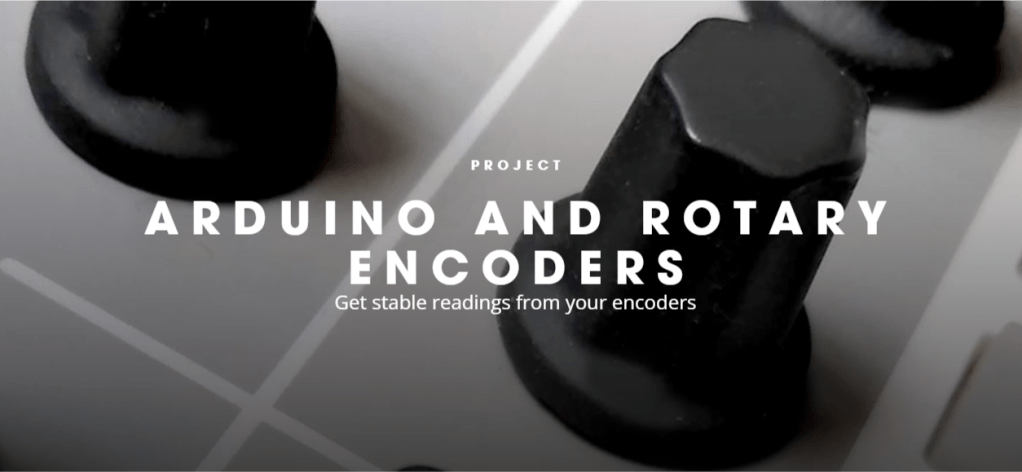
Rotary encoders can provide information on position, speed and direction – but they’re often tricky to implement. Learn how to get stable and accurate readings in three fast steps.
3. Animate addressable RGB LEDs – 0.5 hours, easy, 4 steps

What are your favourite colours? Discover how to program eye-catching LED light animations on RGB LED strips with this simple guide.
4. Track the weather – 2 hours, moderate, 8 steps
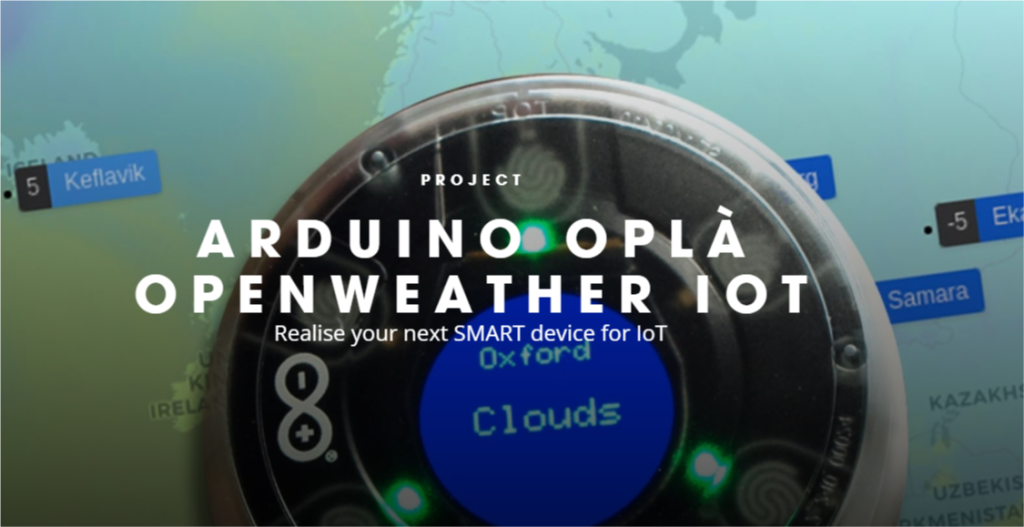
Get an accurate weather forecast before you step outside by connecting to the OpenWeather forecast API via Wi-Fi. You can check the indoor temperature too!
5. Sort sweets by colour using AI – 24 hours, difficult, 8 steps
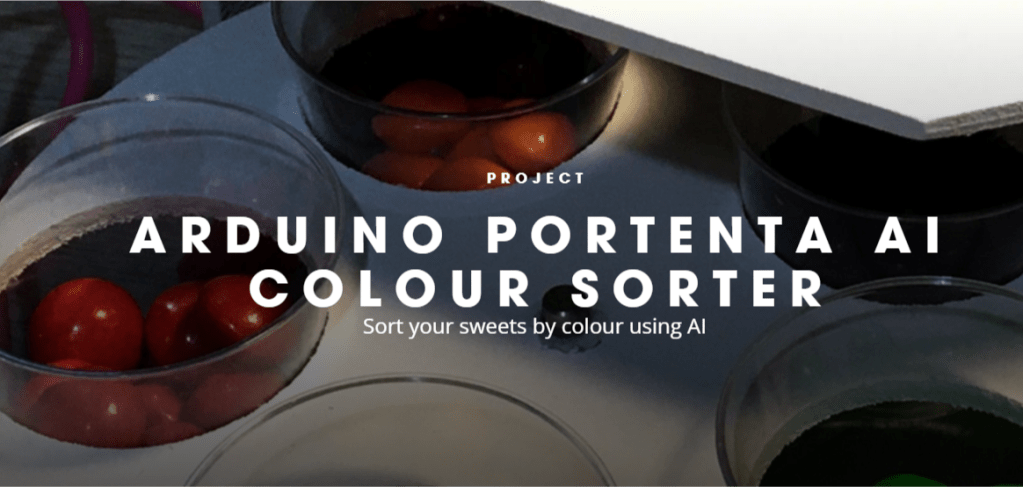
Ready to really test your skills? Create an AI-powered robot with an Arduino Portenta H7 to sort different coloured sweet treats into containers of the same colour.
What language does Arduino use?
Arduino’s programming language is a simplified version of C++, which is text-based and has special features like syntax highlighting to make things easier. You’ll use it to write code within Arduino’s IDE and then upload programs to your Arduino board. Completed Arduino programs are referred to as sketches.
This process works with any Arduino board and is perfect for beginners who want to learn more about coding!
How to program Arduino
Arduino boards are cleverly designed to be quick and easy for anyone to program. While some steps may vary slightly depending on your chosen Arduino board, the basic programming process goes like this:
- Download and install Arduino’s IDE software on a computer. You’ll need this to write and upload code to your board.
- Connect your Arduino board to your computer’s USB port. You may need a specific USB cable for this step depending on your board’s serial port address.
- Set your board type and the serial port in your IDE software.
- Test your board’s microcontroller by uploading one of the preloaded programs (called sketches) in the Arduino IDE. Your board should then carry out the program, by blinking an LED light for example.
- Write new code into the IDE or paste ready-made code from elsewhere. A typical Arduino sketch features a header, a section defining variables, a setup routine, a loop routine and a final section for any other functions.
- All that’s left is to upload the sketch to your Arduino and integrate it into your project!
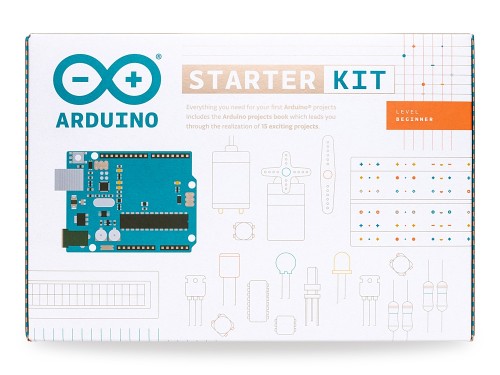
Arduino Starter Kit English
You can check out Arduino’s guides for more useful tips on getting started with your device.
Get started with Arduino from OKdo
What are you waiting for?! Now we’ve introduced you to the world of Arduino, it’s easy to order your own board and accessories online through our Arduino Shop. Choose from a range of boards, shields and kits to prepare yourself for a tonne of programming fun, including handy Arduino starter kits in a range of languages!
Arduino® Shop
Not the device for you? You can read more ultimate guides like this one on the OKdo blog or email support@okdo.com for further details.

