The fastLED library for Arduino enables you to easily programme LED animations on addressable RGB LED strips. In this project, you’ll learn the basics that will set you off on your LED journey!
1. Build the circuit
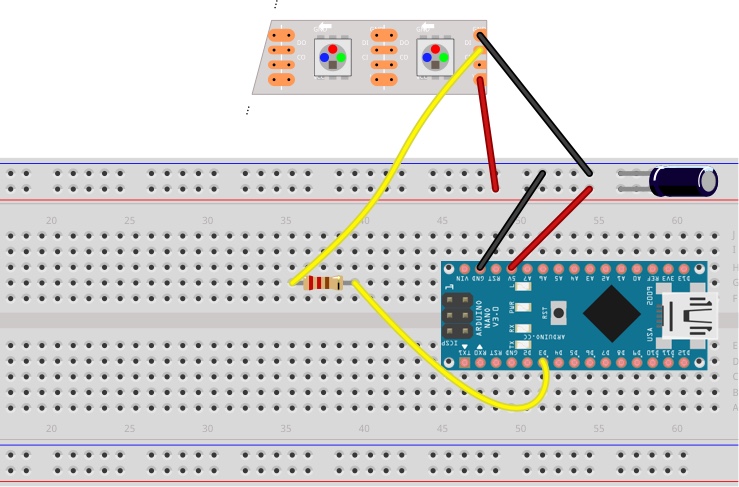
- Place the Arduino Nano on the breadboard as shown above.
- Connect a jumper wire from pin D3 on the Arduino to one leg of the 470Ω resistor.
- Connect the 5V pin on the Arduino to the live rail (red) of the breadboard.
- Connect the ground pin on the Arduino to the ground rail (blue) of the breadboard.
- Connect the ground rail of the breadboard to the ground contact (GND) on the LED strip.
- Connect the live rail of the breadboard to the live contact (+5V) on the LED strip.
- Connect the other leg of the 470Ω resistor to the data contact (BO) on the LED strip
- Bridge the 1000µF capacitor across the ground and live rails of the breadboard.
Ensure that the capacitor is connected respecting its polarity. The leg with the arrow and “-” sign should connect to the ground rail.
When connecting LED strips to any live power source or microcontroller, CONNECT GROUND (–) BEFORE ANYTHING ELSE. Conversely, disconnect ground last when separating.
Although the capacitor is not strictly necessary in our case, it is good practice to add it so as to avoid damaging the LEDs when powering the circuit from a DC power source other than the Arduino’s 5V pin. In our example, the Arduino is capable of powering the LED’s but in cases where there are more LEDs, a separate power source should be used.
2. Configure IDE
- On your host computer, go to https://www.arduino.cc/en/main/software and download the correct IDE for your operating system.
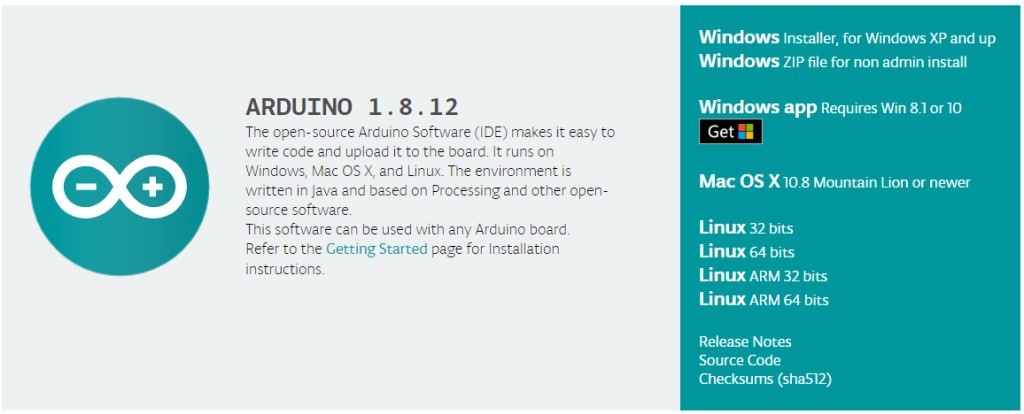
- Once downloaded, install the package by opening it and following any prompts.
- On the IDE’s menu go to Sketch>Include Library>Manage Libraries.
- In the Library Manager window, type FastLED in the search box.
- When FastLED appears, click on Install.
3. Programme the Arduino
- Connect the Arduino to your host PC with the mini USB cable.
- In Arduino IDE, go to Tools>Board and select Arduino Nano.
- In Arduino IDE, go to Tools>Processor and select Atmega328P (Old Bootloader).
- In Arduino IDE, go to Tools>Port and select Atmega328P (Old Bootloader).
- In Arduino IDE, go to File>Examples>FastLED and open DemoReel100.
- Upload the sketch to the Arduino by clicking on the right-pointing arrow on the IDE’s window.
After a few seconds, the LED strip will start cycling through the animations in the DemoReel sketch.
Please note that if you’re running more LED’s than specified in this project it is advisable to use a dedicated power supply for the LED’s as the Arduino’s USB connection will limit the power consumption to 500mA. You can work out the maximum current required by multiplying the number of pixels by 20 and dividing by 1000. In our case, this calculation gives us 1.2A but bear in mind that this is the MAXIMUM draw. In practice, when the LEDs are animated they will rarely be all on at the maximum brightness at the same time so we can get away with powering through USB.
4. Do more
Now you have the basic showreel running, you can have a look at some of the other demos included with FastLED.
- In Arduino IDE, go to File>Examples>FastLED and open any demo you might want to try. Ensure to read the comments in the sketch to familiarise yourself with its peculiarities and functionalities. Some demos are meant for matrix set-ups for example.
- Tweak the code so that the variable DATA_PIN or LED_PIN is 3, as this is the pin we’re using in our circuit.
- Change the variable NUM_LEDS to 60 if it’s not already so.
- Upload to the Arduino and watch the animation unfold.
Once you are familiar with the demos, you can dive deeper into the code and start customising your animations. You can find more info and resources here.
Like what you read? Why not show your appreciation by giving some love.
From a quick tap to smashing that love button and show how much you enjoyed this project.

