When you press and hold the BOOTSEL button and connect your Pico to your computer, it mounts as a mass storage volume. You can then just drag and drop a UF2 file onto the board. Sometimes it is not convenient to keep unplugging the micro USB cable every time you want to upload a UF2 onto the Pico. Having a reset button on your Raspberry Pi Pico resolves this problem. This project will show you how to do just that!
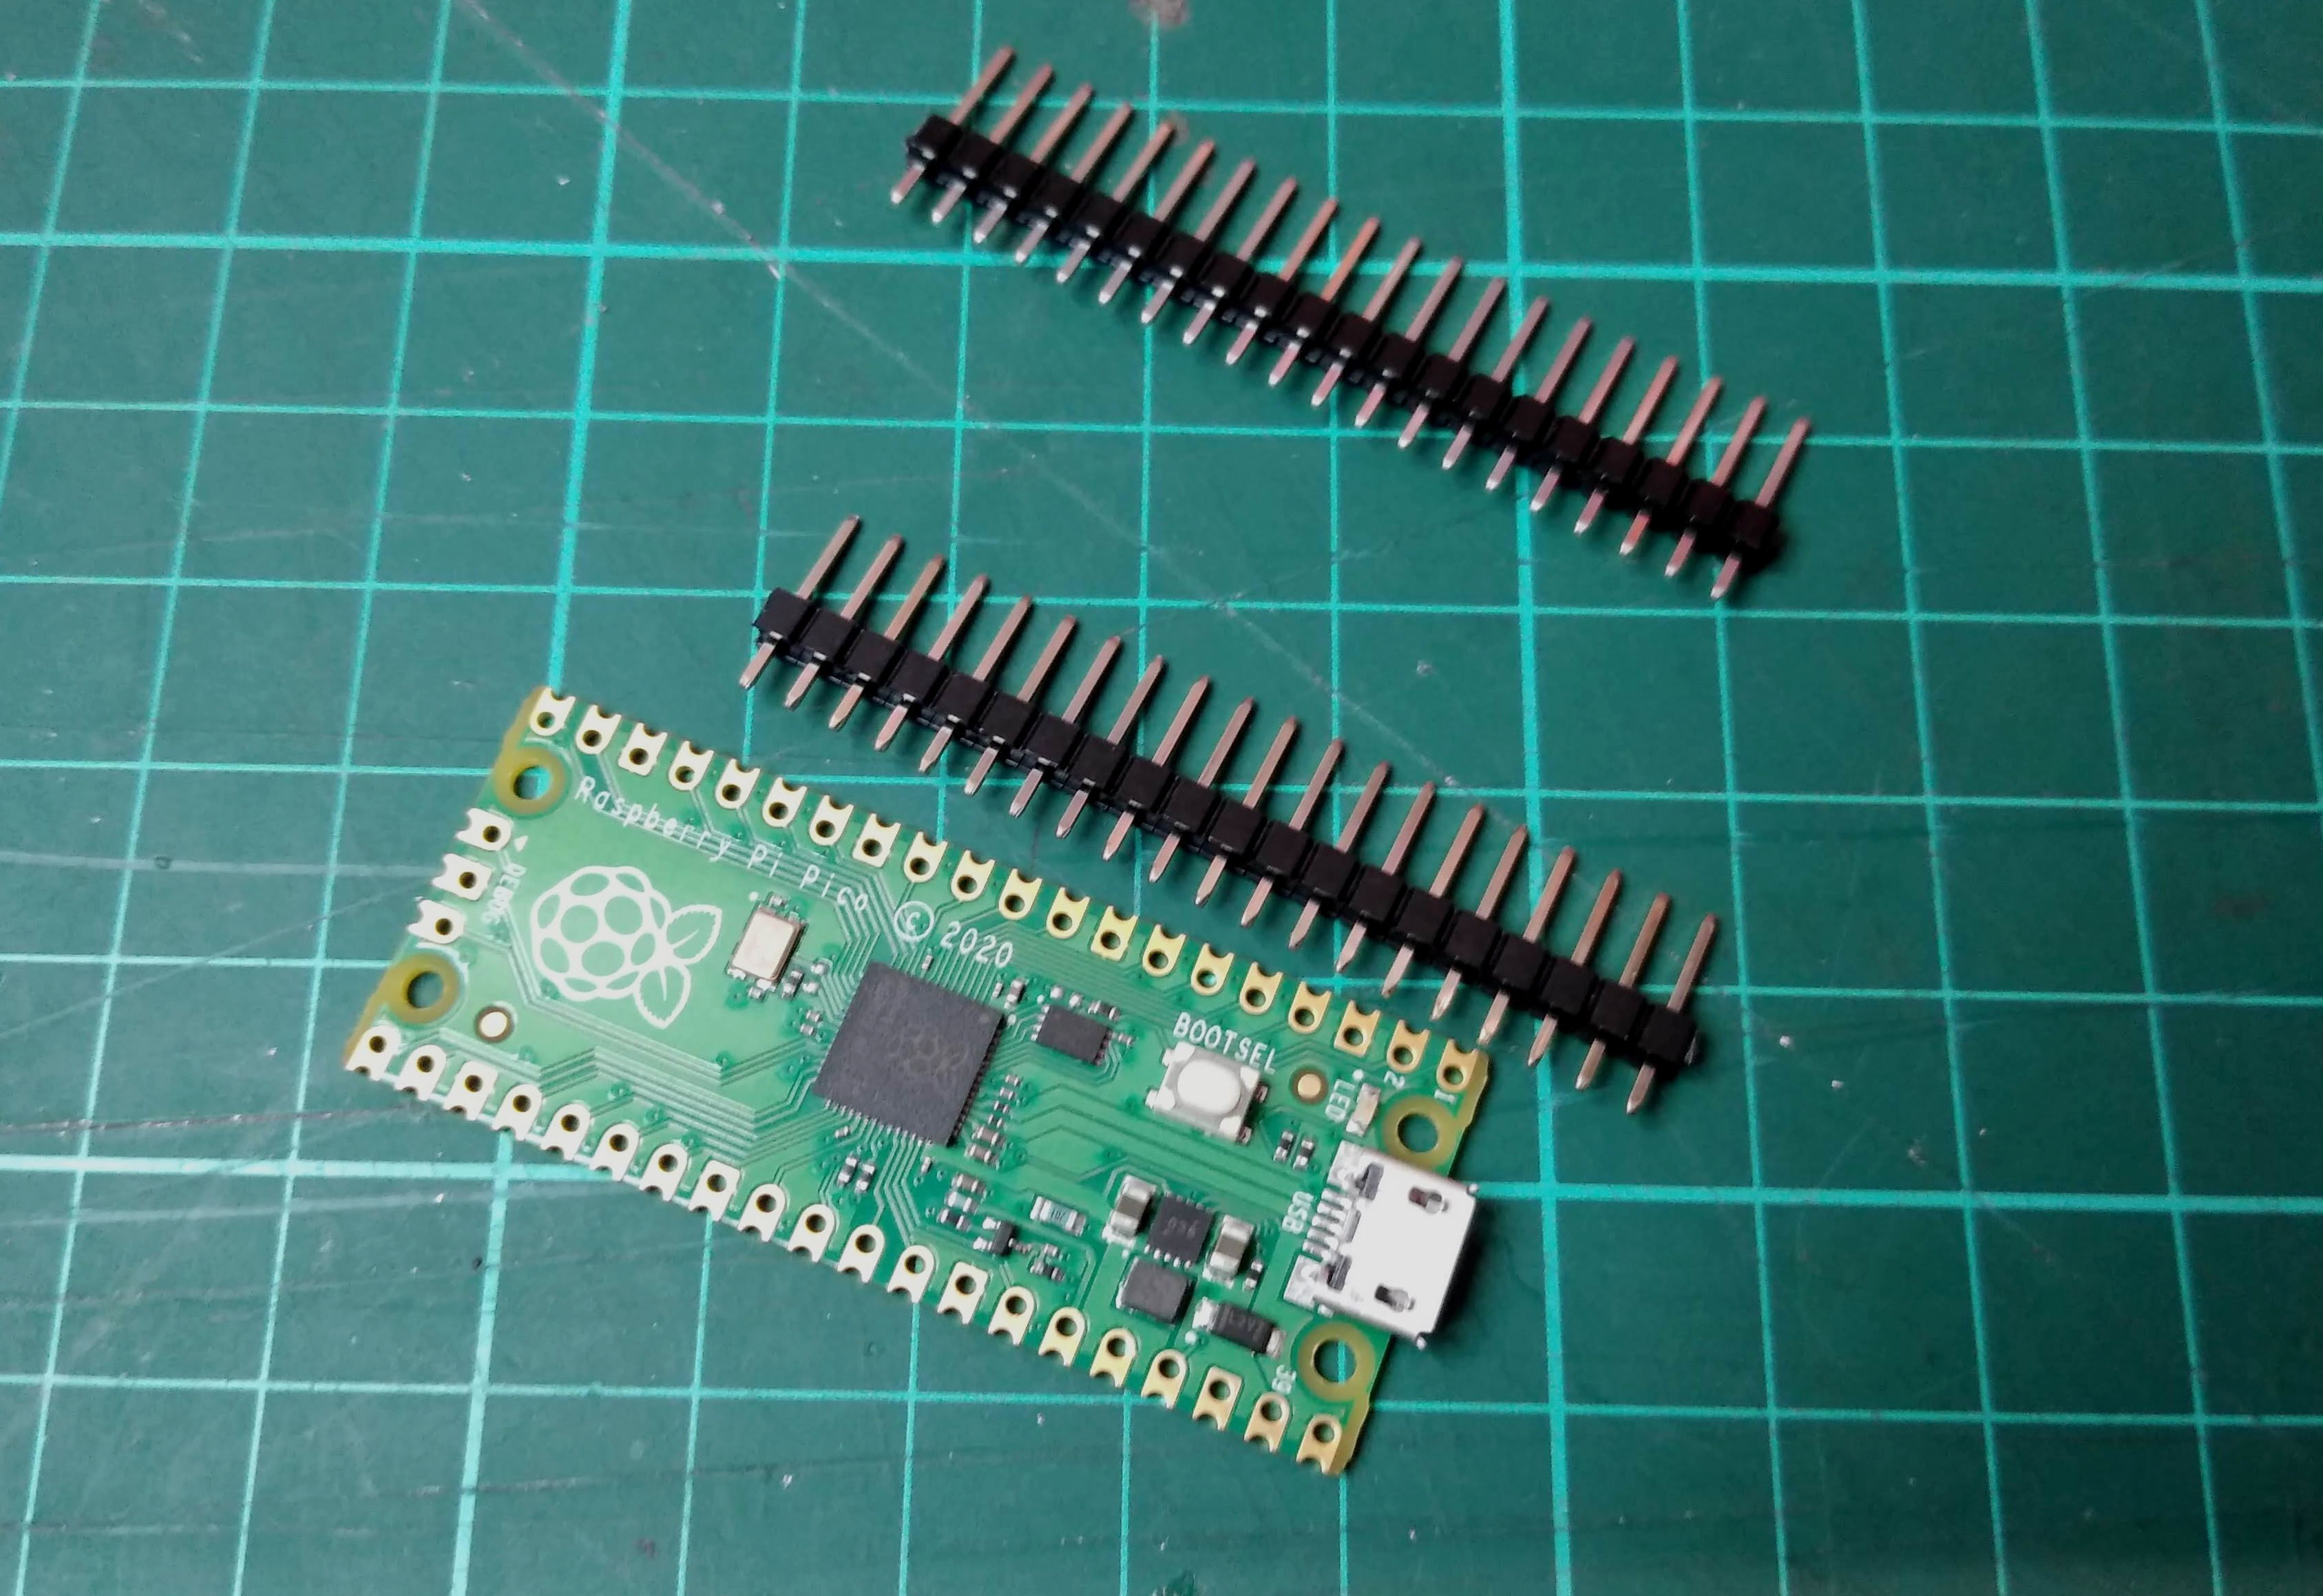
1. Add header pins
As we’ll be building this on a breadboard, the first thing to do is to add some header pins to your Pico. You can refer to this project for a step by step on how to do this.
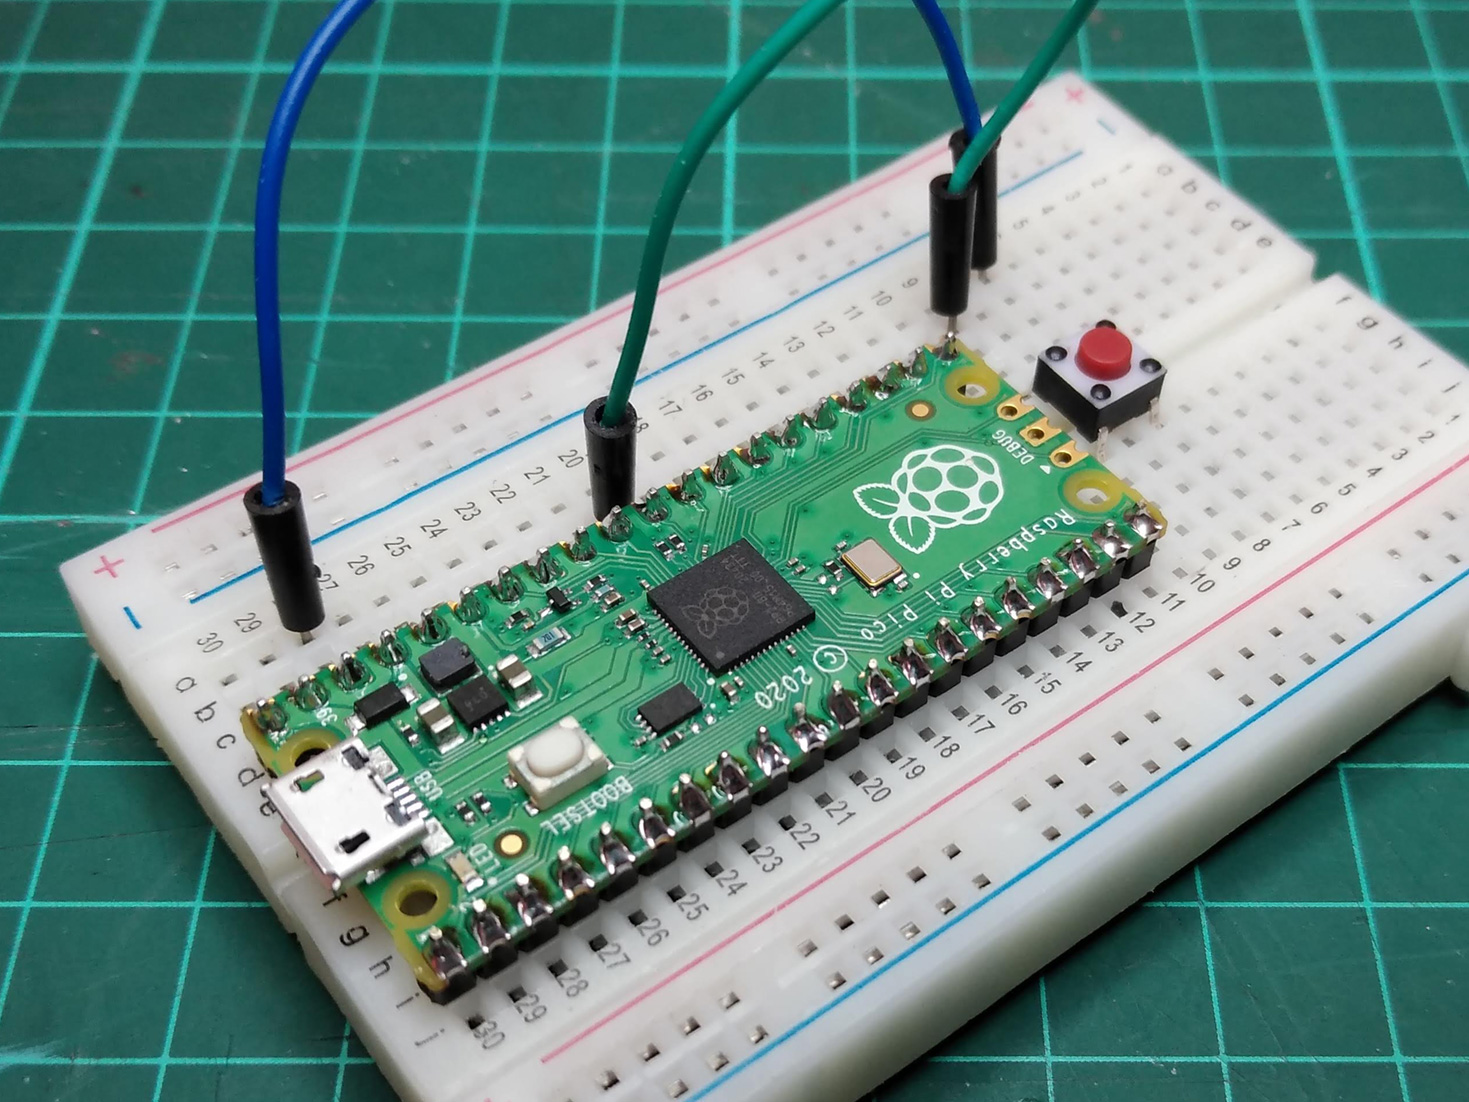
2. Build the circuit
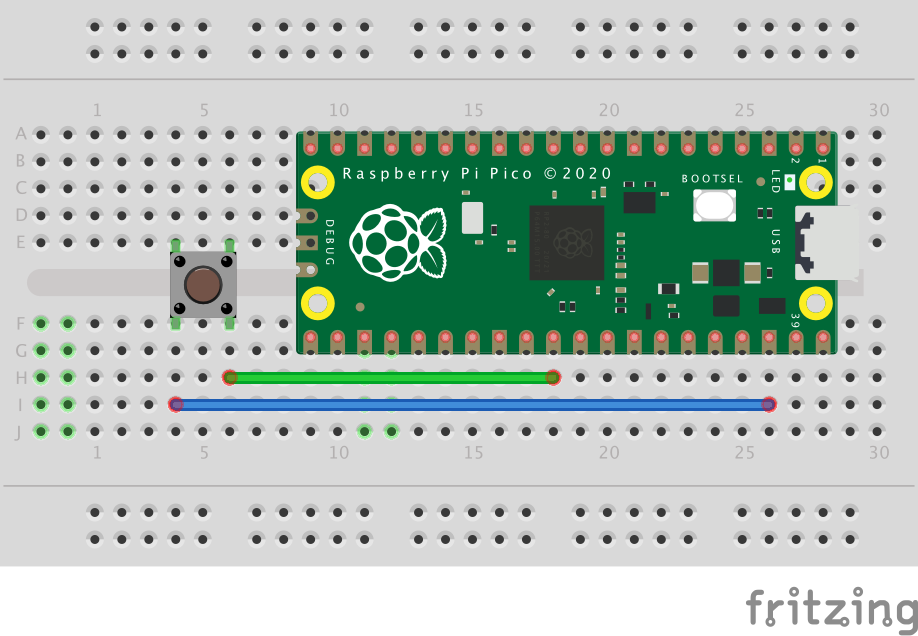
- Place the Pico on the breadboard.
- Place the button on the breadboard.
- Connect a jumper from one button pin to a GND pin on the Pico, we used pin 38.
- Connect a jumper wire from the other button pin to RUN, pin 30 on the Pico.
3. Use the button
Now, rather than unplugging and replugging the USB cable when you want to load code:
- Push and hold the reset button.
- Push the BOOTSEL button.
- Release the reset button.
- Release the BOOTSEL button.
If your board is in BOOTSEL mode and you want to restart code already loaded:
- Briefly push the reset button.
Like what you read? Why not show your appreciation by giving some love.
From a quick tap to smashing that love button and show how much you enjoyed this project.

