This soldering headers guide is intended for those with no soldering experience.
When prototyping and building projects, it is often a good idea to attach header pins to your chosen board. In this way, you can easily use them with a breadboard or Dupont cables in a non-permanent way. This guide takes you through the very basics of effectively soldering pin headers. Although we use a Raspberry Pi Pico, the information is relevant for any board.

1. Prepare the headers
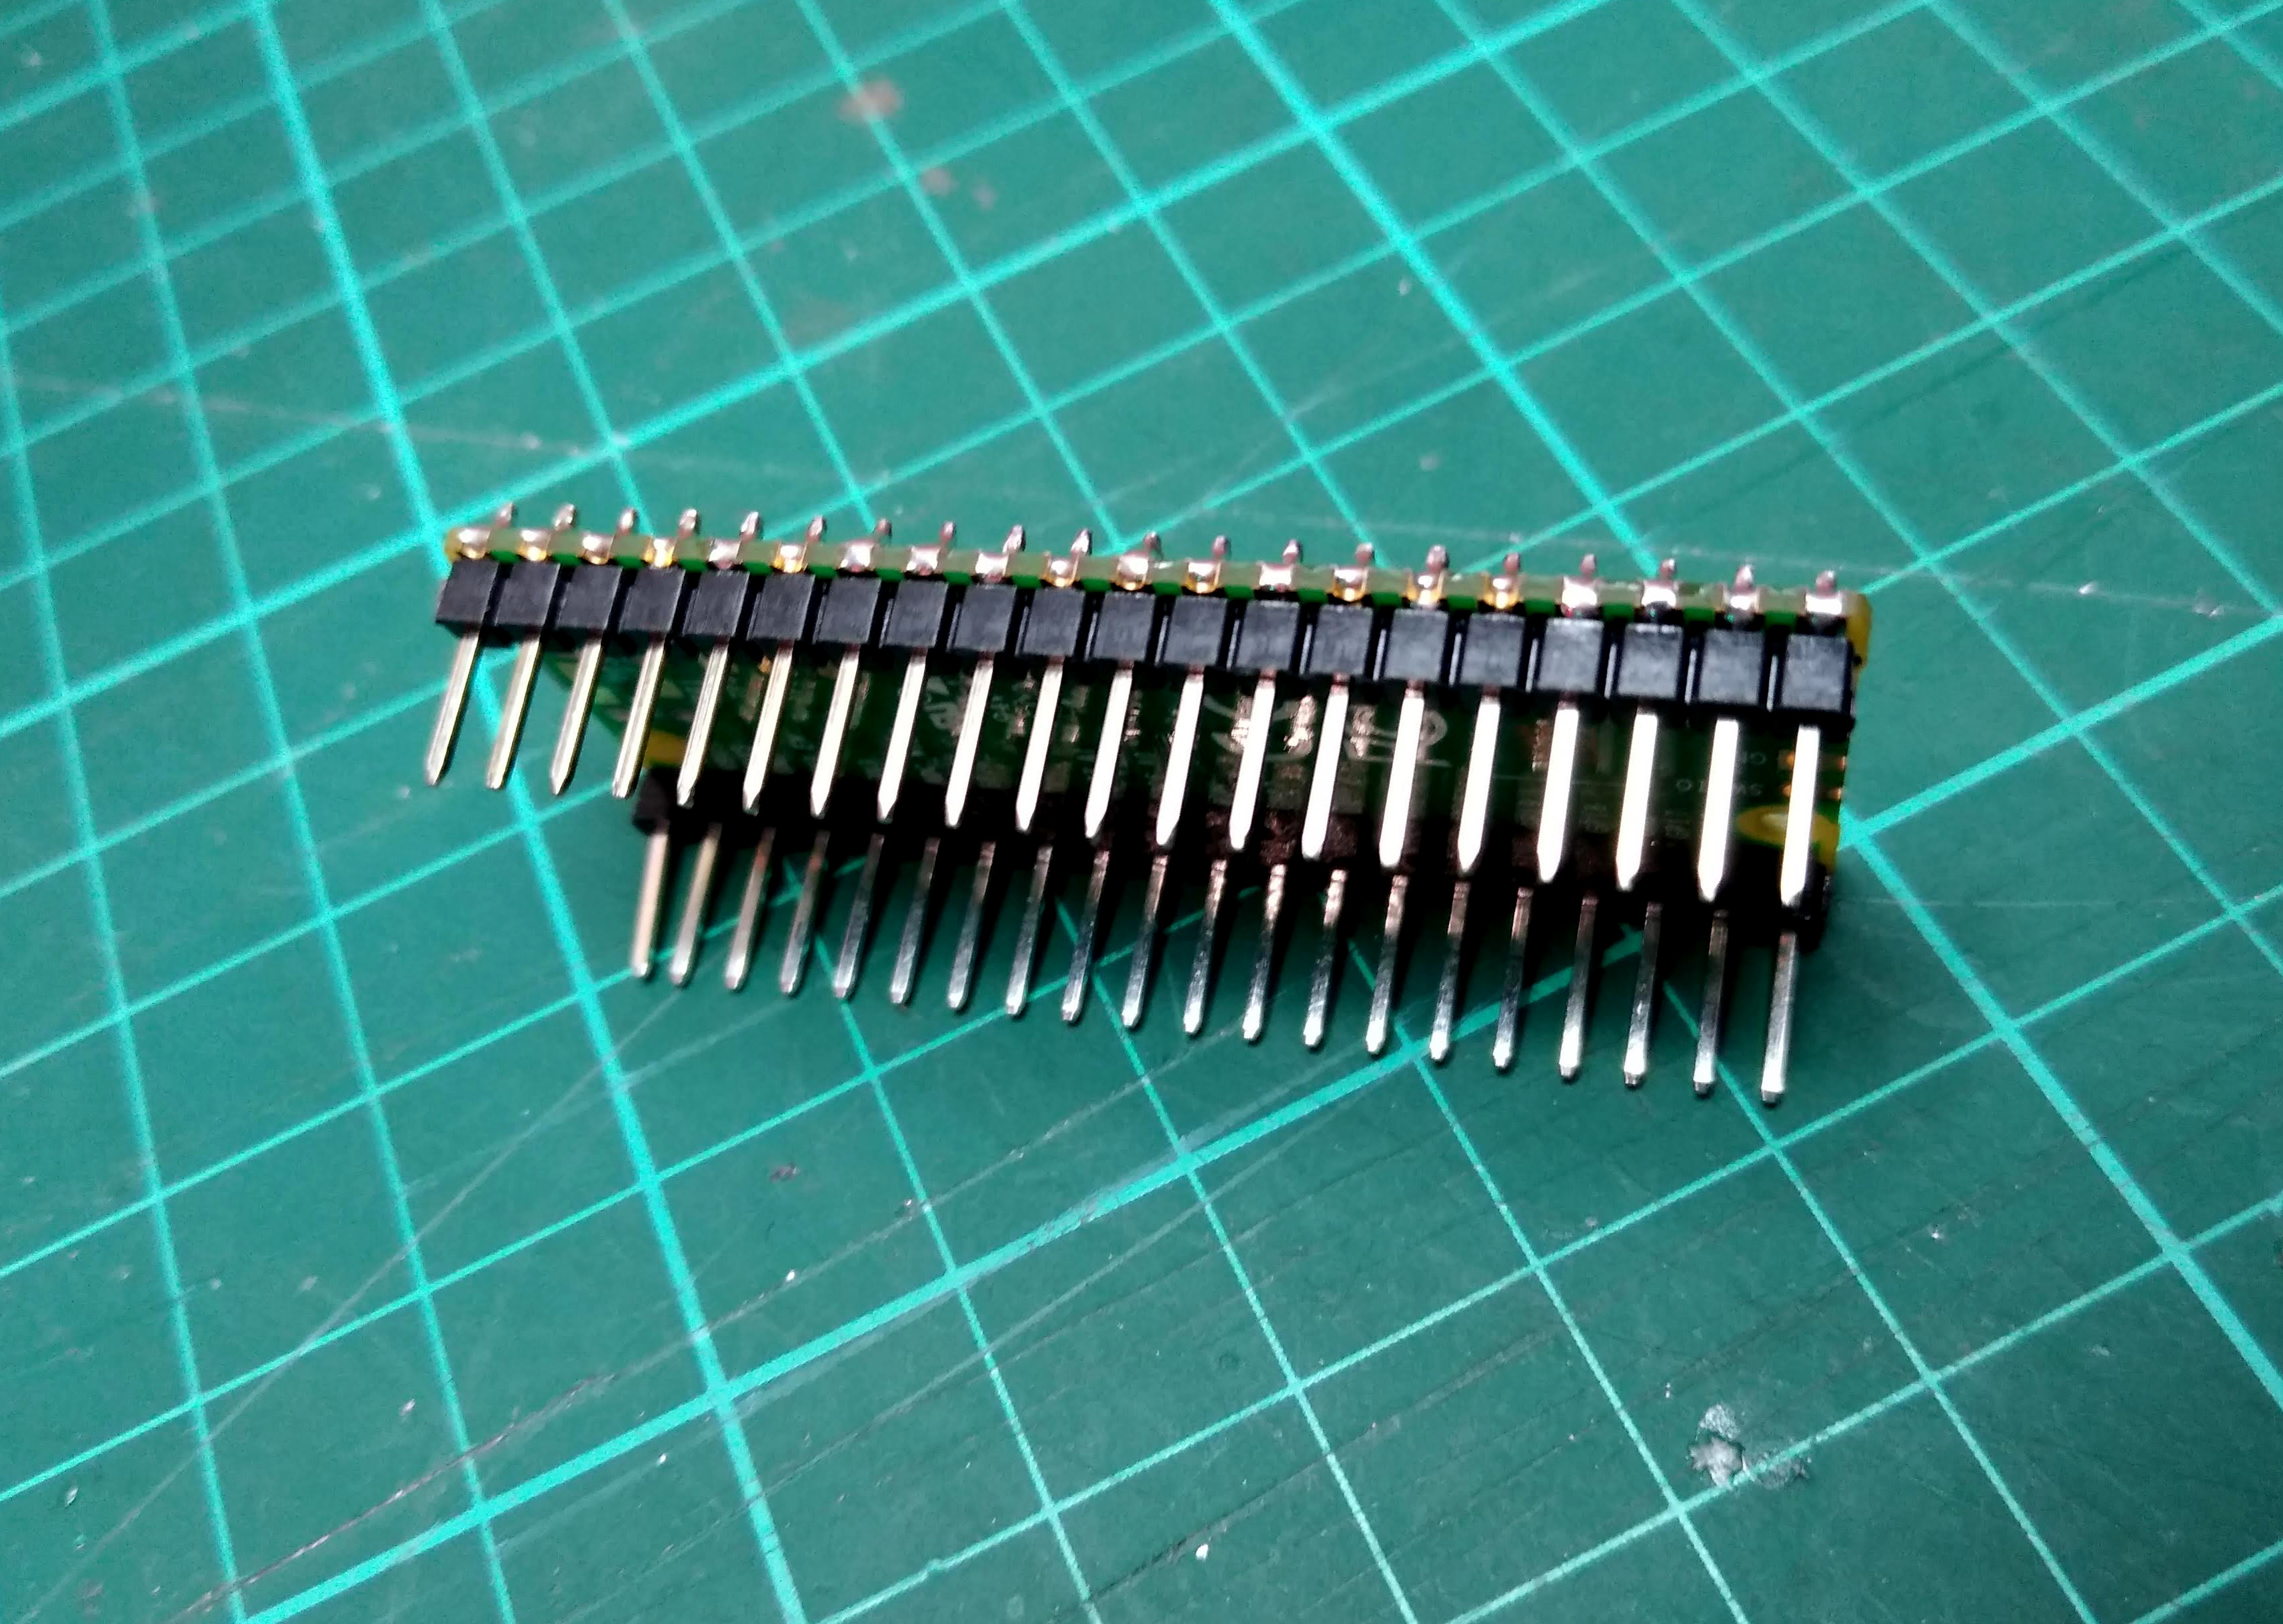
- Snap the required lengths of pin headers if necessary. In our case 2 strips of 20 pins for the Raspberry Pi Pico.
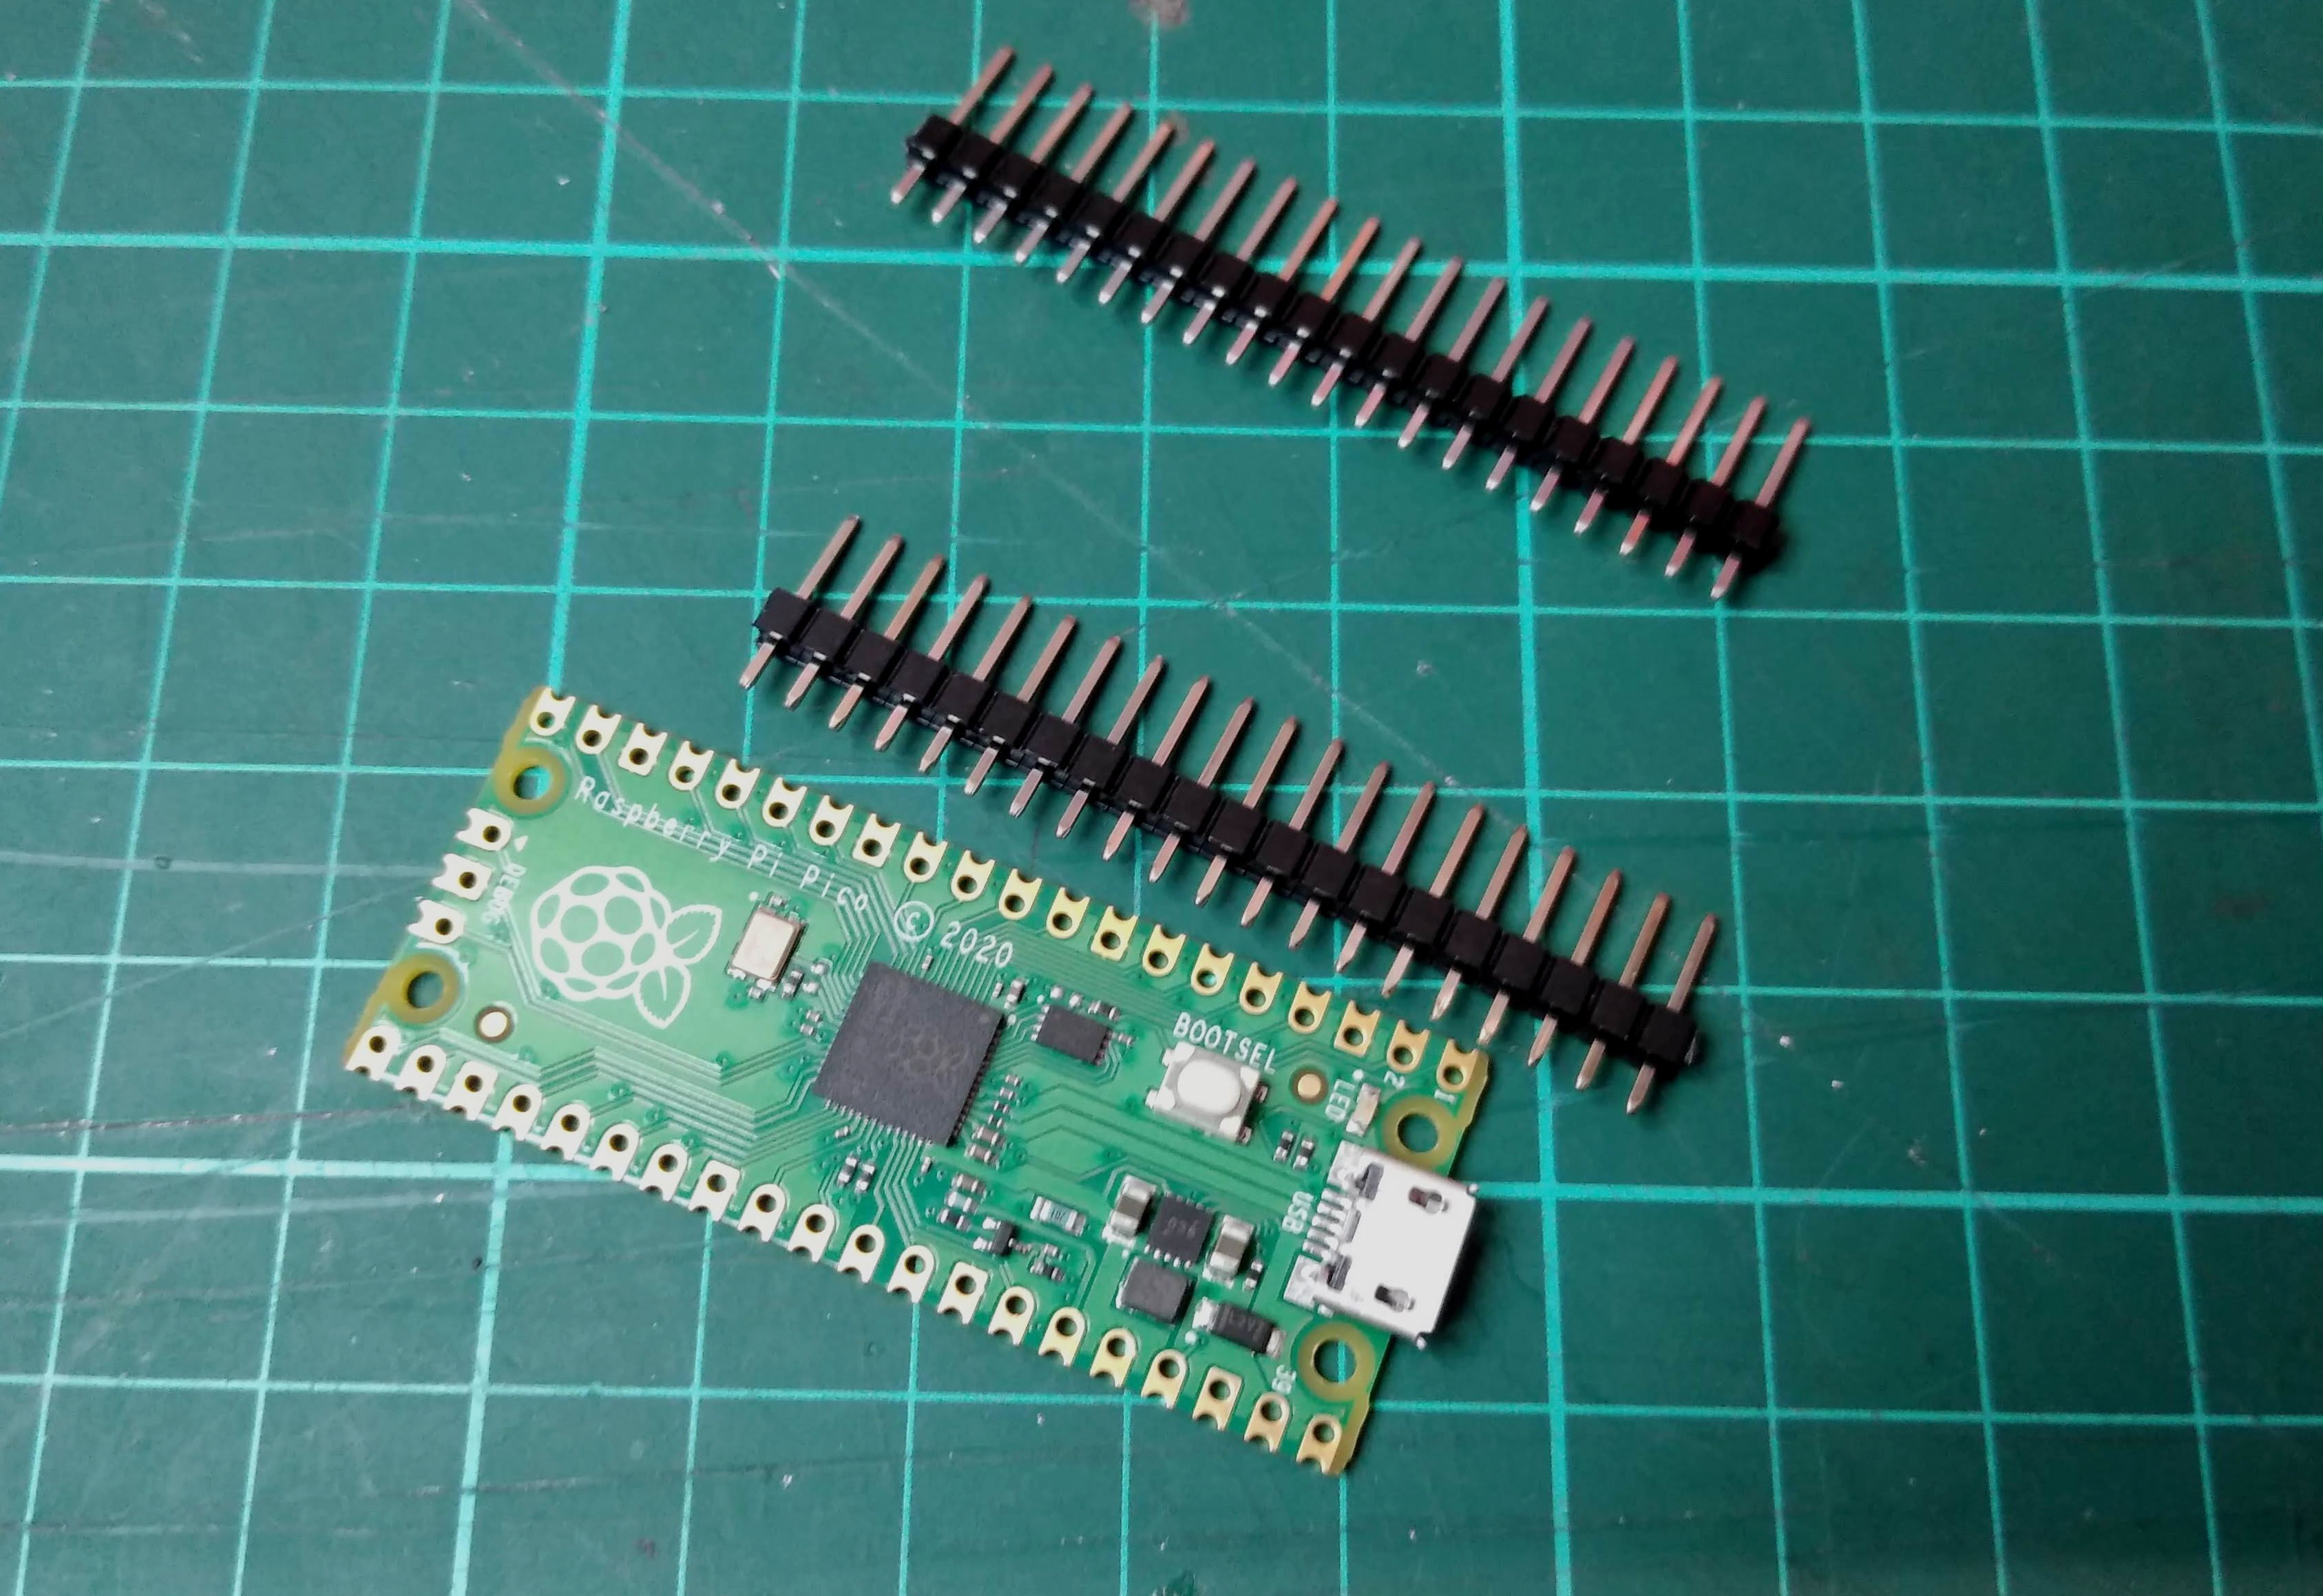
- Mount the pin headers on the breadboard, spacing them appropriately to match the spacing of the Pico.
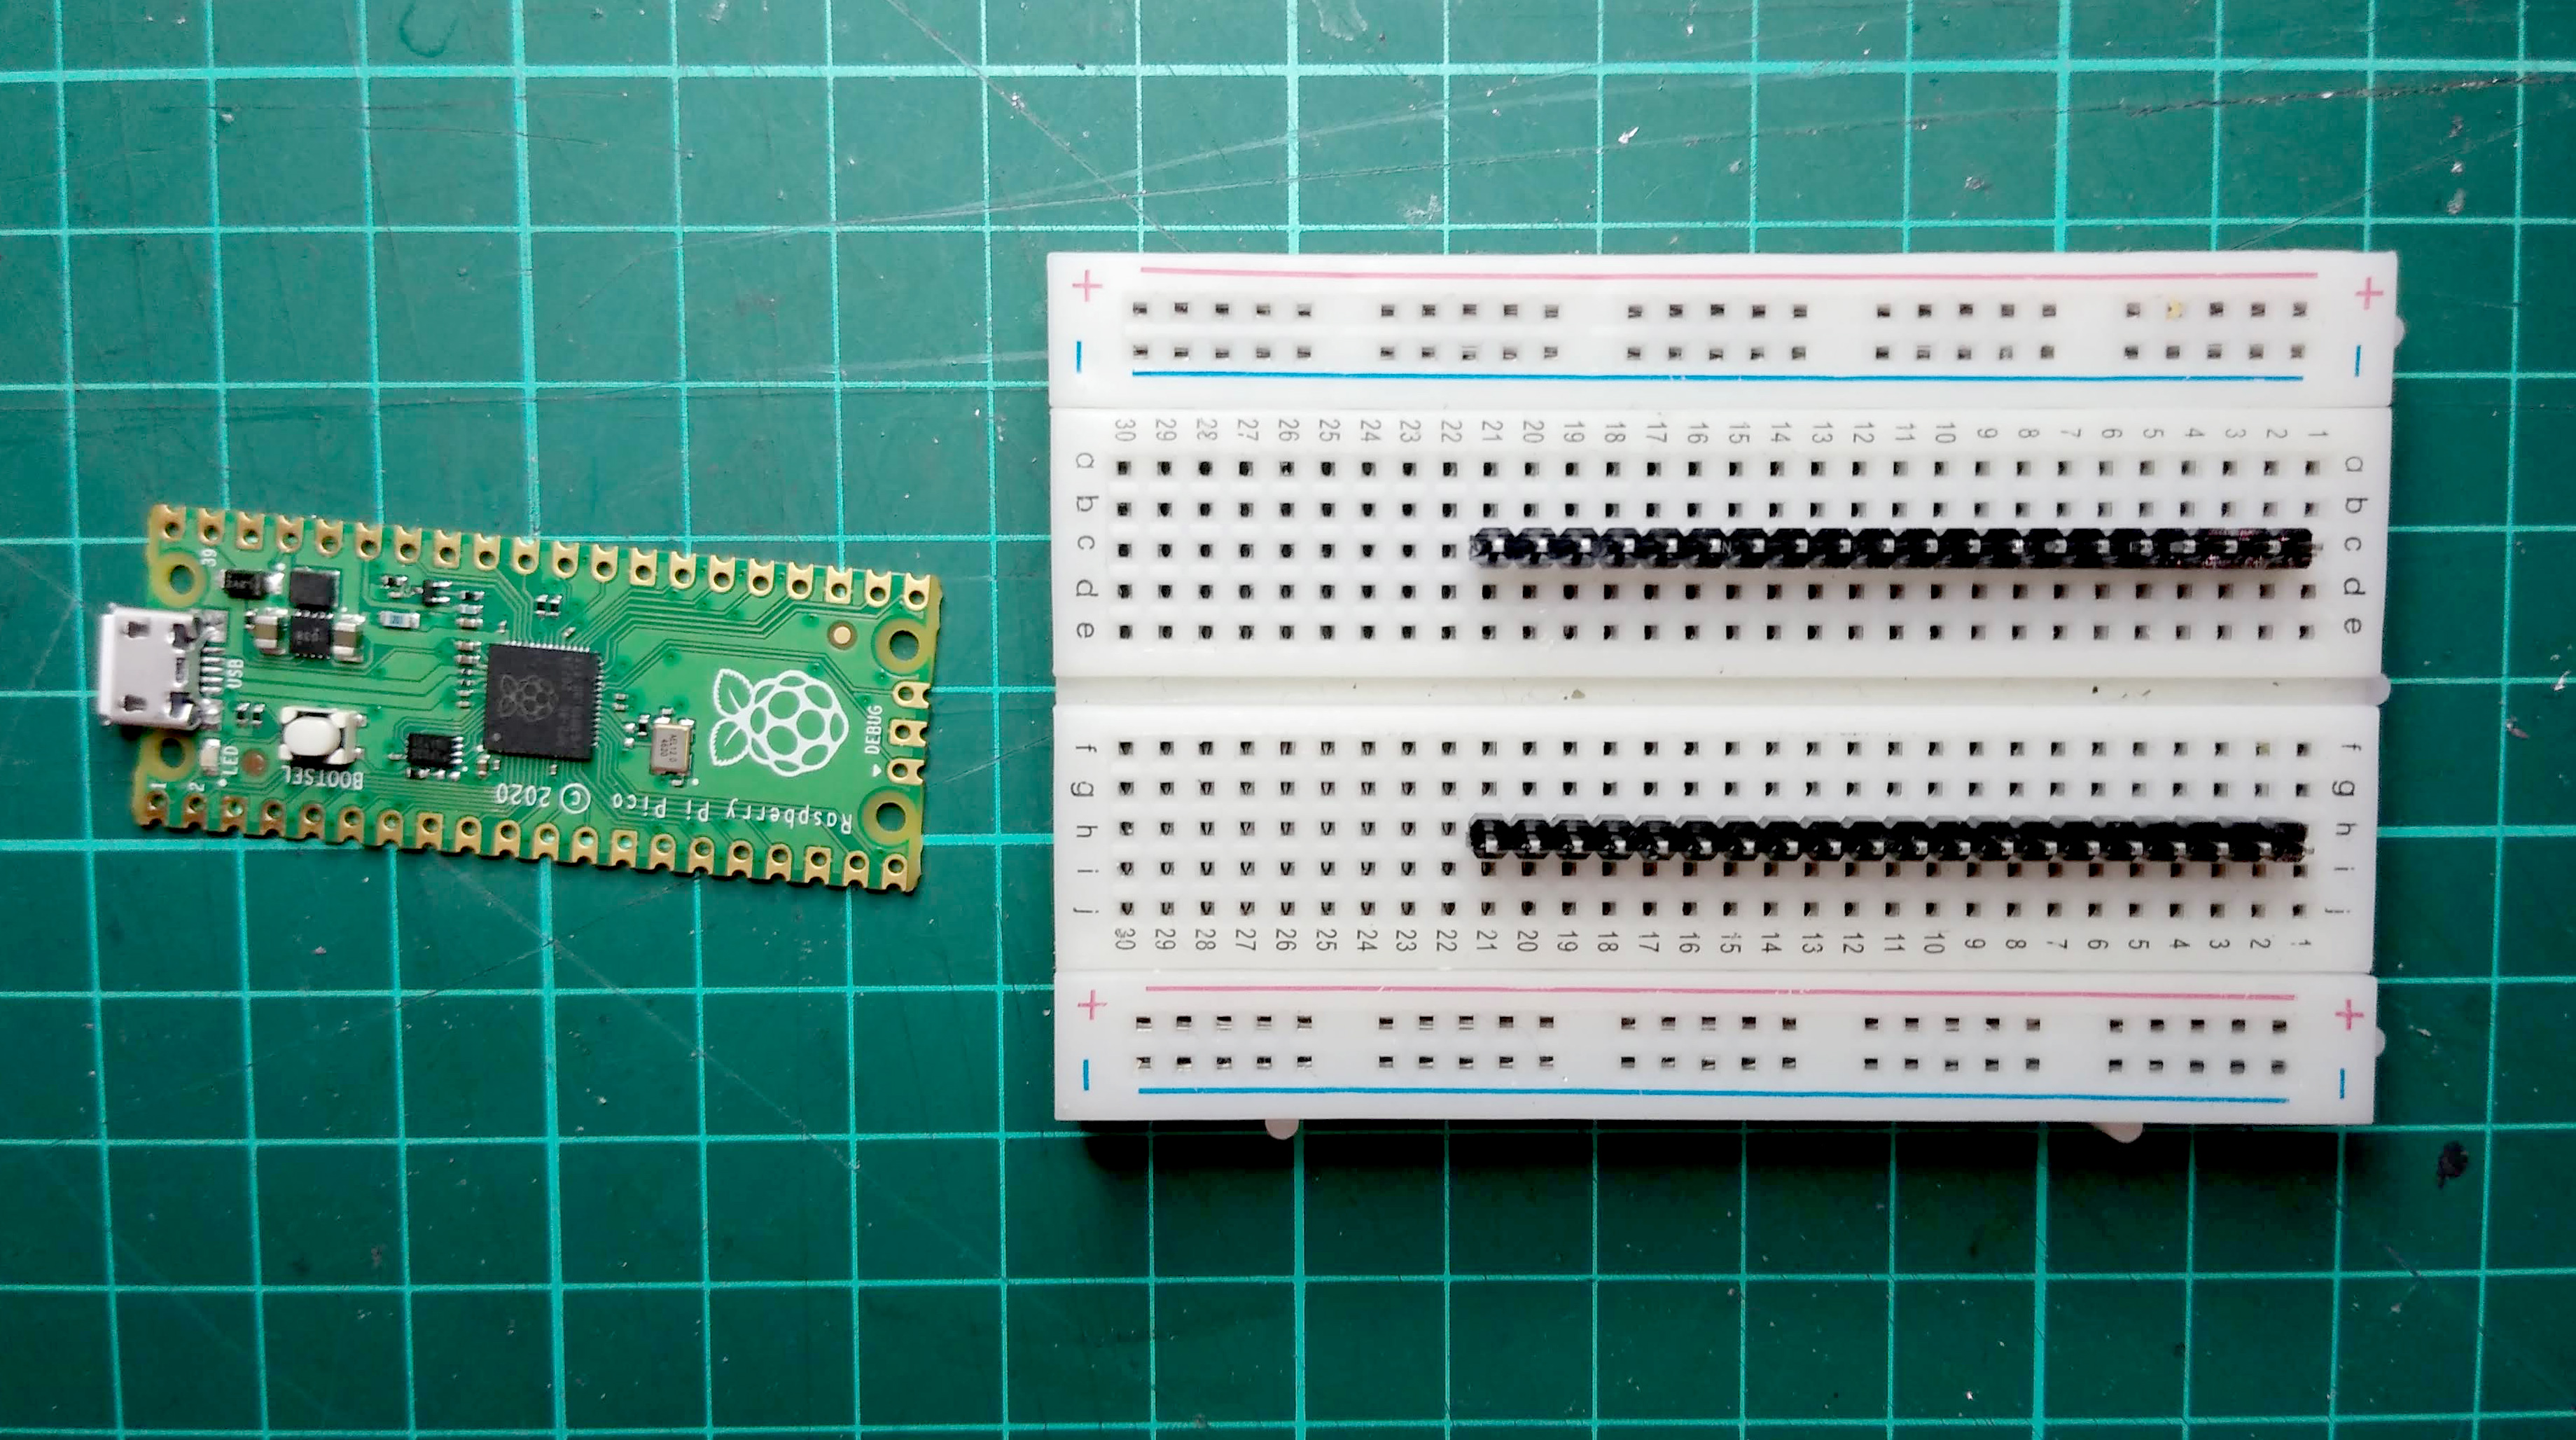
Using a breadboard to hold the headers in place ensures that the pins will be soldered straight which is very important.
- Place the Pico on the headers ensuring that every hole is sitting on a pin.

2. Solder the pins
While soldering can often seem like a dark art, for the purpose of just soldering headers things like flux are not necessary. Just ensure that both the pins and Pico’s contacts are clean. This should be the case if they are both unused.
Whenever soldering always ensure that there’s appropriate ventilation to avoid inhaling the solder’s fumes.
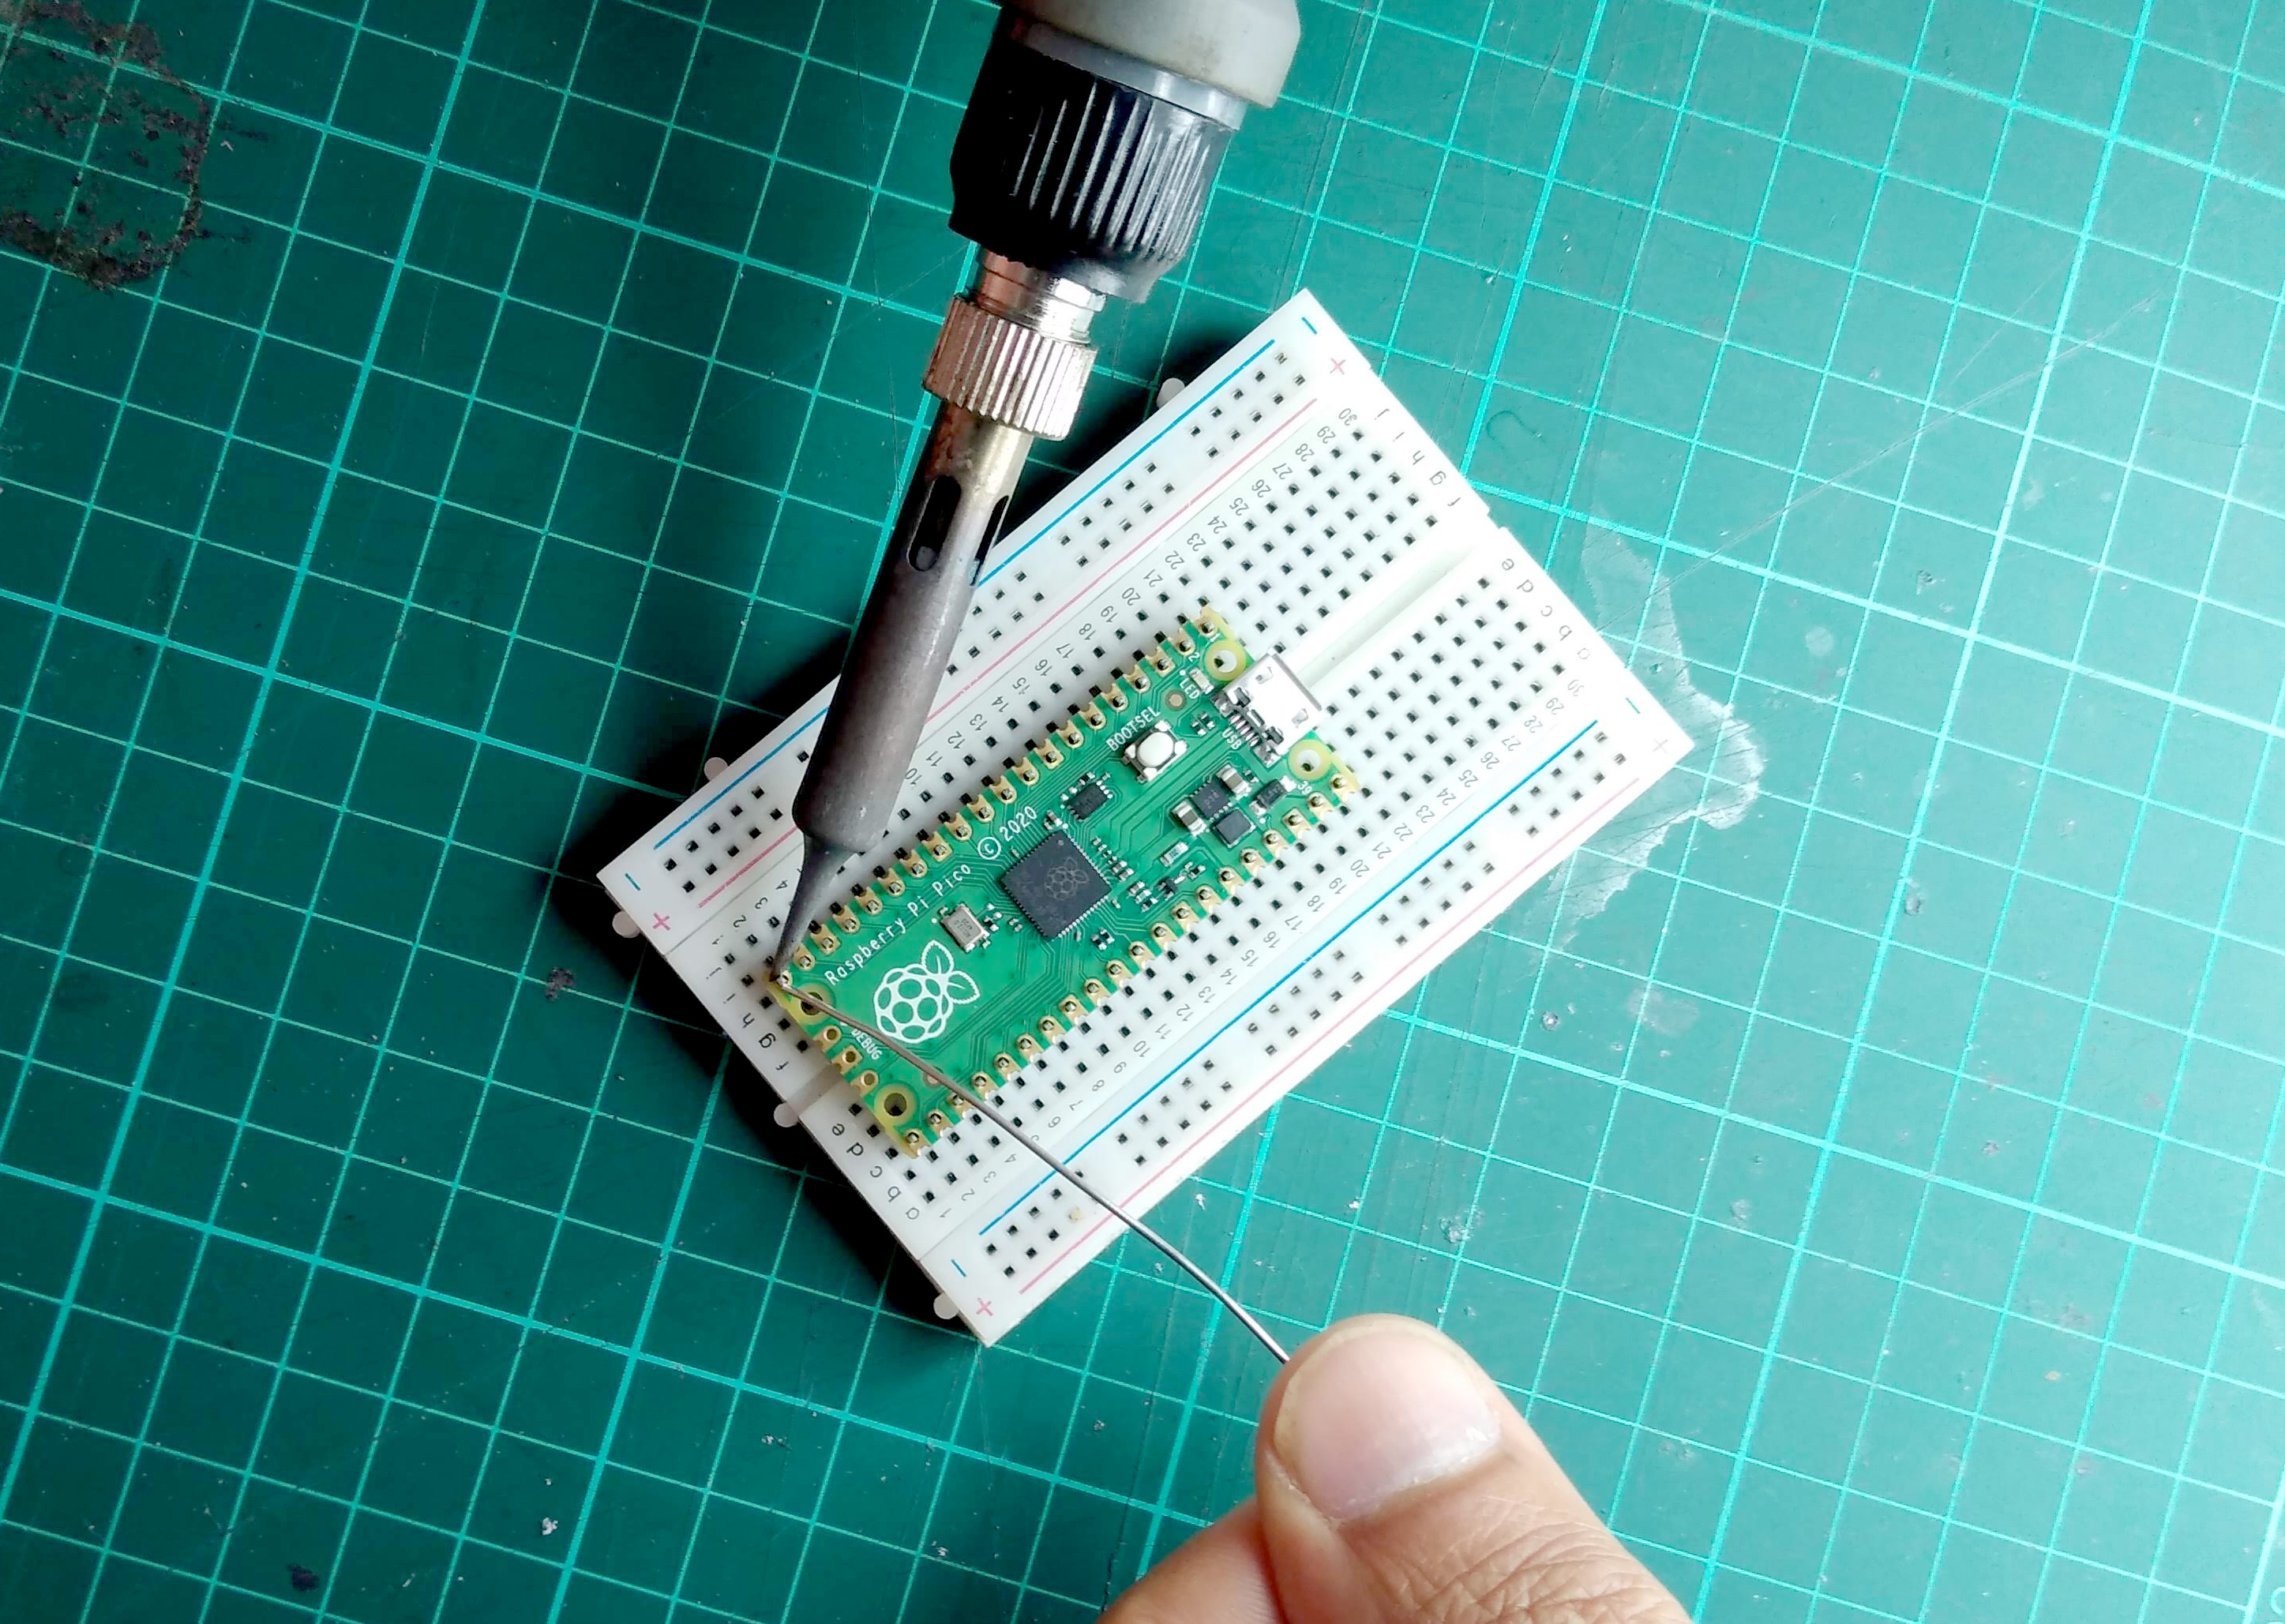
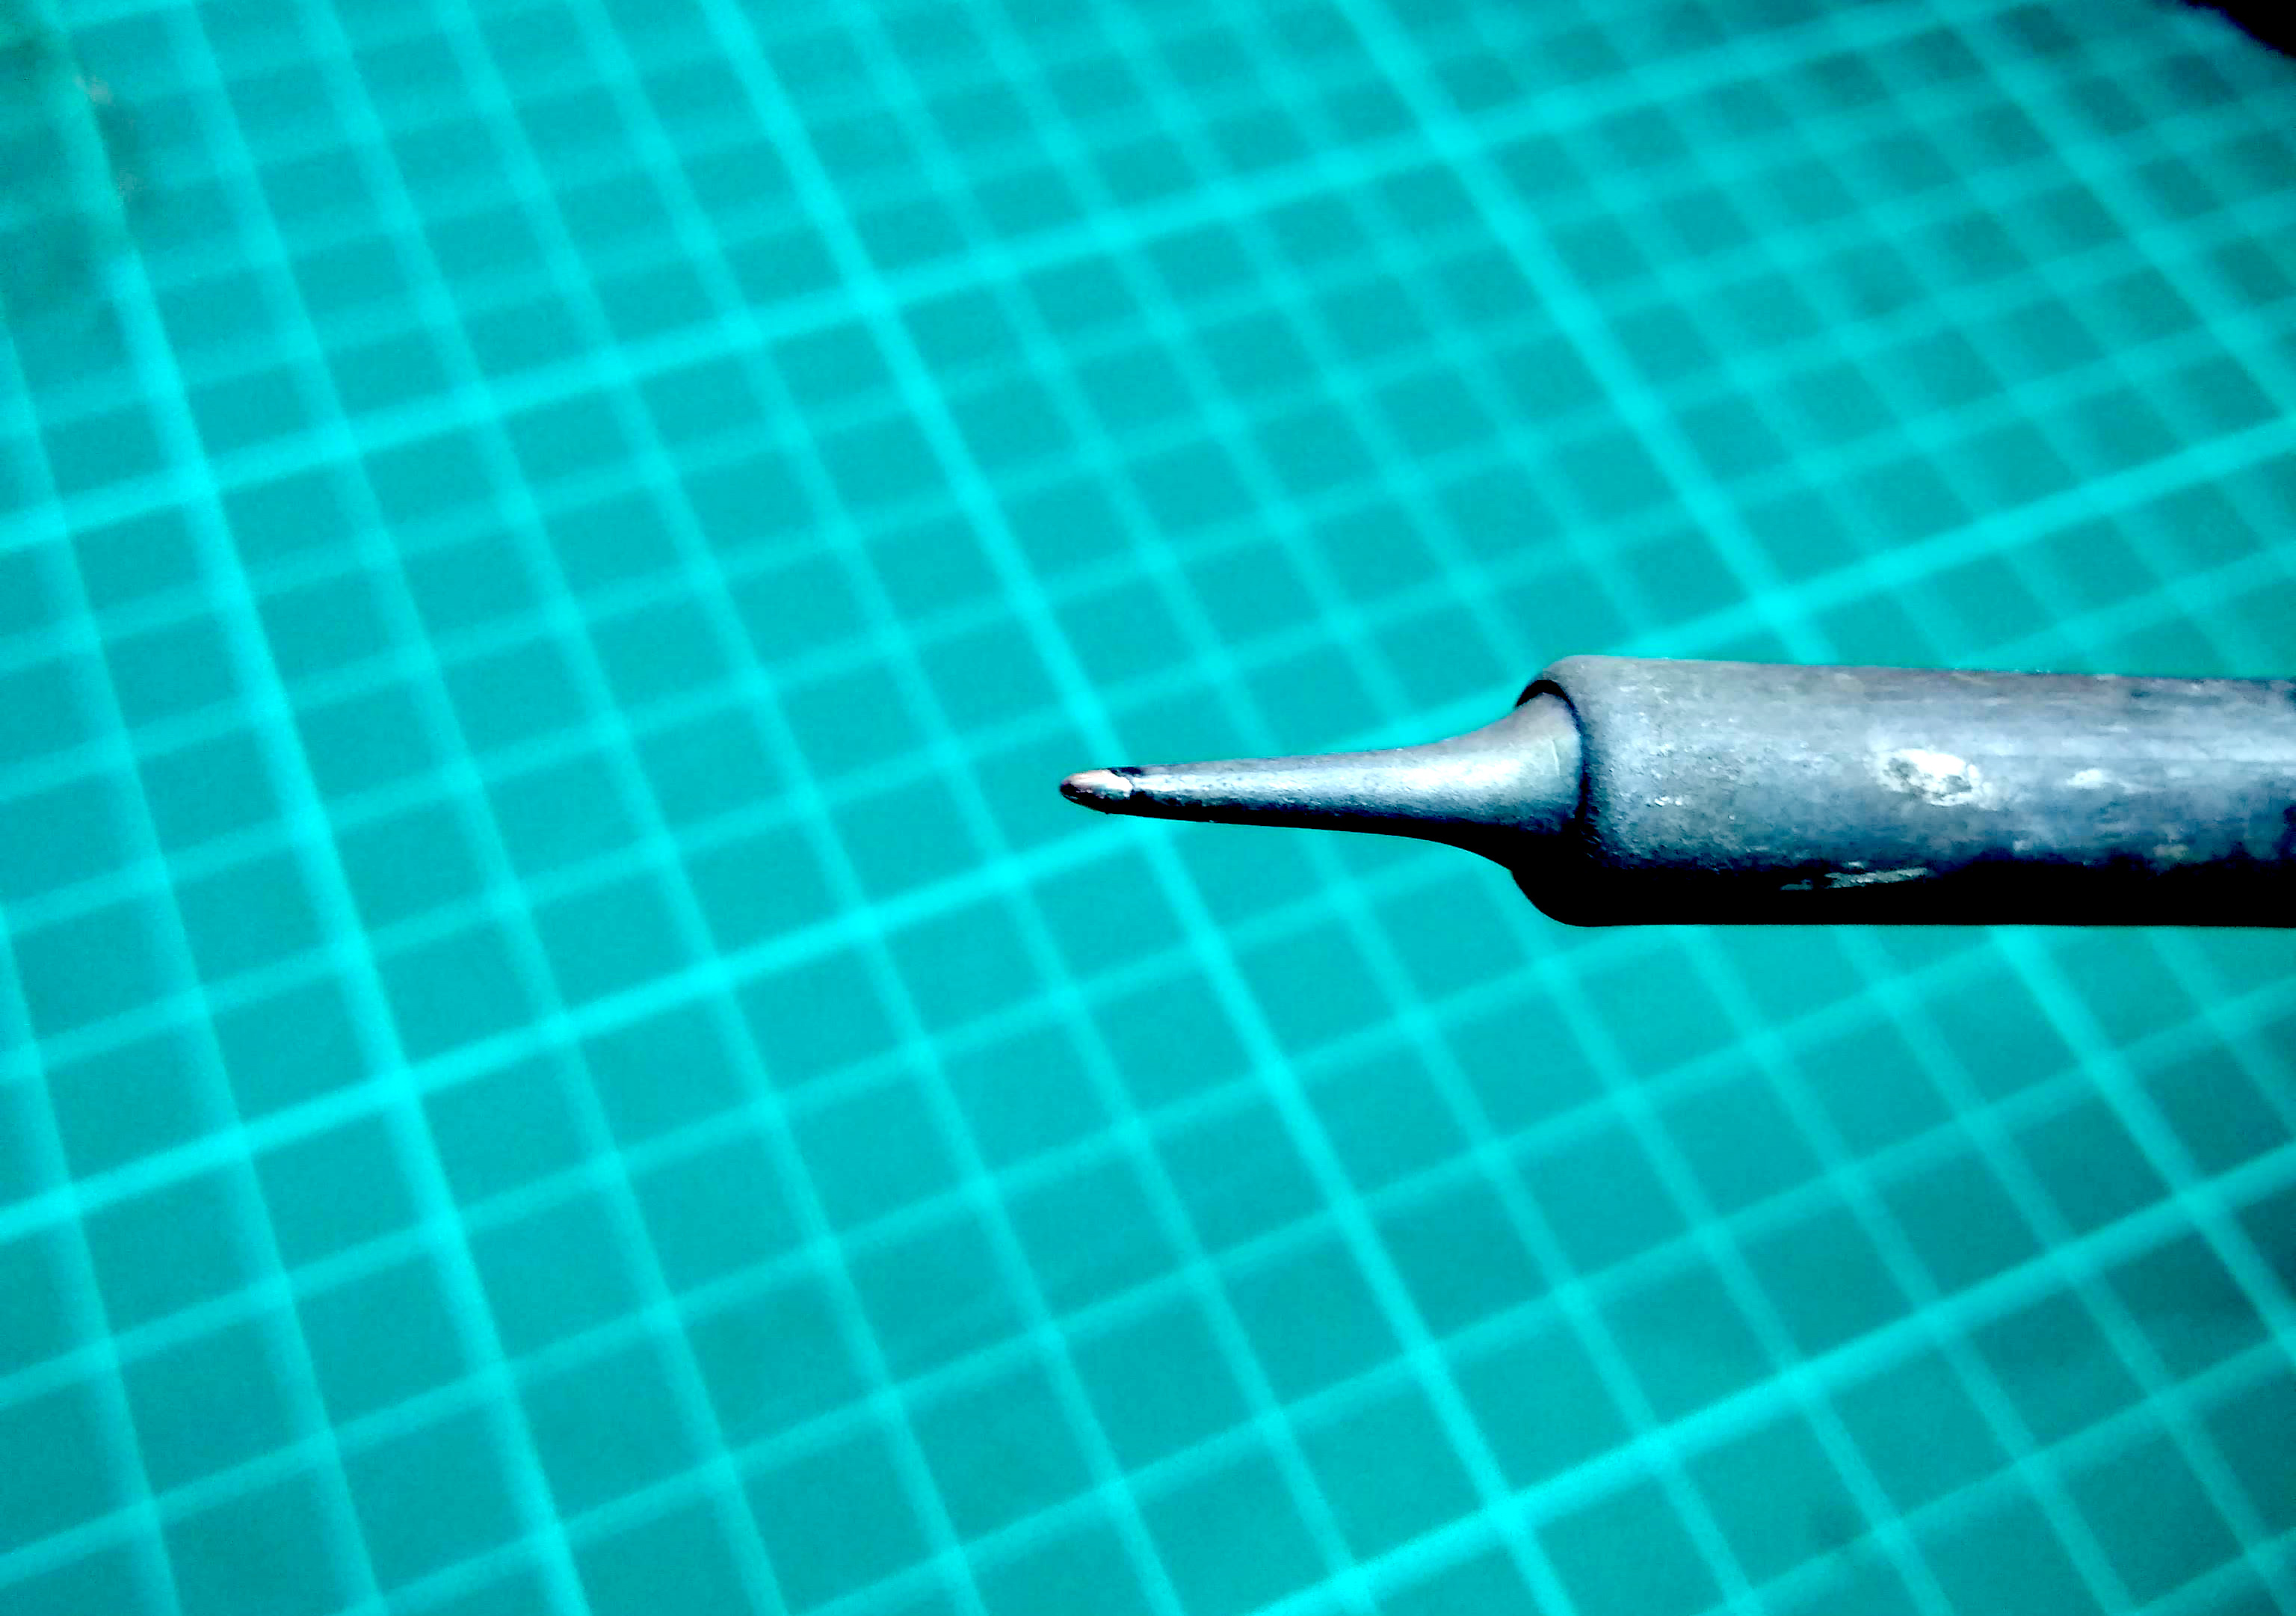
- Preheat your soldering iron. Any soldering iron will do for this purpose but it will be easier if you have one with a fine tip. If it has a temperature setting, set it between 320°C and 370°C.
- If not already done, apply a small amount of solder to the tip of your soldering iron. This is known as tinning and it helps conduct the heat between the tip of the iron and the part you’re soldering to. It also prevents the tip from rusting which is very important to enable good soldering and extending the life of your soldering tips.
- Apply the tip of the iron to the side of one of the pins while also touching the solder pad on the Pico. The idea is to heat the pin and pad before applying solder.
Prolonged contact with a hot soldering iron can damage components. If things don’t work as expected, it is best to let things cool down and try again rather than persistently insisting with the soldering iron.
- After a second or so, while still holding the iron against the pin, gently apply the soldering wire to the other side of the pin. The hot pin and pad should melt the solder. Feed enough solder so that the pad has an even blob around the pin. Be careful not to feed so much solder that it bridges over 2 pads.
- Pull away the solder wire followed by the soldering iron.
- Repeat the process with all the pins.
- Carefully inspect all the pins and connections making sure that there are no bridged pads and that all solder joints are in good condition.
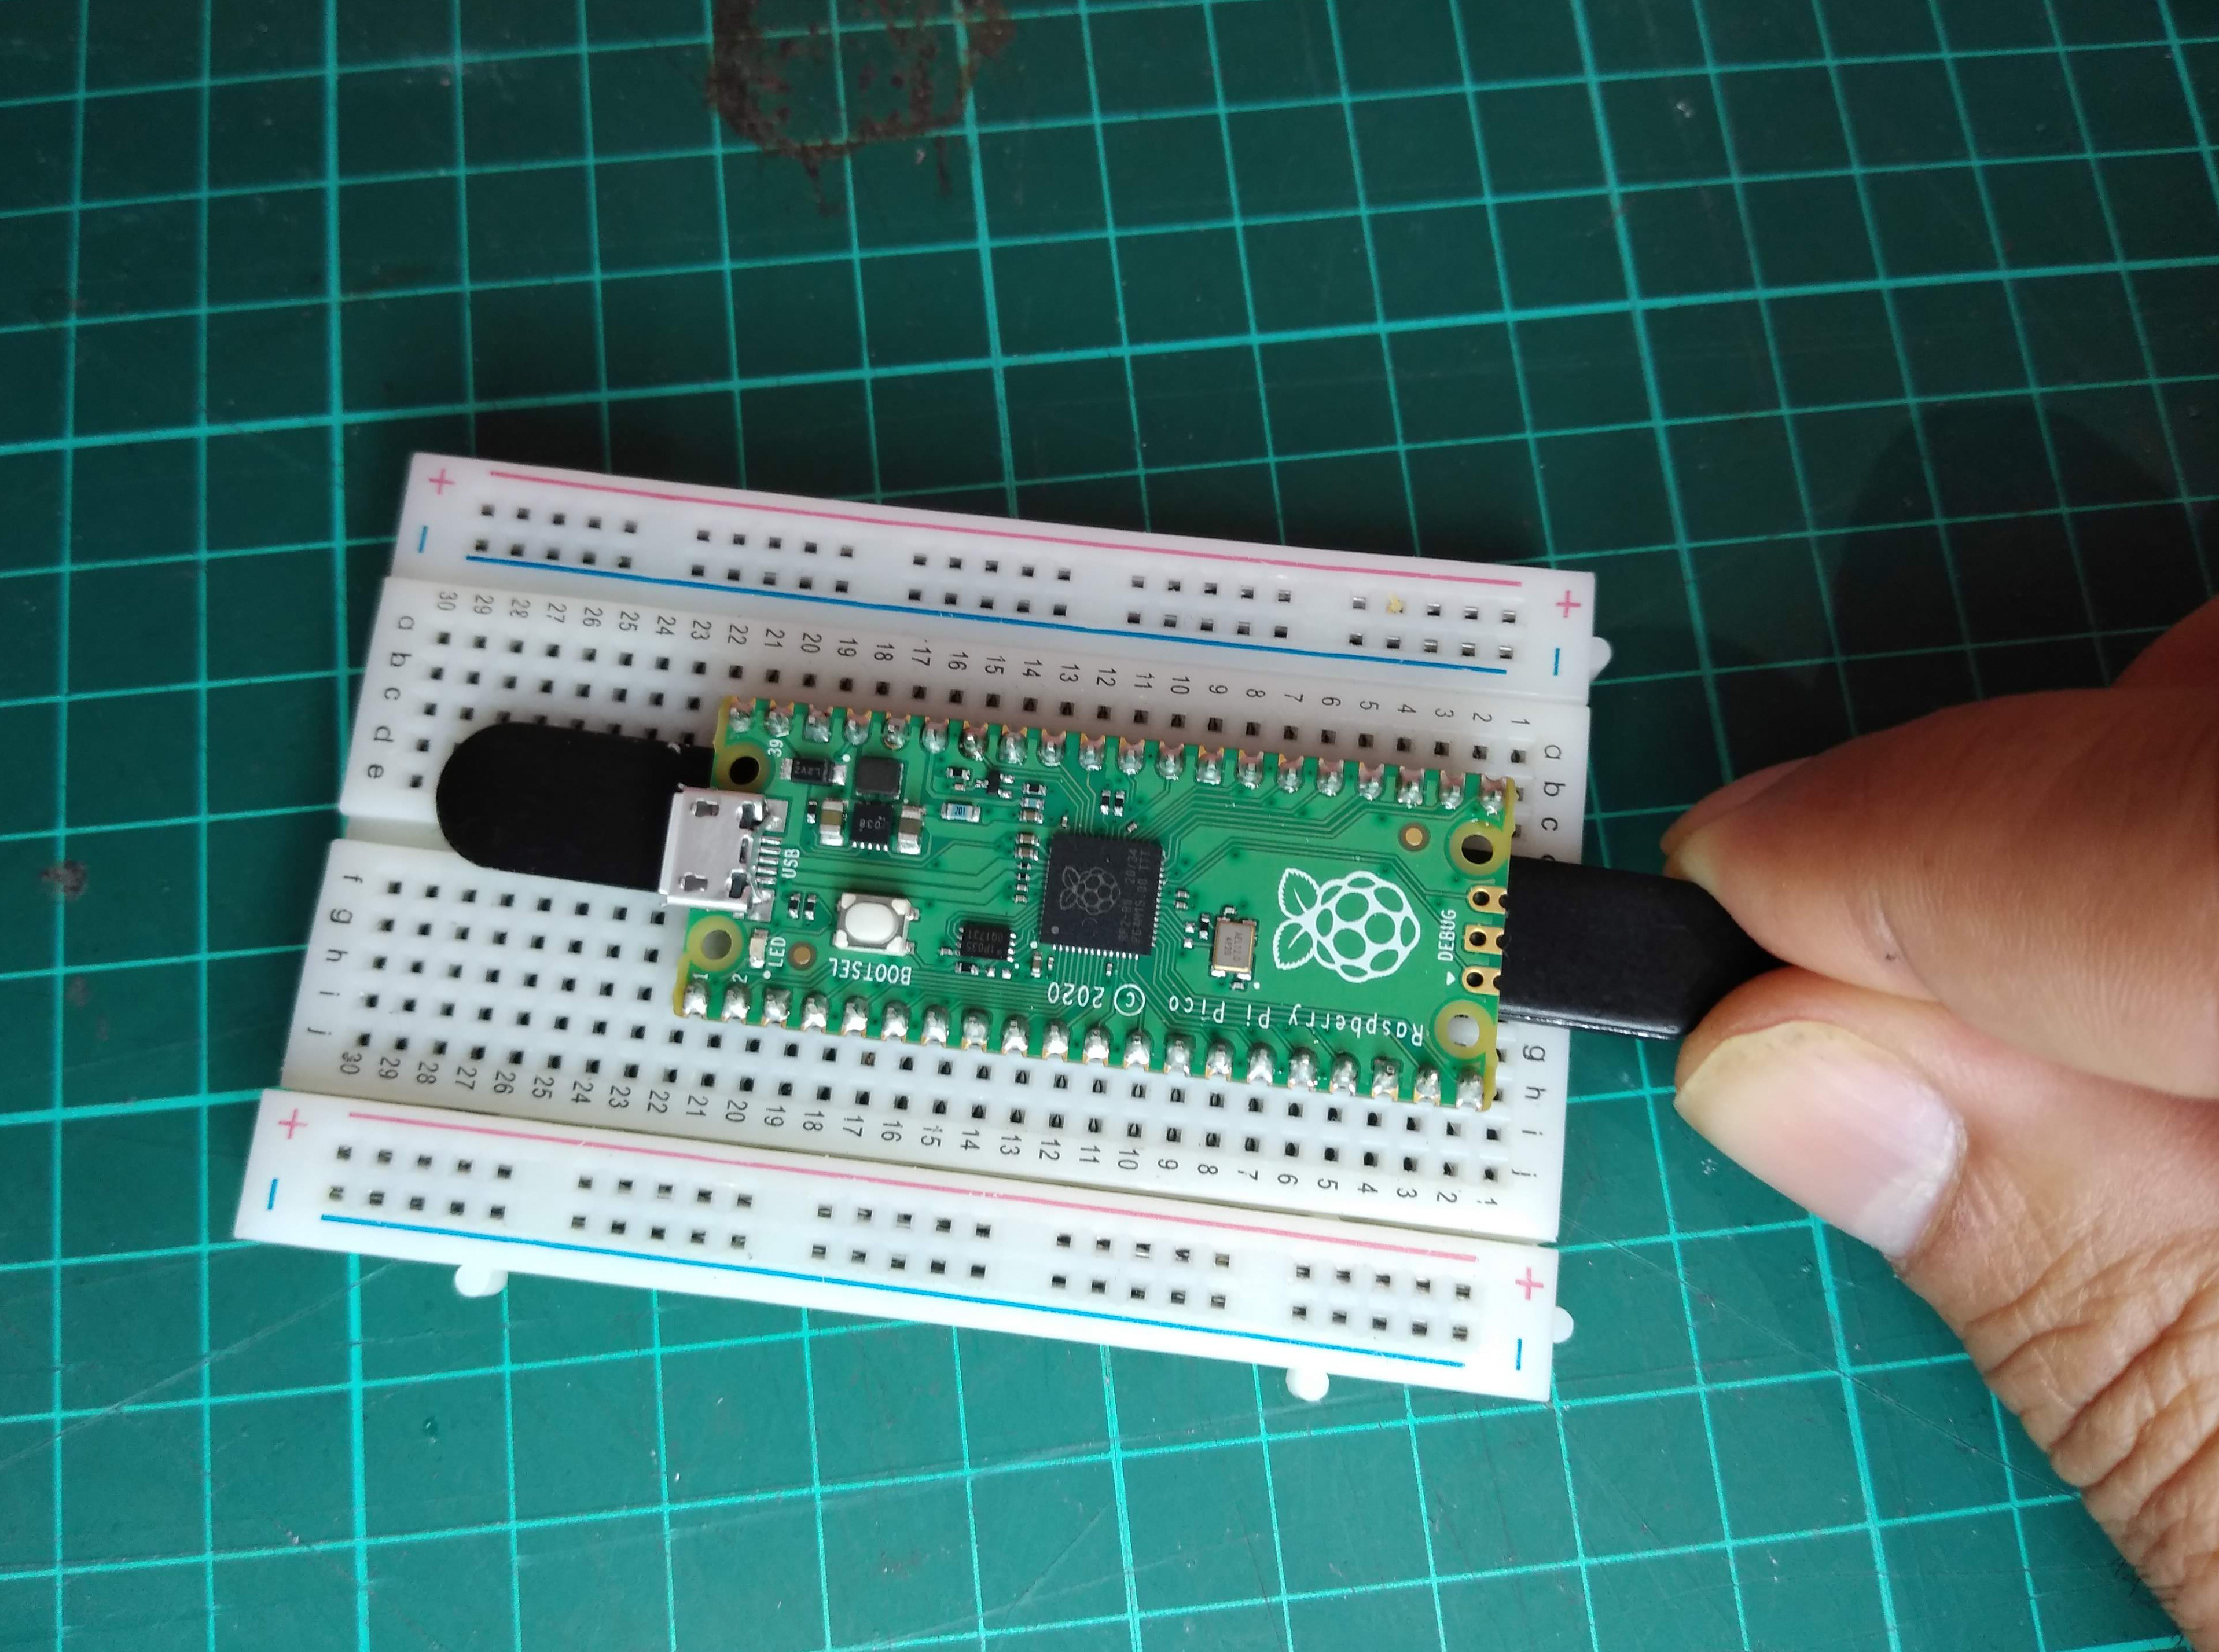
- Pull the Pico with its new headers from the breadboard. Be careful to not bend any pins while doing this. We find tweezers or a flat-head screwdriver very useful for this. Insert them between Pico and the breadboard and very gently pull upwards from alternative sides to slowly ease the pins out of the breadboard.
- Make sure to tin the tip of your soldering iron with a bit of solder.
- Switch off the soldering iron and let it cool down before handling.
Do more
Now that your Pico is ready for breadboarding, you might want to add a reset button to your Pico.
You can find more information and resources here.
Like what you read? Why not show your appreciation by giving some love.
From a quick tap to smashing that love button and show how much you enjoyed this project.

