What you'll need
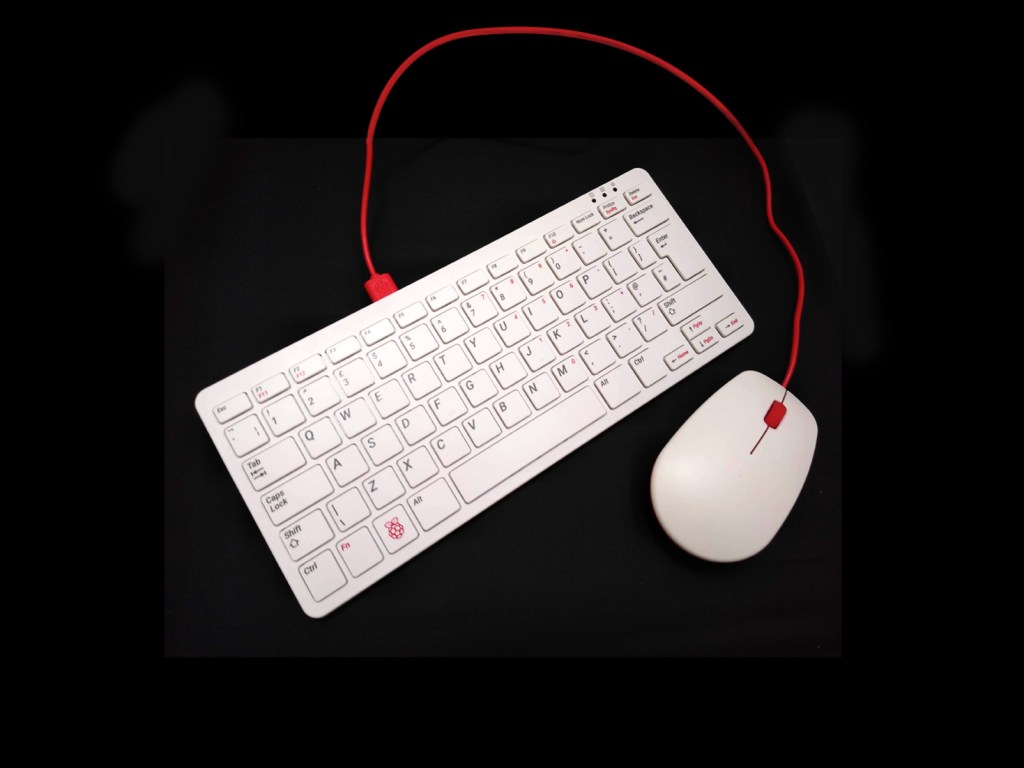
Raspberry Pi 400 all in one kit
HDMI screen
Assemble the Pi
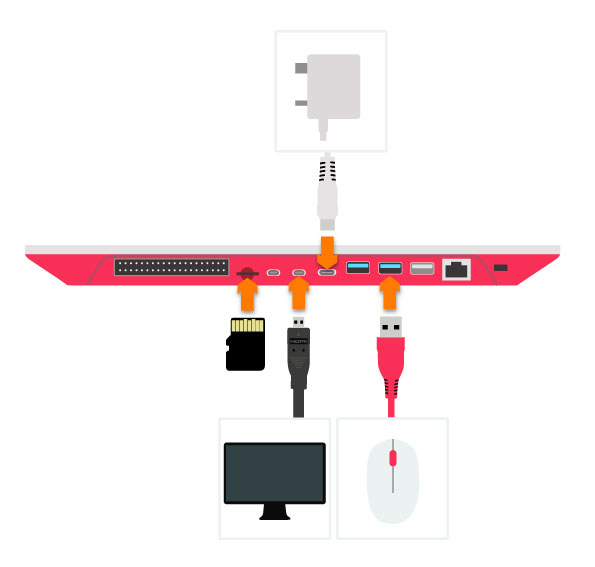
- If not already installed, insert the micro SD card so that it clicks into place.
- Connect the mouse to one of the USB ports.
- Connect an HDMI screen using one of the micro HDMI ports and switch it on.
- Connect the power and press the power button/F10 on the keyboard.
Configure the Pi.
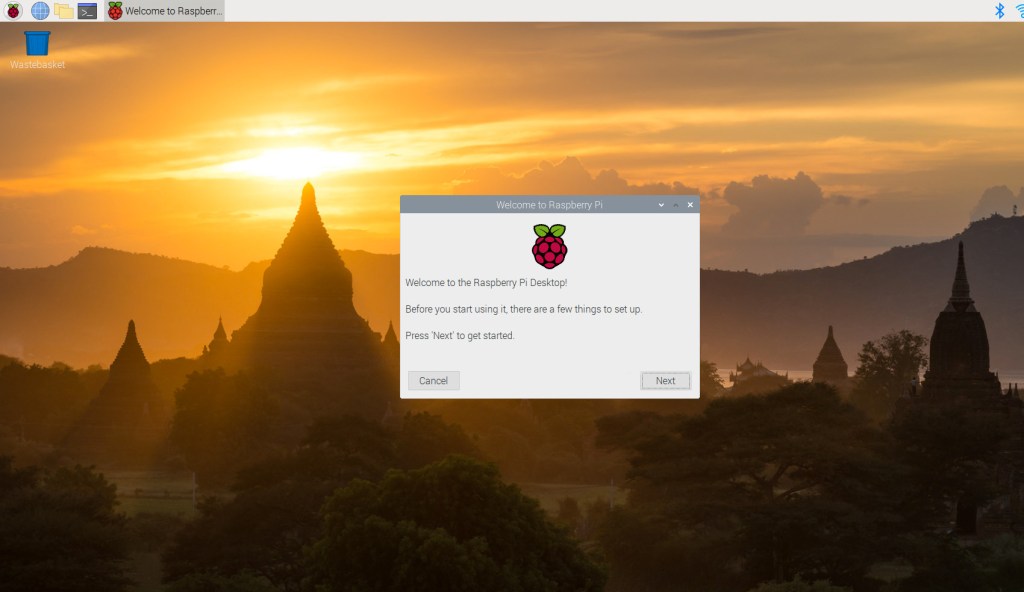
- Your Raspberry Pi will boot and display the desktop.
- The first time you start up your Raspberry Pi, the Welcome to Raspberry Pi application will pop-up, guiding you through the initial setup to get your screen and internet connection up and running.
- You’ll be asked to check for software updates, it’s good practice to always keep it up to date so go ahead and install any that come up. This might take a little while.
You’re all set to start using your Raspberry Pi!
Enjoy your Pi
If you need help with extra configuration and the general file system of the PI, you can go to the Raspberry menu>Help>Get Started for more info.
If you’d like to configure your PI to use as a work computer using Gsuite you can follow this guide.
If you’d like to start making some tunes right away you can follow this guide.