Sonic Pi by Samuel Aaron (http://sam.aaron.name) will turn your Raspberry PI 4 into a programable synth
There are numerous synths, samples and effects that can be combined in real-time to create your own original sounds.
At the end of this project, you will have a fully functioning synthesiser capable of outputting music via HDMI, external speakers or an amplifier.
1. Get your Pi ready
- You should start with a switched-on Raspberry Pi connected to mouse, keyboard and monitor, you can learn here how to do it using an Okdo Pi kit
- Ensure that you have the latest version of Raspbian installed on your Pi. You can learn here how to do it directly from your Pi using Terminal and here using a micro SD card.
2. Connect the speaker
Your Pi should automatically detect your audio output device, either HDMI or analogue if speakers are attached. Check this by right clicking on the Speaker icon in the top right hand corner of the menu bar of your Pi. There should be green tick against your audio output. If not then select the appropriate output.
Sonic Pi uses accurate real-time sound synchronisation and does not currently work with Bluetooth speakers and wireless headphones.
If you want a really powerful sound connect the audio output to a stereo amplifier using the 3.5mm audio jack.
3. Launch Sonic Pi
- Start Sonic Pi from Programming > Sonic Pi in the main menu. It can take a little while before the Sonic Pi flash screen disappears and you see the multi-pane interface.
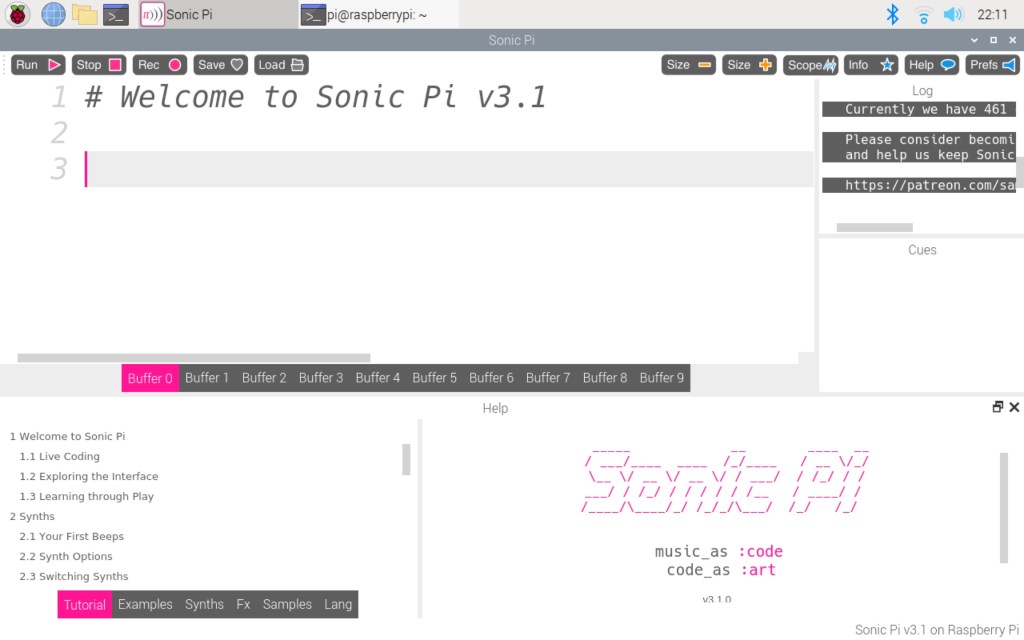
The top left pane contains a series of buffers where you write the code that controls your music. You can use them to have several bits of code at the ready so that you can structure different parts which you can play simultaneously. You can edit a piece of code while it’s running, the changes won’t be implemented until you press Run.
The bottom left contains the tutorial, code examples, synths, music samples and effects which appear in the adjacent pane when you make a selection. The top right pane contains the log which shows the code being executed so you can see what is running.
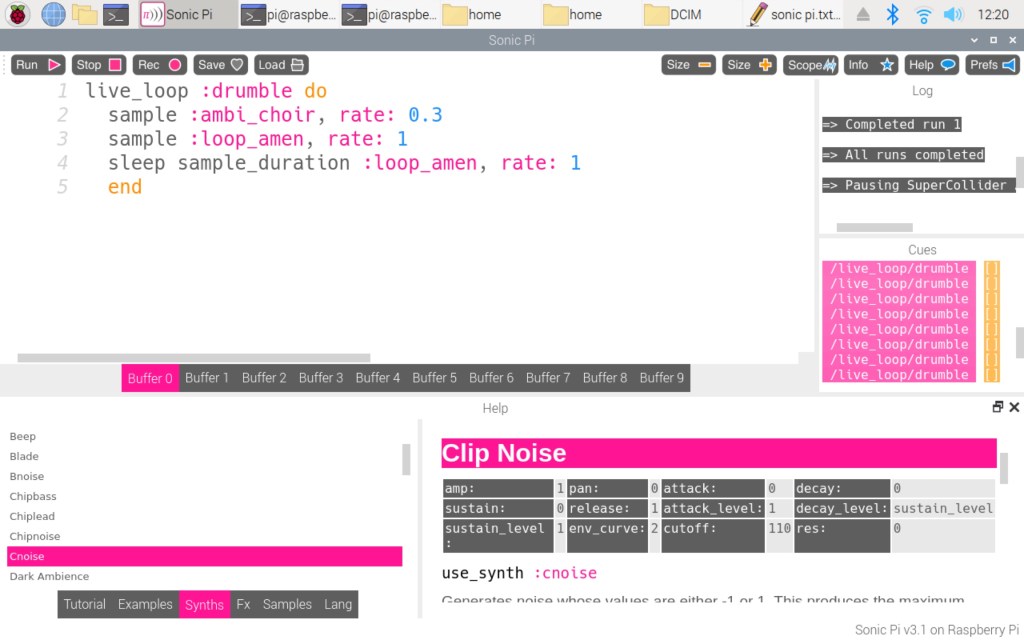
4. Play a sample
- Copy and paste the code below into one of the buffers and press Run
live_loop :drumble do
  sample :ambi_choir, rate: 0.3
  sample :loop_amen, rate: 1
  sleep sample_duration :loop_amen, rate: 1
  end
You can adjust the size of the code using the Size- and Size+ buttons on the top right of the code window
You should now be hearing the famous Amen break playing on loop.
- You can experiment with different loops, you can find the included ones under the Samples tab under Sounds for Looping. You’ll first see the various loop settings on the right-hand side, followed by a list of samples when you scroll down. You can copy any of the sample names and replace the ones in the code with them
- Press Stop to stop the sound
5. Synths
- Click on the Synths section in the bottom left pane to see over 40 different synths and an explanation of their properties and how to use them to the right of the list.
- Click on Tutorial, you’ll see a list of topics covered on the left and the tutorial content on the right. It covers generating different sounds using synths and all the properties that can be controlled to achieve different effects, including the theory behind it. It’s a great way to familiarise yourself with Sonic Pi.
- Select a new buffer, paste the code below and press Run
live_loop :sythaptor do
  use_synth :tech_saws
  play 51
  sleep 0.25
  use_synth :blade
  play 38
  sleep 0.25
  use_synth :prophet
  play 57
  sleep 0.25
end
Your should now be hearing a 3 voice synth loop
• Press Stop to stop the sound.
6. Effects
Effects or ‘FX’ can add distortion, echo and reverb to your sounds. These can be chained together and modified while the sound is playing. Using FX adds another level of richness to your mixes.
- Select a new buffer, paste the code below and press Run
live_loop :slide do
  with_fx :echo, mix: 0.3, phase: 0.25 do
    sample :guit_e_slide, rate: 0.5
  end
  sleep 4
end

live_loop :boom do
  with_fx :reverb, room: 1 do
    sample :bd_boom, amp: 20, rate: 1
  end
  sleep 4
end
Your should now be hearing loops playing with echo and reverb
- Press Stop to stop the sound.
7. Export your work
When you have created a great sounding mix and you want to save it and play it on other devices, Sonic Pi can export it to .WAV format.
- Press the Save button and give your file a name.
Raspbian contains various apps that you can install to convert WAV files into other formats. Use Preferences > Add / Remove Software from the main menu, you can then search for apps and install them. Soundconverter can convert WAV files into MP3 format.
Like what you read? Why not show your appreciation by giving some love.
From a quick tap to smashing that love button and show how much you enjoyed this project.

