
This getting started with DACBerry 400 for the Raspberry Pi 400 guide will get you up and running in no time. One of the features missing from the Raspberry Pi 400 is an audio output connector for attaching speakers or headphones. This guide for the DACBerry 400 guide will show how to set up and use your DACBerry 400 series audio board on the Raspberry Pi 400 so you can stream music from Spotify and record using Audacity and more!
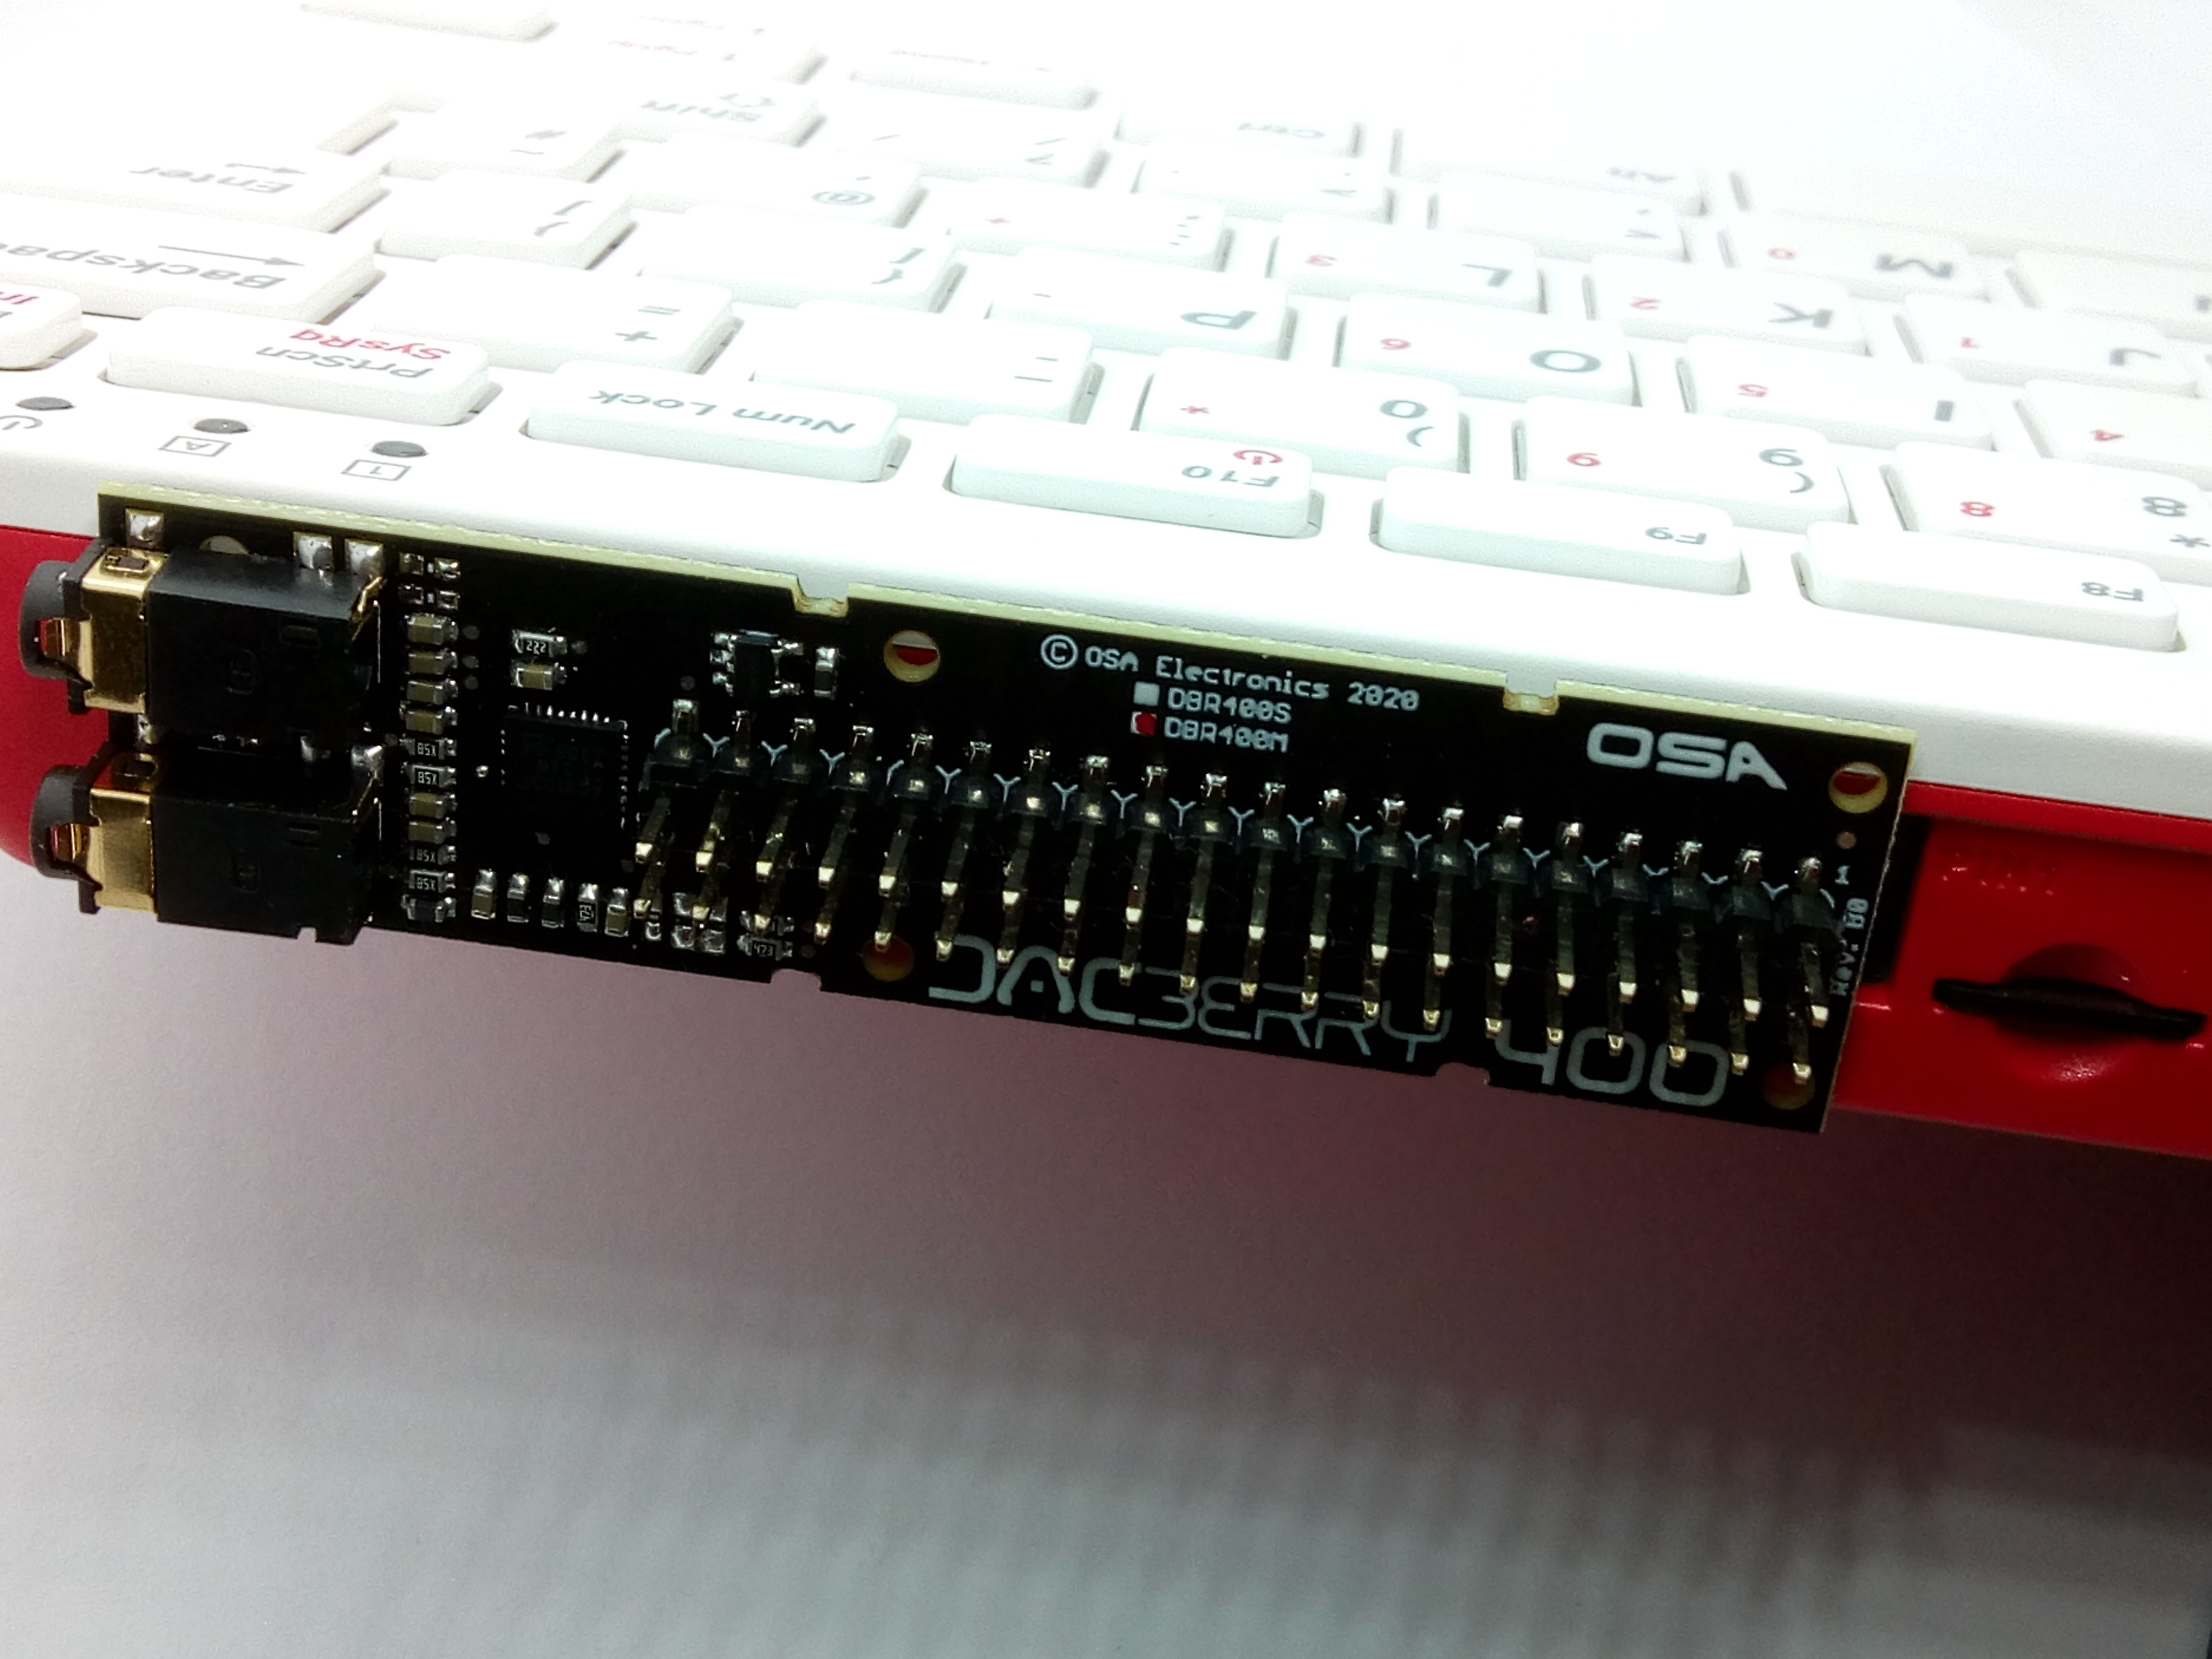
The DACBerry 400 comes in two versions to suit different audio requirements. The 400-S has a single 3.5mm 4-pole TRRS jack for stereo out/mic-in which outputs line level to powered speakers or headphones.
The 400-M version has the same stereo out/mic-in jack plus an additional line-in jack for recording from another audio device. It also has male pin headers soldered to the connector if you still want access to the Pi 400’s GPIO connector.
Both boards use the same audio IC and produce a very clear, high-quality sound when played through powered speakers.
What you'll need
Fit the board
Both the DACBerry 400-S and 400-M boards fit the same way, with the audio jacks facing away from the SD card.
- Align the board connector with the 40 pin GPIO headers and gently push to fit.
Make sure the connector is exactly aligned with the GPIO pins to avoid damaging the board.
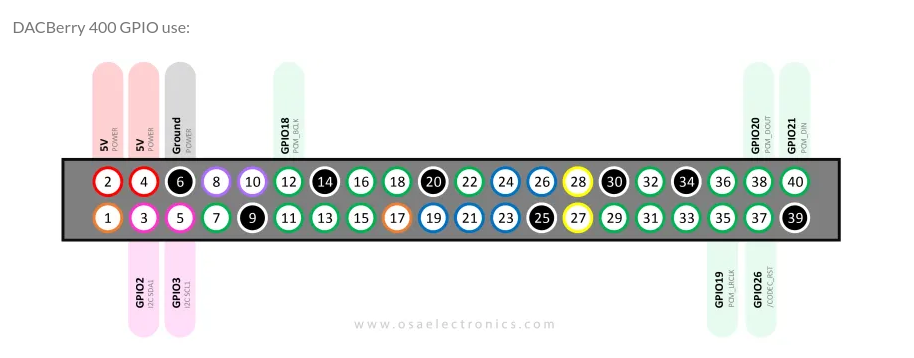
The DACBerry uses the following pins on the Raspberry Pi GPIO header:
Software driver
Installing the software drivers to make the board work is very easy.
We assume that your Raspberry Pi 400 is set up and connected to the internet via Wifi or Ethernet. There’s a Getting Started that shows how to do this here.
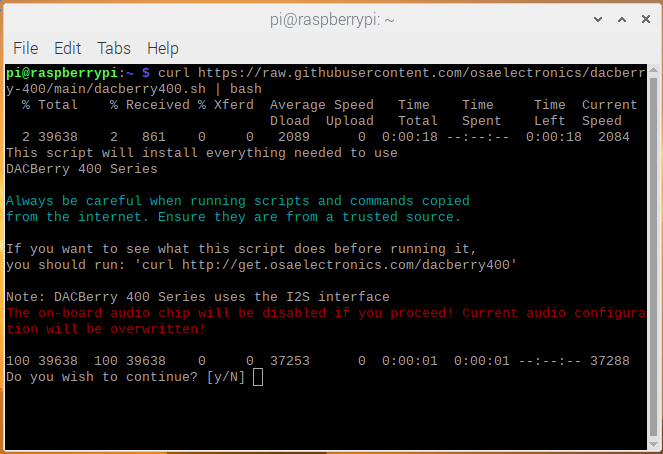
Open a Terminal from the desktop taskbar and install the drivers using the following commands:
sudo apt update
sudo apt upgrade
curl https://raw.githubusercontent.com/osaelectronics/dacberry-400/main/dacberry400.sh | bash- When prompted enter y.
- The system will reboot and your board will be enabled.
Stream Spotify
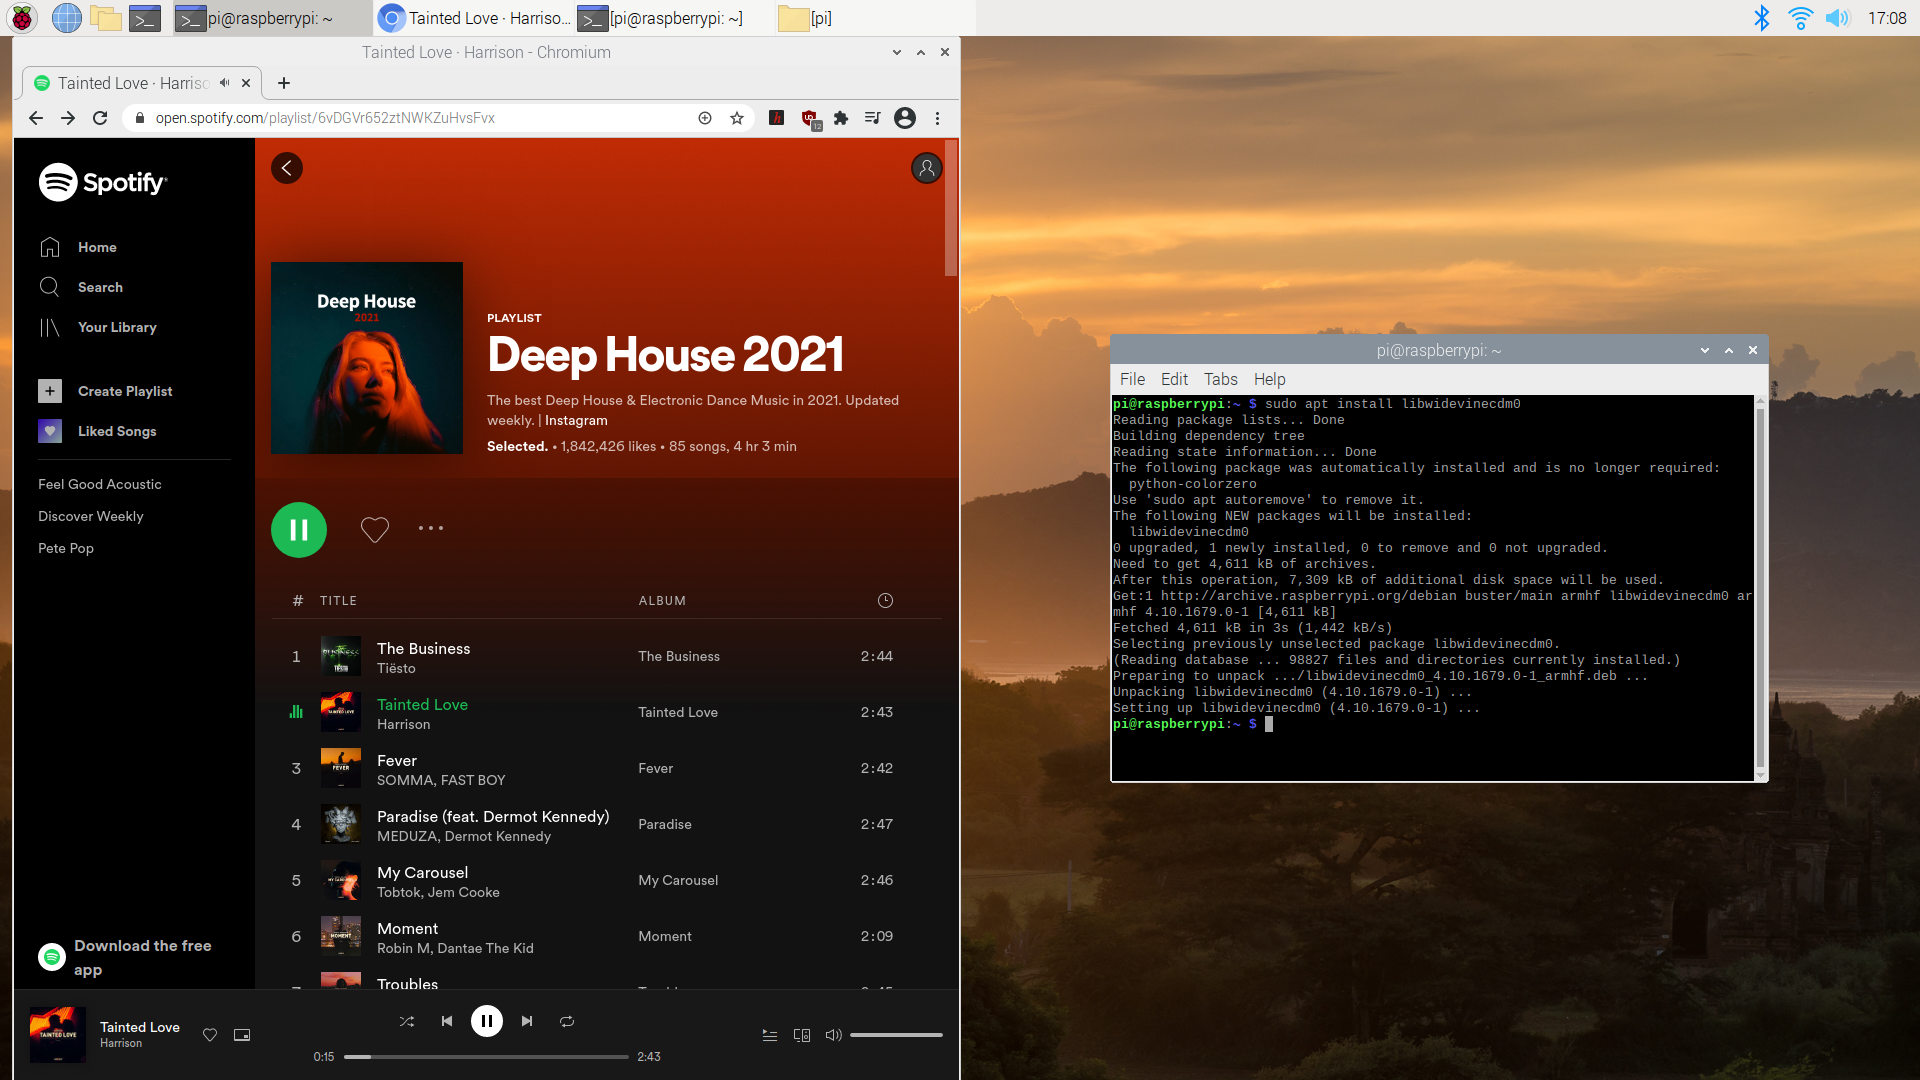
Streaming music from Spotify on the Raspberry Pi requires the installation of Widevine, which is a Digital Rights Management (DRM) library. This can be obtained from the official repository with the following command and works for free and premium Spotify accounts:
sudo apt-get install libwidevinecdm0- Open Chromium (web browser).
- Login to Spotify.
- Open Spotify web player.
You will now be able to stream music through your DACBerry 400.
Audacity recording
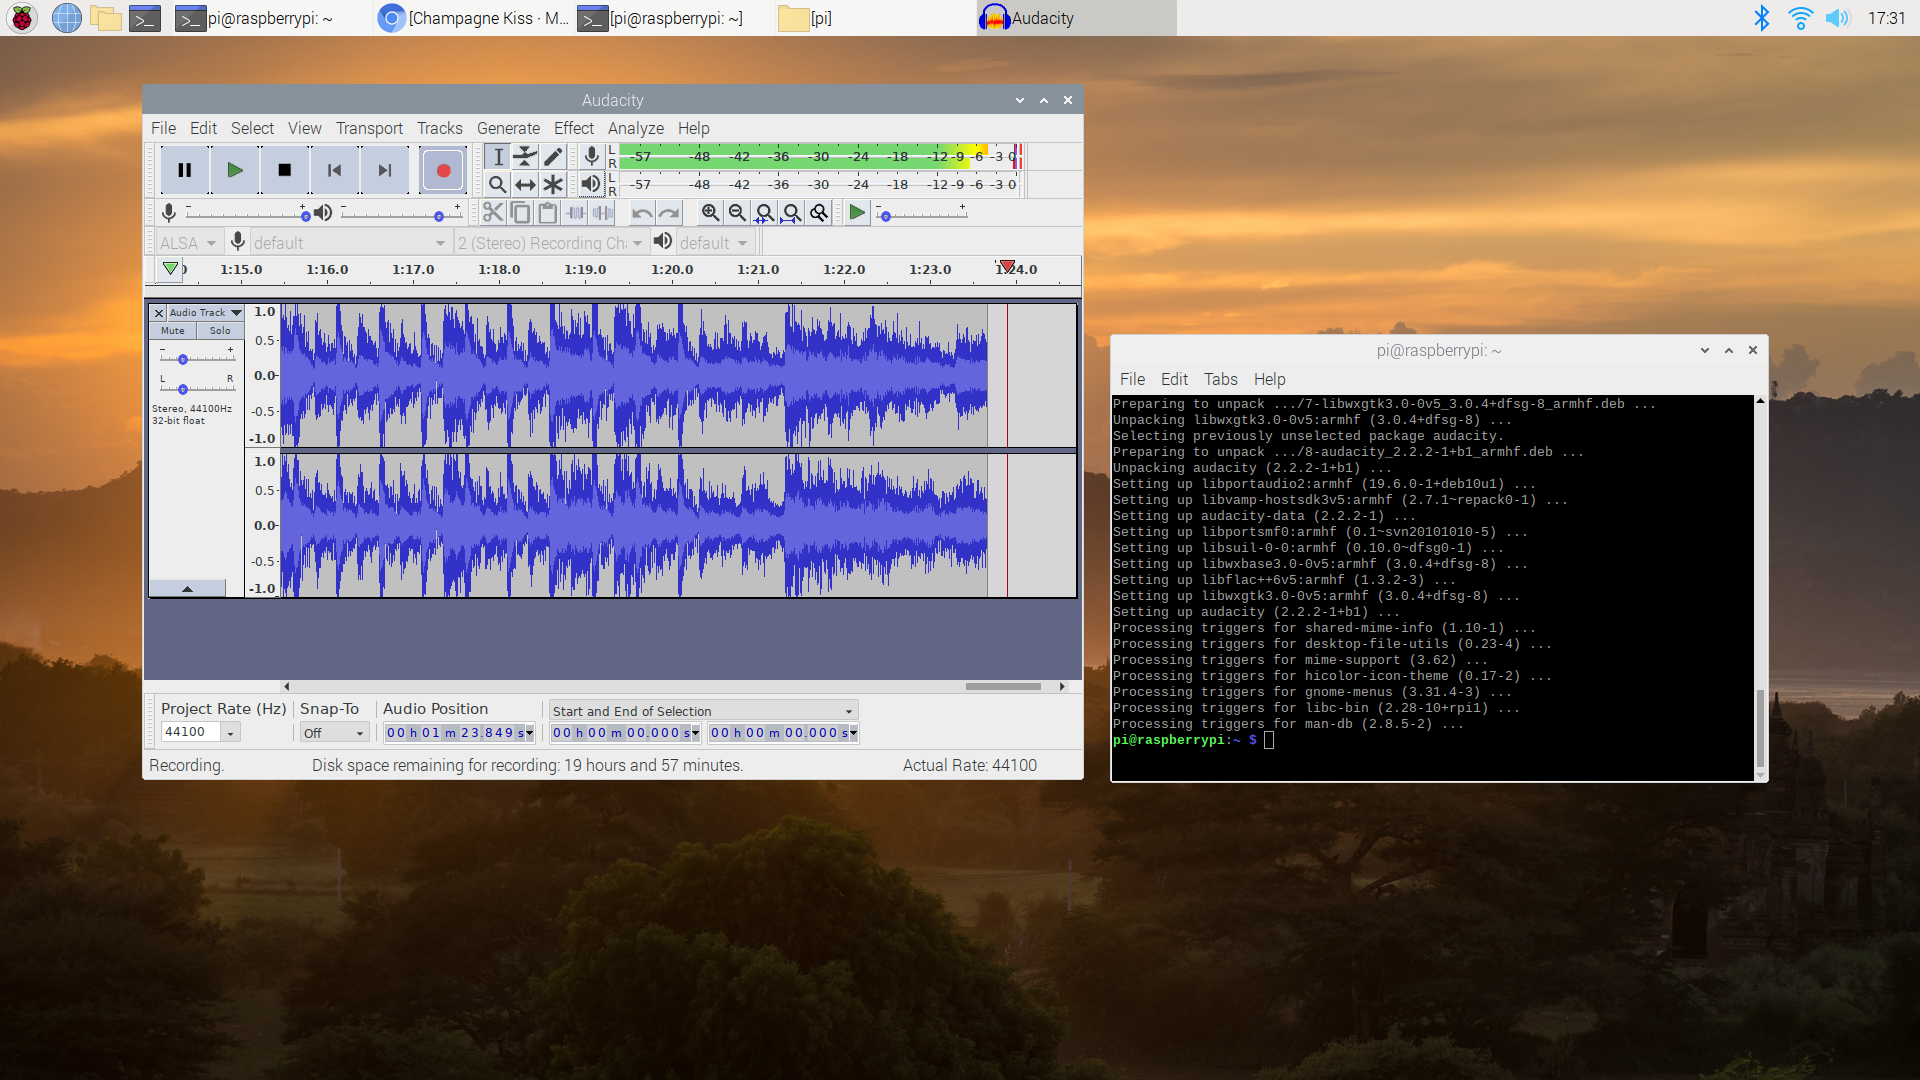
You can record from a Microphone with a 4-pole TRRS plug by using the bottom jack on the 400-S or 400-M. Only the 400-M version is capable of recording from line-in on the upper jack.
Audacity is a popular open source audio capture application that can be installed on the Raspberry Pi to record audio.
Install the package with the following command:
sudo apt install audacityVisit the Audacity website on https://www.audacityteam.org/ for all the options available.
Summary
This getting started guide has shown how to fit and install both the DACBerry 400-S and 440-M high-quality audio boards to a Raspberry Pi 400. Although the boards were designed to work with the Pi 400 they can also be fitted to Raspberry Pi 3B+ and 4B models for improved sound quality.
We also showed how to enable streaming from Spotify using the DACBerry 400’s audio output and how to record audio using Audacity.
If you just want to play audio through speakers or headphones choose the DACBerry 400-S. If you want access to the GPIO and to be able to record line-in then choose the 400-M version.
Both sound fantastic!