Flashback to the 80’s with this recreation of the popular sound and light electronic Simon says game. With this project which is ideal for kids, you’ll be having hours of fun with just a handful of components and some simple code.
1. Build the circuit
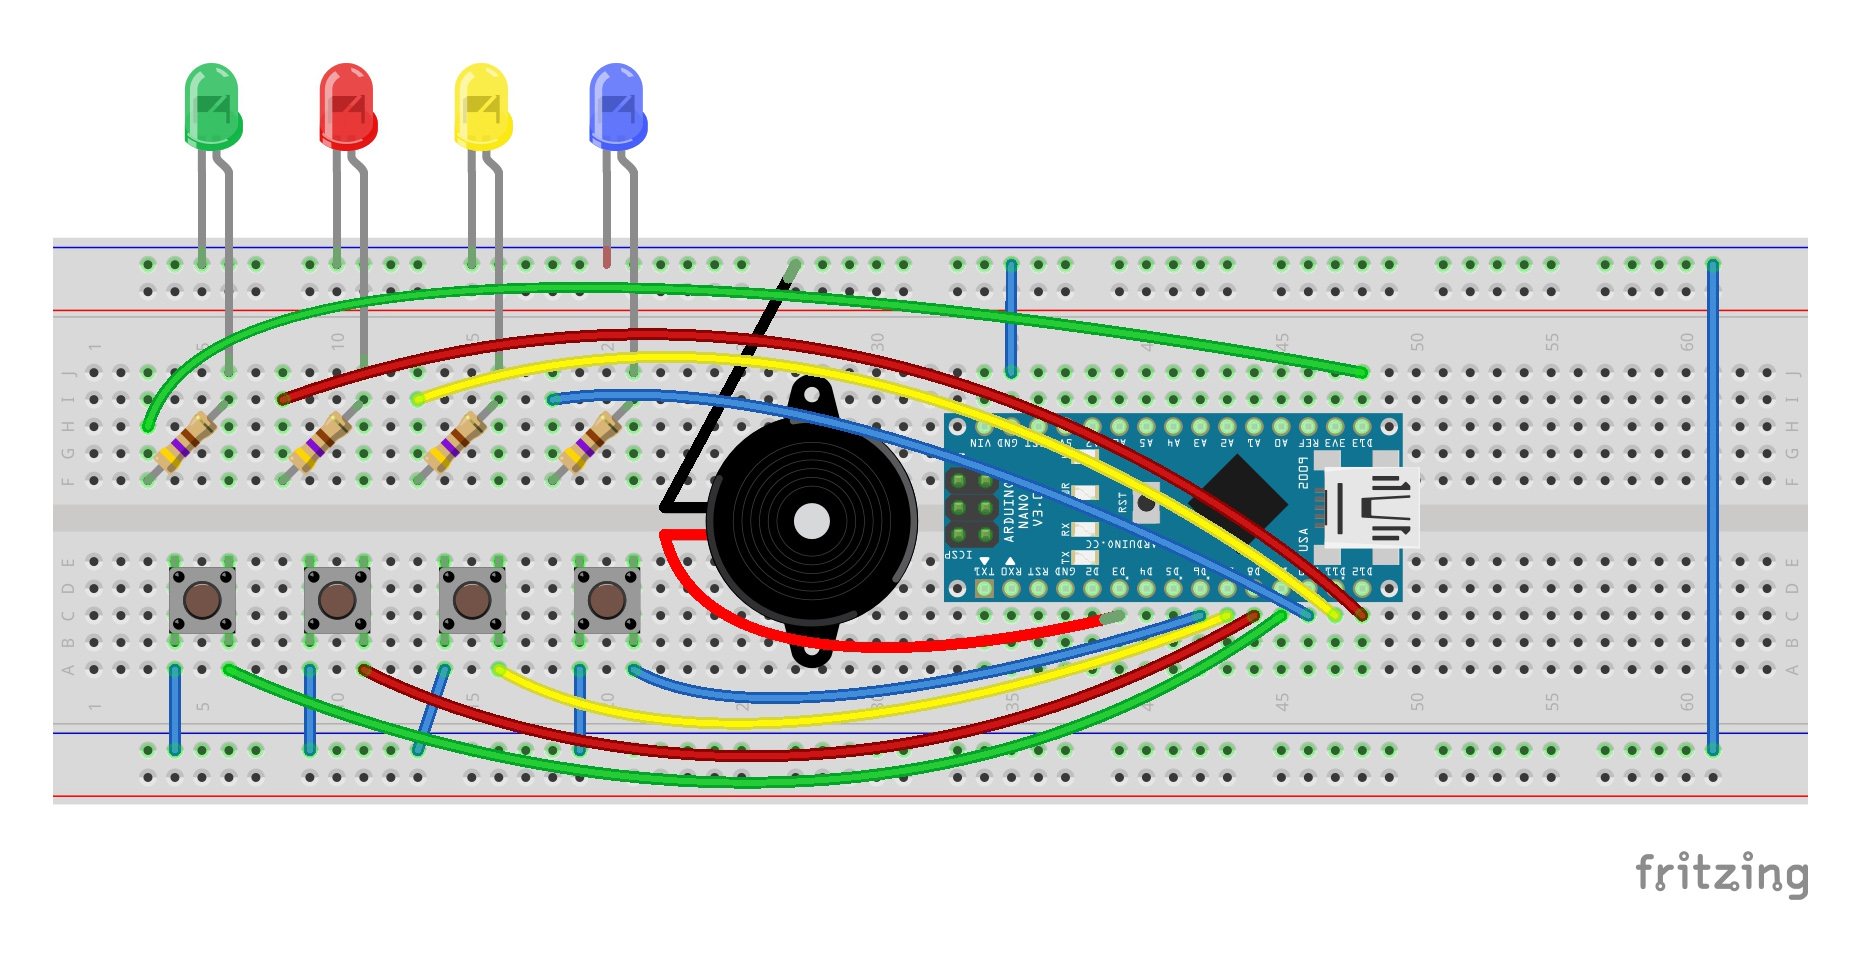
- Connect the LEDs to the ground rail of the breadboard and a column on the breadboard ensuring that the polarity of the LED is properly aligned. The shorter leg (-) should go to ground.
- Connect the 4 resistors from the positive leg of the LEDs to a different column on the breadboard.
- Connect the loose end of the green resistor to pin D13 on the Arduino.
- Connect the loose end of the red resistor to pin D12 on the Arduino.
- Connect the loose end of the yellow resistor to pin D11 on the Arduino.
- Connect the loose end of the blue resistor to pin D10 on the Arduino.
- Connect the 4 push buttons aligning with the 4 LEDs.
- Connect the left leg of the 4 push buttons to the ground rail of the Breadboard.
- Connect the right leg of the green button to pin D9 on the Arduino.
- Connect the right leg of the red button to pin D8 on the Arduino.
- Connect the right leg of the yellow button to pin D7 on the Arduino.
- Connect the right leg of the blue button to pin D6 on the Arduino.
- Connect the negative leg of the buzzer to the ground rail of the breadboard.
- Connect the positive leg of the buzzer to pin D3 on the Arduino.
- Connect the ground pin of the Arduino to the ground rail of the breadboard.
- Bridge the 2 ground rails of the breadboard.
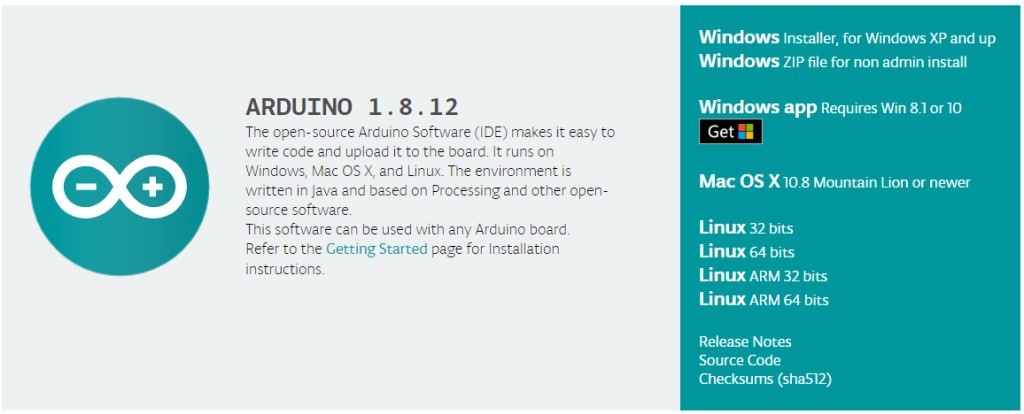
2. Install Arduino IDE
Arduino IDE is what you’ll use to programme your Arduino. You can skip this step if you already have Arduino IDE
- Go to https://www.arduino.cc/en/main/software and download the correct IDE for your operating system, Windows in our case.
- Once downloaded, install the package by opening it and following any prompts.
- After installation, you will be presented with a window containing a blank “sketch” which is an Arduino program.
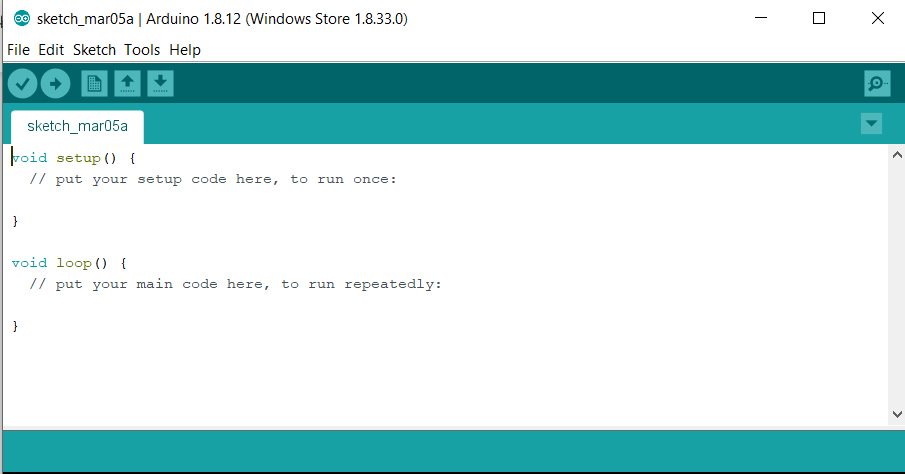
- On the main menu of Arduino IDE, go to Tools>Board and select Arduino Nano.
3. Programme the Arduino
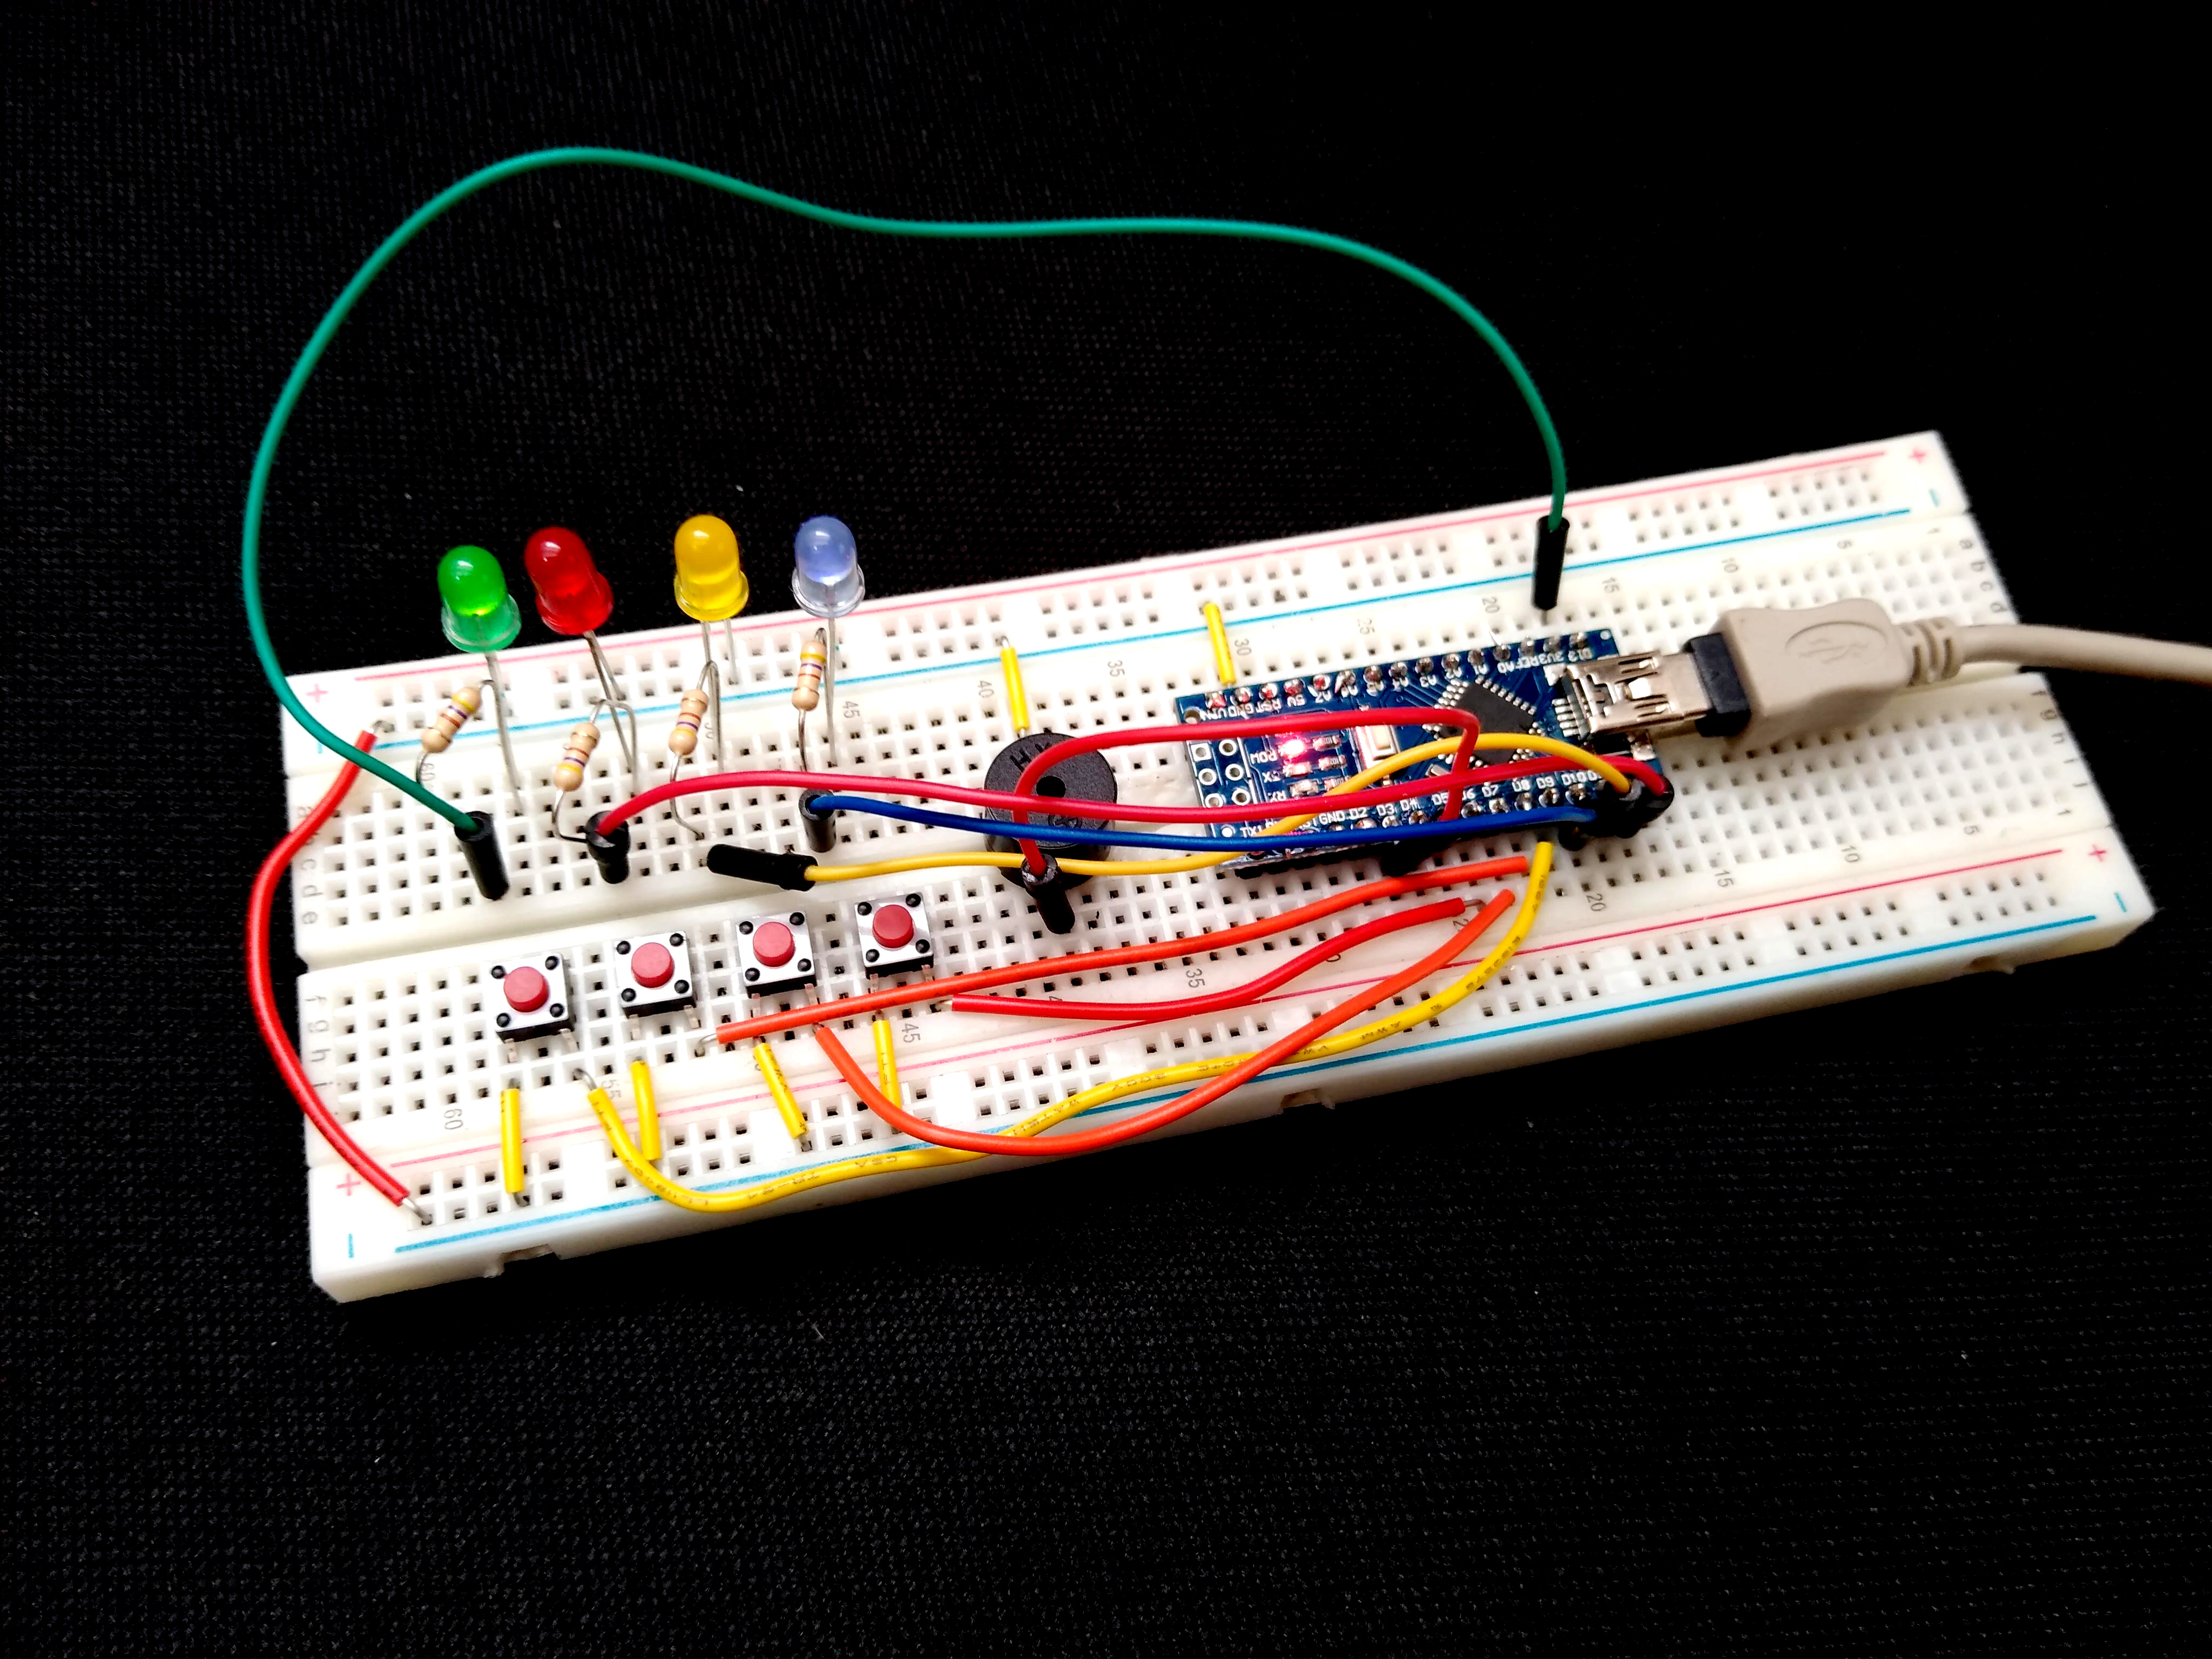
- Connect the Arduino to your host computer using the mini USB cable.
- Paste the following code into the IDE window replacing whatever’s already there.
const int MAX_LEVEL = 100;
int sequence[MAX_LEVEL];
int sound[MAX_LEVEL];
int gamer_sequence[MAX_LEVEL];
int level = 1;
int note = 0;
int velocity = 1000;

void setup() {

  Serial.begin(9600);


  pinMode(13, OUTPUT); //green led
  pinMode(12, OUTPUT); //red led
  pinMode(11, OUTPUT); //yellow led
  pinMode(10, OUTPUT); //blue led

  pinMode(9, INPUT_PULLUP); //button 1 green
  pinMode(8, INPUT_PULLUP); //button 2 red
  pinMode(7, INPUT_PULLUP); //button 3 yellow
  pinMode(6, INPUT_PULLUP); //button 4 blue

  pinMode(3, OUTPUT); //buzzer
}

void loop() {
  if (level == 1) {
    generate_sequence();

    for (int i = 13; i >= 10; i--) { //flashing leds sequence
      digitalWrite(i, HIGH);
      delay(60);
      digitalWrite(i, LOW);
    }
  }

  if (digitalRead(9) == LOW || level != 1) { //start button
    show_sequence();
    get_sequence();
  }
}

void generate_sequence() {
  randomSeed(millis()); //true random

  for (int i = 0; i < MAX_LEVEL; i++) {
    sequence[i] = random(10, 14);

    switch (sequence[i]) { //convert color to sound
      case 10:
        note = 349; //Fa
        break;
      case 11:
        note = 329; //Mi
        break;
      case 12:
        note = 293; //Re
        break;
      case 13:
        note = 261; //Do
        break;
    }
    sound[i] = note;
  }
}

void show_sequence() {
  digitalWrite(13, LOW);
  digitalWrite(12, LOW);
  digitalWrite(11, LOW);
  digitalWrite(10, LOW);

  for (int i = 0; i < level; i++) {
    digitalWrite(sequence[i], HIGH);
    tone(3, sound[i]);
    delay(velocity);
    digitalWrite(sequence[i], LOW);
    noTone(3);
    delay(200);
  }
}

void get_sequence() {
  int flag = 0; //flag correct sequence

  for (int i = 0; i < level; i++) {
    flag = 0;

    while (flag == 0) {

      if (digitalRead(9) == LOW) {
        digitalWrite(13, HIGH);
        tone(3, 261); //Do
        delay(velocity);
        noTone(3);
        gamer_sequence[i] = 13;
        flag = 1;
        delay(200);

        if (gamer_sequence[i] != sequence[i]) {
          wrong_sequence();
          return;
        }
        digitalWrite(13, LOW);
      }

      if (digitalRead(8) == LOW) {
        digitalWrite(12, HIGH);
        tone(3, 293); //Re
        delay(velocity);
        noTone(3);
        gamer_sequence[i] = 12;
        flag = 1;
        delay(200);

        if (gamer_sequence[i] != sequence[i]) {
          wrong_sequence();
          return;
        }
        digitalWrite(12, LOW);
      }

      if (digitalRead(7) == LOW) {
        digitalWrite(11, HIGH);
        tone(3, 329); //Mi
        delay(velocity);
        noTone(3);
        gamer_sequence[i] = 11;
        flag = 1;
        delay(200);

        if (gamer_sequence[i] != sequence[i]) {
          wrong_sequence();
          return;
        }
        digitalWrite(11, LOW);
      }

      if (digitalRead(6) == LOW) {
        digitalWrite(10, HIGH);
        tone(3, 349); //Fa
        delay(velocity);
        noTone(3);
        gamer_sequence[i] = 10;
        flag = 1;
        delay(200);

        if (gamer_sequence[i] != sequence[i]) {
          wrong_sequence();
          return;
        }
        digitalWrite(10, LOW);
      }
    }
  }
  right_sequence();
}

void right_sequence() {
  digitalWrite(13, LOW);
  digitalWrite(12, LOW);
  digitalWrite(11, LOW);
  digitalWrite(10, LOW);
  delay(250);

  digitalWrite(13, HIGH);
  digitalWrite(12, HIGH);
  digitalWrite(11, HIGH);
  digitalWrite(10, HIGH);
  delay(500);

  digitalWrite(13, LOW);
  digitalWrite(12, LOW);
  digitalWrite(11, LOW);
  digitalWrite(10, LOW);
  delay(500);

  if (level < MAX_LEVEL) {
    level++;
  }
  velocity -= 50; //increases difficulty
}

void wrong_sequence() {
  for (int i = 0; i < 3; i++) {
    digitalWrite(13, HIGH);
    digitalWrite(12, HIGH);
    digitalWrite(11, HIGH);
    digitalWrite(10, HIGH);
    tone(3, 233);
    delay(250);

    digitalWrite(13, LOW);
    digitalWrite(12, LOW);
    digitalWrite(11, LOW);
    digitalWrite(10, LOW);
    noTone(3);
    delay(250);
  }
  level = 1;
  velocity = 500;
}- In the IDE menu go to Tools>Port and select the USB port.
- Upload the sketch to your Arduino by clicking on the right-pointing arrow button on the top of the IDE.
That’s it, your Simon says should be ready to go!
4. Play
Playing the game is simple. After booting the LEDs will flash in sequence.
- Press button 1 (green) to start a game.
- An increasingly growing sequence of sound and light will start to play, simply repeat it.
Enjoy!
Like what you read? Why not show your appreciation by giving some love.
From a quick tap to smashing that love button and show how much you enjoyed this project.

