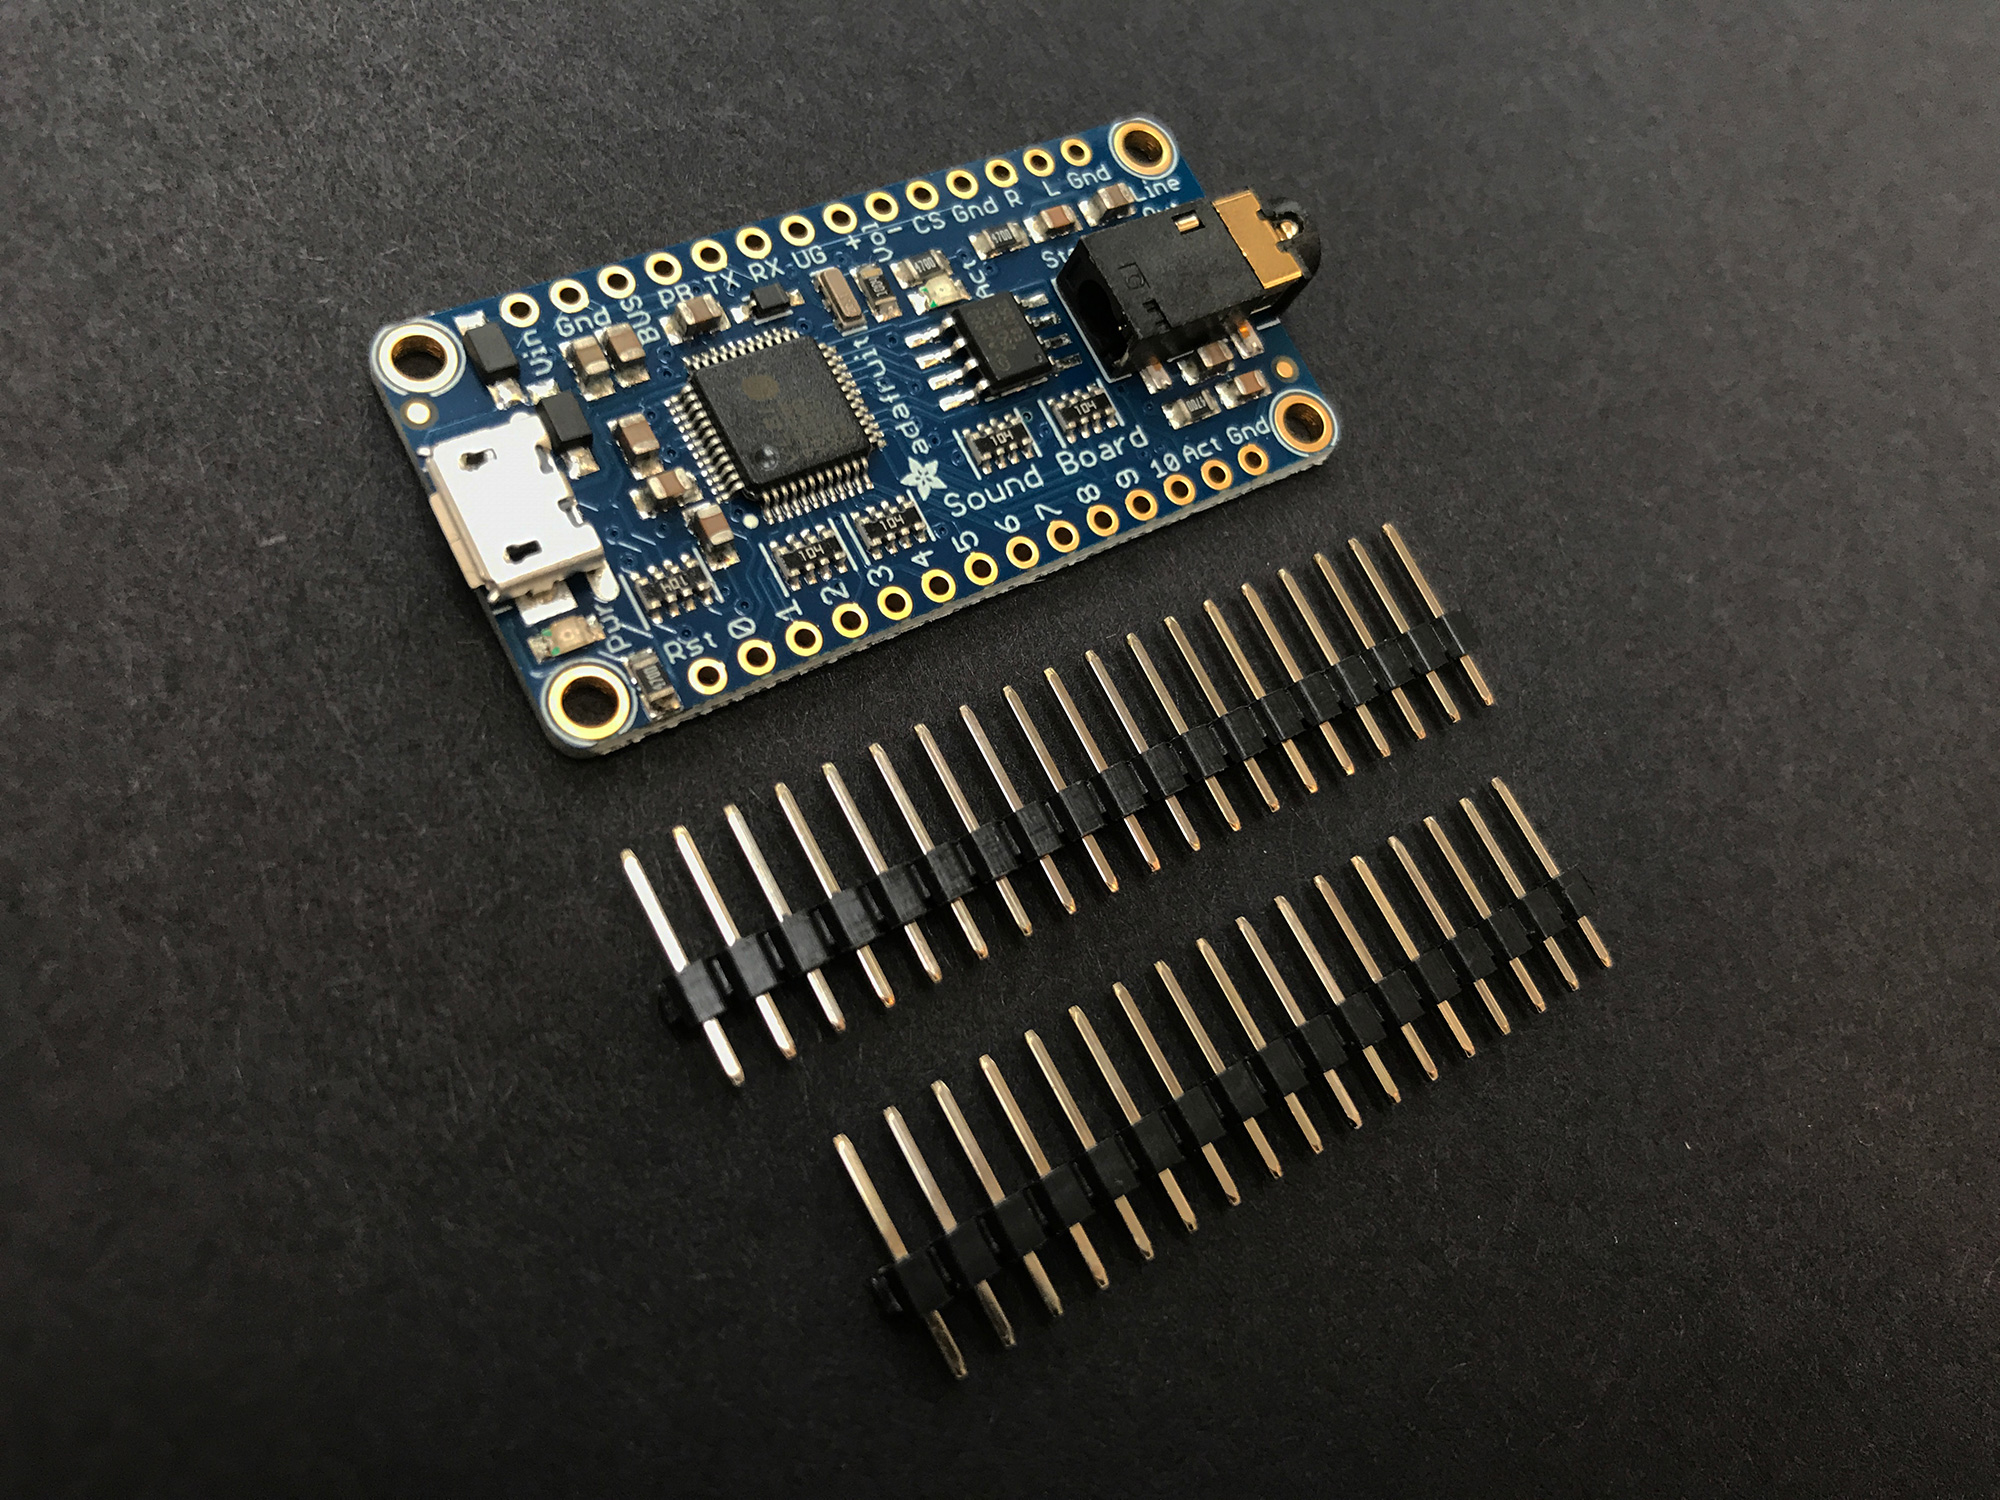
Ever wished you could have musical stairs which play sound effects or work as a piano? This project uses the amazing Adafruit Audio FX Sound Board which doesn’t require any programming, making it really accessible for makers of all ages and abilities.
We’ll show you how to make low-tech pressure pad switches to trigger sounds. The Sound Board has 2MB of built-in storage which you load with sound effects via USB just like a USB flash drive. The built-in storage is good for a few minutes of compressed stereo audio, and maybe half a minute of uncompressed stereo. You can double this if you use mono instead of stereo.
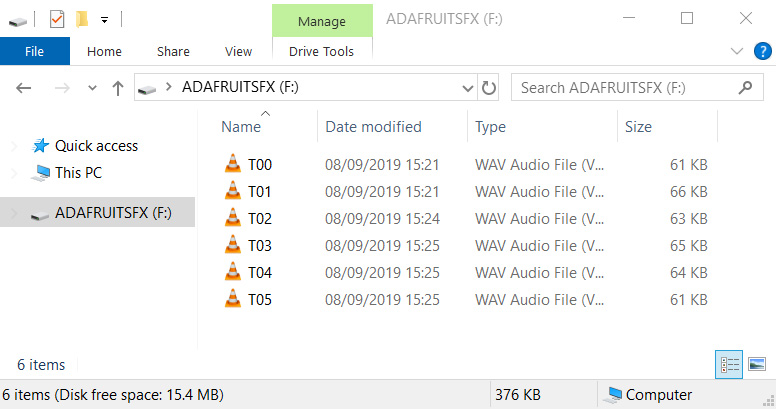
You can create your own sounds, the board can play either uncompressed WAV files or compressed audio files in the Ogg Vorbis format. We recommend using Ogg Vorbis files for longer audio files. The decoding hardware can handle any bit/sample rate and either mono or stereo audio. Audacity is free and a great way to create and edit your own sounds. The Sound Board has 11 trigger pins (numbered #0 to #10), which means you can connect up to 11 buttons or switches, with each one triggering a different audio file. You can control how the sounds are triggered and which pins trigger them by how you name each file. Depending on the project you may need to play audio in different ways: Basic Trigger – The audio file will play when the matching trigger pin is connected to ground momentarily. Name the file TnnX.WAV (or.OGG) where “X” is the pin number you want to allocate the sound to. Hold Looping Trigger -The audio will play while the trigger pin is held low, it will loop until the pin is released. Name the file TnnXHOLDL.WAV (or .OGG) Latching Loop Trigger – The audio will start playing when the button is pressed once and repeats until the button is pressed again. Name the file TnnXLATCH.WAV (or .OGG) Play Next Trigger – Have up to 10 files play one after the other by naming them TnnNEXTX.WAV up to TnnNEXTX.WAV (or .OGG). It will start with #0 and each time the button is momentarily pressed, it will play the next sound until it gets through all of them, then it will go back to #0. Play Random Trigger – Like the Play Next trigger, but it will play up to 10 files in random order TnnRANDX.WAV up to TnnRANDX.WAV (or .OGG) every time the button is pressed momentarily. For this project we’ll use the Basic Trigger, renaming our files to T00, T01, T02 etc. To ensure that our pressure pad steps don’t get set off repeatedly, we have added 3 seconds of silence to the end of each audio file – You will most likely want to do the same. Once you have created and named your sounds appropriately, do the following:
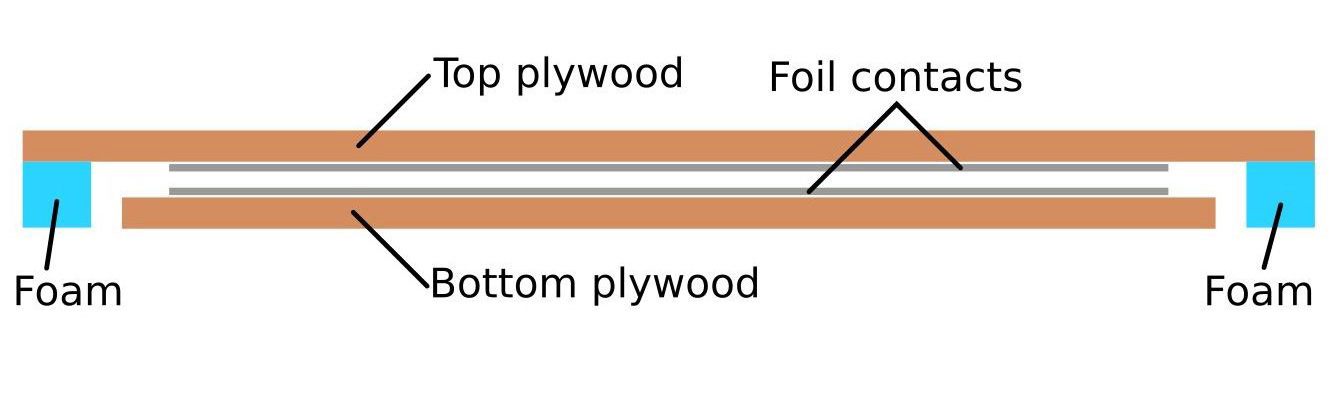
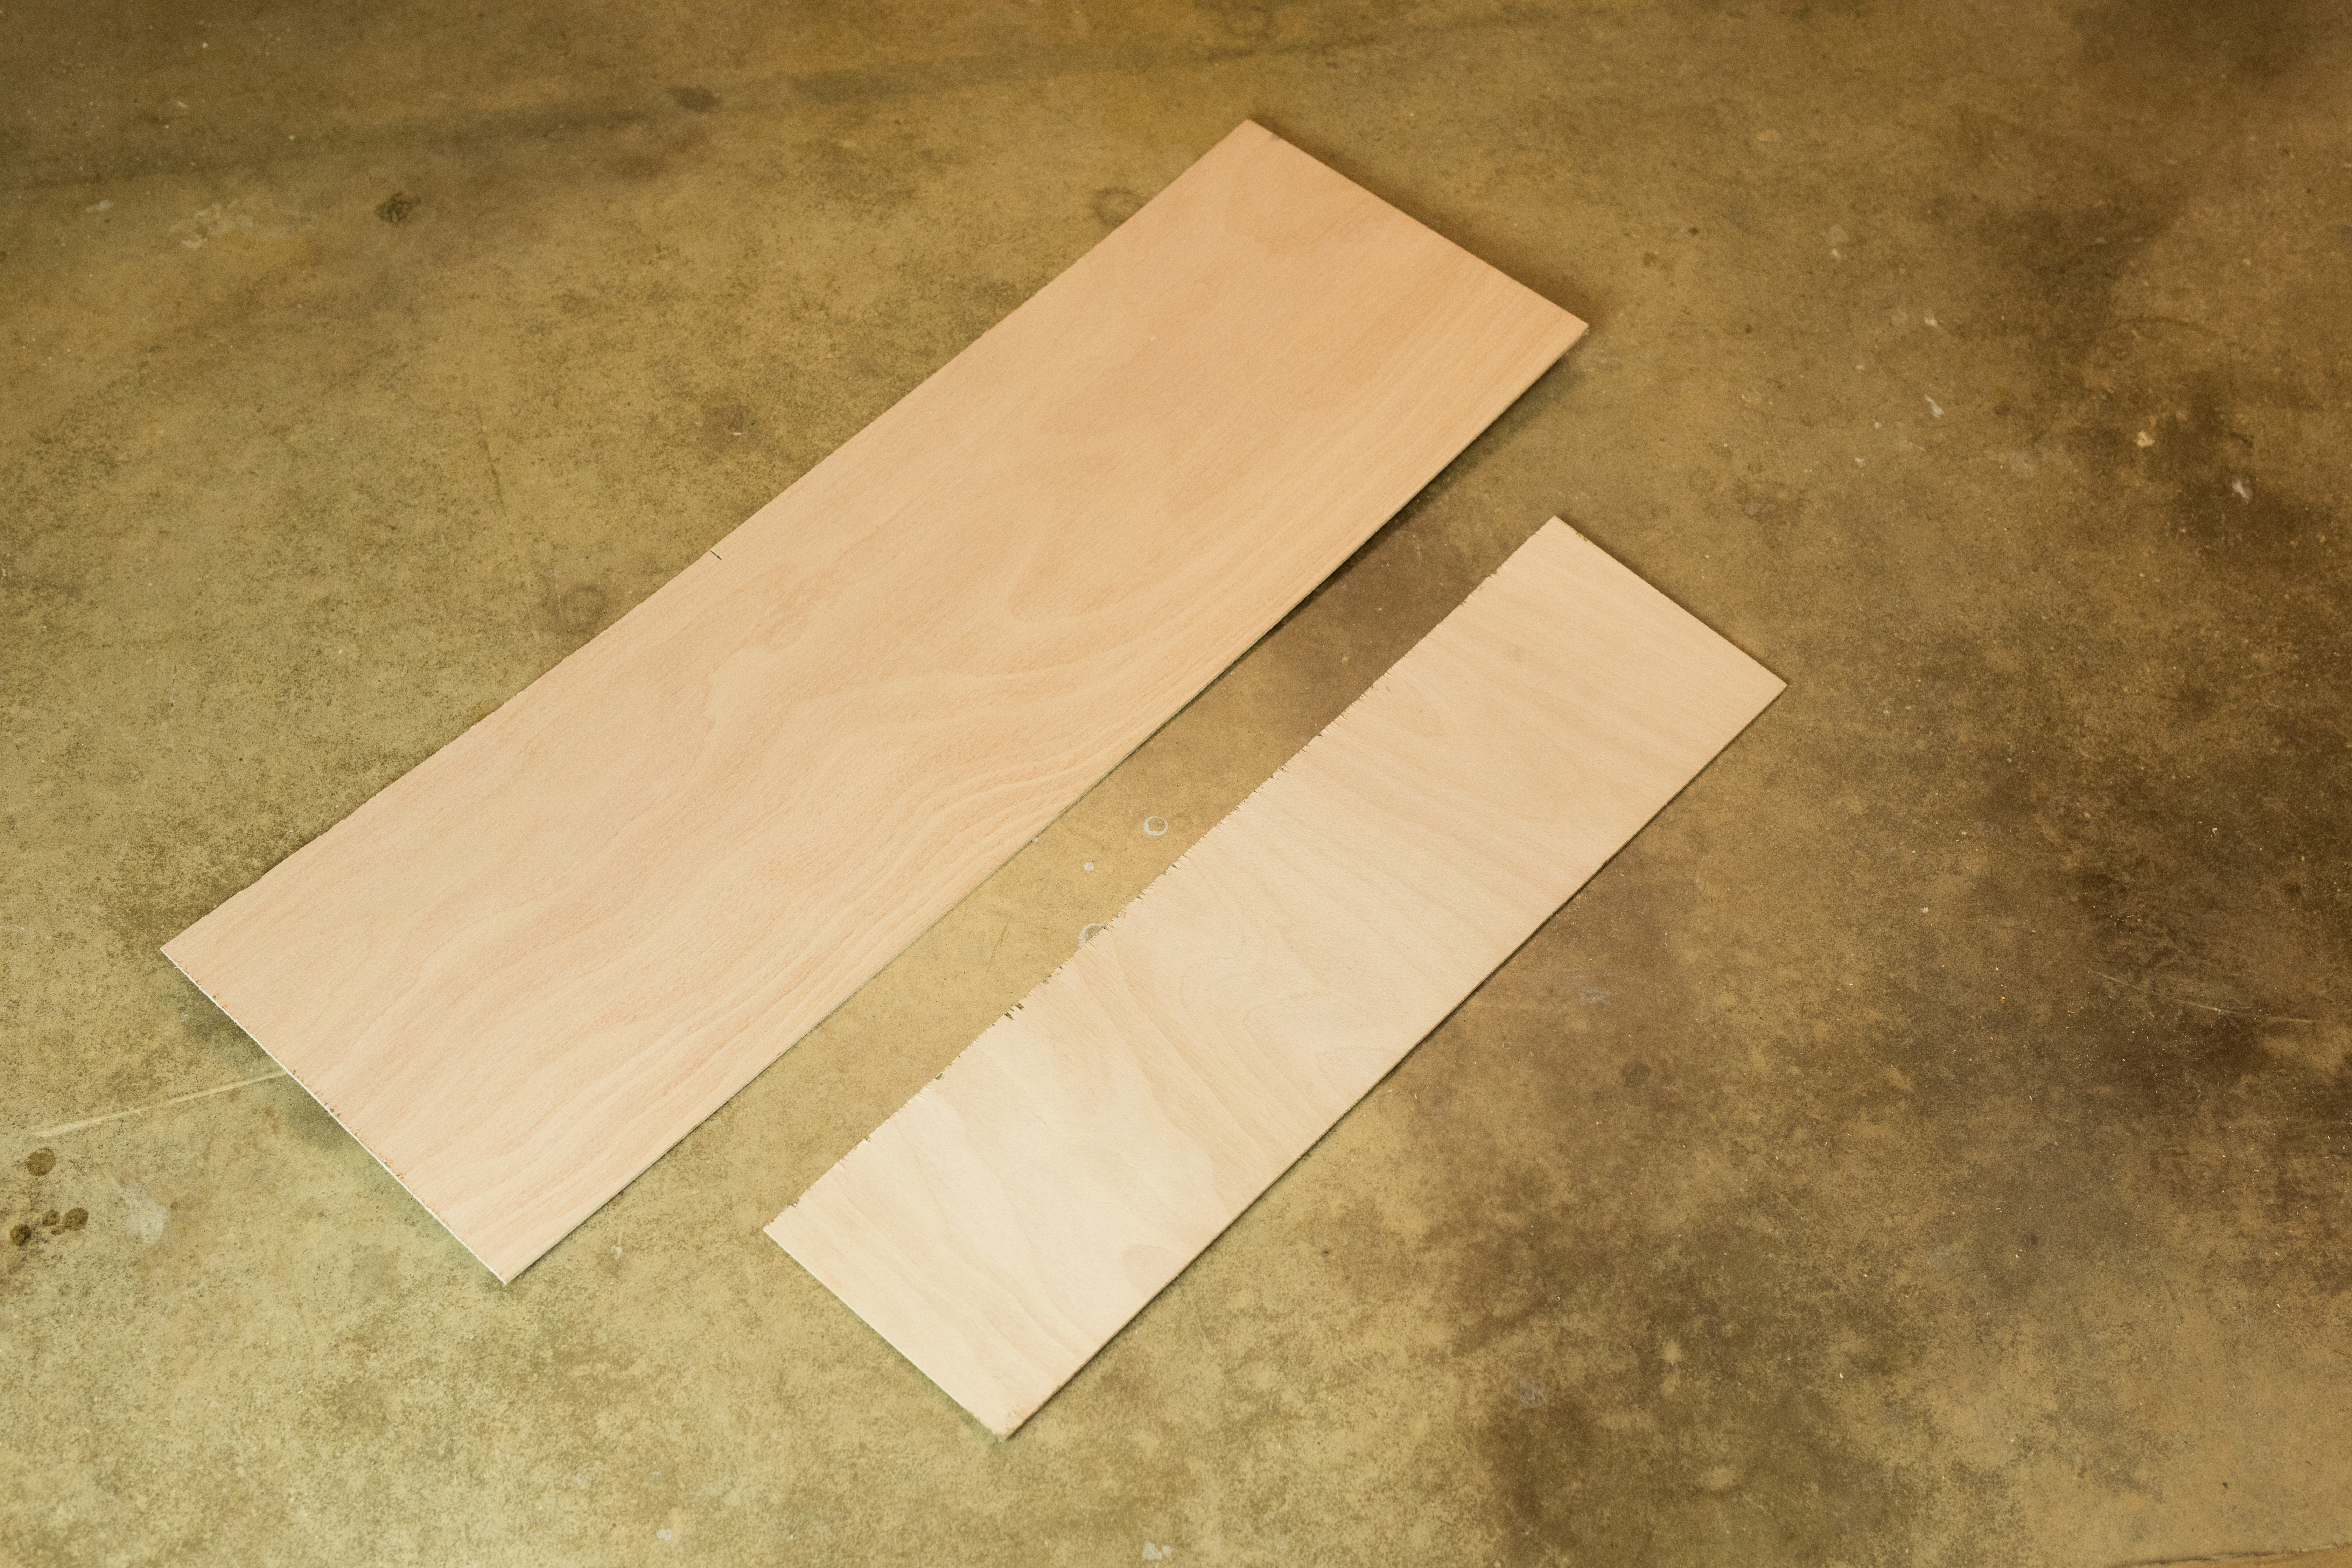
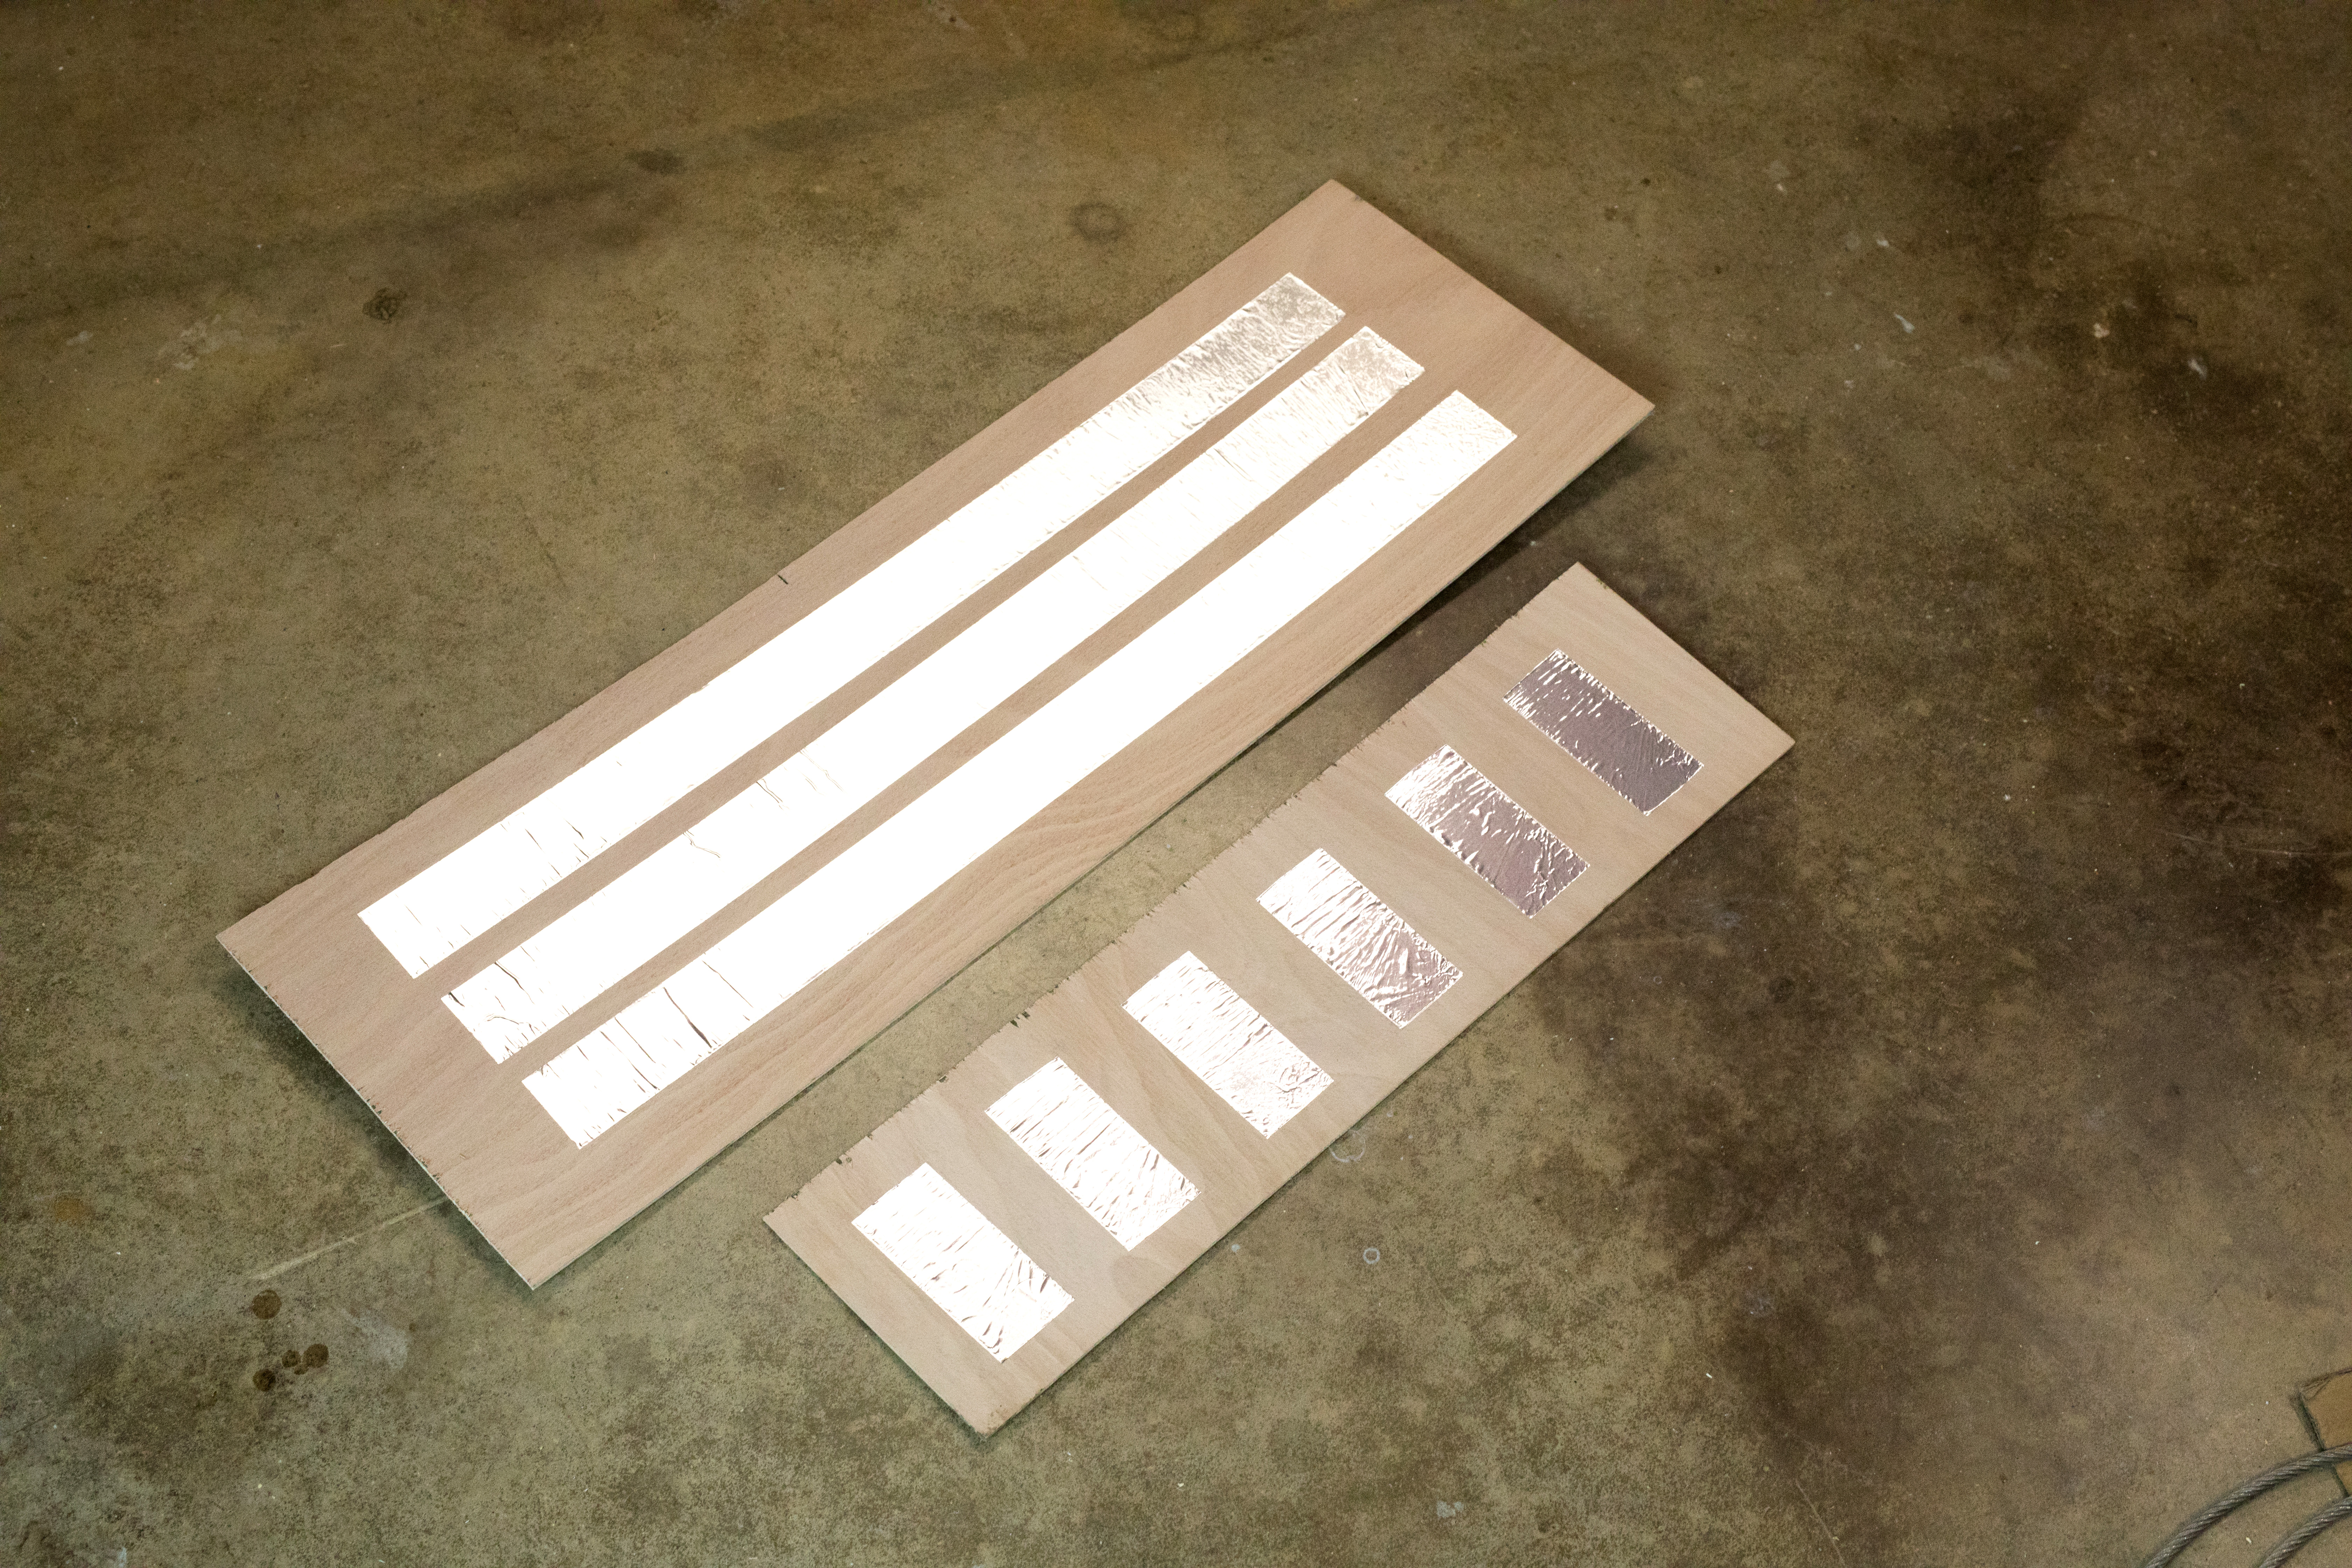
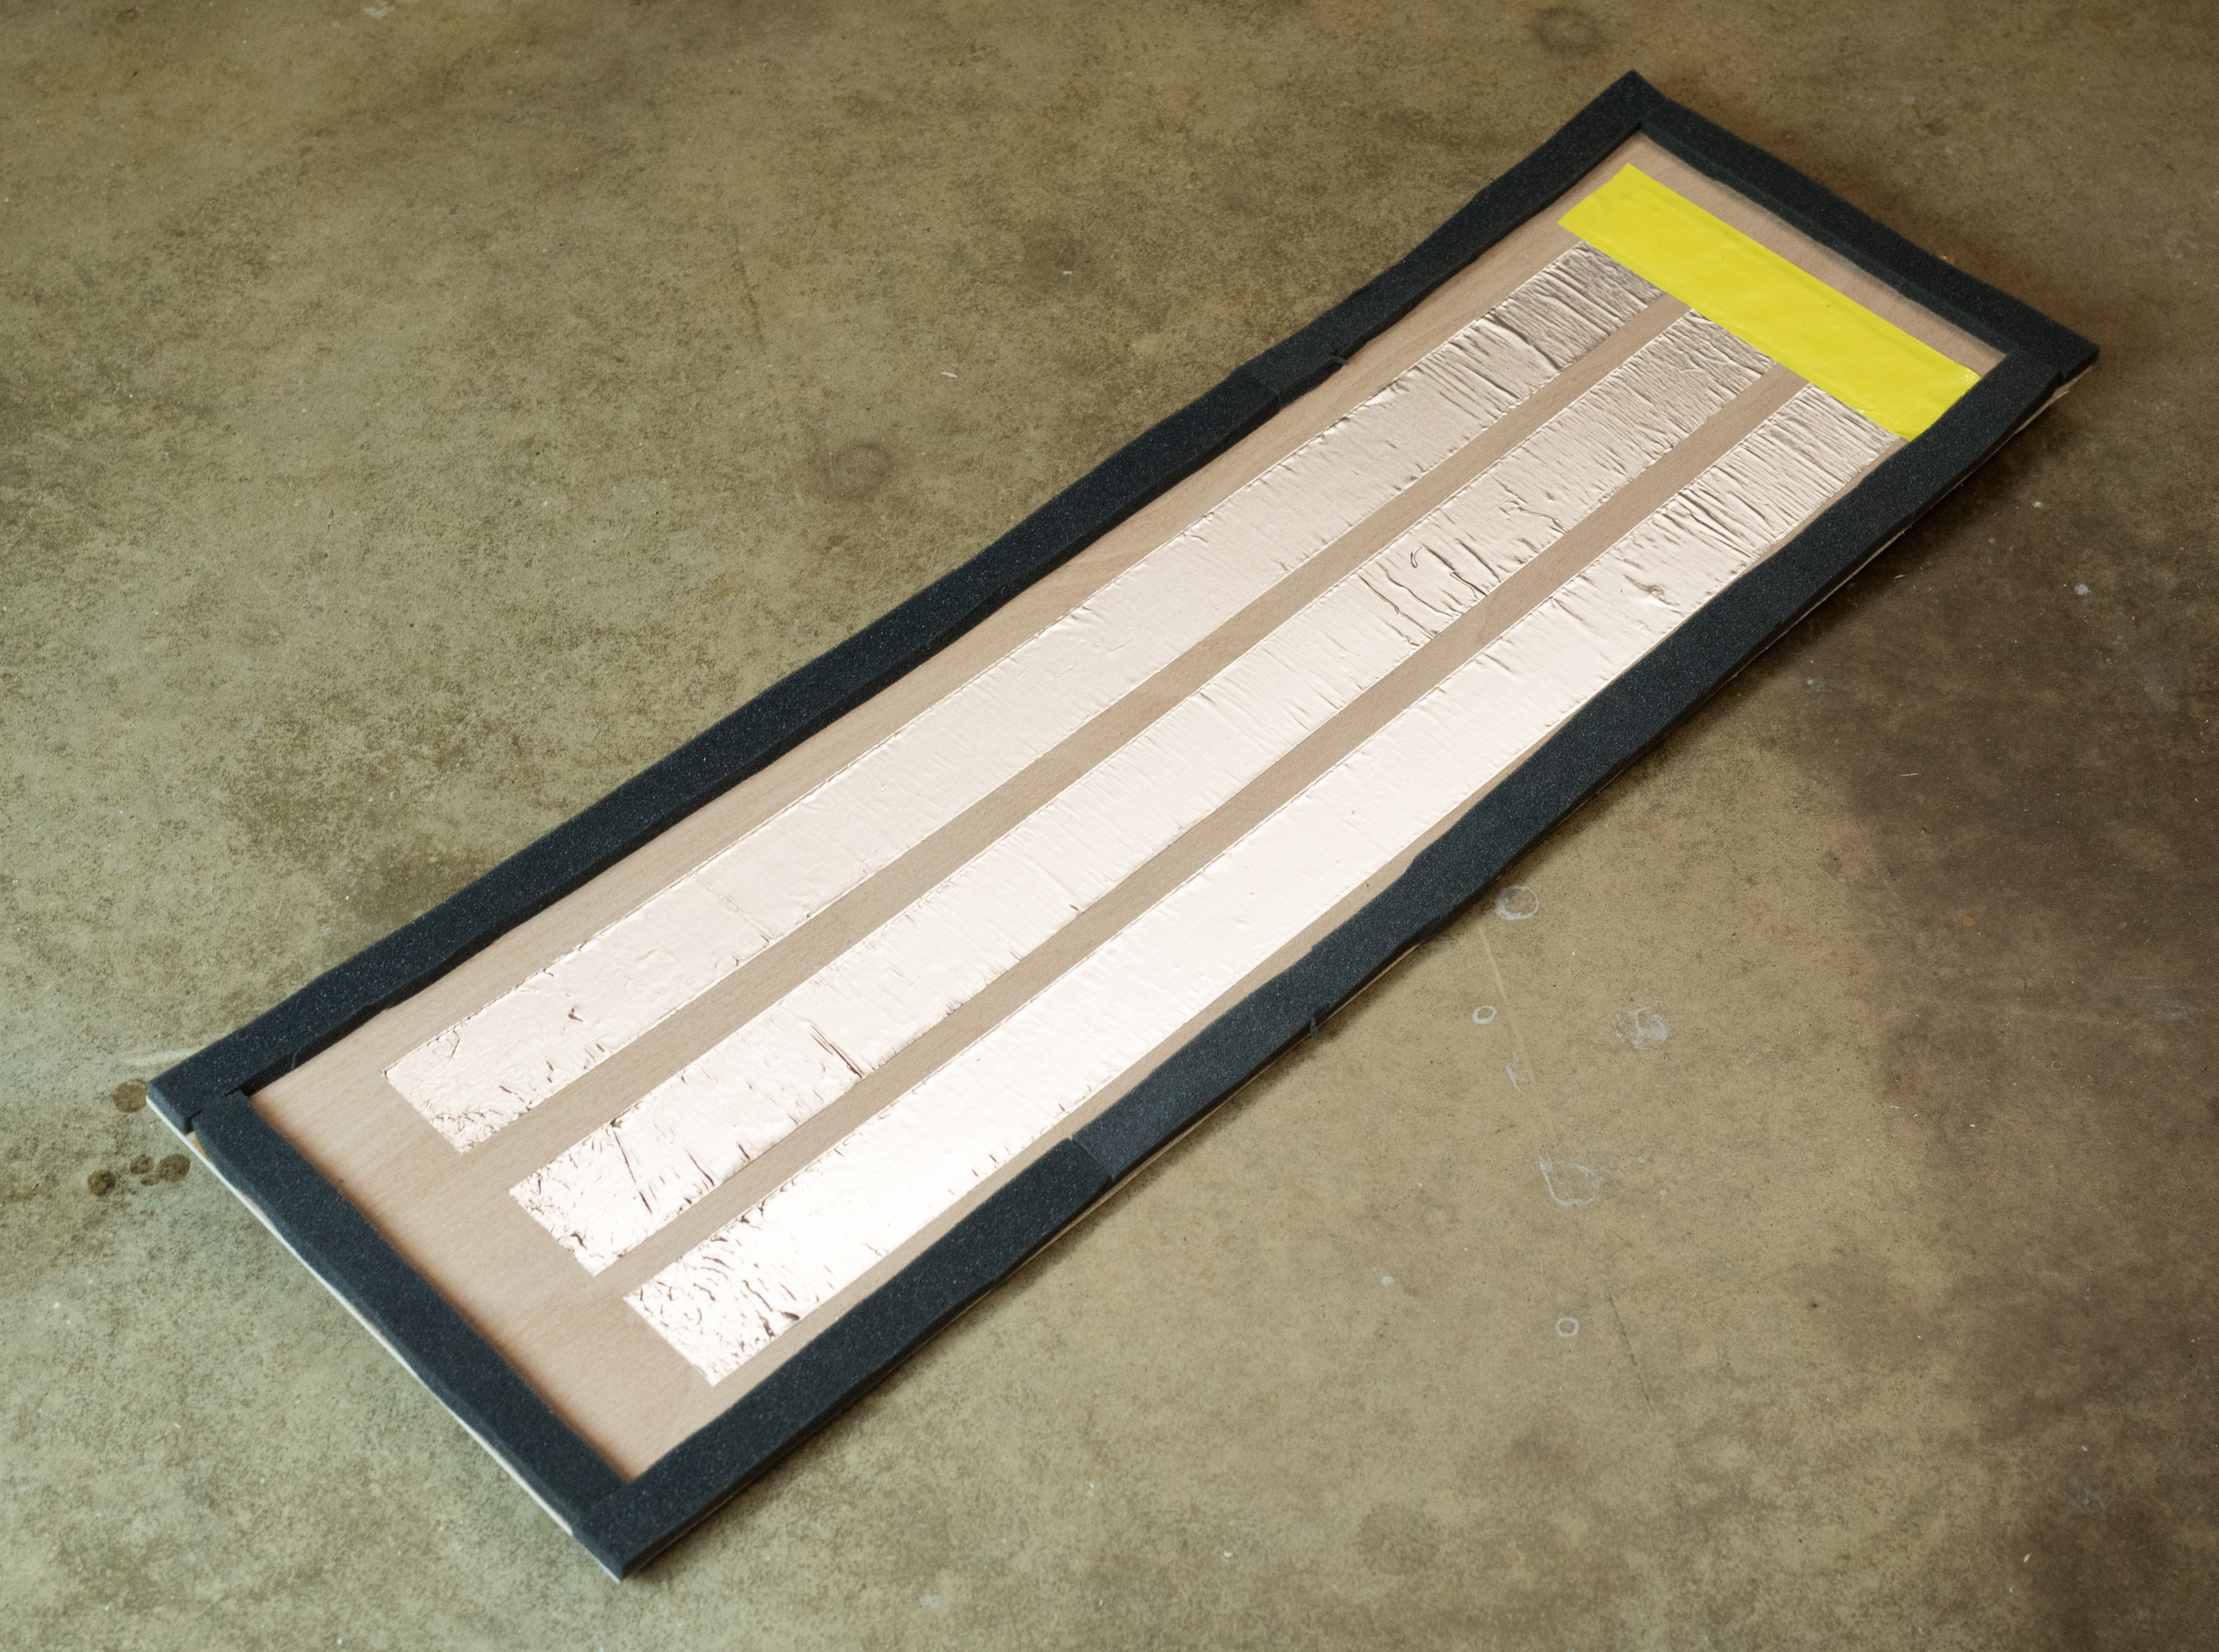
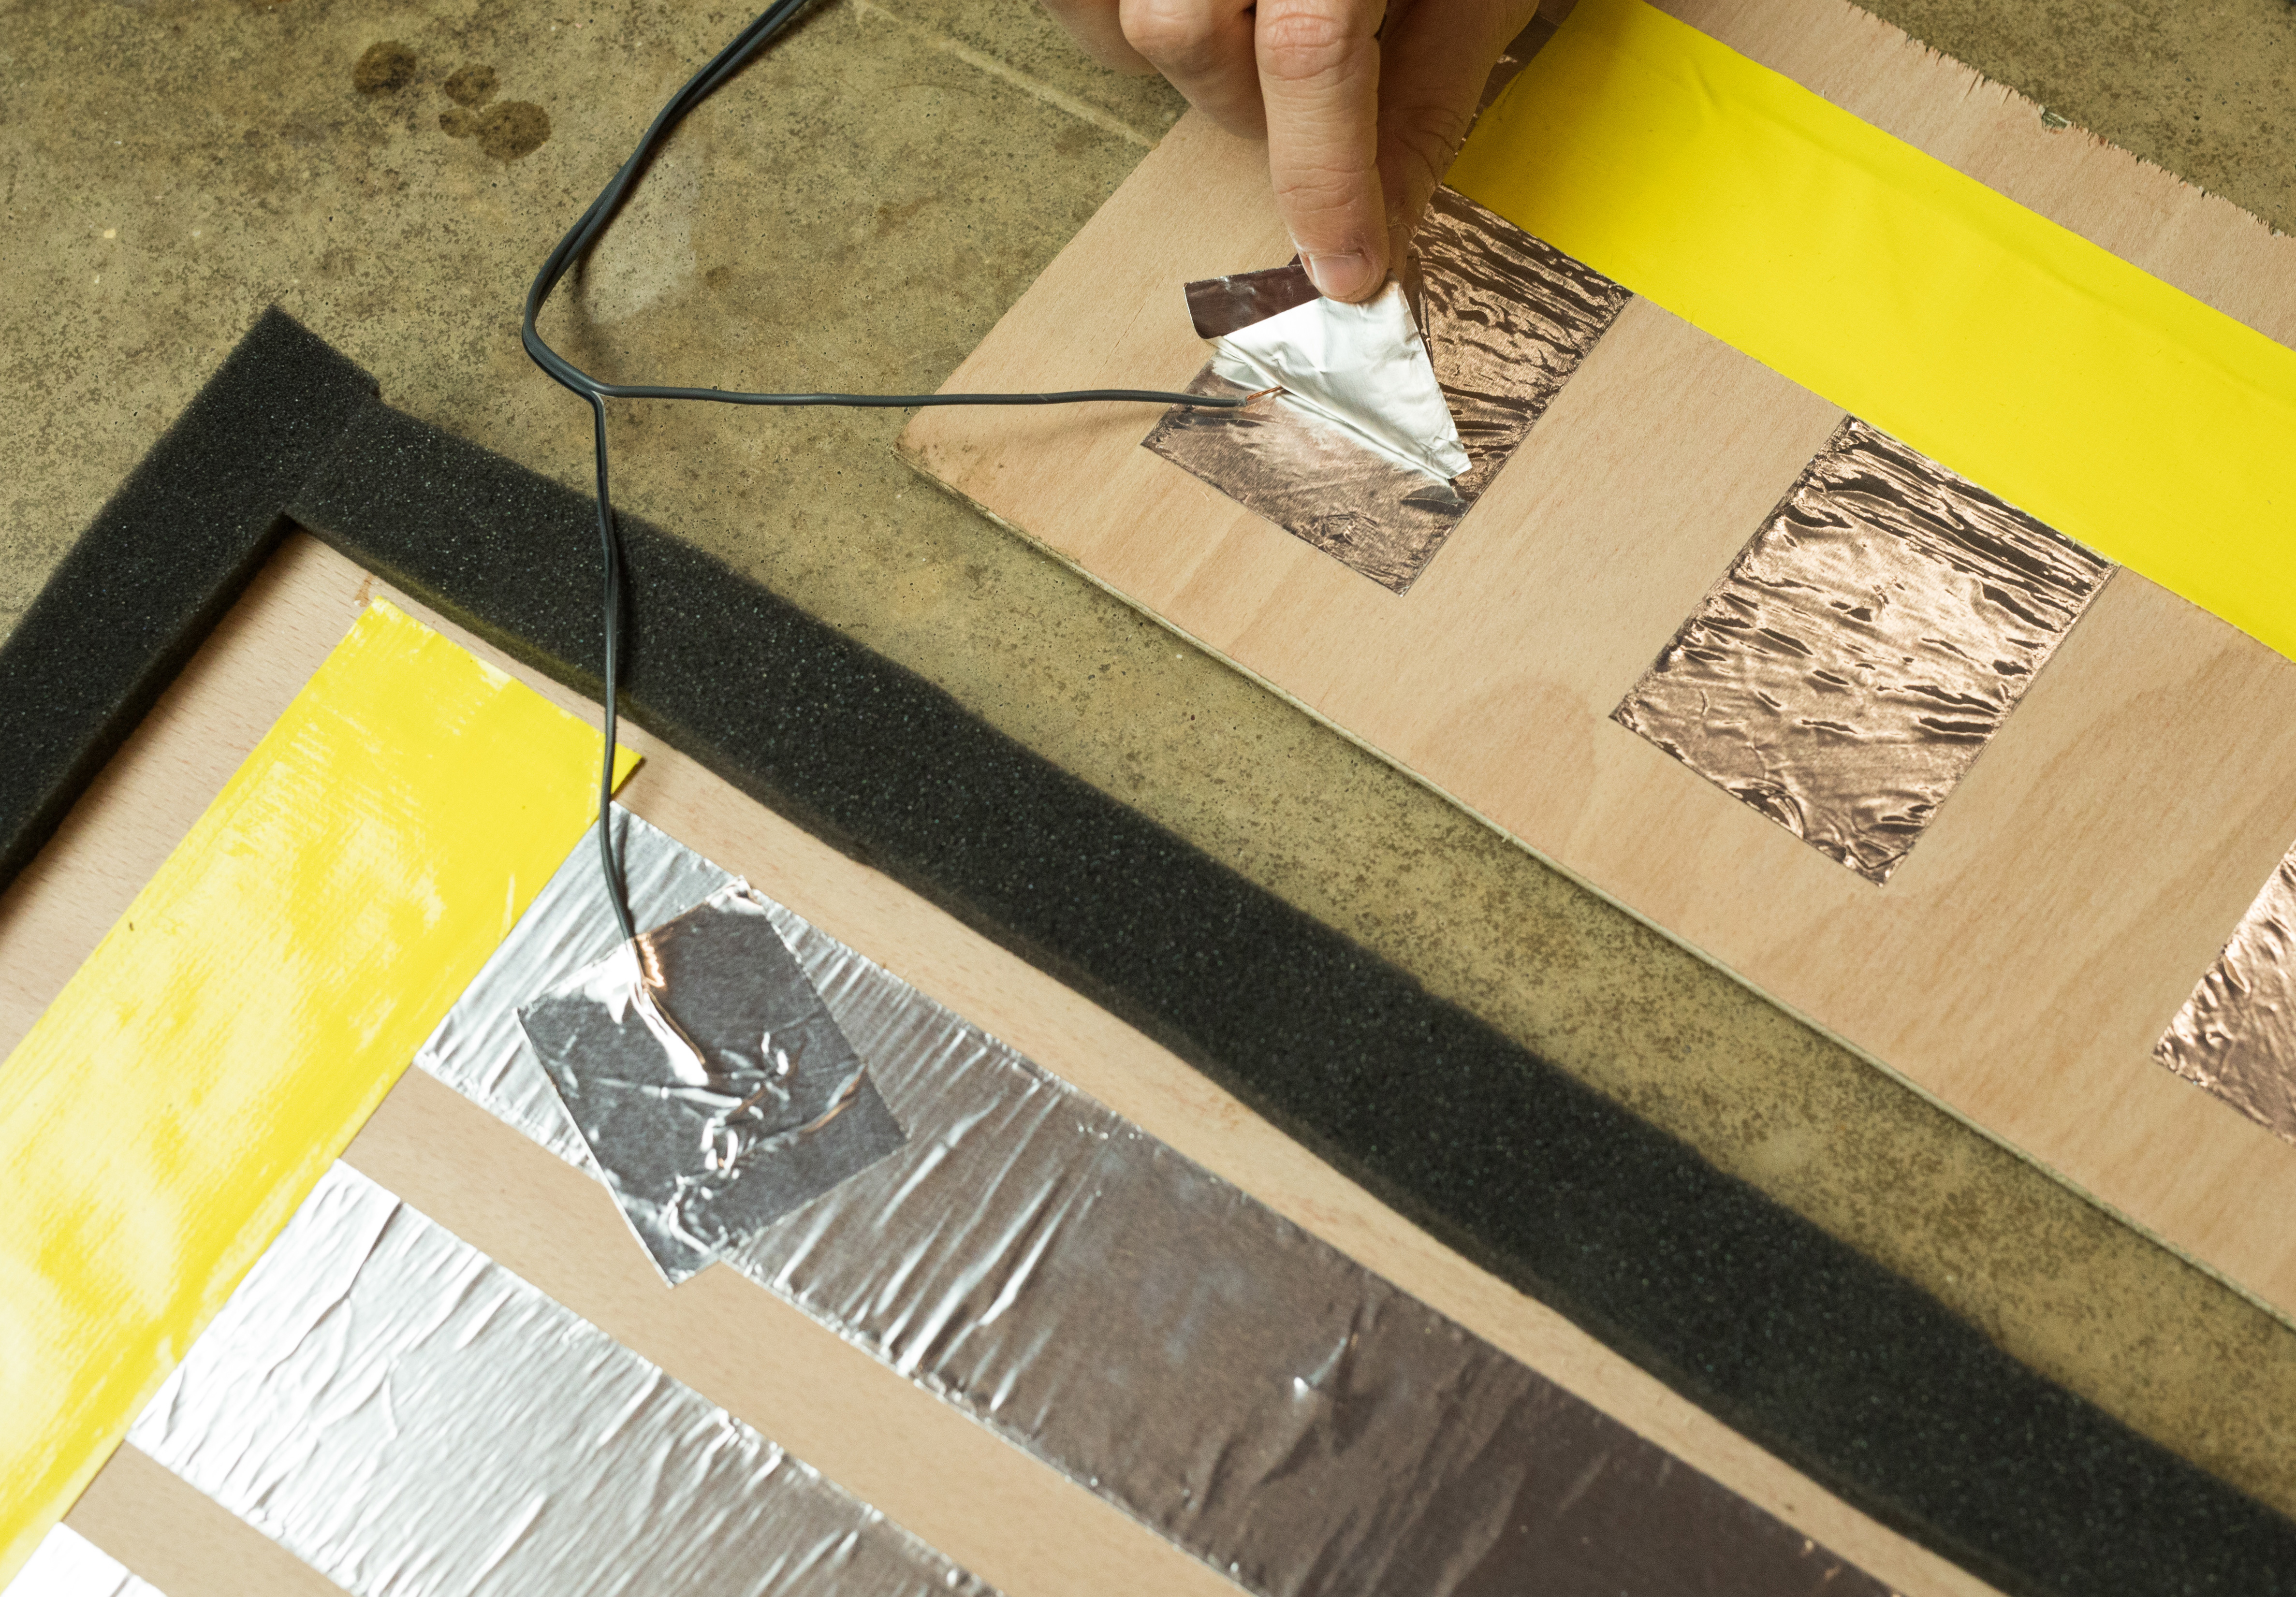
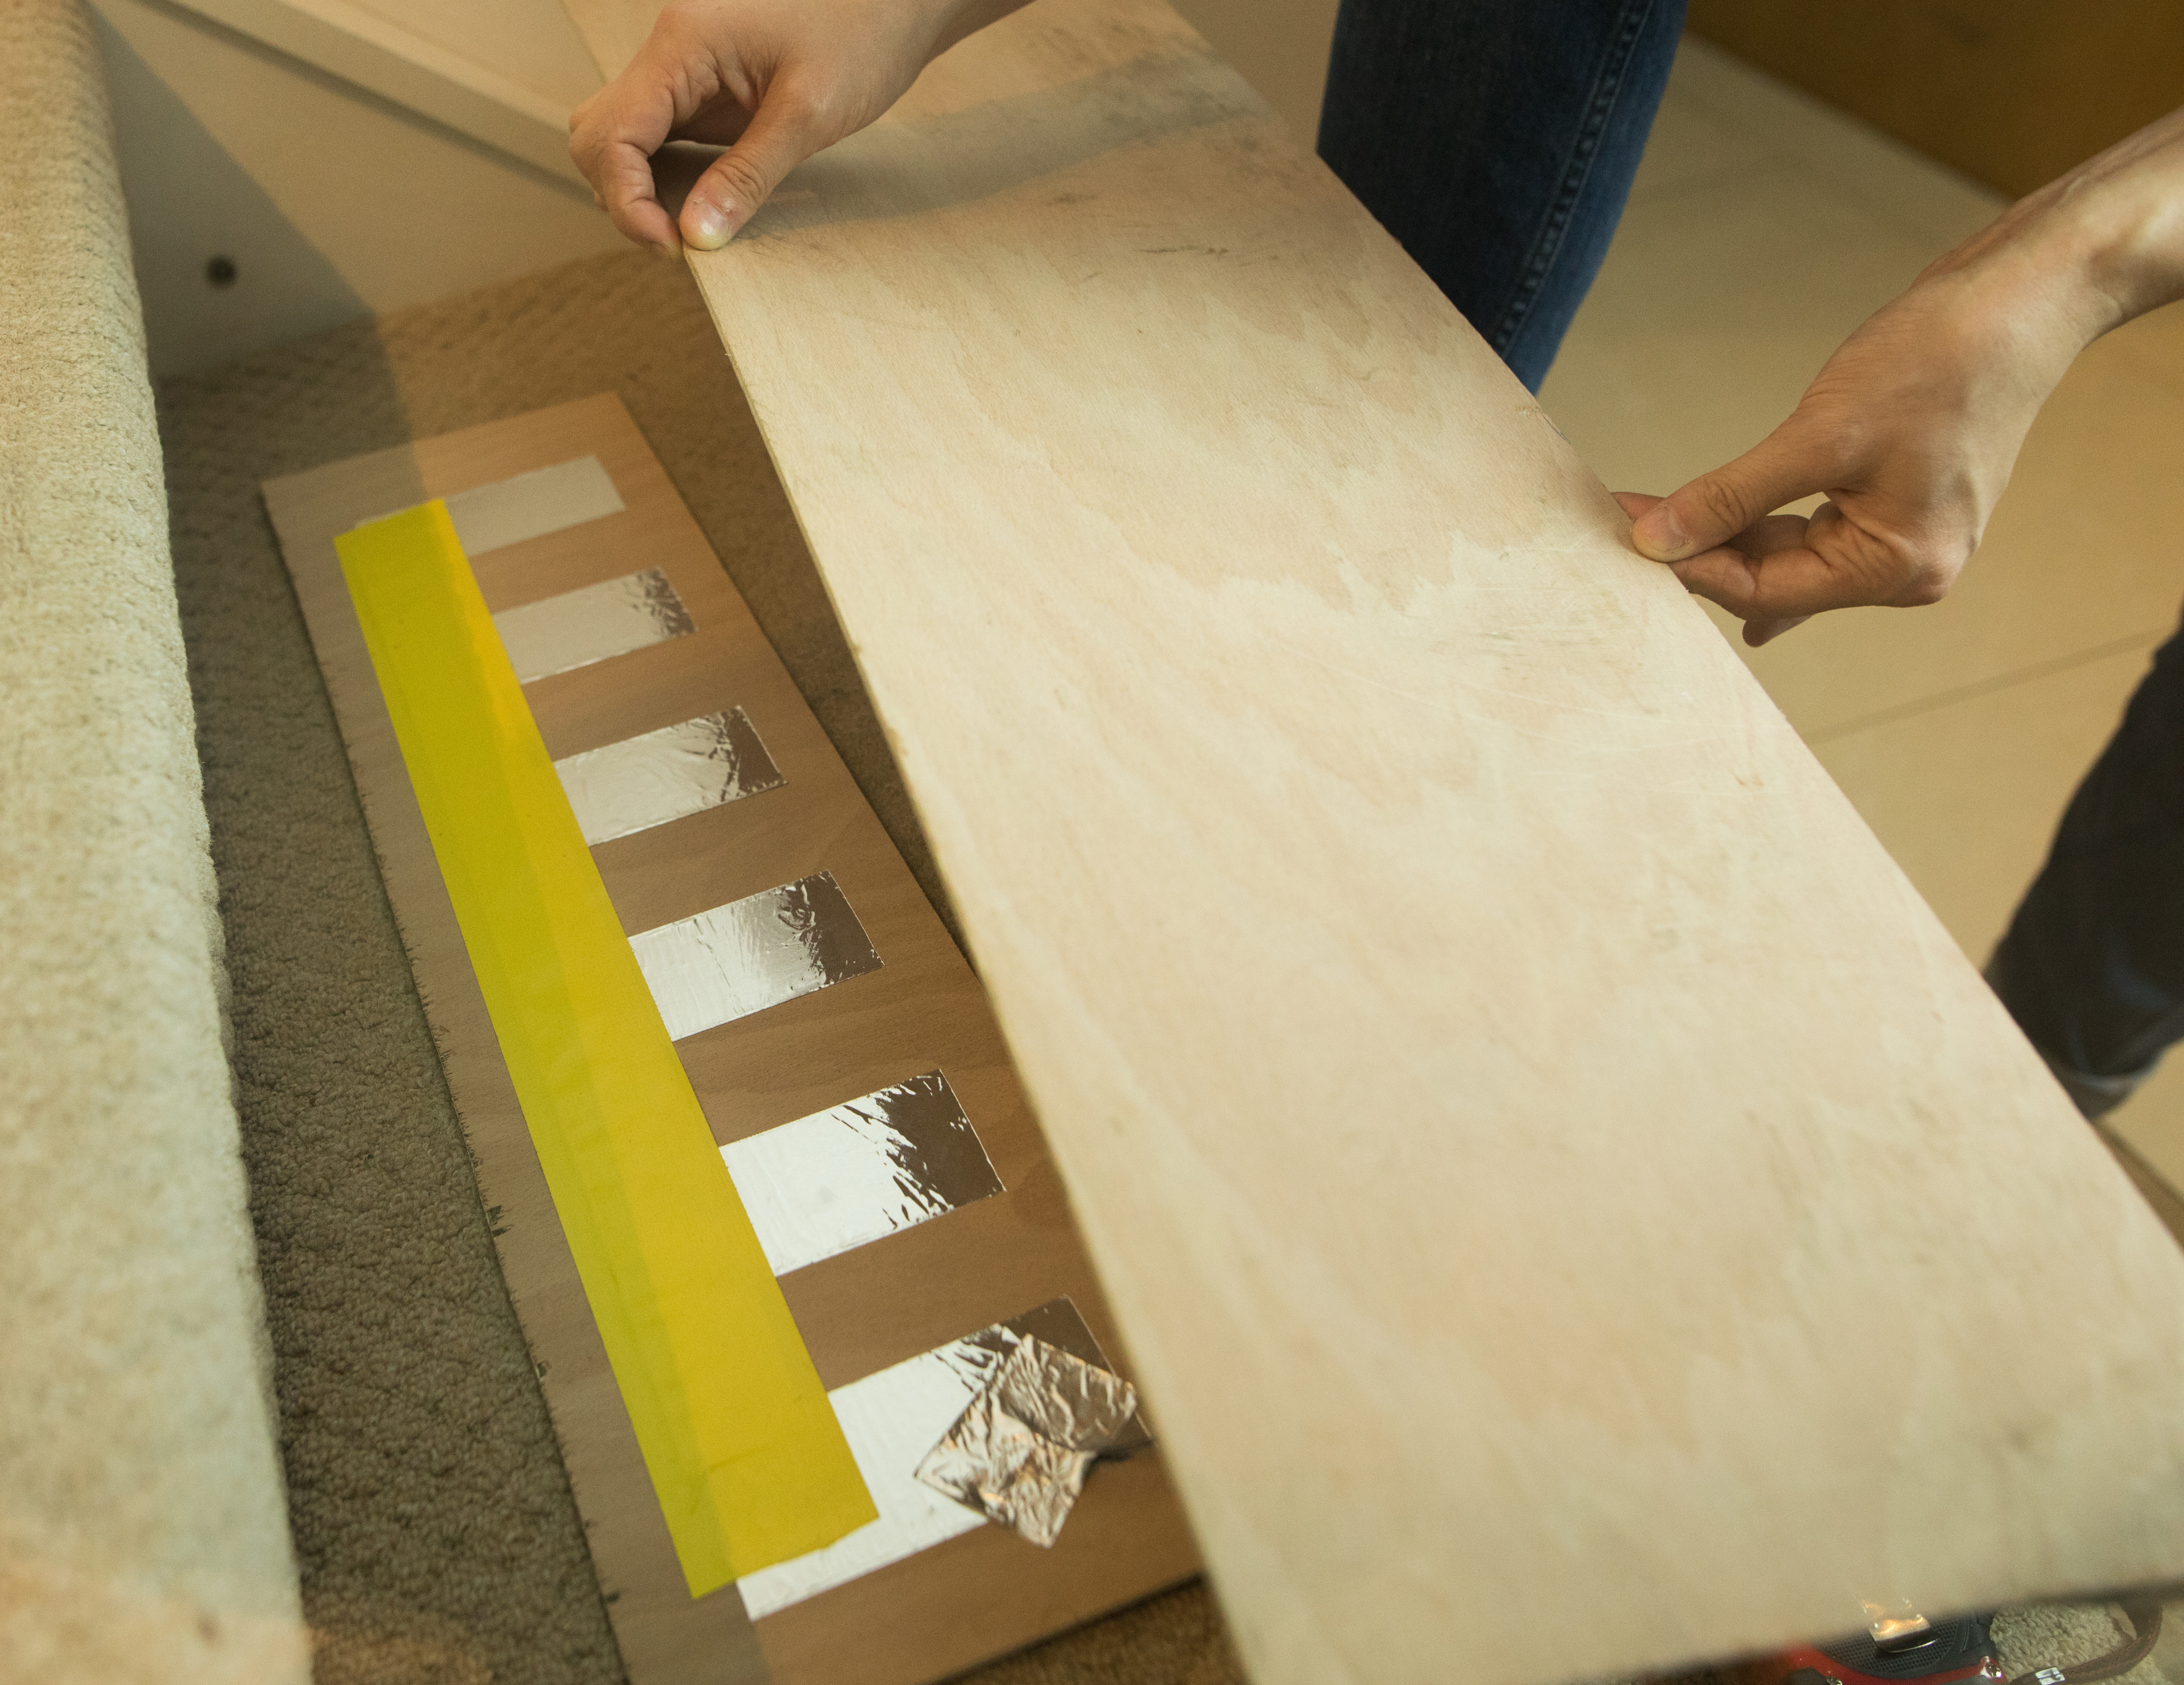
To trigger your sounds as someone walks up or down a set of stairs, we will create a series of pressure pad switches using plywood, packaging foam and adhesive foil tape. These complete a simple circuit by contacting two foil surfaces when someone stands on them, squashing the foam that normally keeps them apart. If you wish to paint or decorate your larger top plywood pieces (e.g. to make them look like a piano), then this is a good point in the process to do this. You can test the effectiveness of your cable connections using a multimeter (in continuity test mode) by connecting it across the end of your two cables to check for continuity when the two foil sections are in contact.
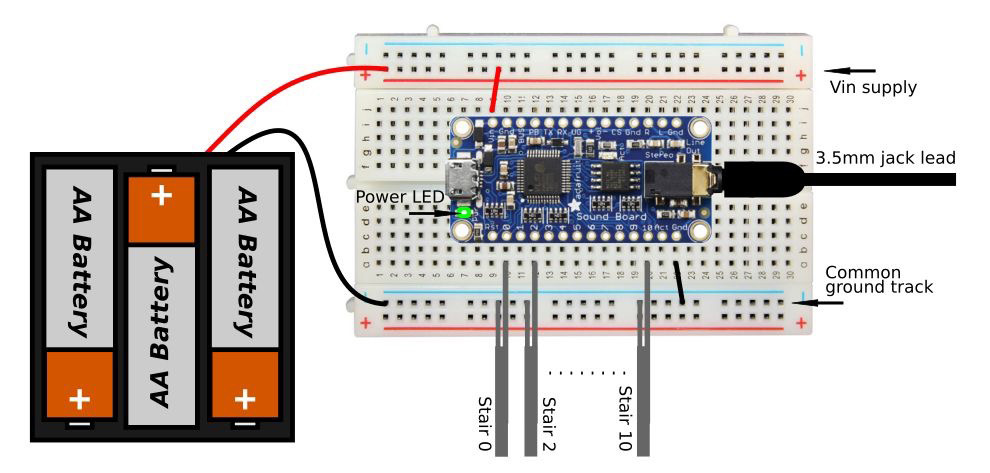
Each of the Sound Board sounds is triggered when one of its trigger pins is connected to the board’s ground pin. You’re now ready test your musicals stairs!
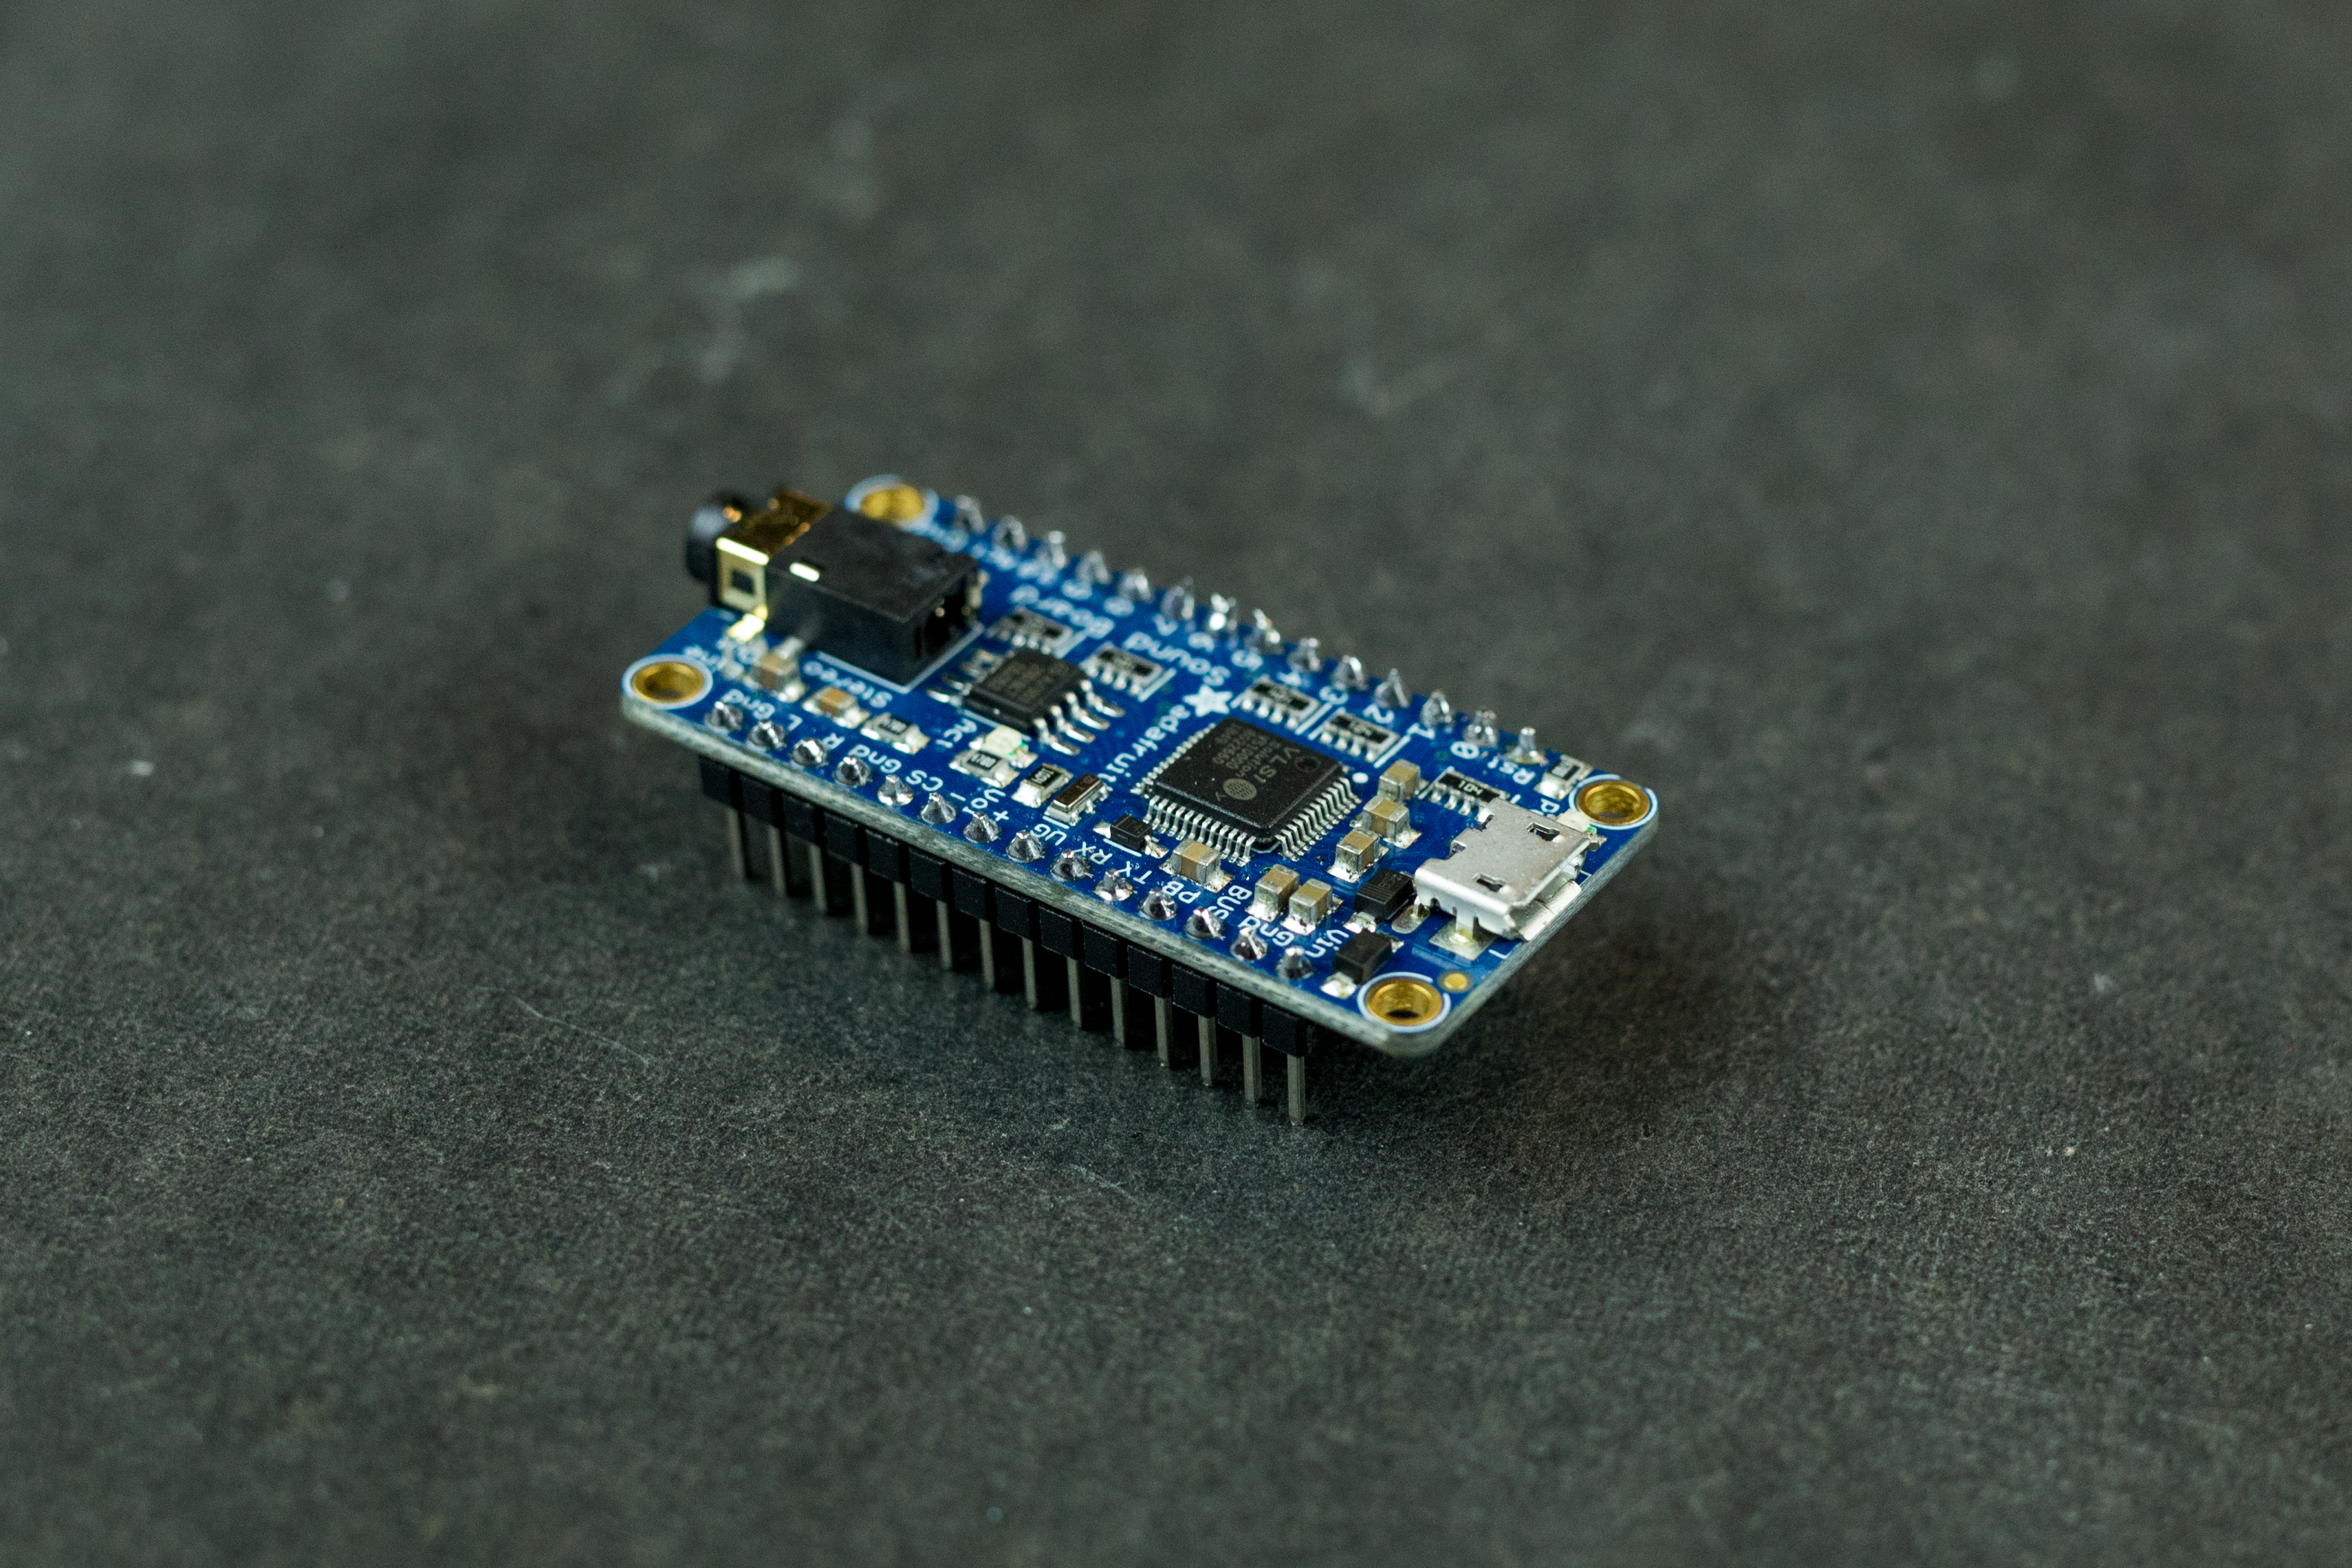
1. Prepare the Sound Board
2. Load your sounds
3. Build the steps
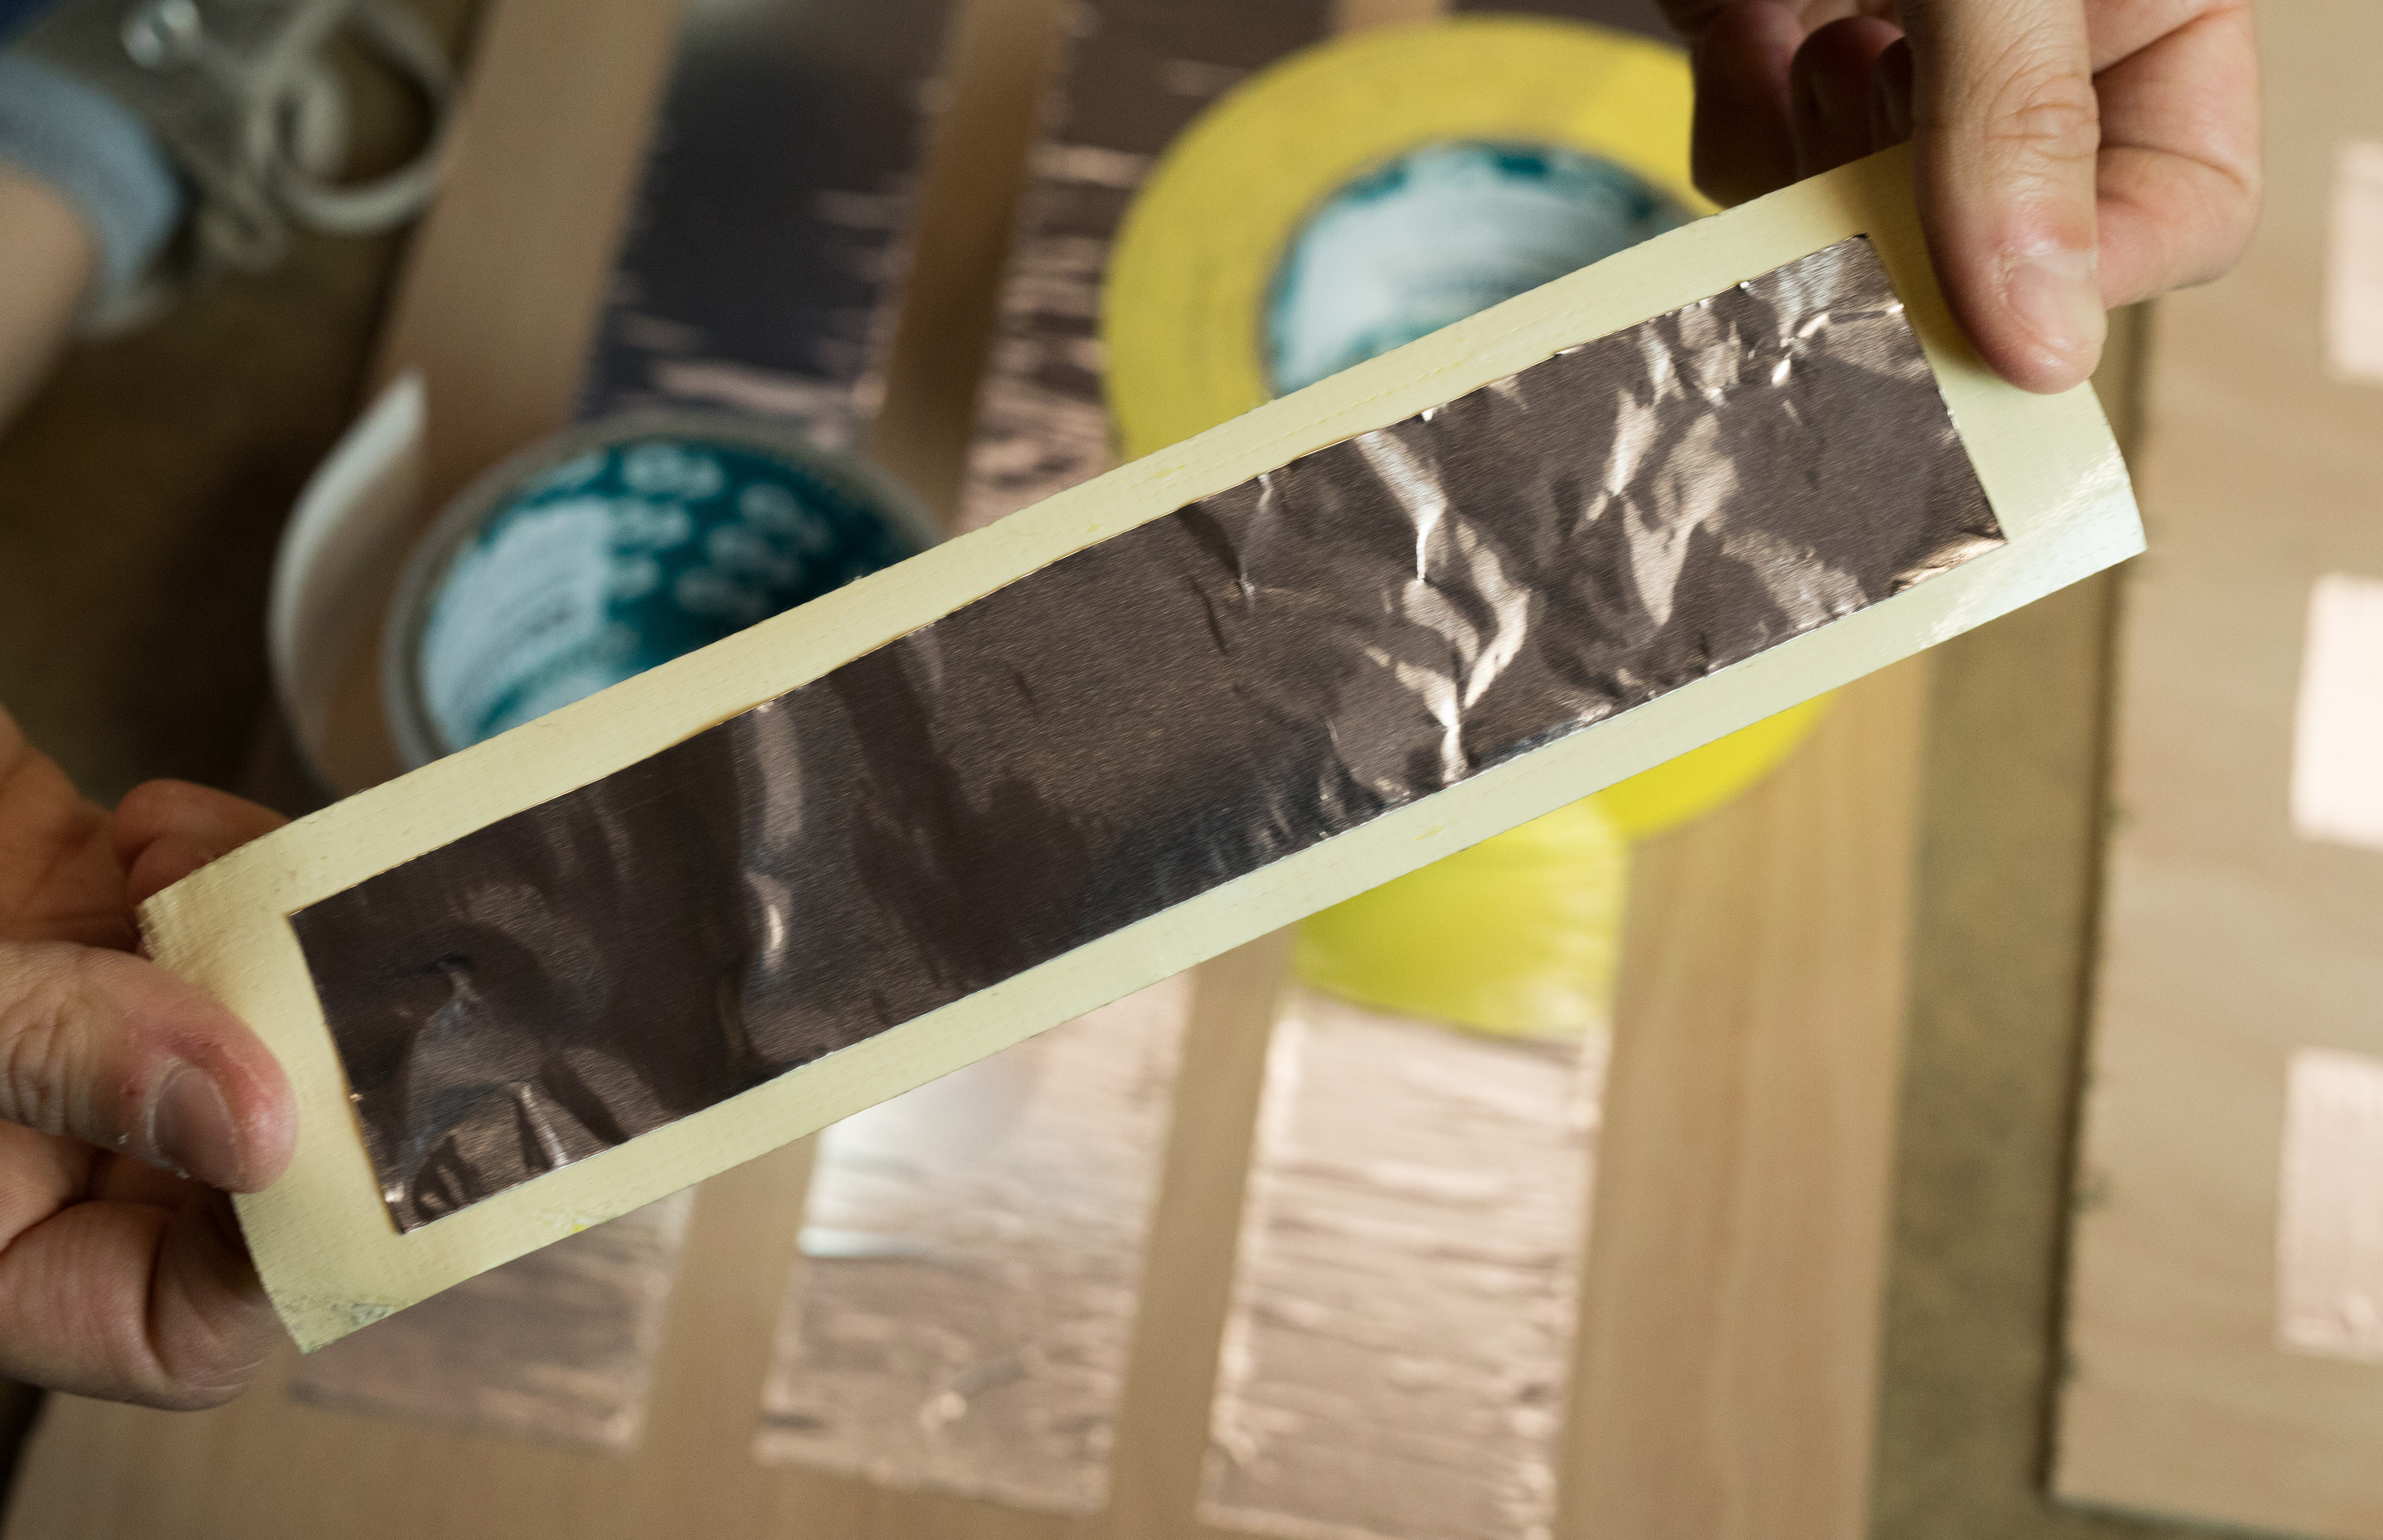
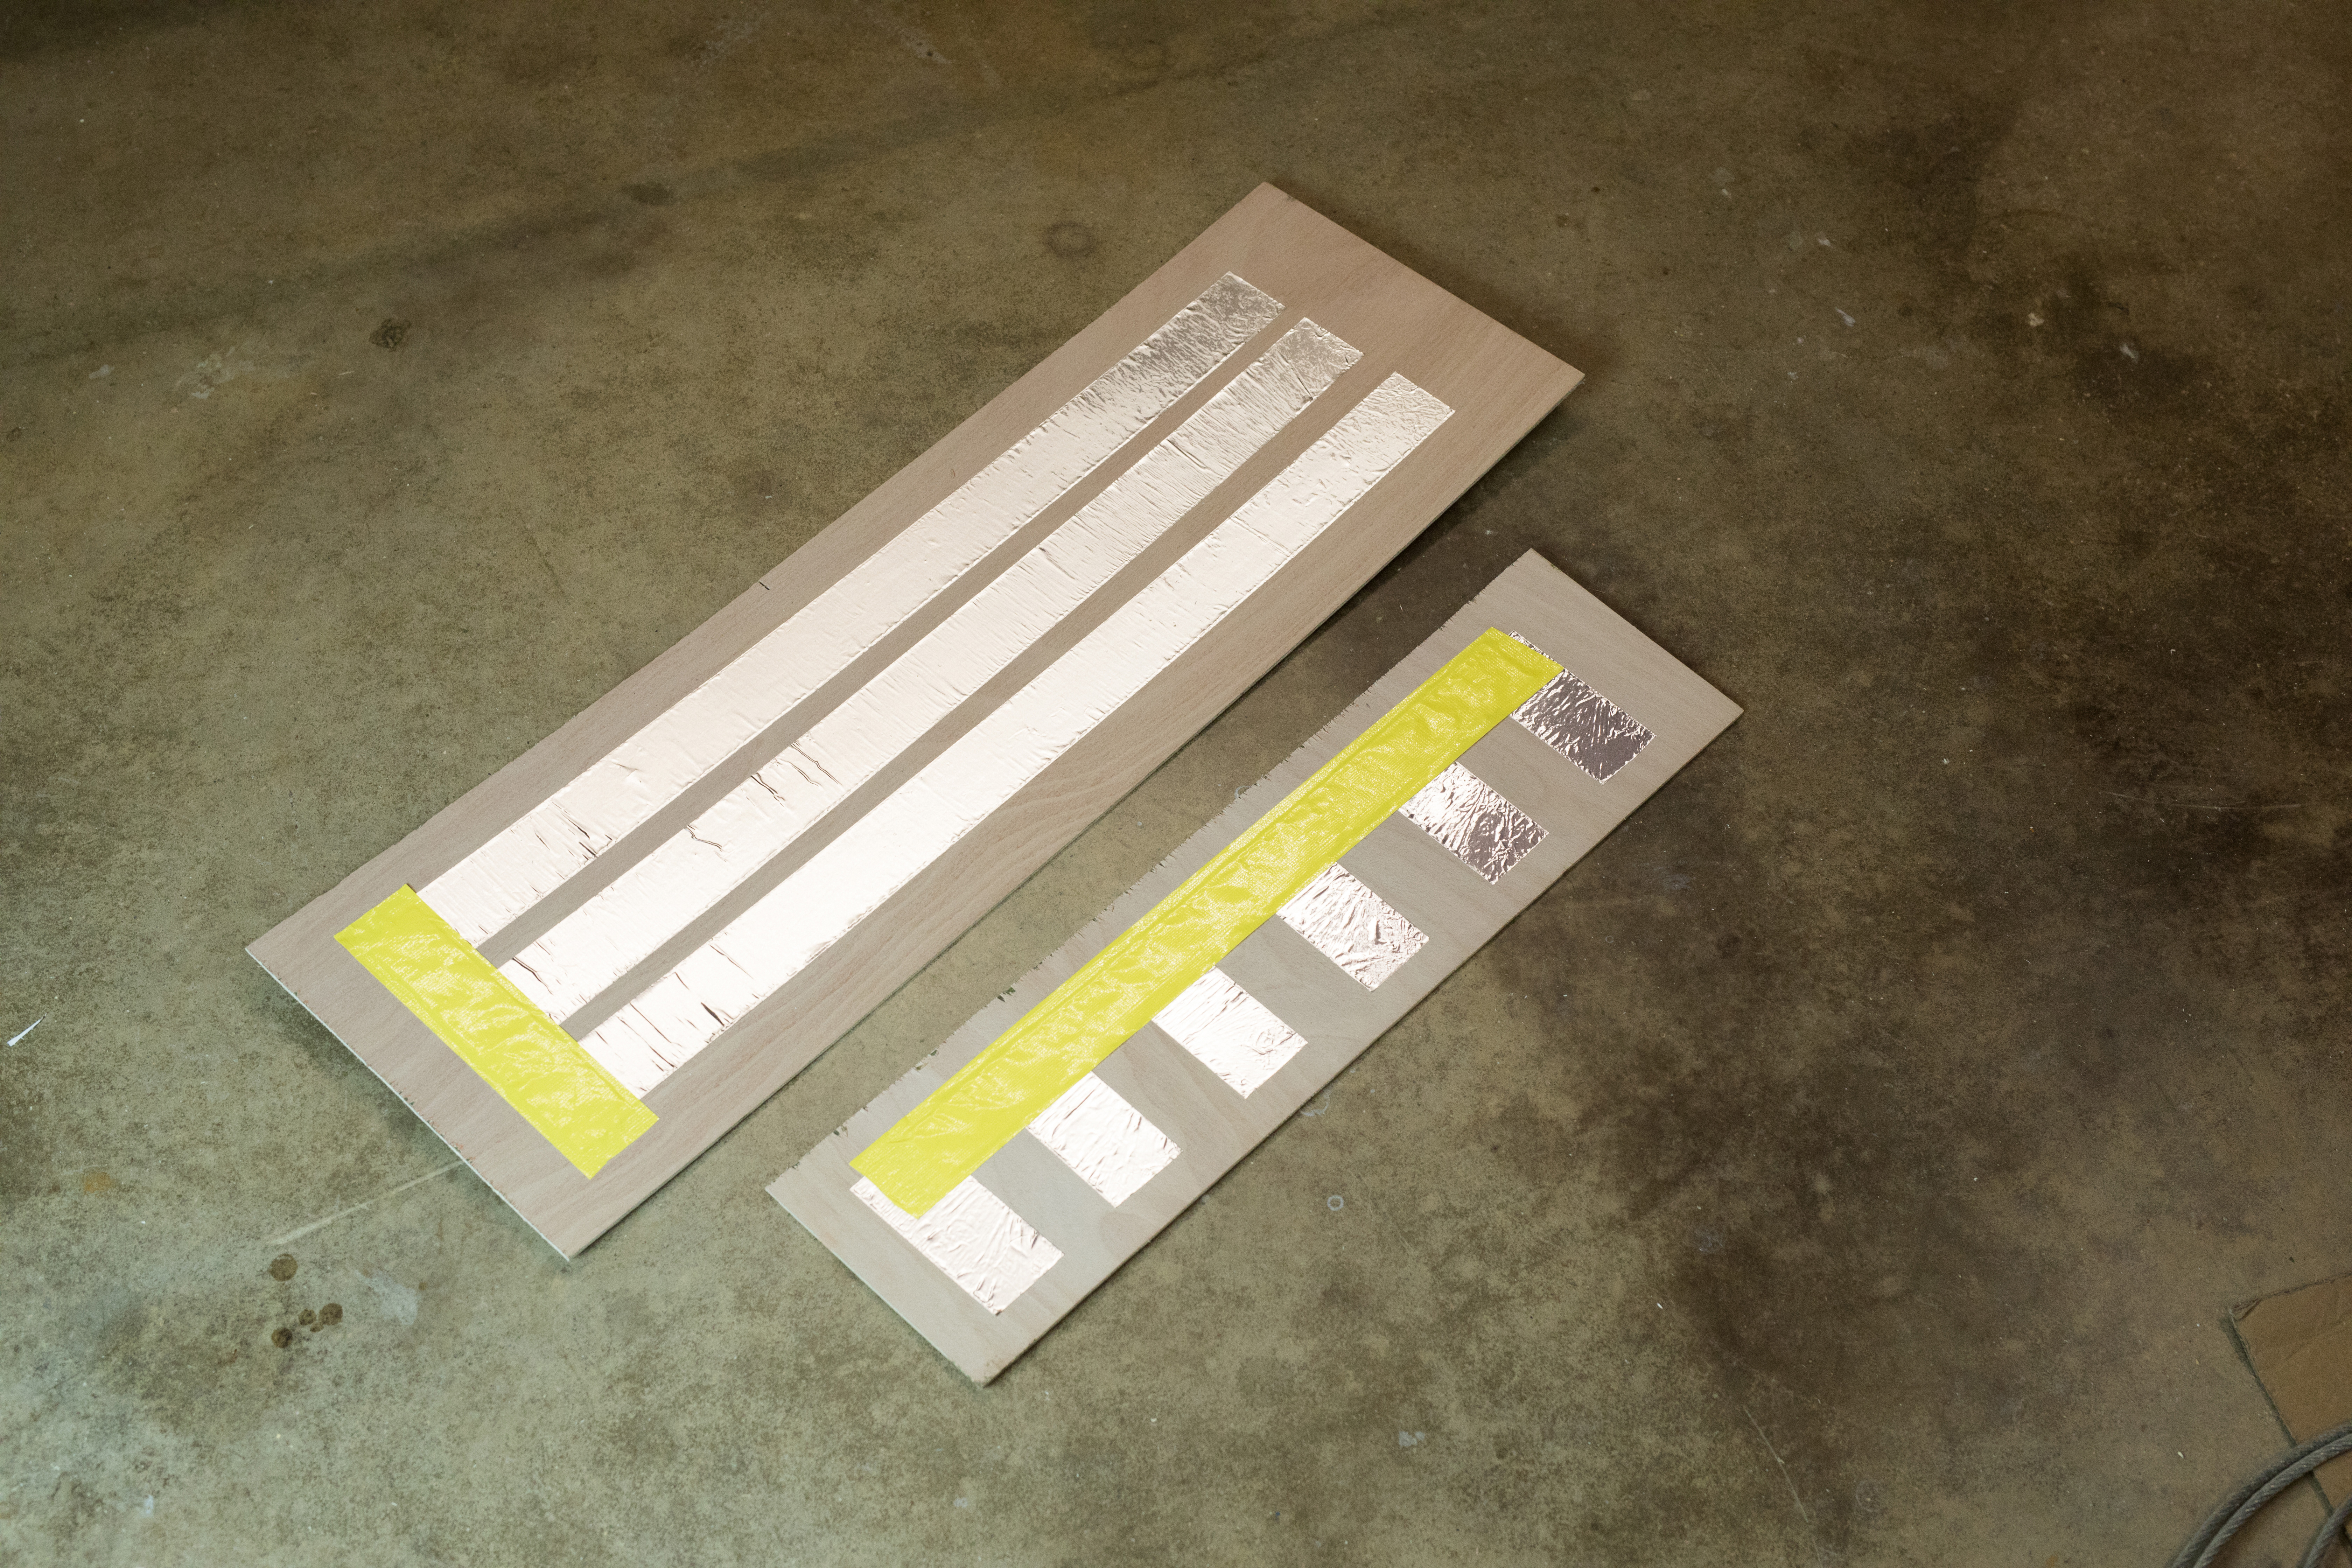
4. Build the circuit
Like what you read? Why not show your appreciation by giving some love.
From a quick tap to smashing that love button and show how much you enjoyed this project.

