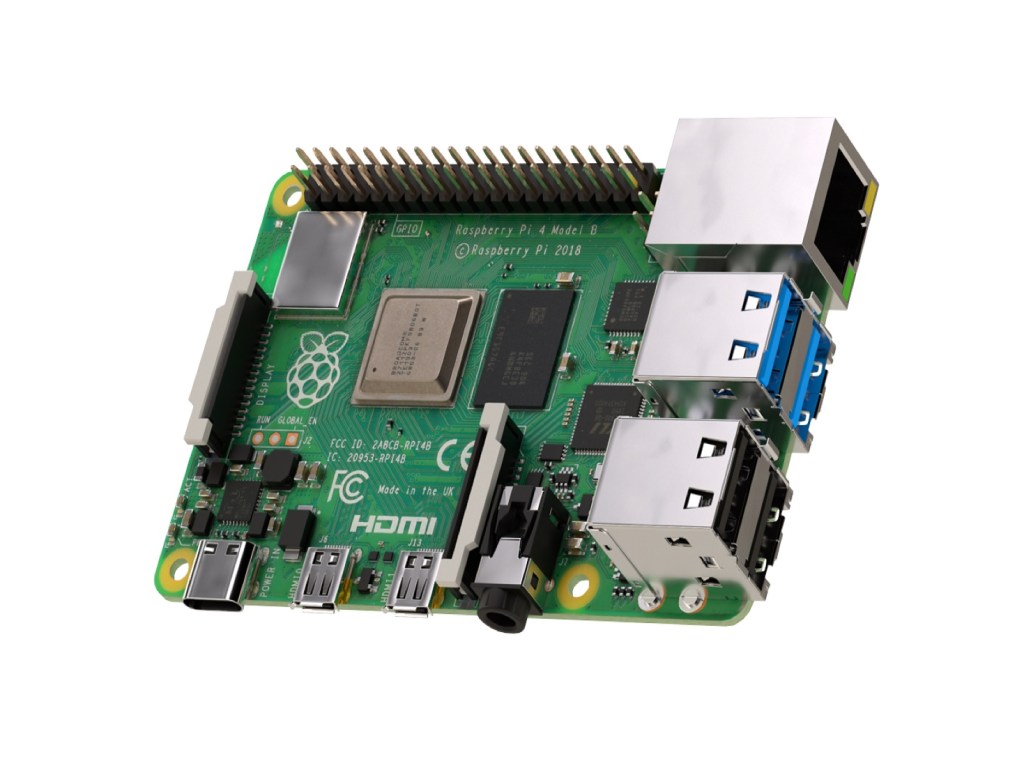
A complete step by step guide to get up and running with your Raspberry Pi 4 Model B in no time.
Insert micro SD card
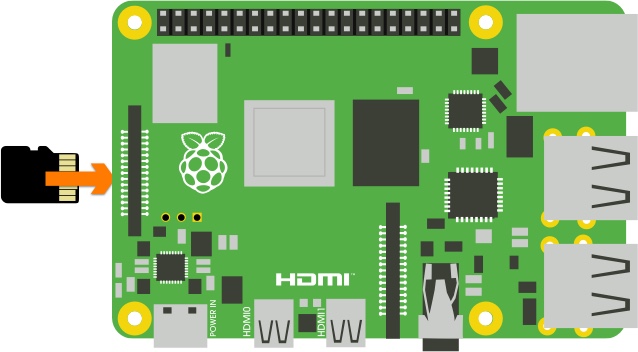
- Insert the micro SD card into the slot of the Raspberry Pi
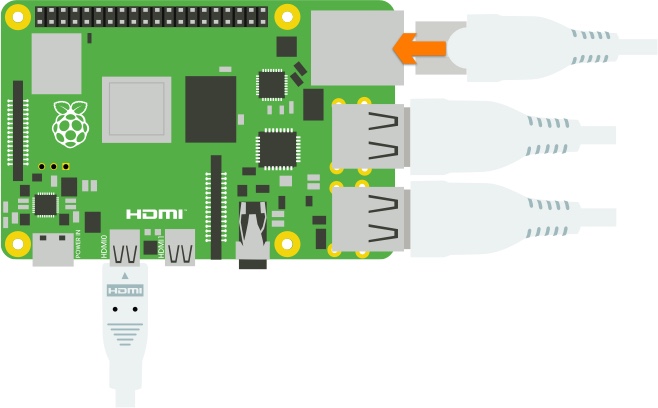
Connect mouse & keyboard
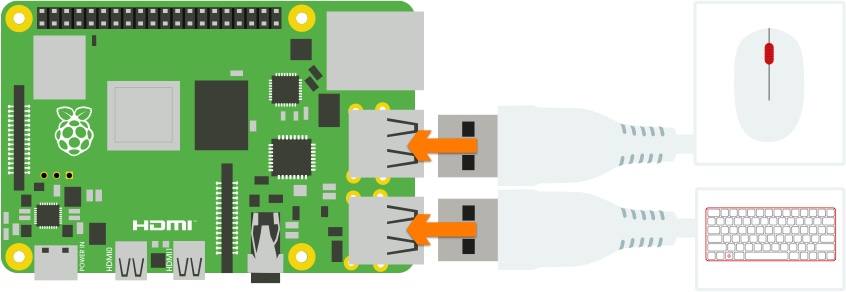
- Connect the mouse and keyboard to any 2 of the Pi’s USB ports.
Connect screen
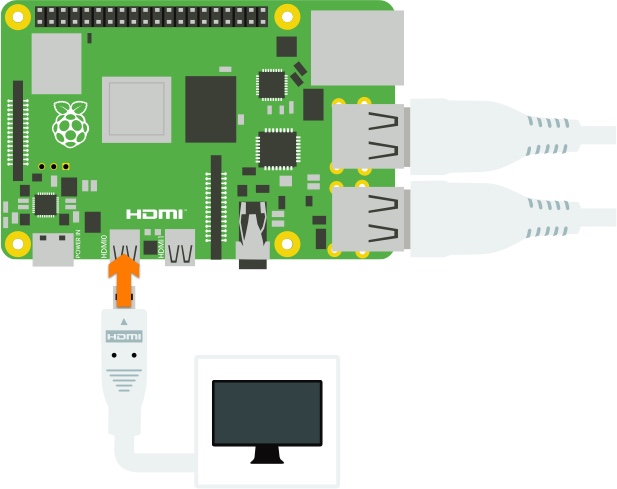
- Make sure your monitor or TV is switched ON and that you have selected the correct input eg. HDMI 1, DVI, etc…
- Connect the screen to the HDMI port labelled HDMI0 using a micro-HDMI cable.
Connect network cable (optional)
- If you intend to plug your Raspberry Pi to a router, plug in an ethernet cable from your router to the ethernet port. You can skip this step if you intend to connect through WiFi.
Connect power
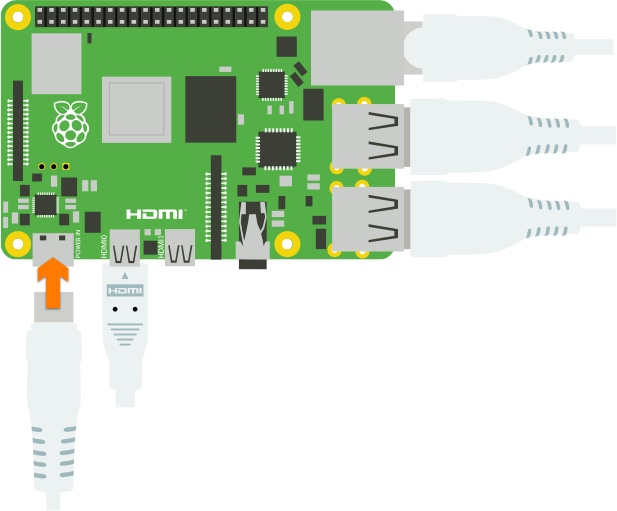
- Connect the power cable to the port labelled Power. This will turn on and boot up your Raspberry Pi.
Follow on-screen instructions
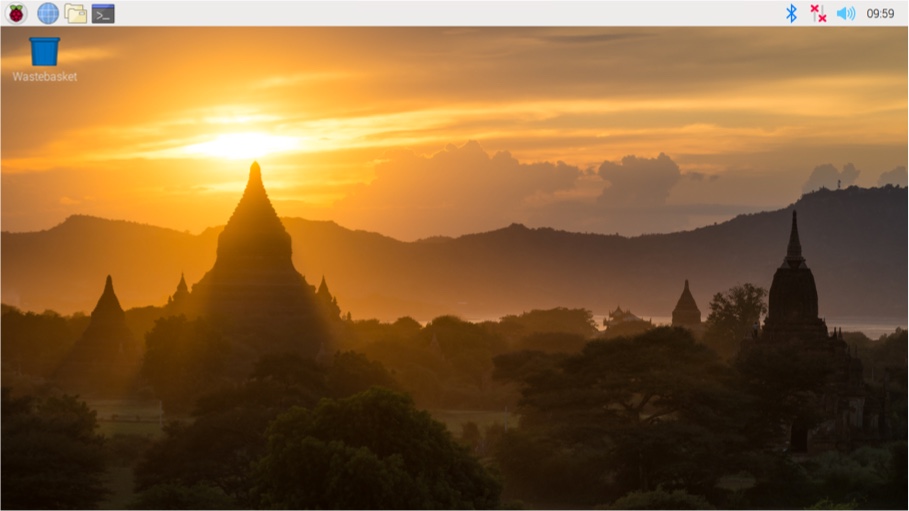
- Your Raspberry Pi will boot and display the desktop.
- The first time you start up your Raspberry Pi, the Welcome to Raspberry Pi application will pop-up, guiding you through the initial setup.
You’re all set to start using your Raspberry Pi!