
If you want to manage and share code these days, GitHub is one of the most popular destinations to head for. OKdo uses it for their Project Hub code to make it easier to share code with you for use in your own projects.
To use GitHub effectively you will need to install Git which is a free and open source version control system. There are also loads of great tools and add-ons that support Git and GitHub that you can use as your experience grows.
If you have not worked with a GitHub repository before, this guide will get you started with examples for installing code for Arduino and Raspberry Pi projects.
Install Git on a PC
If you want to use GitHub repositories for Arduino or E1 board projects, you will need to install Git on your PC. This lets you create a copy or “clone” of the repo on your local machine. Once you have done that you can use your boards IDE to upload the code to your board.
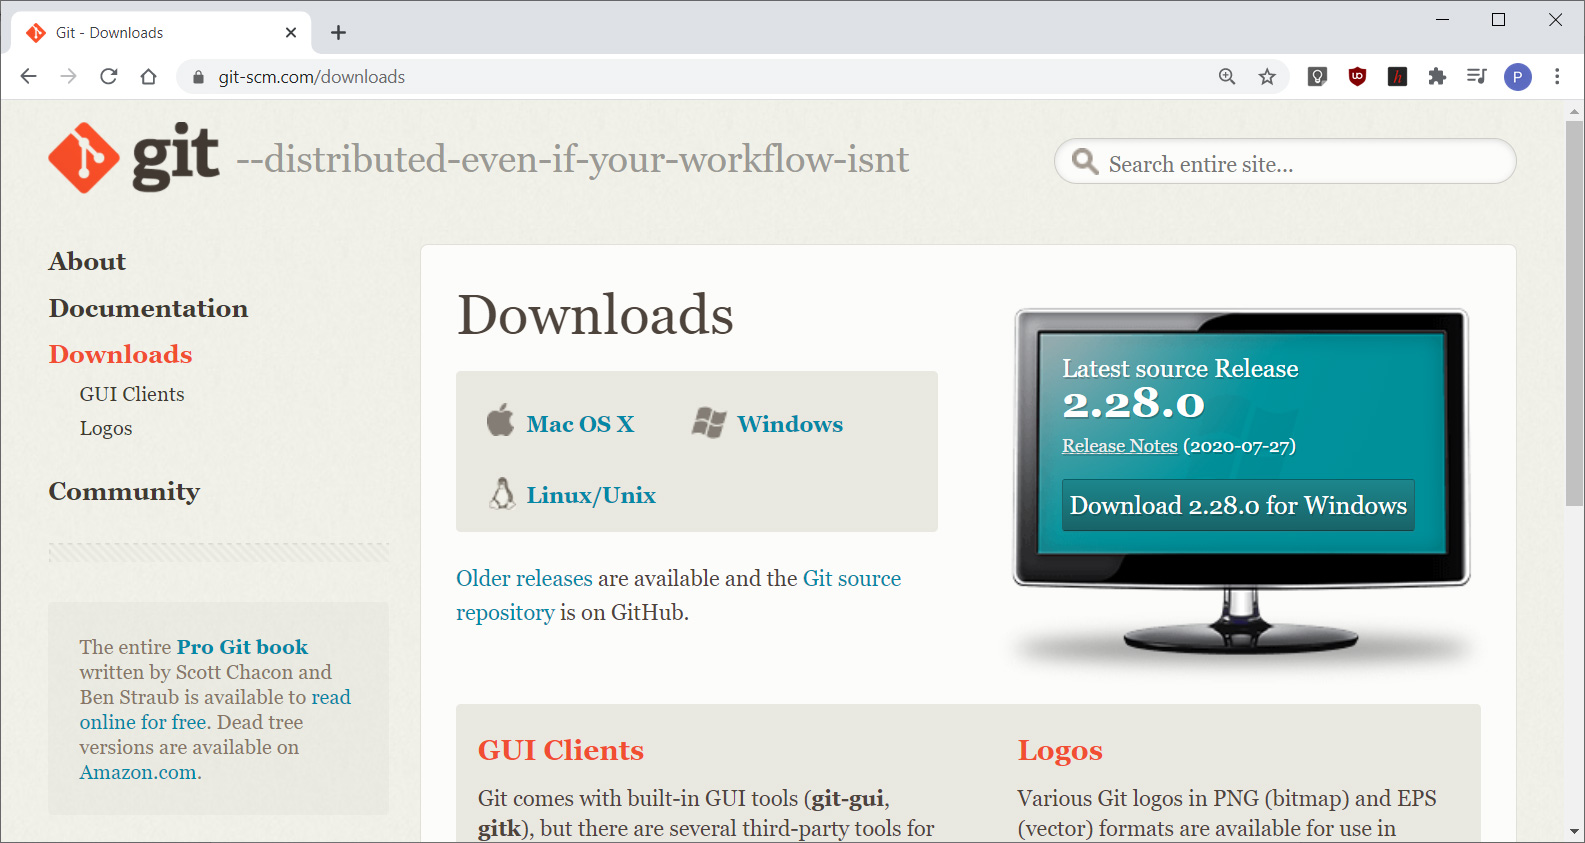
- Go to https://git-scm.com/downloads and download the latest version of Git for your operating system and follow their installation instructions:
Cloning a repo to your PC
In this example, we install the Halloween Skull [ https://www.okdo.com/project/halloween-skull ] project onto an Arduino using a Windows PC.
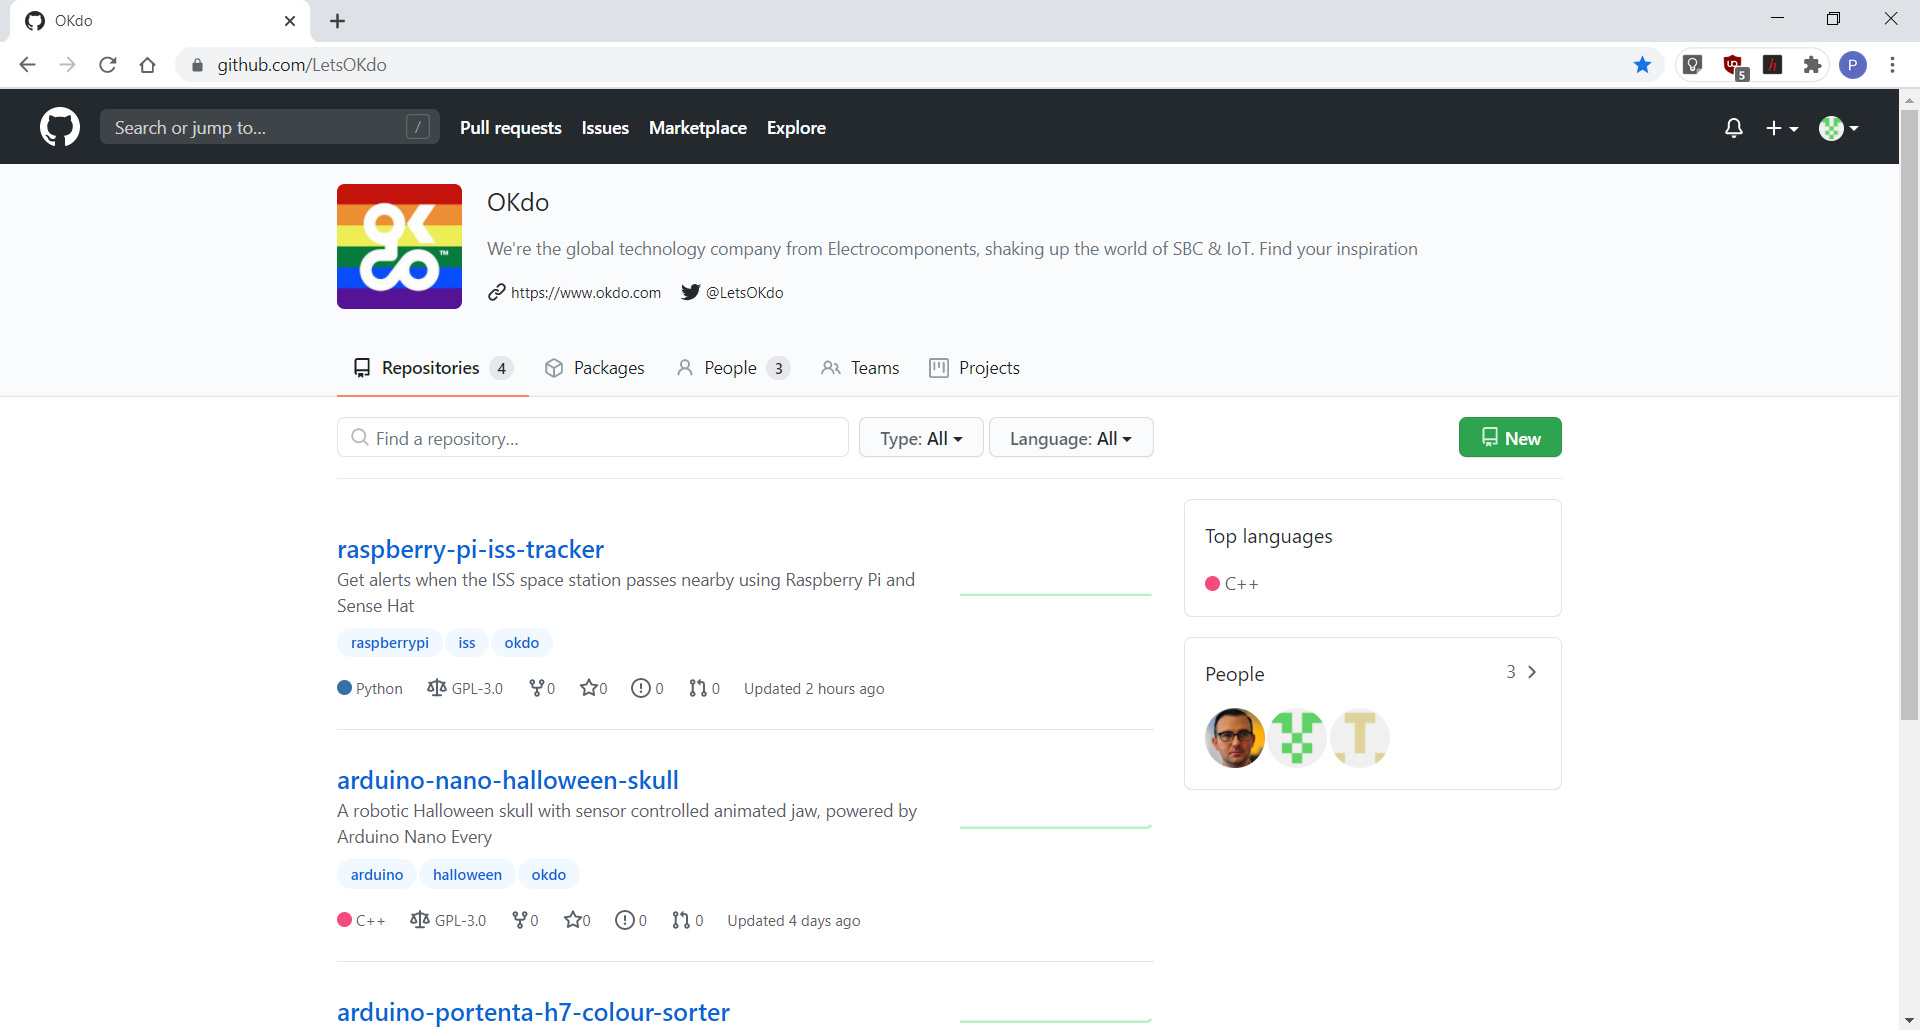
- Go to the LetsOKdo GitHub https://github.com/LetsOKdo and open the project you want to clone.
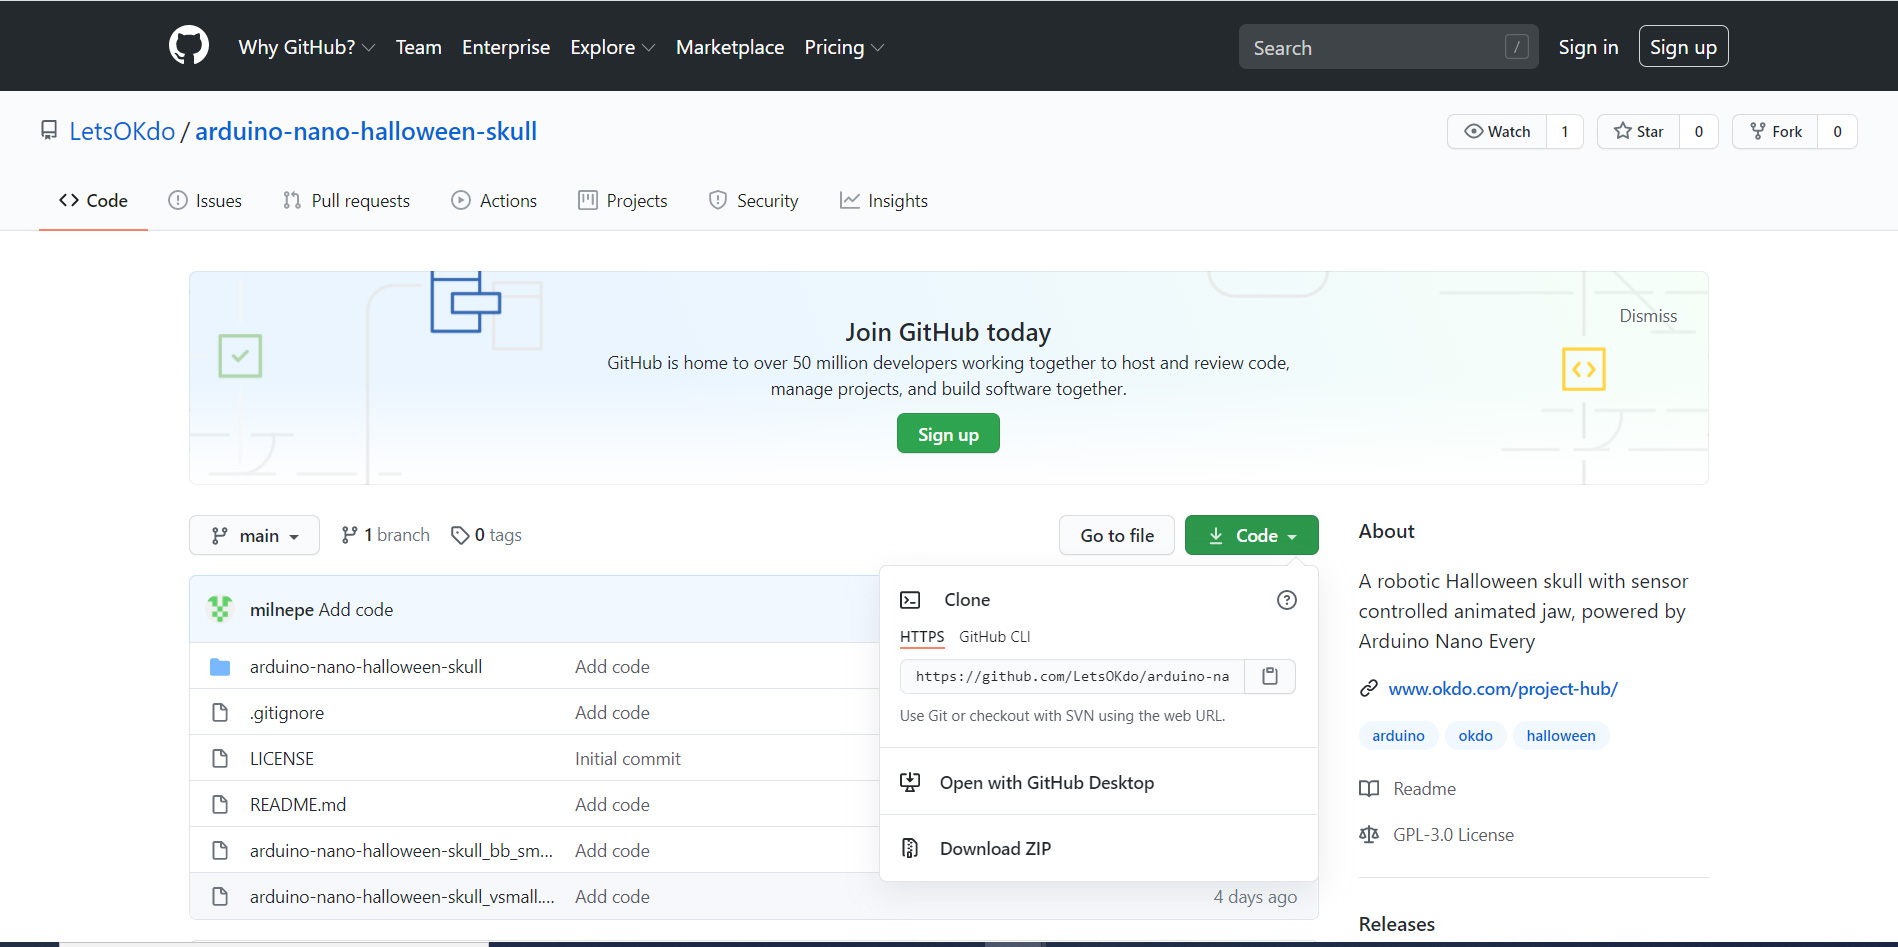
- Click the Code button and select HTTPS and copy the URL using the clipboard icon.
Open a command prompt and use the following commands:
- Change to the directory where you want to store your Arduino project.
cd Documents\Arduino- Clone the repo.
git clone https://github.com/LetsOKdo/arduino-nano-halloween-skull.git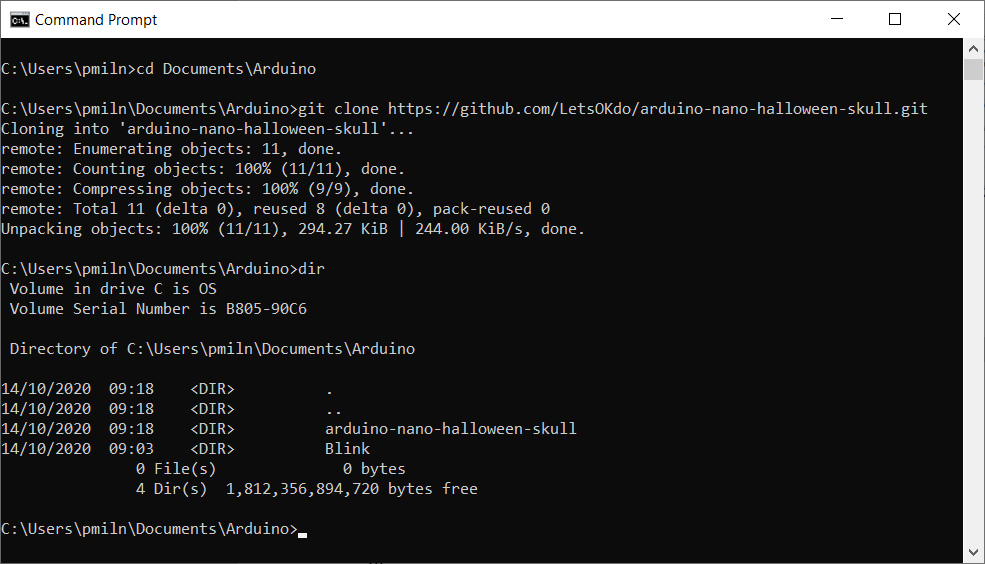
A new directory containing the project will be created and the code from GitHub copied to it.
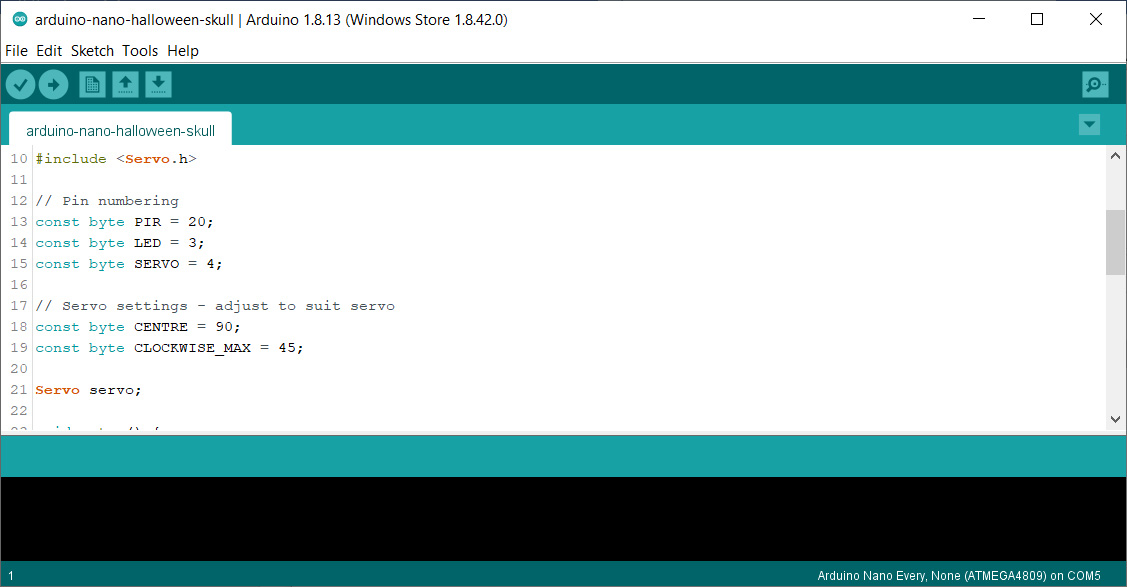
- Open the Arduino IDE
- From File, Open navigate to the .ino file in the projects sub-directory directory.
- Upload your code to the Arduino as usual.
Installing Git on a Raspberry Pi (Linux)
Raspberry Pi, BeagleBone and Jetson devices all run Linux operating systems so you can clone repositories directly to them, without the need for a PC.
This example shows how to install the Space Station Tracker [https://www.okdo.com/project/space-station-tracker] Python project onto a Raspberry Pi.
- Open a Terminal and enter the following commands to update your system and install the Git package and dependencies.
- Make sure your packages are up to date:
sudo apt update && upgrade- Install the Git package:
sudo apt install gitCloning a Raspberry Pi Project
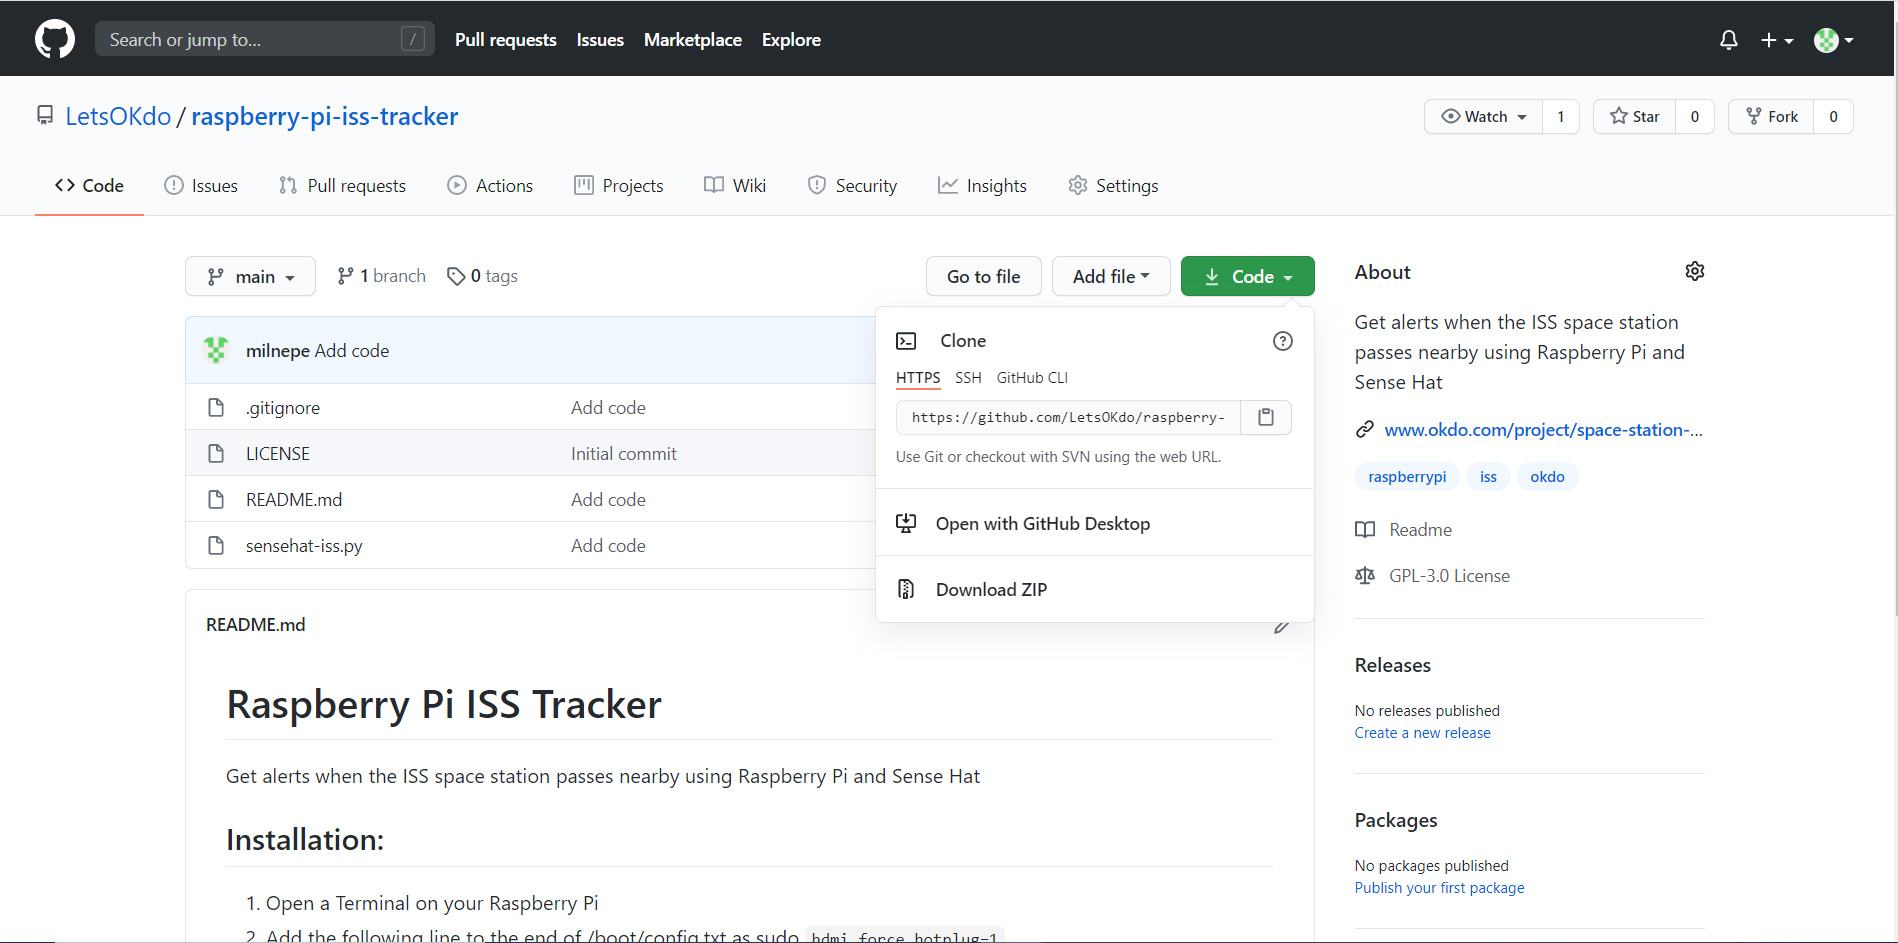
Open a browser and visit the LetsOKdo GitHub [https://github.com/LetsOKdo] and select the project.
- Click the Code button and select HTTPS then copy the URL to the clipboard with the icon.
Open a Terminal and use the following commands:
- Clone the repo
git clone https://github.com/LetsOKdo/raspberry-pi-iss-tracker.git- Change to the project directory
cd raspberry-pi-iss-tracker/- Follow the setup instructions in the project.
- Run the python code.
python3 ./sensehat-iss.py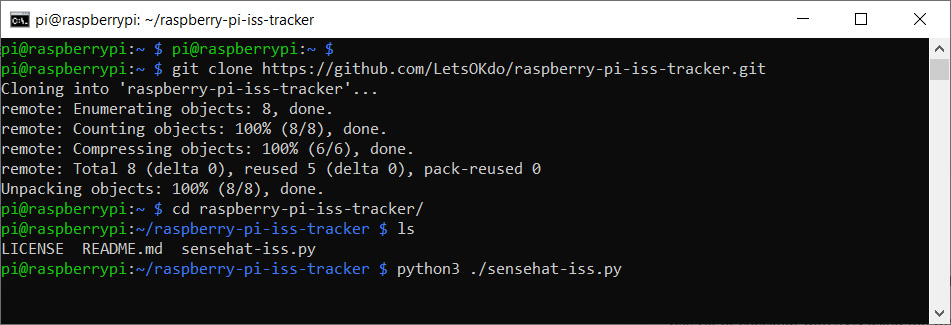
Summary
GitHub is one of the most popular ways to manage and share code for Open Source projects so we hope that this guide gets you started using the project code OKdo share on their GitHub.
You should now be able to use GitHub to install code for your own Arduino and Raspberry Pi projects.
GitHub supports free accounts, and we would recommend signing up for one. There are loads of extra tools and add-ons that support Git and GitHub plus excellent documentation on their websites to take you to the next level: