Your industry-leading AIOT solutions partner
Engineered AIoT Solutions Bringing Your Embedded Concepts to Life
Industry tailored solutions
We make technology work for you, bridging the gap between creativity and IoT innovation.


How can we help you?
We provide you with the essential support to level up your innovation game.


Meet our partners: Frontiers of innovation who trust us
Together, we’re on a mission to bring the future to life, offering world-class solutions to address global challenges.
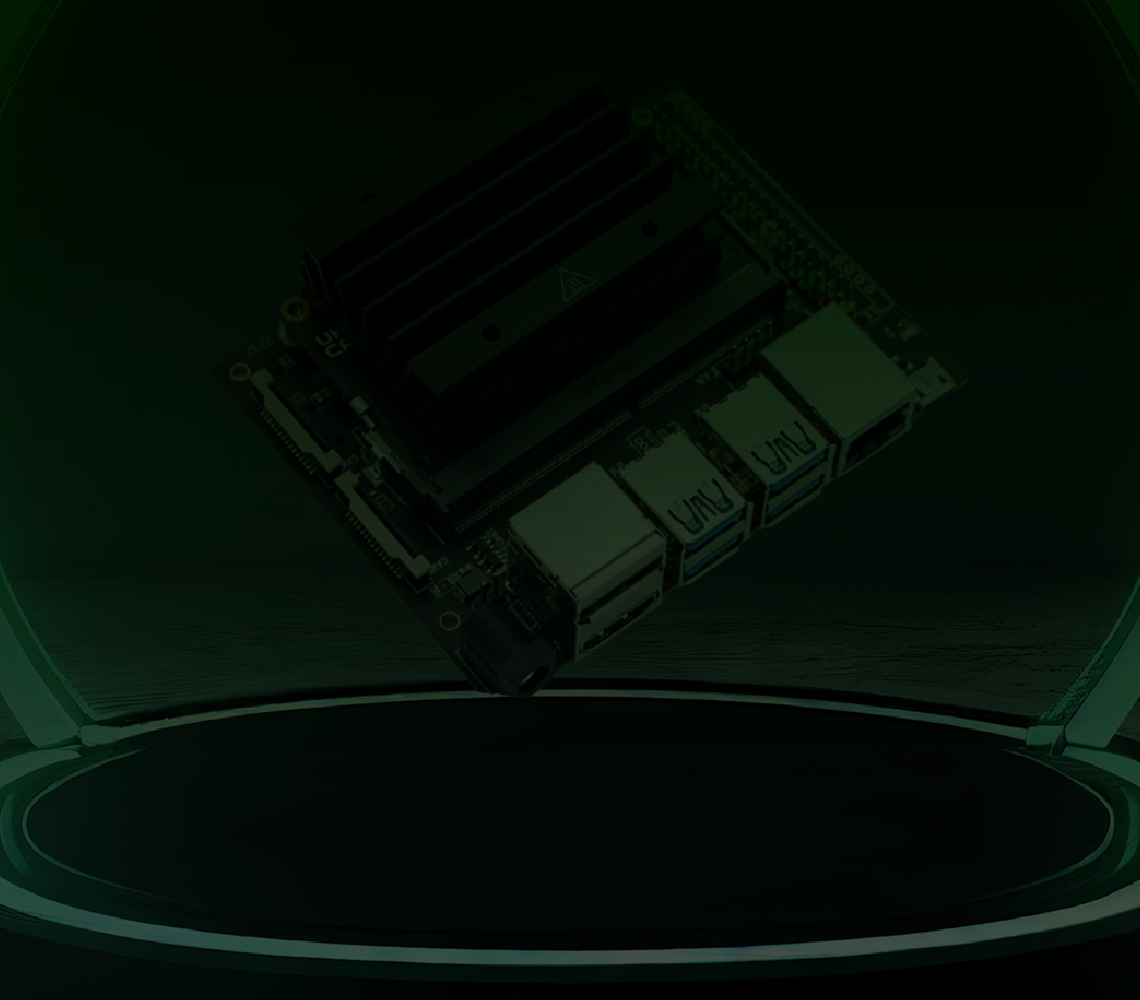
NVIDIA
The ultimate industrial AI engine
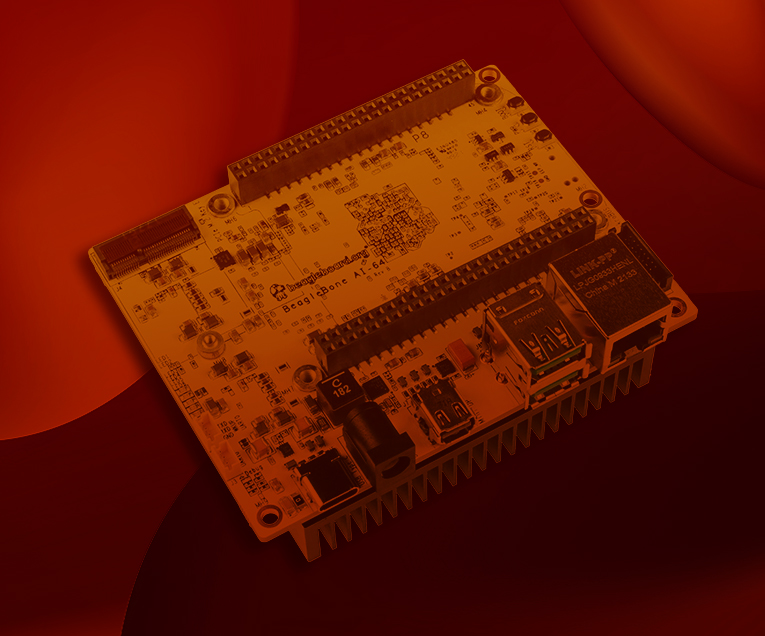
BeagleBoard
Discover limitless potential

Arduino® PRO
The original all-in-one IoT platform
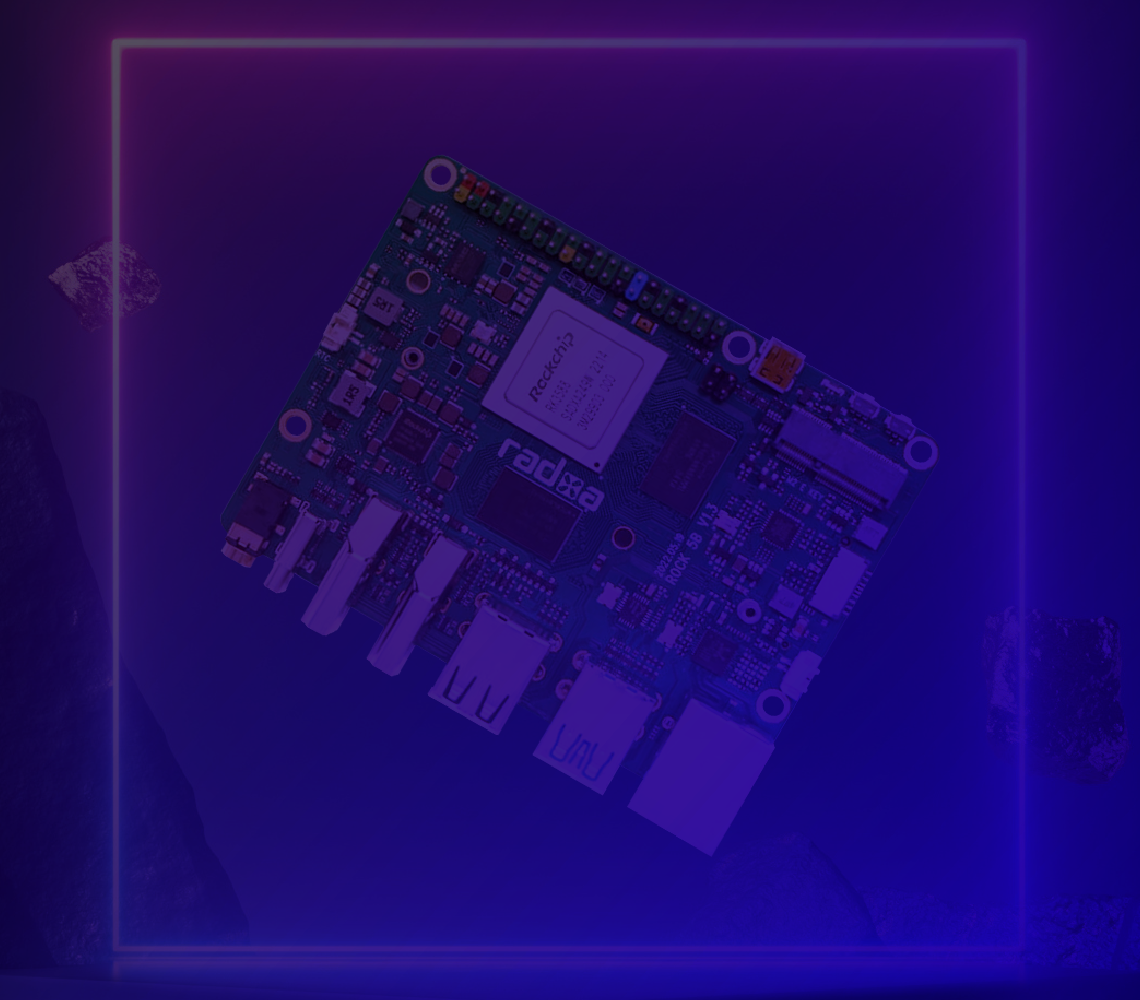
RADXA
Next-gen single-board-computers


Meet ROCK. Formed for superior performance
Next-gen single board computers for professionals, by professionals.


What’s new at OKdo? Stay up-to-date with industry news, innovative tech launches and most popular projects.

Webinar: Unlocking the success of next-gen industrial SBCs

News: OKdo selected as micro:bit global manufacturer and distributor

Webinar: Innovating industrial AI with NVIDIA

Project: How to add a Raspberry Pi 7-inch display on ROCK


Uncover inspiring customer success stories and discover the real-world impact of our solutions.

Success story: An affordable crop monitoring system with Arduino

Success story: Revolutionising healthcare with ROCK single board computers
