This project will show you the basics of connecting and controlling solenoids from a Teensy 2.0. This will enable you to start using solenoids in your robotics projects, whether a time-locked safe or a drum machine.
1. Build the circuit
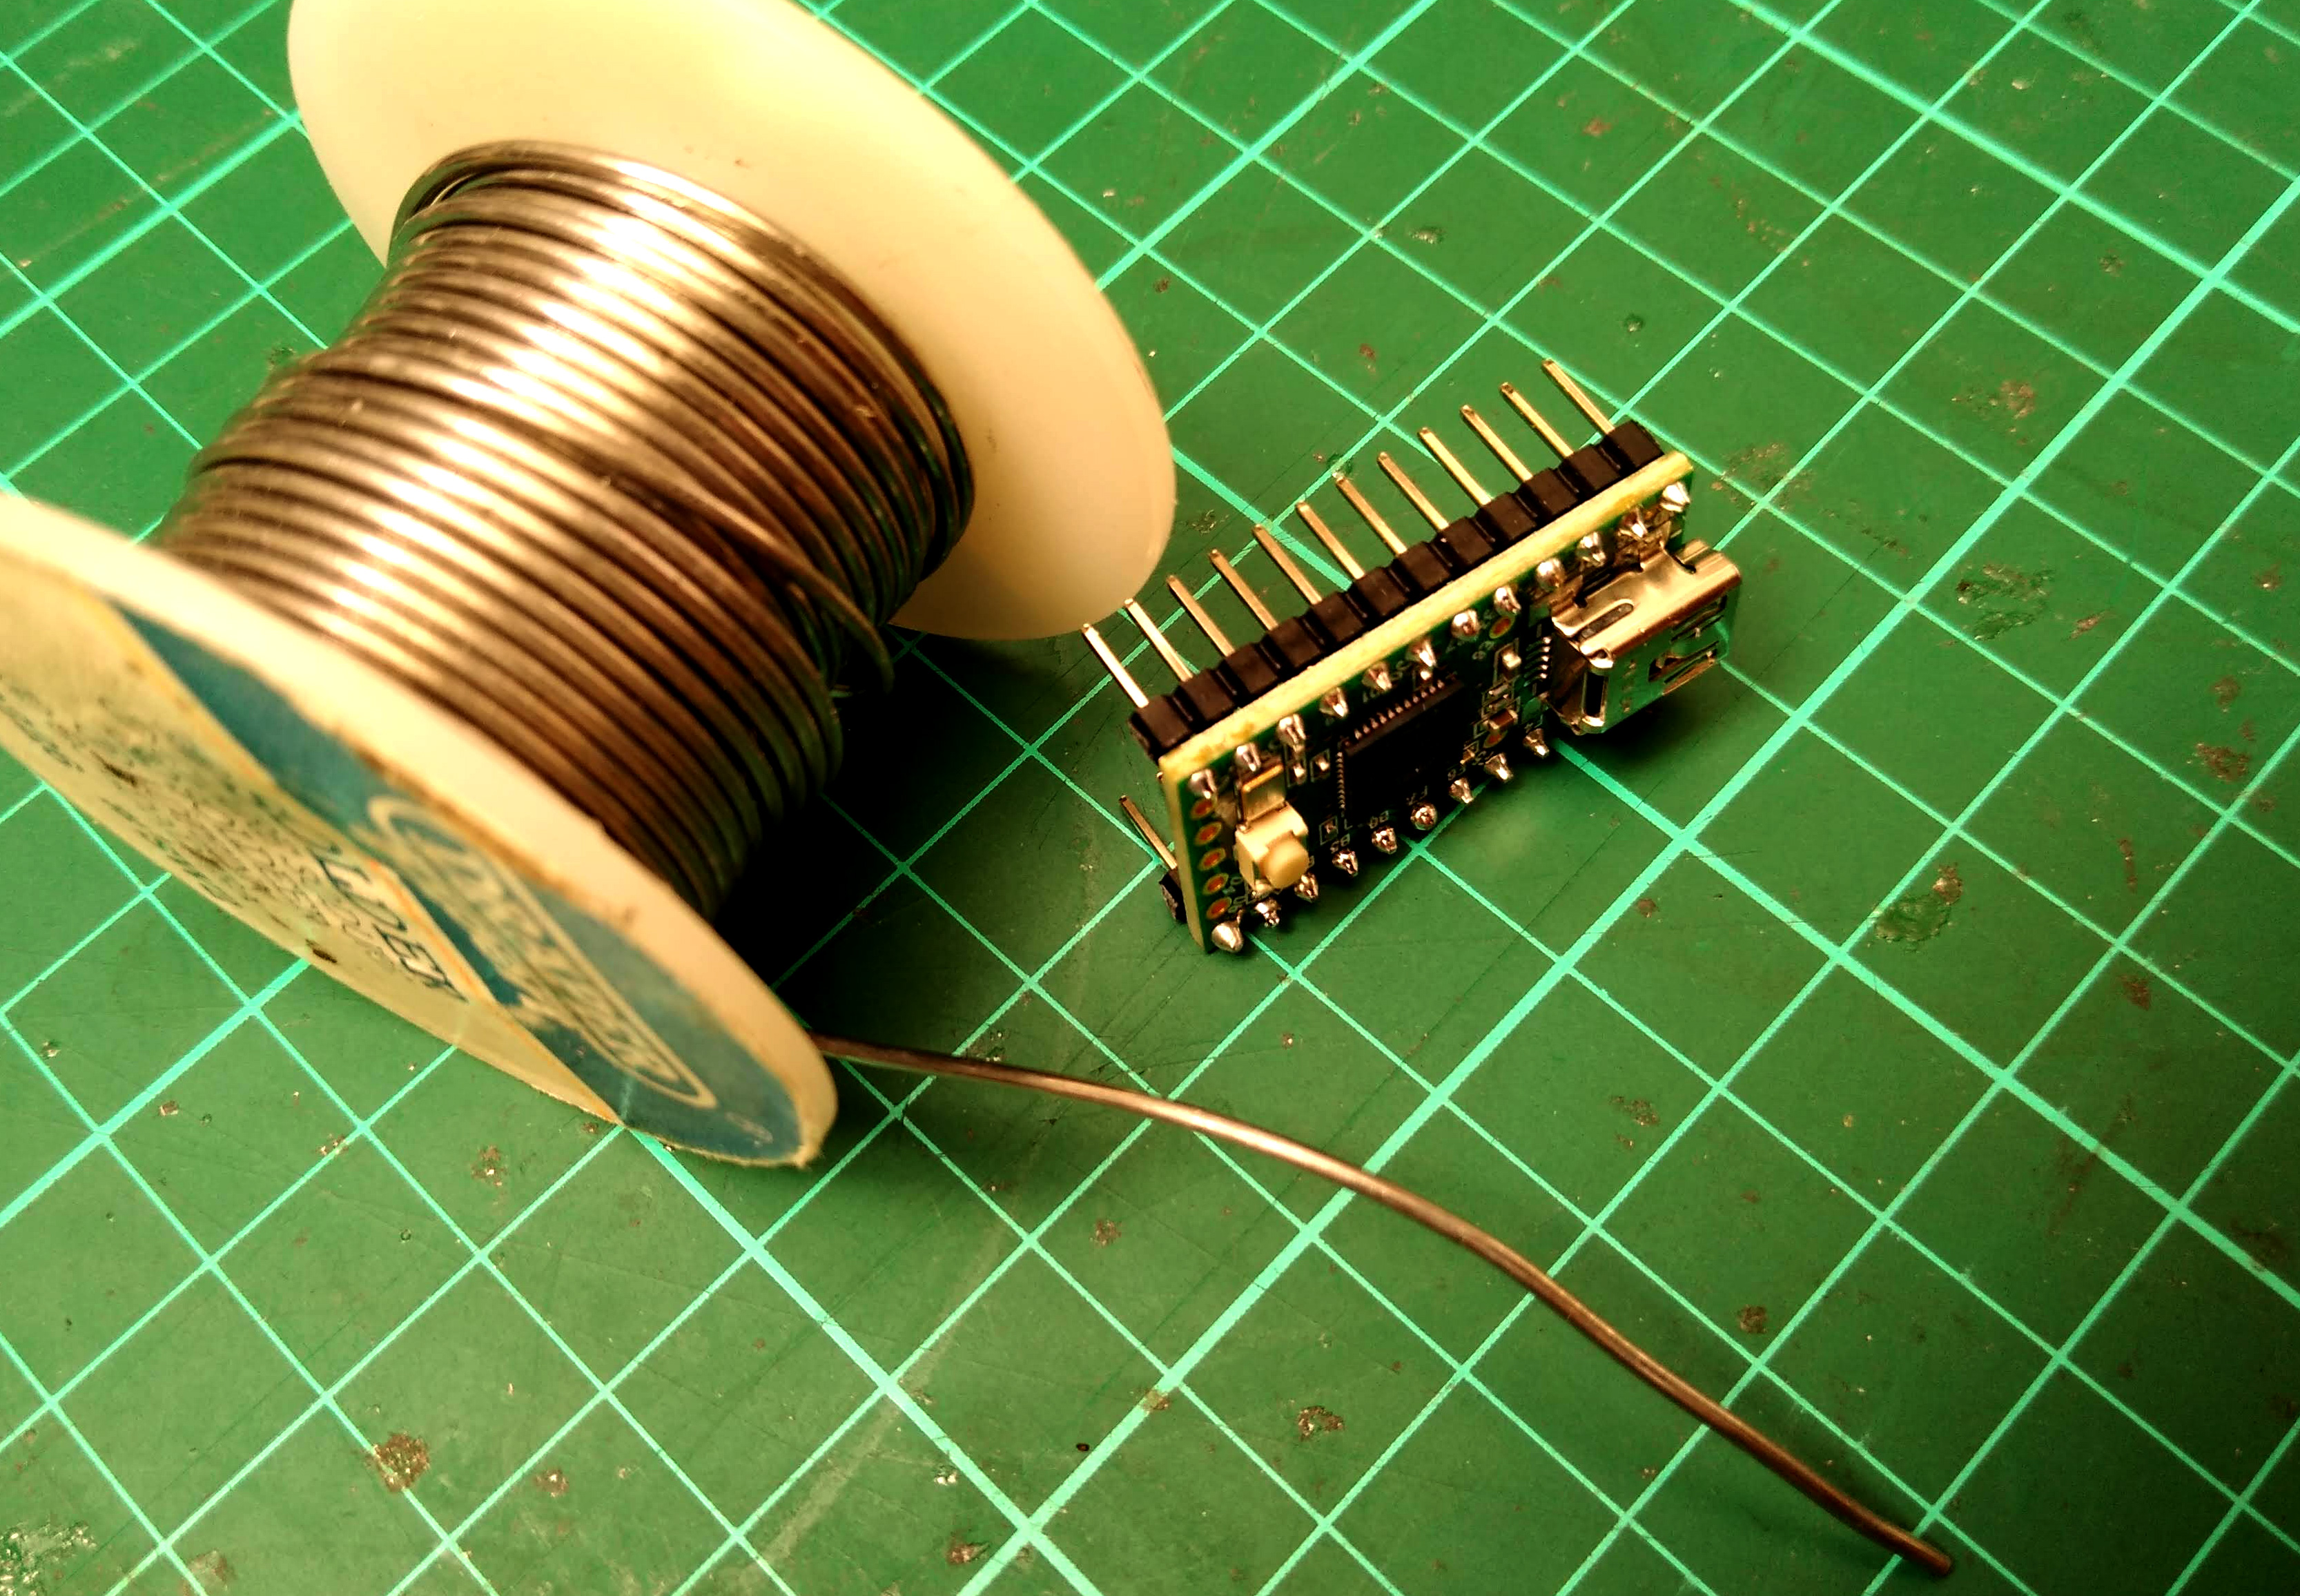
To use your Teensy with a breadboard, you’ll first need to solder the pin headers.
- Cut 2 strips of pin header with 12 pins on each.
- Solder the pin 2 headers to the contacts on the Teensy.
- Complete the circuit as indicated below.
The teensy will be powered separately through its USB connection. The solenoid’s power consumption is greater than the Teensy can provide, hence the separate PSU to power it.
The polarity connections of the solenoid are not important but the polarity of the diode is!
Note that we’ll be using the pin labelled D1 on the Teensy, this is pin 6 when in the Arduino programming environment.
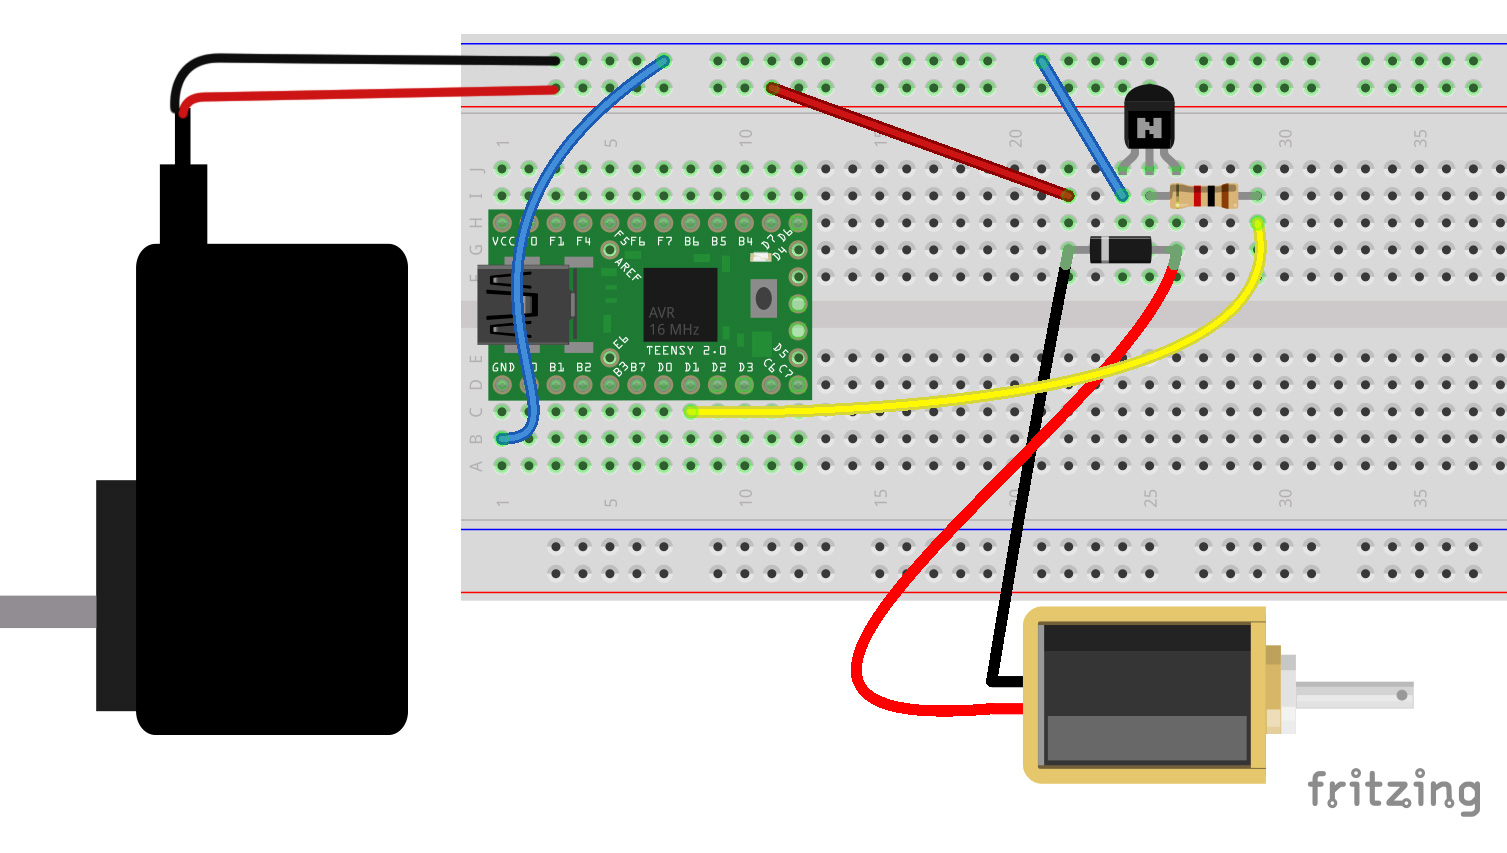
In the circuit above, the transistor is being used as a switch. When it receives a pulse from the Teensy, it allows the current from the 12V PSU to feed the solenoid. The flyback diode is used to stop current flowing backwards from the solenoid when it powers down as this would damage the transistor.
2. Programme the Teensy
To programme the Teensy you’ll first need to have the Arduino IDE and Teensyduino installed. You can learn how to do this here.
- Paste the following code into Teensyduino and upload it to the Teensy.
void setup() {
  pinMode(6, OUTPUT);
}

void loop() {

  digitalWrite(6, HIGH); //servo on
  delay(500);
  digitalWrite(6, LOW); //servo off
  delay(500);
}
If you now power the circuit and then the Teensy, your solenoid should be cycling through on and off.
3. Do more
Now you know the basics of controlling solenoids with a Teensy board you could:
- Tweak the code to modify the delay times between on and off or write a whole sequence with different timings to compose some kind of rhythm. You can then use the solenoid to tap on a percussion instrument of your choice.
- Use the solenoid as a locking latch.
- Use the solenoid in robotic applications.
Have fun!
Like what you read? Why not show your appreciation by giving some love.
From a quick tap to smashing that love button and show how much you enjoyed this project.

