Home Assistant is one of the leading home automation products due to its open-source codebase and strong security and privacy. It can be hosted on a Raspberry Pi 4 running on your own home or office network, but it is also possible to connect externally via the internet. It can be easily integrated with over 1500 smart home systems like the IKEA Trådfri lamps used in this guide.
A Windows 10 PC was used in this guide but the steps are similar for Mac OS and Linux.
- Assemble your OKdo Raspberry Pi Kit up to step 8 in the Getting Started Guide . You don’t need to connect a Mouse, Keyboard or Monitor.
Home Assistant installation will overwrite the SD card, so use a separate 16GB min SD card for the next steps if you want to preserve the one from your kit.
- Connect the Pi4 to the router using the ethernet cable. This provides the most responsive and reliable connection to Home Assistant and your connected devices.
- Download Home Assistant for Raspberry Pi 4 Model B 32bit (recommended) from here.
- Insert the SD card into the card reader on the PC and open BalenaEtcher – this is a free app that can be downloaded from here.
- Check that the correct SD card is selected and then navigate to the Home Assistant download file – it will be called hassos_rpi4-3.12.img.gz or similar depending on the version.
- Flash the image onto the SD card

- Eject the SD card from the PC and insert it into the Pi.
- Power up the Pi.
- Wait for a few minutes, then in a browser on the host PC open http://homeassistant:8123
- On first boot, Home Assistant will download the latest version of the software. This can take 10 – 20 mins depending on your internet speed.
- Follow the on-screen prompts to set your location and admin username and password – the default view will now open.
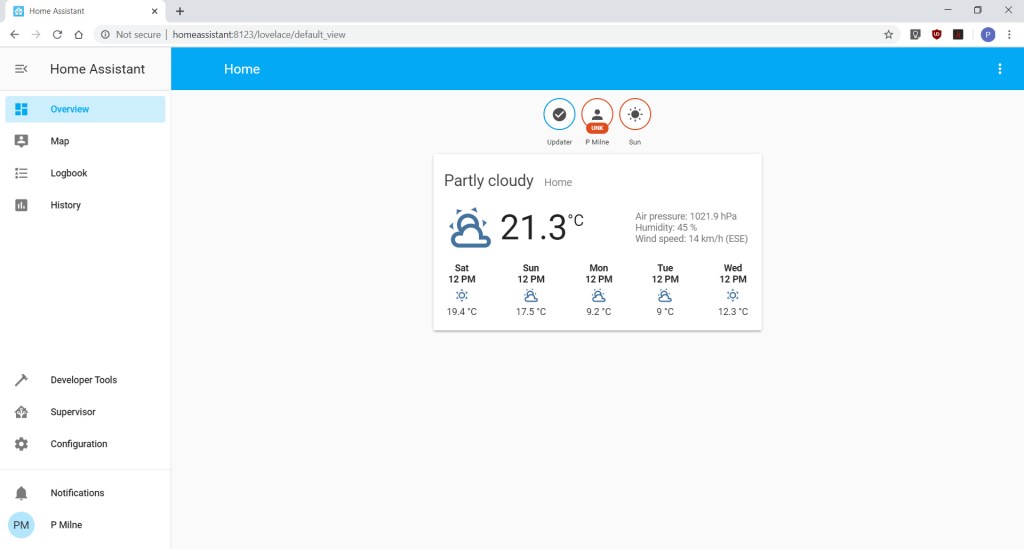
Home Assistant is now installed and ready to be configured.
- Ensure that your IKEA Trådfri gateway, dimmer and lamps are set up and working according to the manufacturer’s instructions.
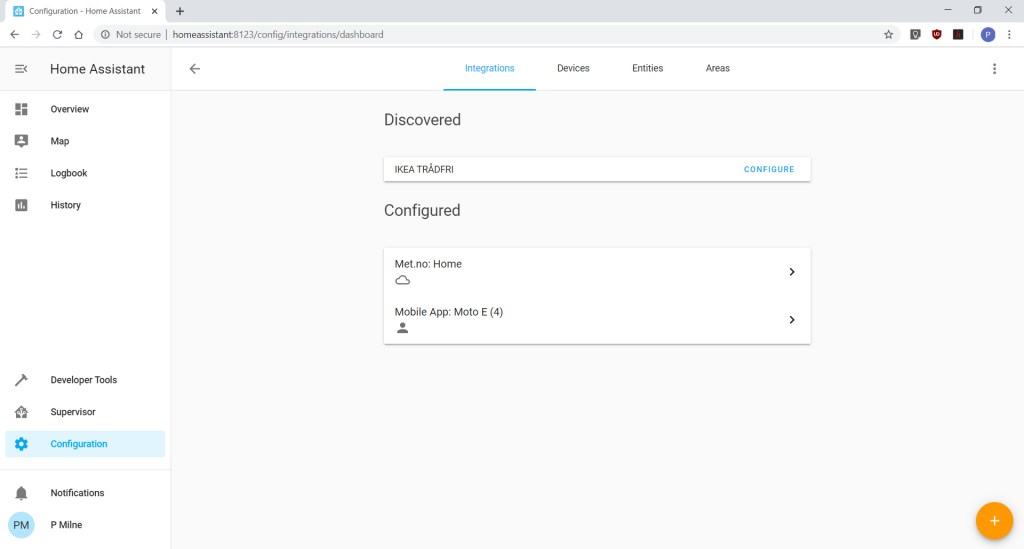
- In Home Assistant select the Configure item from the left-hand menu (If not visible, click the hamburger icon).
- Select Integrations and let Home Assistant scan for any connected devices – it should discover your Trådfri Gateway.
- Click Configure on the Trådfri item and enter the Security Code printed on the back of your Trådfri Gateway.
- Click OK.
- A dialogue will open displaying the gateway, bulbs and dimmers that are connected to the gateway. Use the dropdowns to select the location for each device.
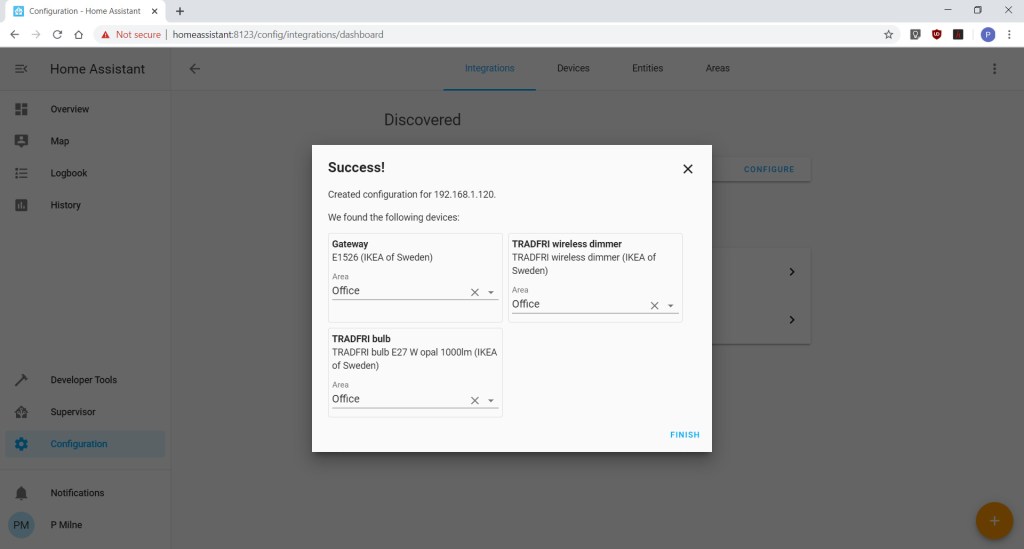
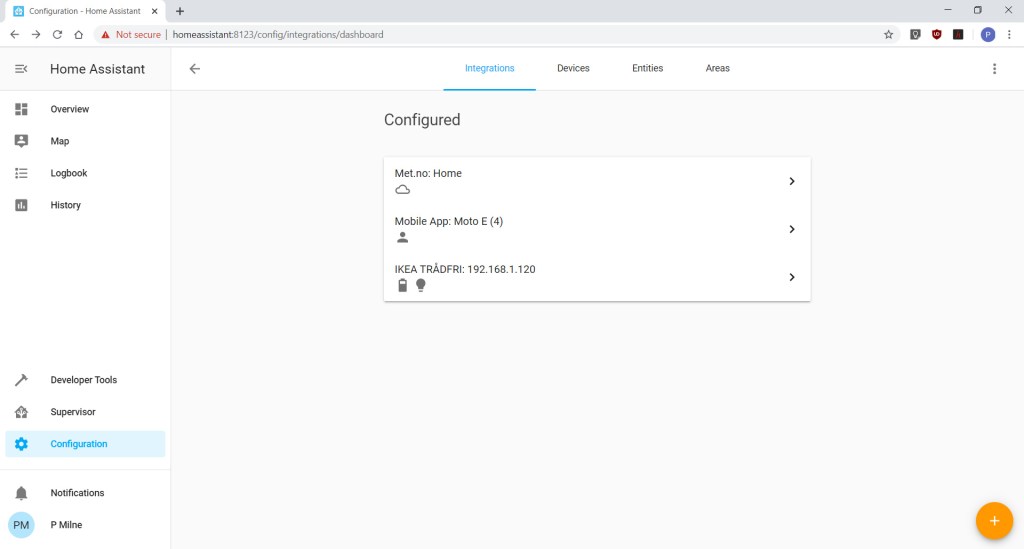
- Click Finish and the IKEA Gateway will be added to your configured devices.
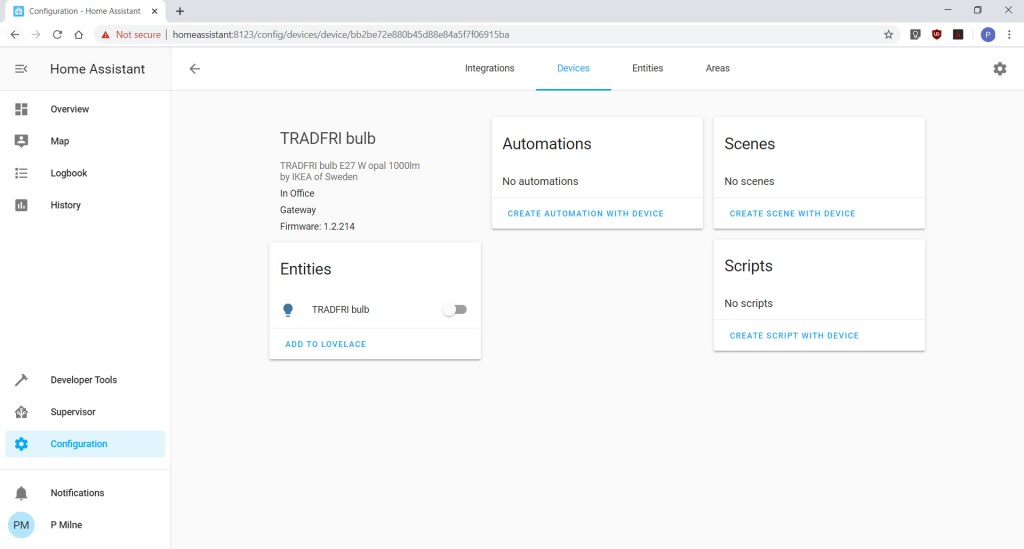
- Select the IKEA Trådfri bulb from the list that you want to add to the Overview screen.
- On the Entities Card, click ADD TO LOVELACE (the name of the web interface).
- A suggested display card will open – select this or choose PICK DIFFERENT CARD.
- When you have chosen your display card, click ADD TO LOVELACE.

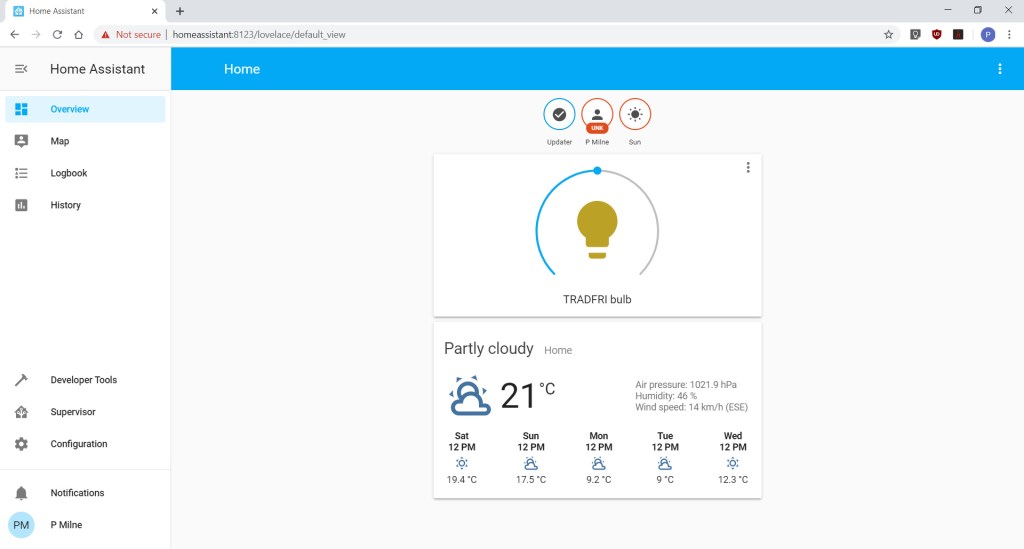
- Return to the overview. The Trådfri bulb should now be added to the screen.
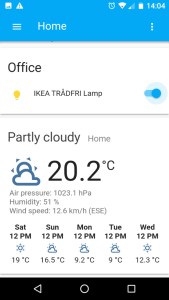
- Click the Bulb icon to turn your lamp on and off and the slider to control the brightness.
Your IKEA Trådfri lamps are now configured.
After adding new devices to Home Assistant, it is advisable to create a backup of the configuration. This will allow you to roll-back any changes or restore settings to a new installation.
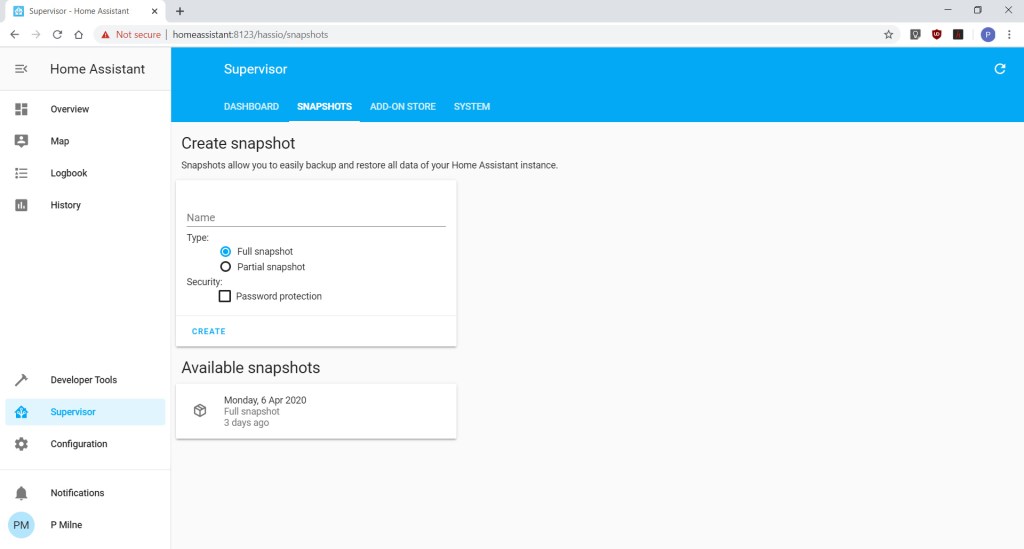
- Click Supervisor and Snapshots from the menu.
- Select Full Snapshot.
- Click CREATE – this will create a full backup of the Home Assistant configuration.
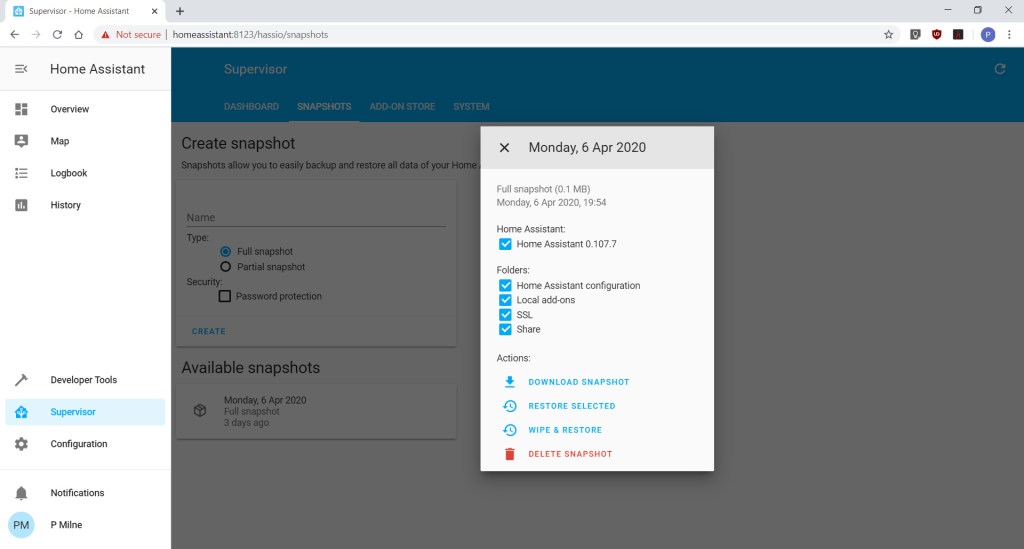
- Click the backup from Available Snapshots.
- Choose Download Snapshot – this will download the snapshot to your PC for safekeeping.
Your Home Assistant configuration is now complete.
Normally Home Assistant should be left running but if you need to power down it is important to shut down your system first.
Switching off the power without shutting down can corrupt the SD card.
- Select Supervisor and System.
- In the Host system Card click SHUTDOWN.
- Wait until the green activity light on the Pi has stopped blinking before powering it off.

Now Home Assistant is set up and configured for your smart devices, you can add mobile access by installing the Home Assistant App for Android or iOS.
- Download the app from your App Store.
- When the app opens for the first time, it will scan for your Home Assistant or you can add it manually using http://homeassistant:8123
- Enter the username and password you set up for your Home Assistant account.
- Your devices will appear on screen so you can control them.
