This project uses the Raspberry Pi AI starter kit from OKdo to get you up and running quickly with Google Coral and TensorFlow Lite.
Coral USB Accelerator brings millisecond-level inference speeds to devices running TensorFlow Lite, without the need for internet connectivity or cloud services. You can do image classification, gesture and keyphrase recognition and object detection in live video at the edge, off-line.
We show off some of the exciting example projects included with the kit. The first identifies almost a thousand different bird species using still images, then using the Pi Camera module supplied with the kit we perform object recognition in a video stream.
The kit comes with a pre-loaded SD card containing several example projects written in Python that can be run out of the box. They are all open-sourced and can be used as a basis for your own development.

Note: The camera requires Raspberry Pi OS (Legacy) with desktop.
1. Build the kit
The kit comes with everything required for the project including a fully-loaded SD card with example code. Just add the HDMI monitor, USB mouse and keyboard and some way to hold or mount the camera.
- Make sure the Raspberry Pi is powered off.
- Fit the Raspberry Pi into the case.
- Locate the Camera Module port.
- Gently pull up on the edges of the port’s plastic clip.
- Insert the Camera Module ribbon cable; make sure the cable is the right way round. The blue marker should be facing the USB ports.
- Push the plastic clip back into place.
- Insert the SD card.
- Attach monitor, keyboard, mouse and USB power supply.
- Support the camera module using a specialized case or camera tripod. ( we used a Panavise bench clamp – not included )
- Attach the Coral USB Accelerator with the USB 3.0 C cable supplied to one of the blue USB 3.0 ports on the Raspberry Pi.
- Power on the Raspberry Pi.
2. Camera test
Before trying to run the examples, test that the camera is enabled and working correctly.
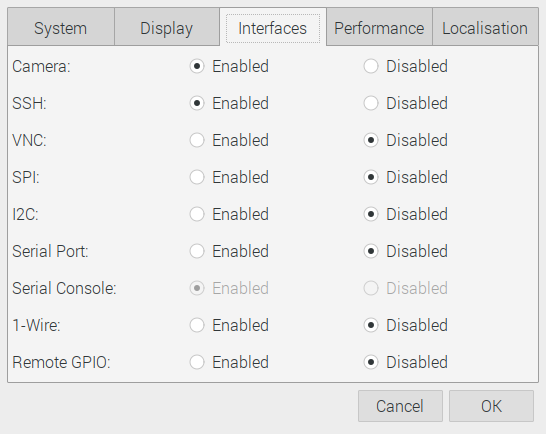
- From the main menu open Preferences> Raspberry Pi Configuration.
- Check that the camera interface is enabled.
-
Open Terminal and put the camera into preview mode using the command below. Use Ctrl + C to exit.
raspistill -t 0- Now take a test shot saved to the current directory with:
raspistill -o test-shot.jpgYou can find the full camera documentation here.
3. Parrot test
Now the Coral Accelerator can be tested using the bird classifier example. This uses a trained model capable of identifying over 900 different bird species from images. A test image is included but you could also take your own shots or download images from the internet. You will find the results are quite amazing!
- In Terminal run the following commands:
cd ~/coral/tflite/python/examples/classification
~/coral/tflite/python/examples/classification $ python3 classify_image.py
--model models/mobilenet_v2_1.0_224_inat_bird_quant_edgetpu.tflite
--labels models/inat_bird_labels.txt --input images/parrot.jpg
You should get a similar result to below identifying the Scarlet Macaw.

4. Video object identification
The final example uses the video stream from the Pi Camera module to identify objects appearing in the field of view. The trained model can identify around 1000 different objects with remarkable accuracy.
- Open Terminal and execute the following:
cd ~/google-coral/examples/lite/examples/image_classification/raspberry_pi
python3 classify_picamera_EDGETPU.py
--model ~/google-coral/models/mobilenet_v1_1.0_224_quant_edgetpu.tflite
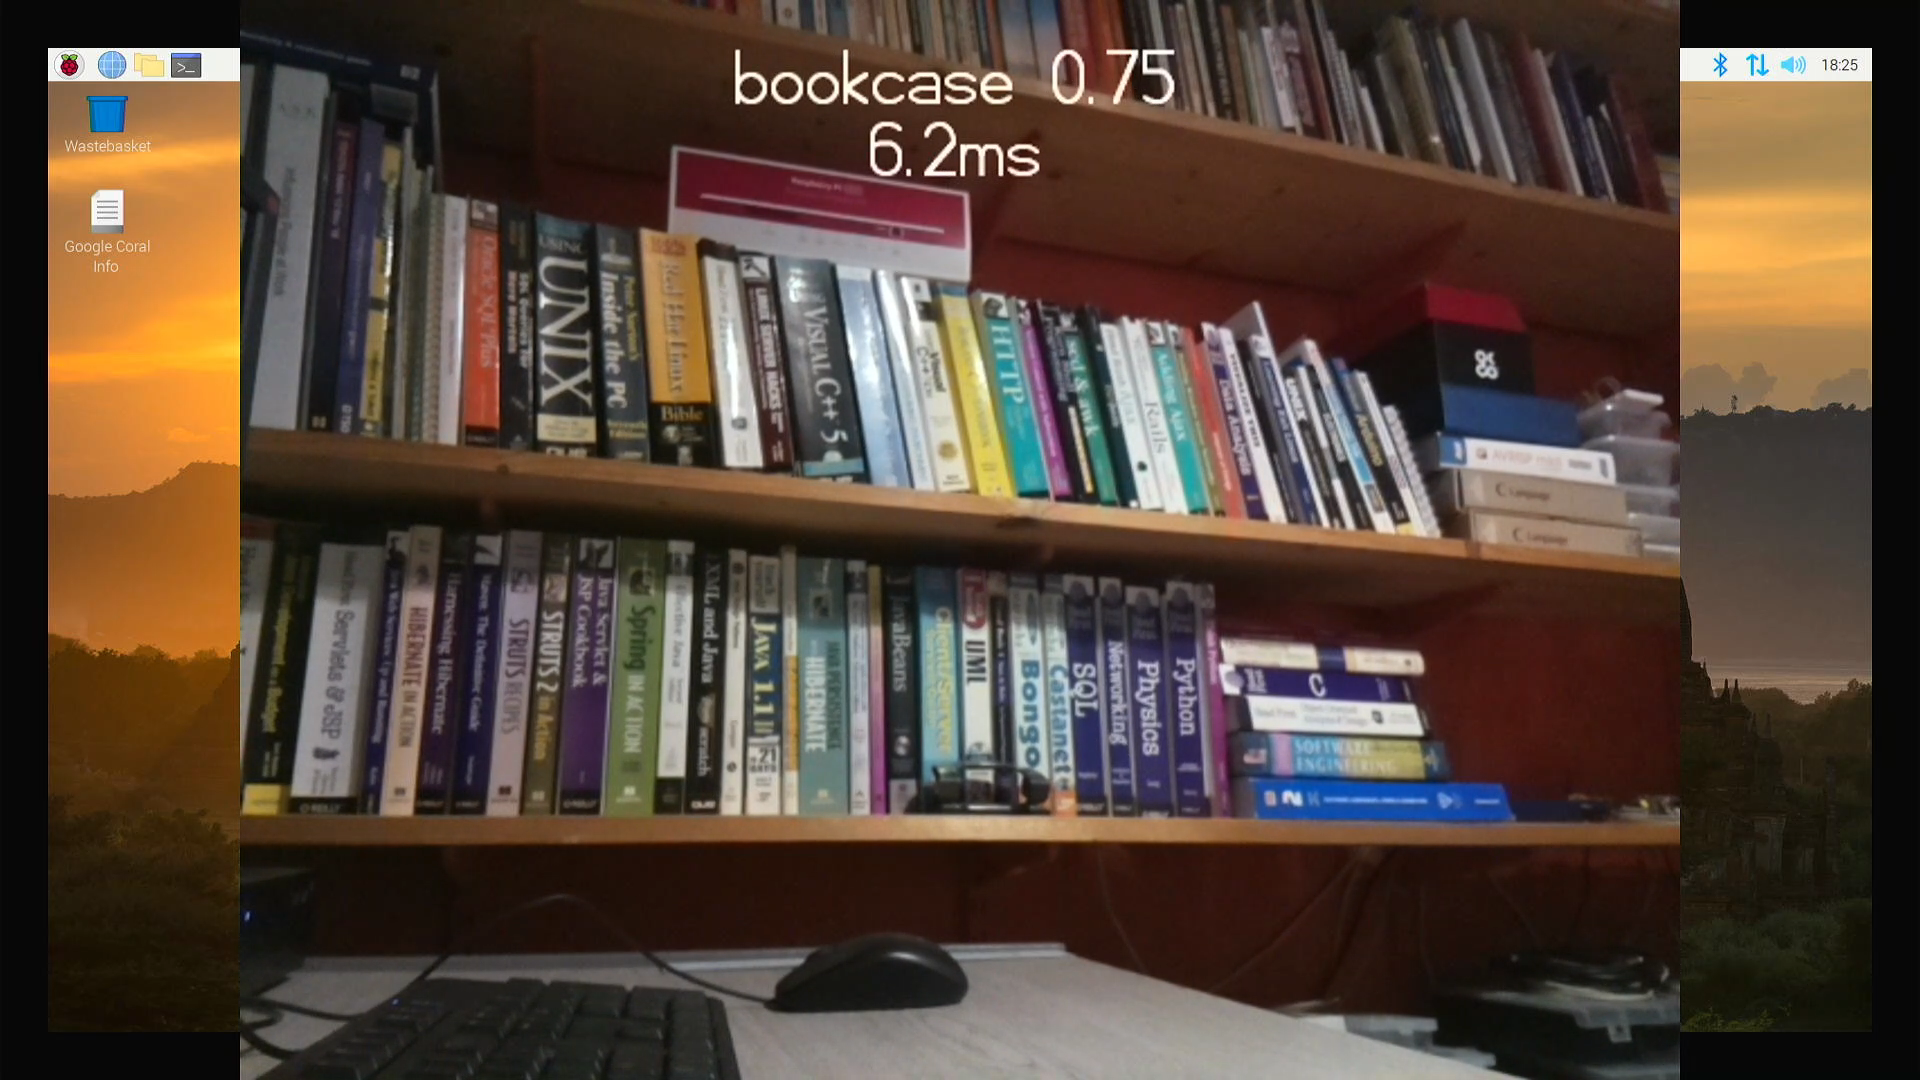
--labels ~/google-coral/models/labels_mobilenet_quant_v1_224.txtCoral can easily identify the bookcase. The video image is displayed on the screen with a label showing the object identified, its confidence factor and the inference time, which is incredibly fast!
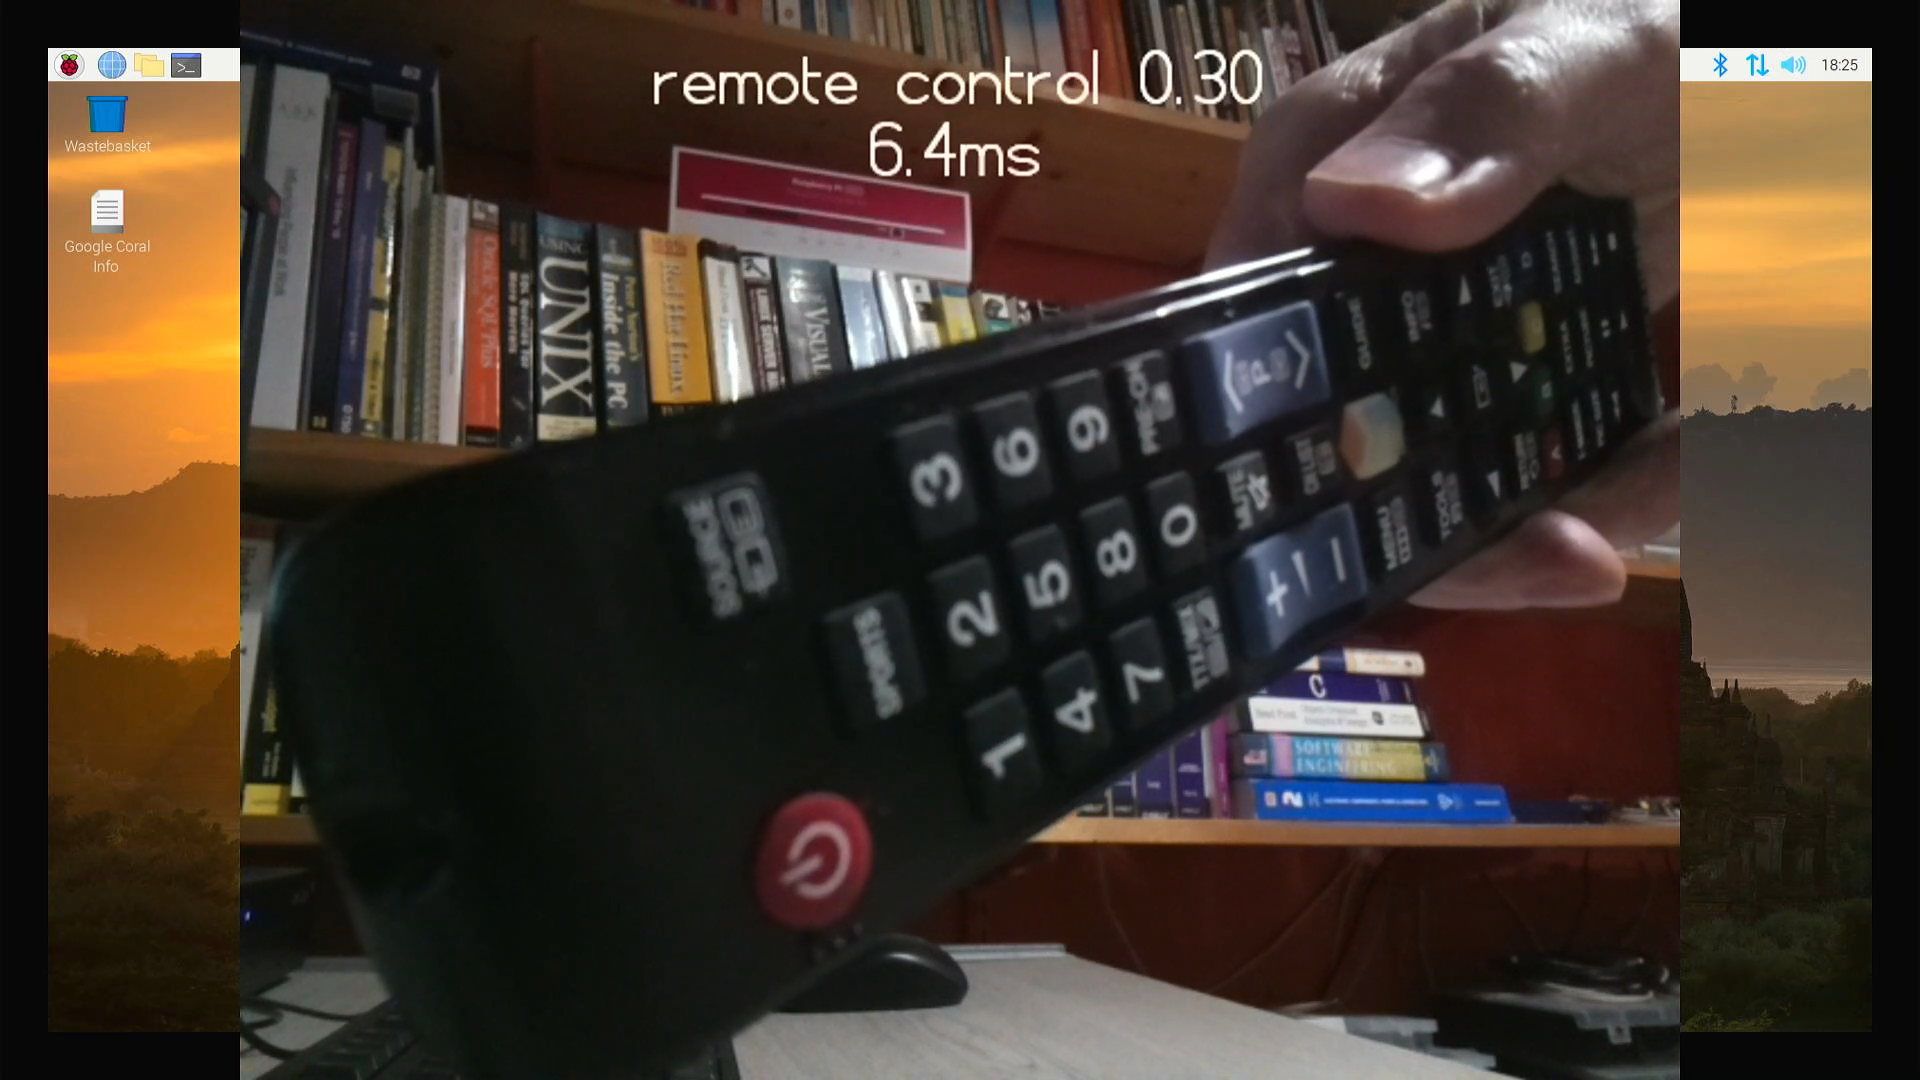
We also tried with the TV remote control which was identified when brought close to the camera lens, which is why the shot looks out of focus.
5. Update software
Once you’ve run these projects, we recommend updating the system and software so you have the latest versions. Run the following commands in Terminal with the Coral USB Accelerator disconnected:
- Update Raspberry PI OS:
sudo apt update
sudo apt full-upgrade-
Add Coral Debian package repository to your system:
echo "deb https://packages.cloud.google.com/apt coral-edgetpu-stable main" | sudo tee /etc/apt/sources.list.d/coral-edgetpu.list
curl https://packages.cloud.google.com/apt/doc/apt-key.gpg | sudo apt-key add -
sudo apt-get update
-
Install the Edge TPU runtime (standard speed):
sudo apt-get install libedgetpu1-std-
Install TensorFlow Lite runtime for Raspberry Pi OS 10 (which has Python 3.7):
pip3 install https://github.com/google-coral/pycoral/releases/download/release-frogfish/tflite_runtime-2.5.0-cp37-cp37m-linux_armv7l.whl- Reboot:
sudo reboot-
Now connect the Coral USB Accelerator and run examples.
To run the Coral USB Accelerator at maximum speed (replaces standard Edge TPU runtime) with warning about device getting very hot:
sudo apt-get install libedgetpu1-max-
Unplug Coral USB Accelerator.
sudo reboot- Re-connect the Coral USB Accelerator.
Summary
Coral USB Accelerator is optimised to run TensorFlow Lite machine learning, taking the load off the attached host, in this case, the Raspberry Pi, with dramatic speed increases. This enables applications like video object recognition and other processor-intensive tasks to be performed at the edge on low powered hardware. If you need AI in an embedded environment that might be off-line, this is where Coral fits neatly.
The OKdo kit contains everything you need including the camera module to start exploring machine learning. It comes with several working examples already installed on the included SD card, to give you a fast start.
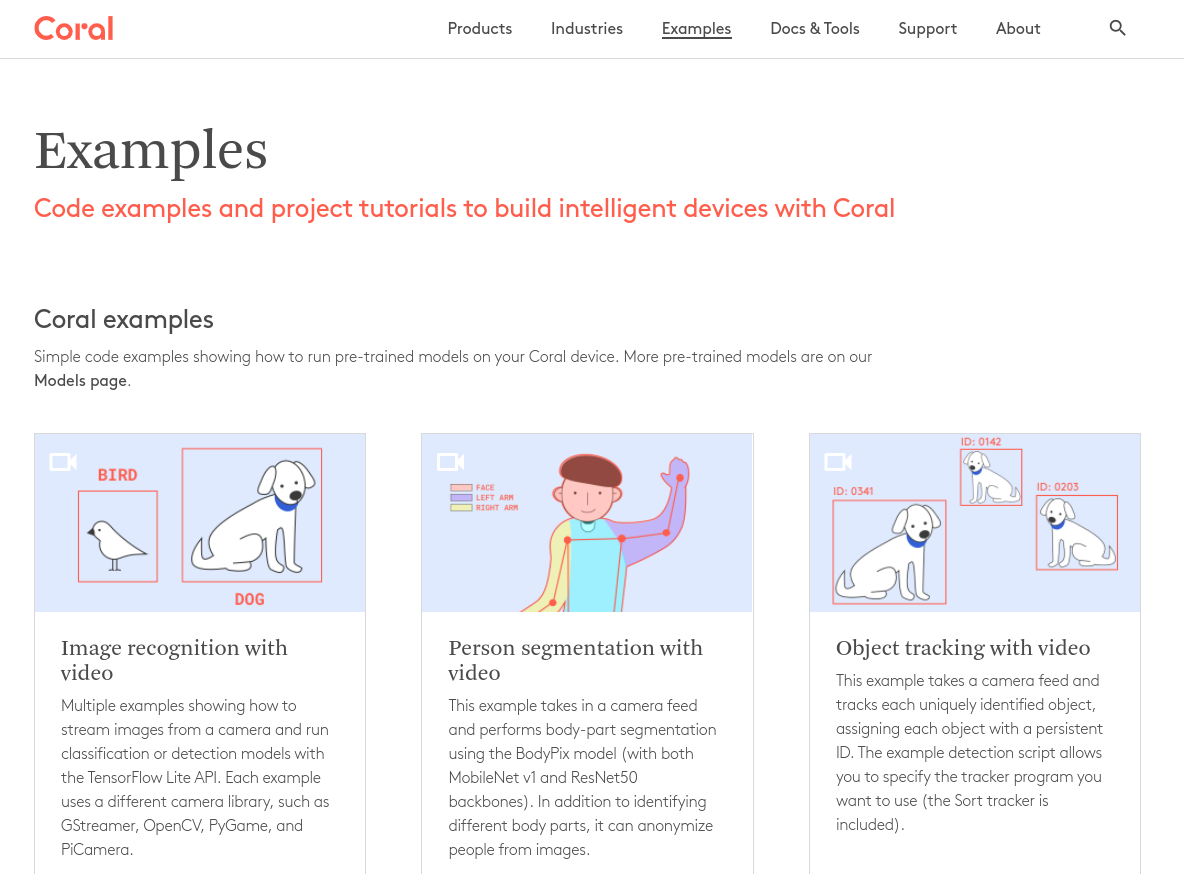
Google is behind Coral and has provided excellent documentation and open-source example code written in Python, that can be modified and used in your own projects. Once familiar with the software included in the kit, we recommend heading over to the Coral example pages where the latest projects are being added. There you’ll find further demonstration projects and information on building and training your own ML apps to run on Coral.
Like what you read? Why not show your appreciation by giving some love.
From a quick tap to smashing that love button and show how much you enjoyed this project.

