

This get started with WebThings Gateway Kit guide will teach you how to get ap and running with Raspberry and WebThings.
WebThings is an open-source implementation including the WebThings Gateway and the WebThings framework which connects real-world objects to the internet. This allows you to create smart devices for your home and control them remotely without the need for middleman applications.
What you'll need
1 x Host computer or smartphone
Insert Pi into case
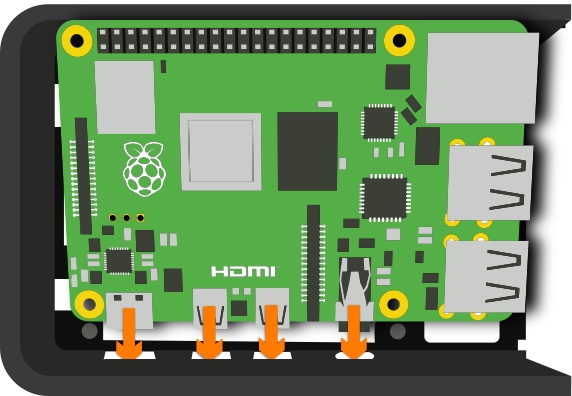
- Slide the Raspberry Pi into the base of the plastic case ensuring that you align and insert the power, HDMI and audio ports into their respective openings.
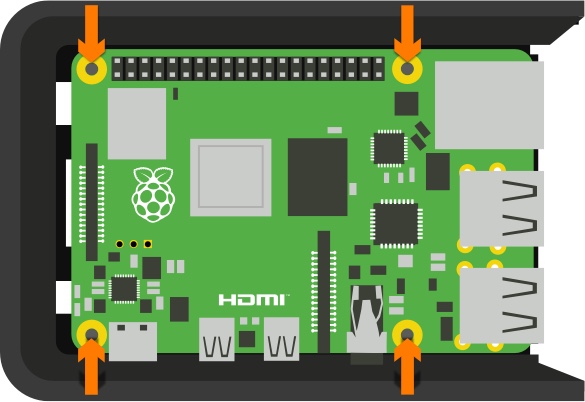
- Position the Raspberry PI so that it sits on the mounting points of the case.

- Slide the case’s lid into position and push it all the way in.
Insert pre-flashed microSD card
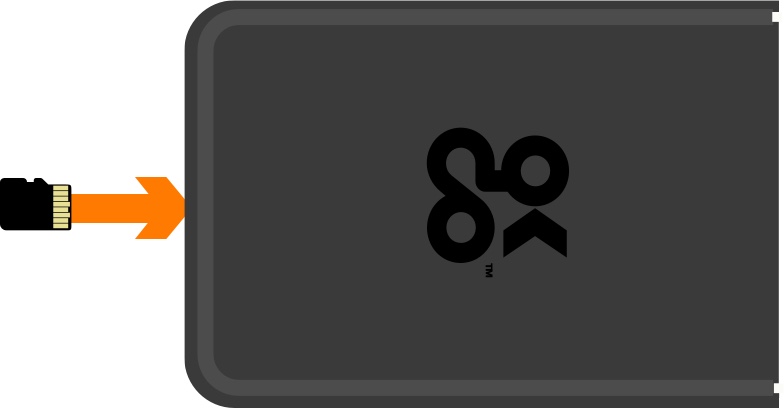
- Fully insert the pre-flashed microSD card
Connect power
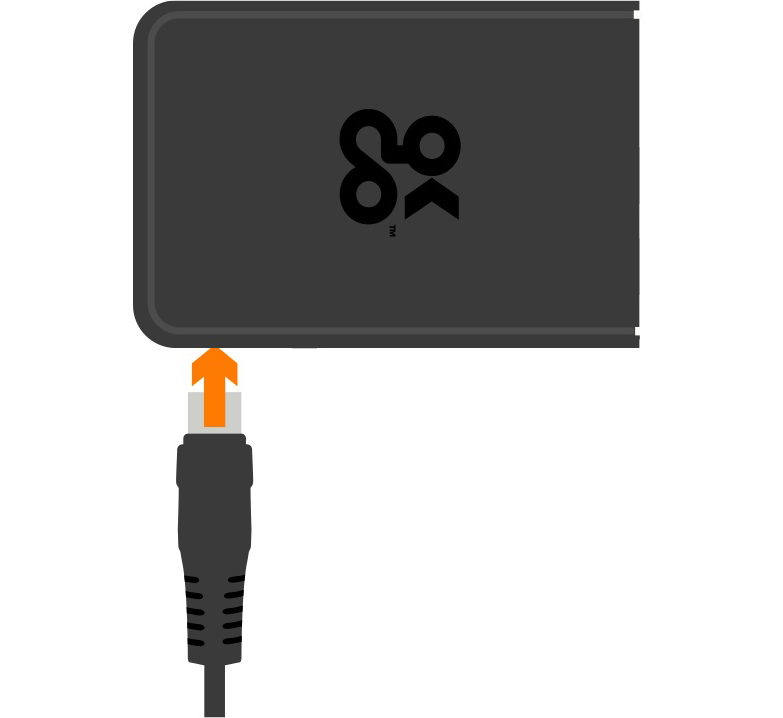
- Connect the power cable to the port shown above.
- Plug the power supply into a socket.
- Wait for your Pi to boot, this can take up to 3-4mins, way longer than the usual start-up time.
Configure WiFi network
- From your host computer or smartphone, look for and connect to WebThings Gateway in your available networks. Its SSID will be WebThings Gateway XXXX
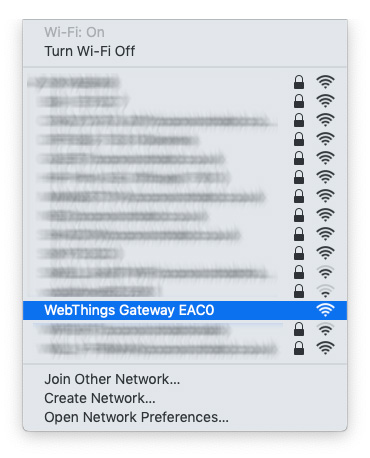
A window will appear displaying available WiFi networks.
- Select your network and enter the password when prompted and click Connect.
- A page will appear, showing nearby Wi-Fi networks.
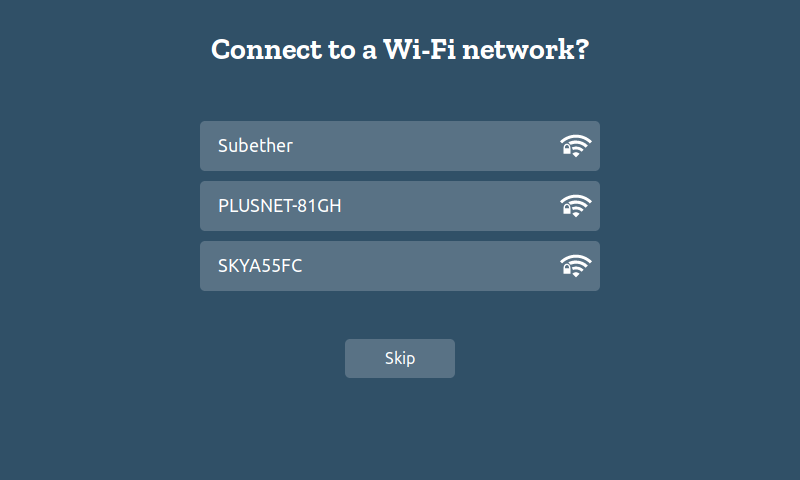
- Select the desired network and enter the password when prompted. The “Connecting to WiFi…” page will automatically disappear.
Create secure subdomain
- From a computer or smartphone connected to the same network as your gateway, point a browser to http://gateway.local/
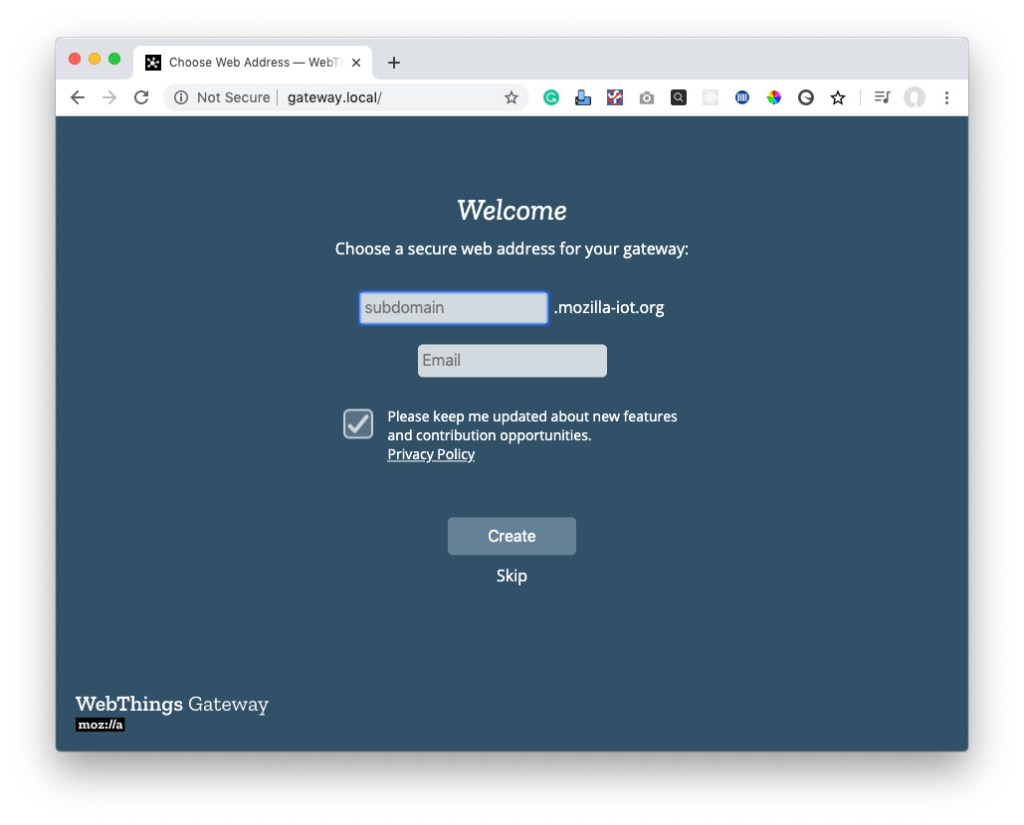
- Enter a subdomain in the relevant field. Make sure that it’s something memorable.
- Enter a valid email address in the email field.
- Click Create.
Create user account
Once you’ve created a subdomain, you’ll be presented with the user account window. A user account is how you’ll access the gateway to manage your devices.
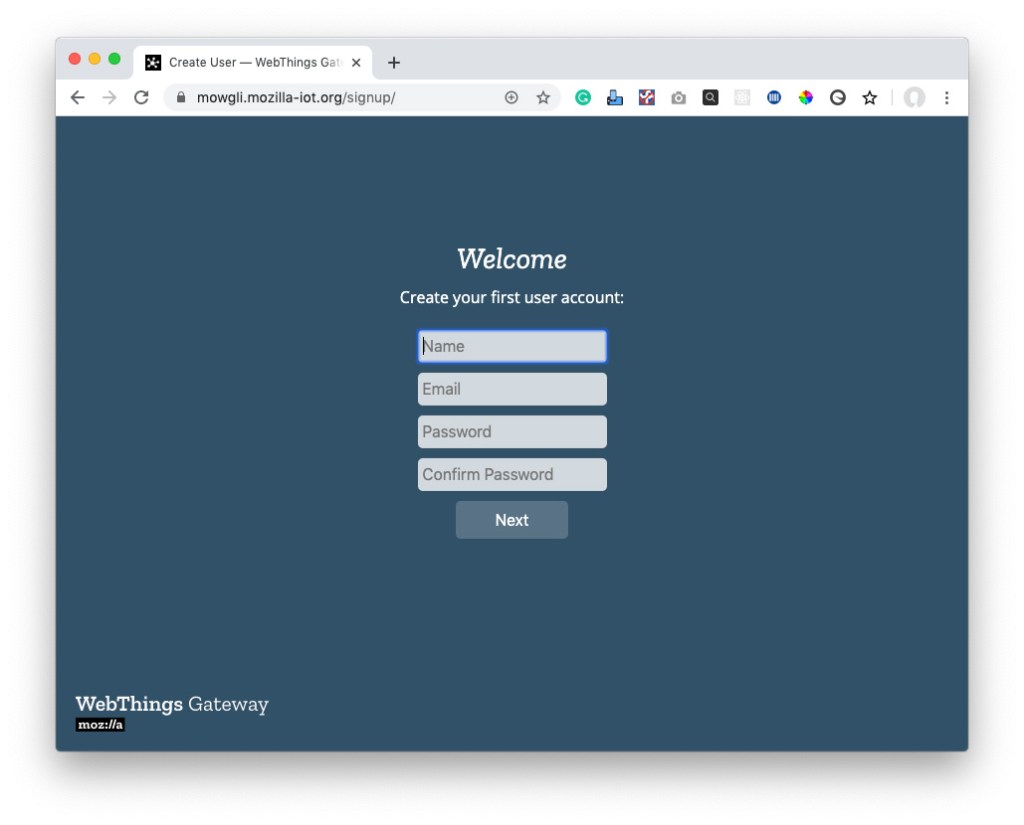
- Fill in all the fields and click Next.
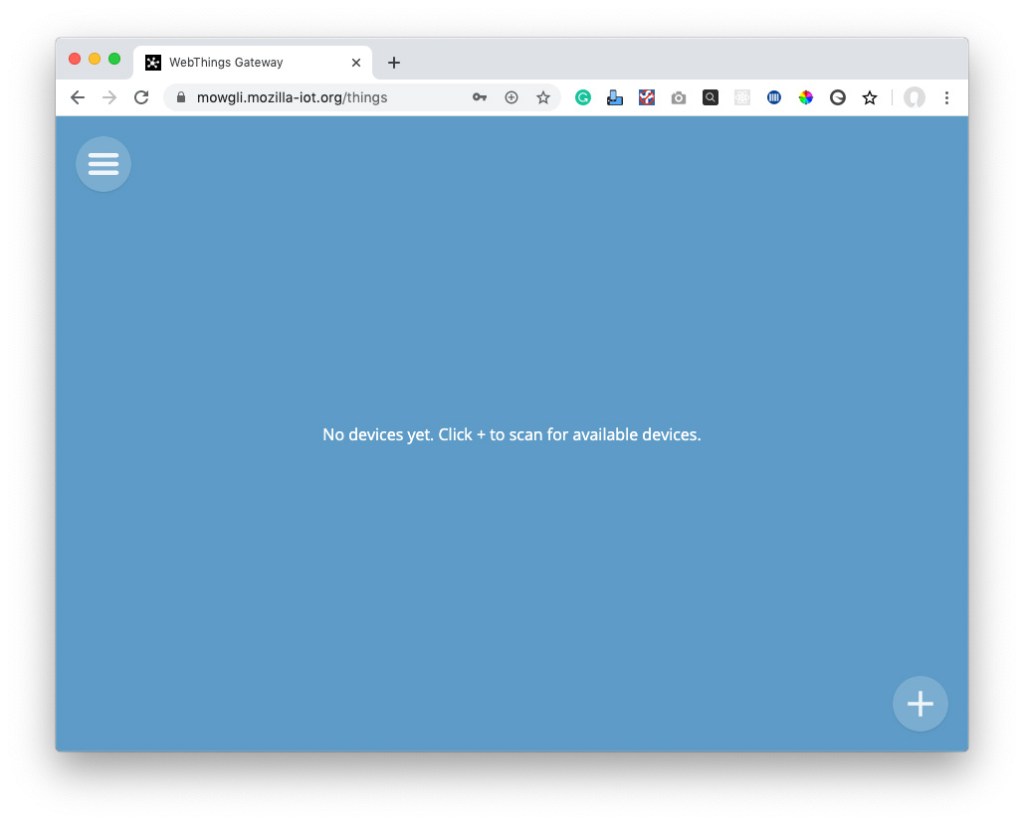
You’ll be presented with a blank screen bearing the message No devices yet.
Add-ons
The WebThings Gateway uses an add-on system to let it understand how different connected devices and services work. For each type of device or service, you’ll need to install and configure the relevant add-on so the gateway can use it to discover and connect to them. This example shows how to install the Weather add-on so you can connect to an open weather information service and display current conditions.
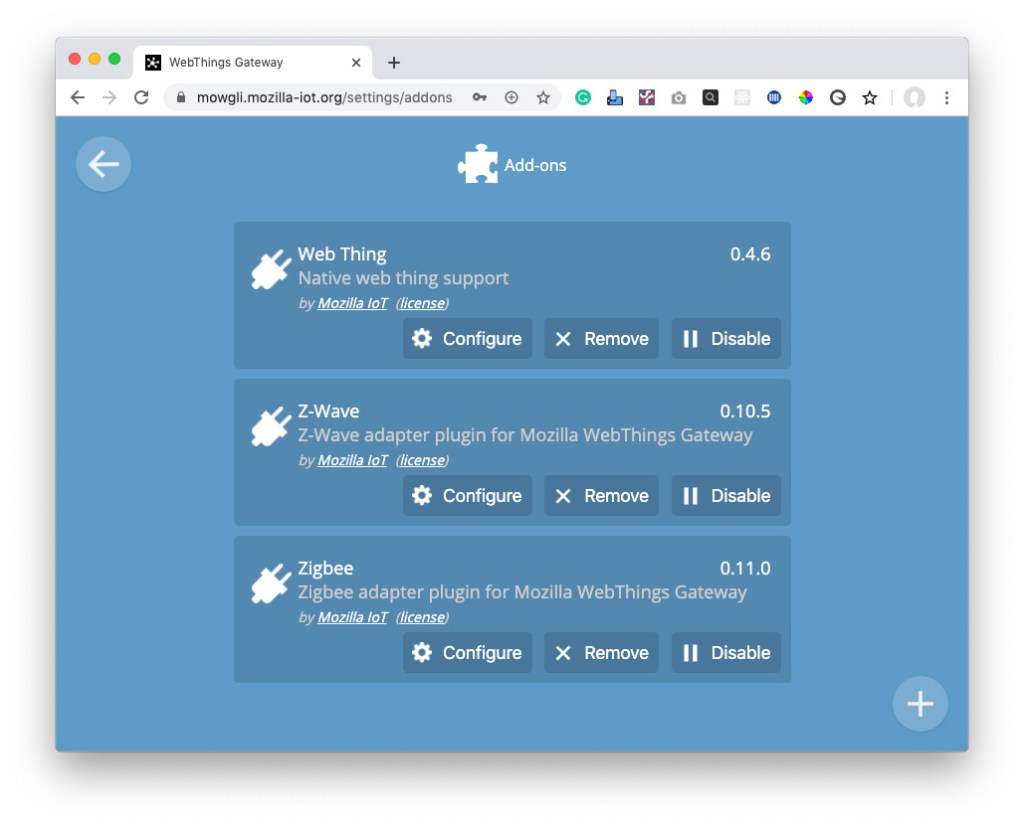
- Click on the menu icon on the top left and navigate to Settings>Add-ons.
- Click on the + icon on the bottom right. You’ll be presented with an alphabetical list of add-ons.
- Navigate to the Weather add-on and click Add.
After a little while, the add-on will display as Added and you’ll get a message saying that no locations are configured.
- Click on the back arrow. This will take you to the list of installed add-ons.
- Find the Weather add-on and click Configure.
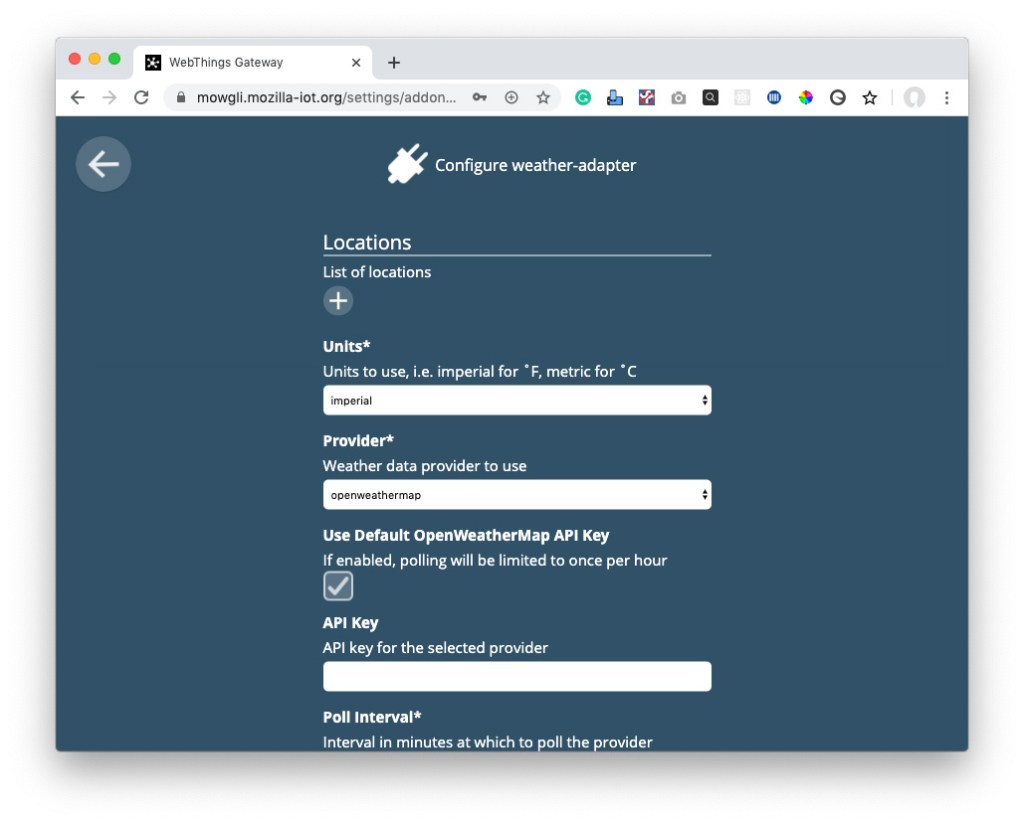
- Click on + under Locations.
- Enter the name of the location you want to track and its latitude and longitude, you can find that information here.
- Set the units that you want to use. You can leave the default Open-WeatherMap API key selected.
- Click on Apply.
- Click on the back arrow twice and then select Things from the menu.
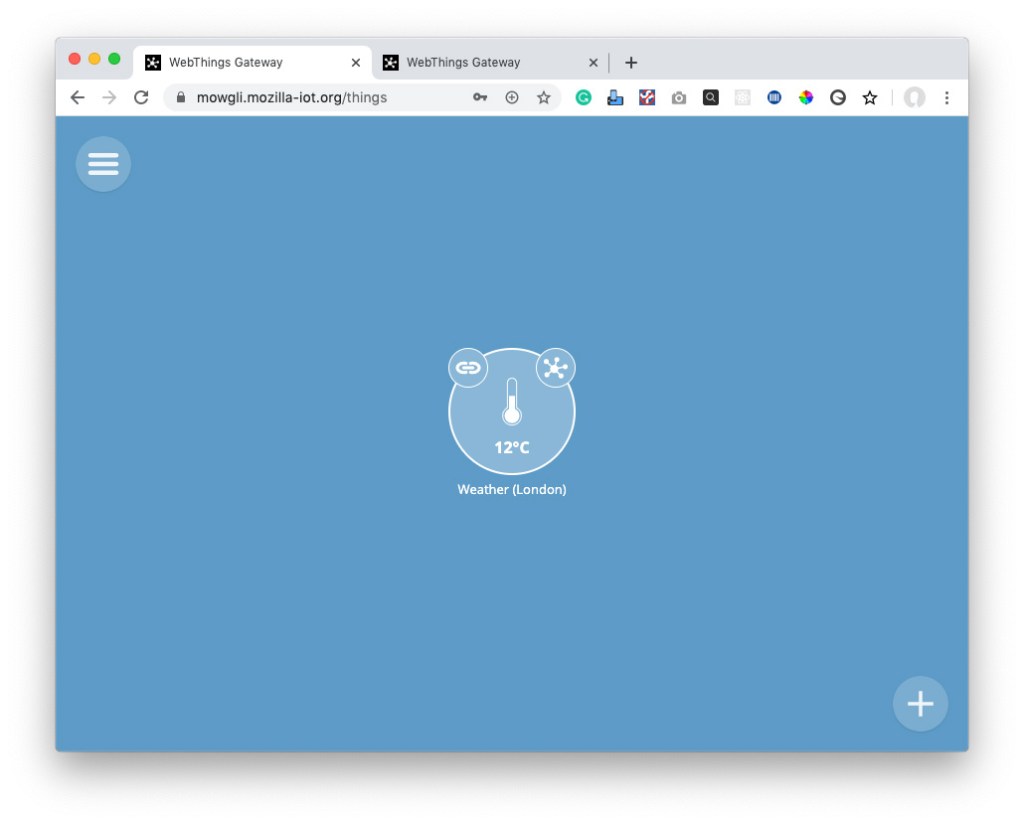
- Click on the + to scan for devices. This should discover the Weather thing with your specified location name.
- Click Save.
You should now be able to view weather data by going to the main Things page to see the installed Weather thing.
Do more
Now that you have your WebThings up and running, you can refer to the following resources for further functionality and configuration: