The Raspberry Pi Pico is the first microcontroller from Raspberry Pi. A tiny yet powerful board. This guide will get you flashing the LED using C/C++ on the Pico in no time!
Download UF2
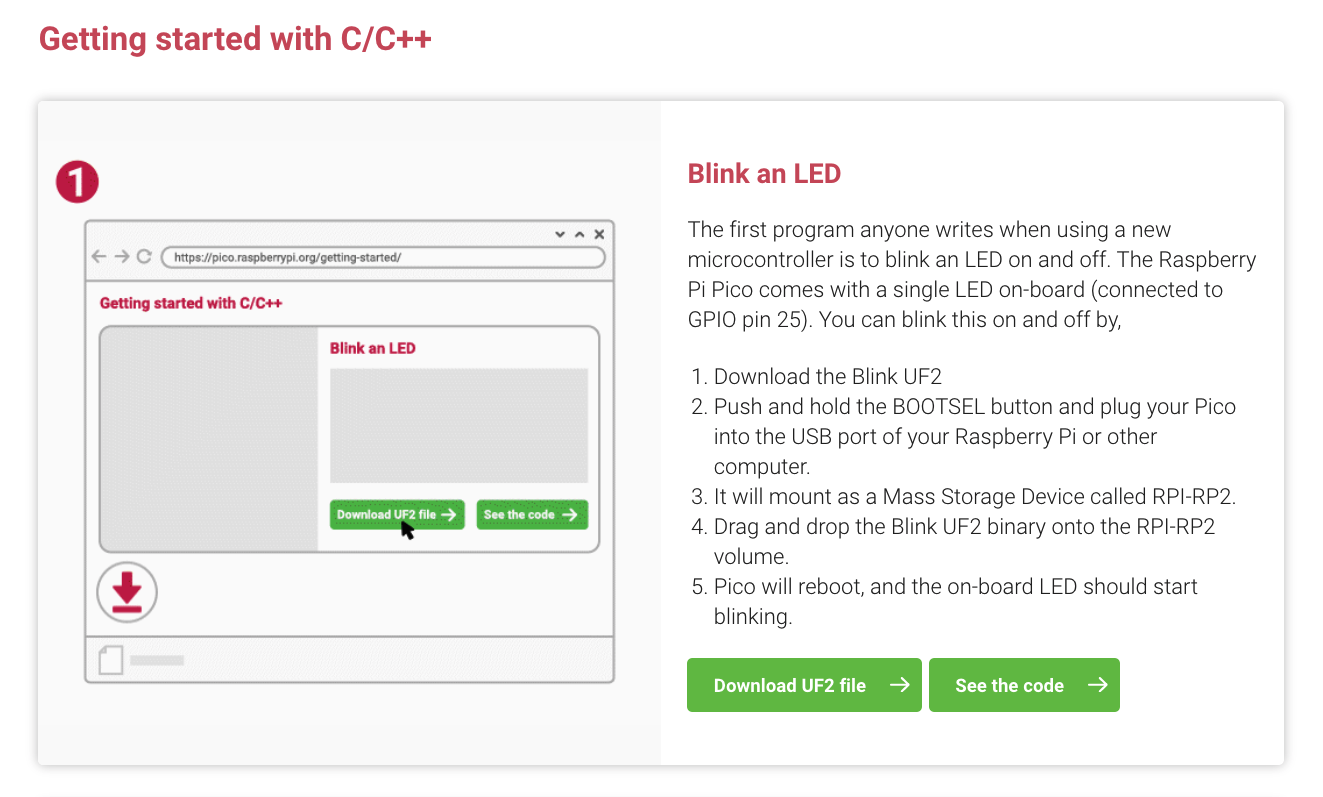
- Go here and click on the Getting started with C/C++ tab and download the UF2 file in the Blink an LED box.
Connect the Pico to your computer
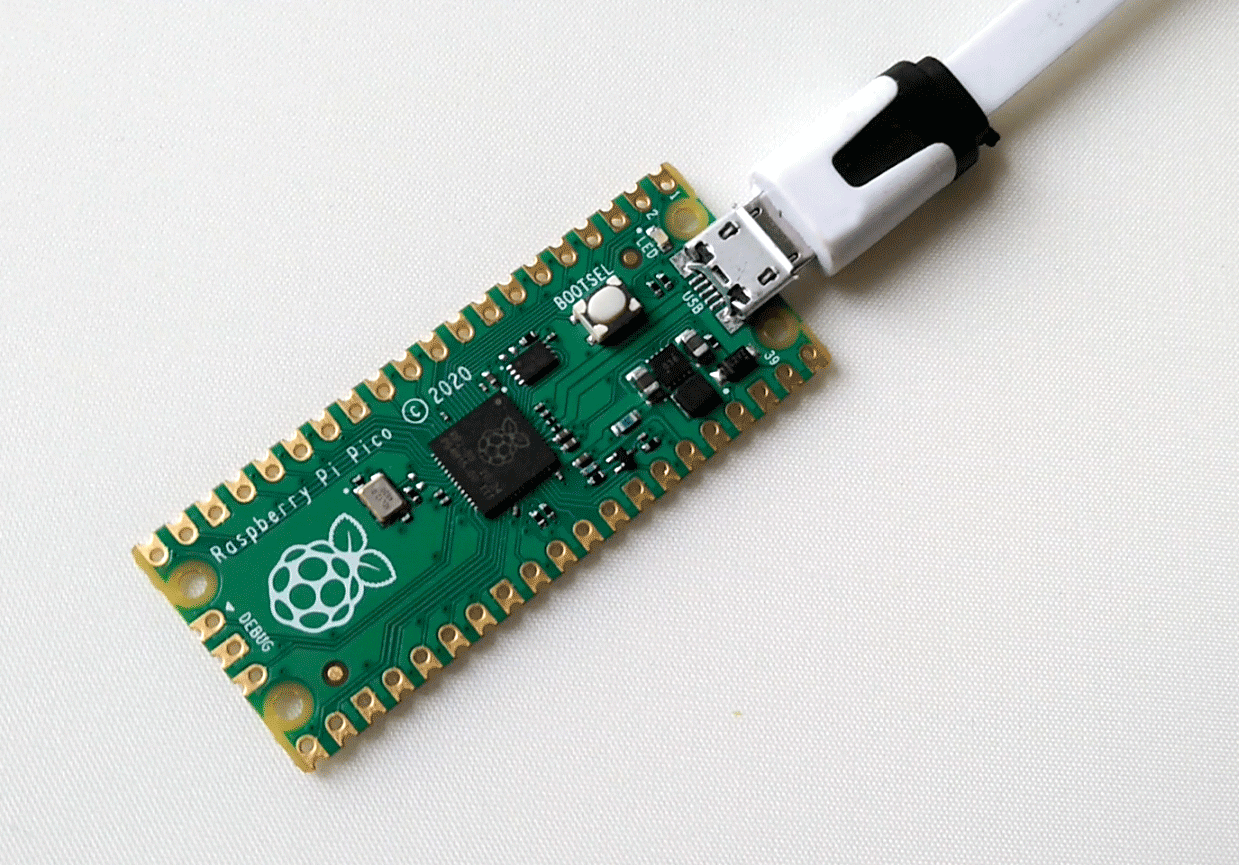
- Connect the micro USB cable to your host computer.
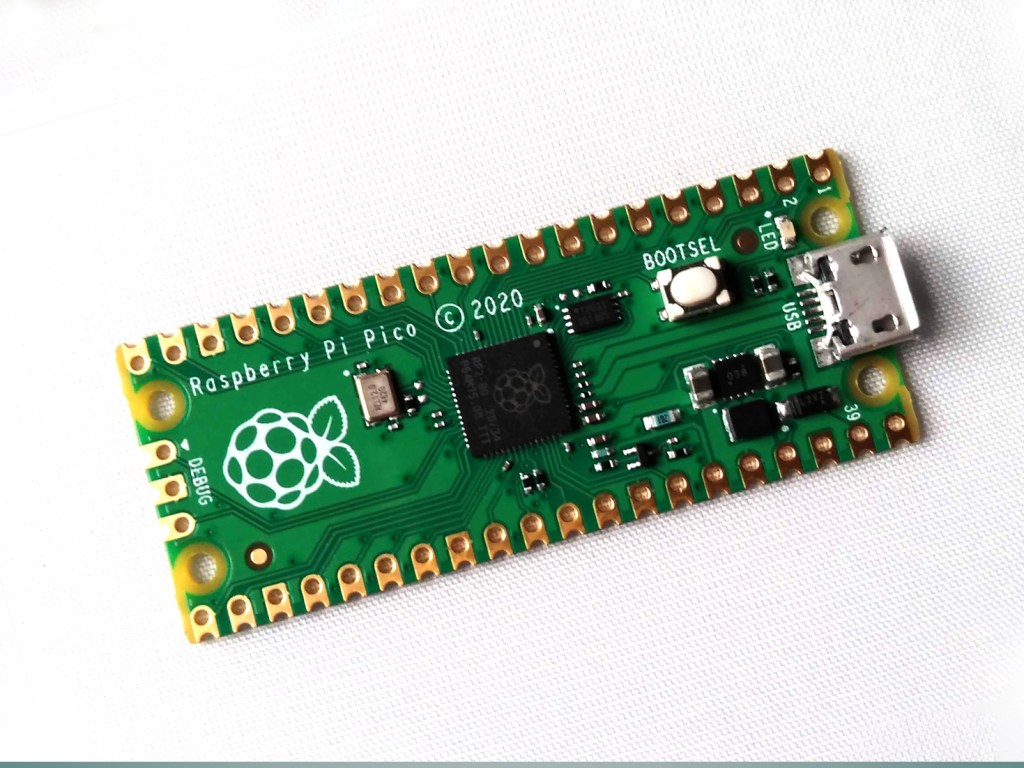
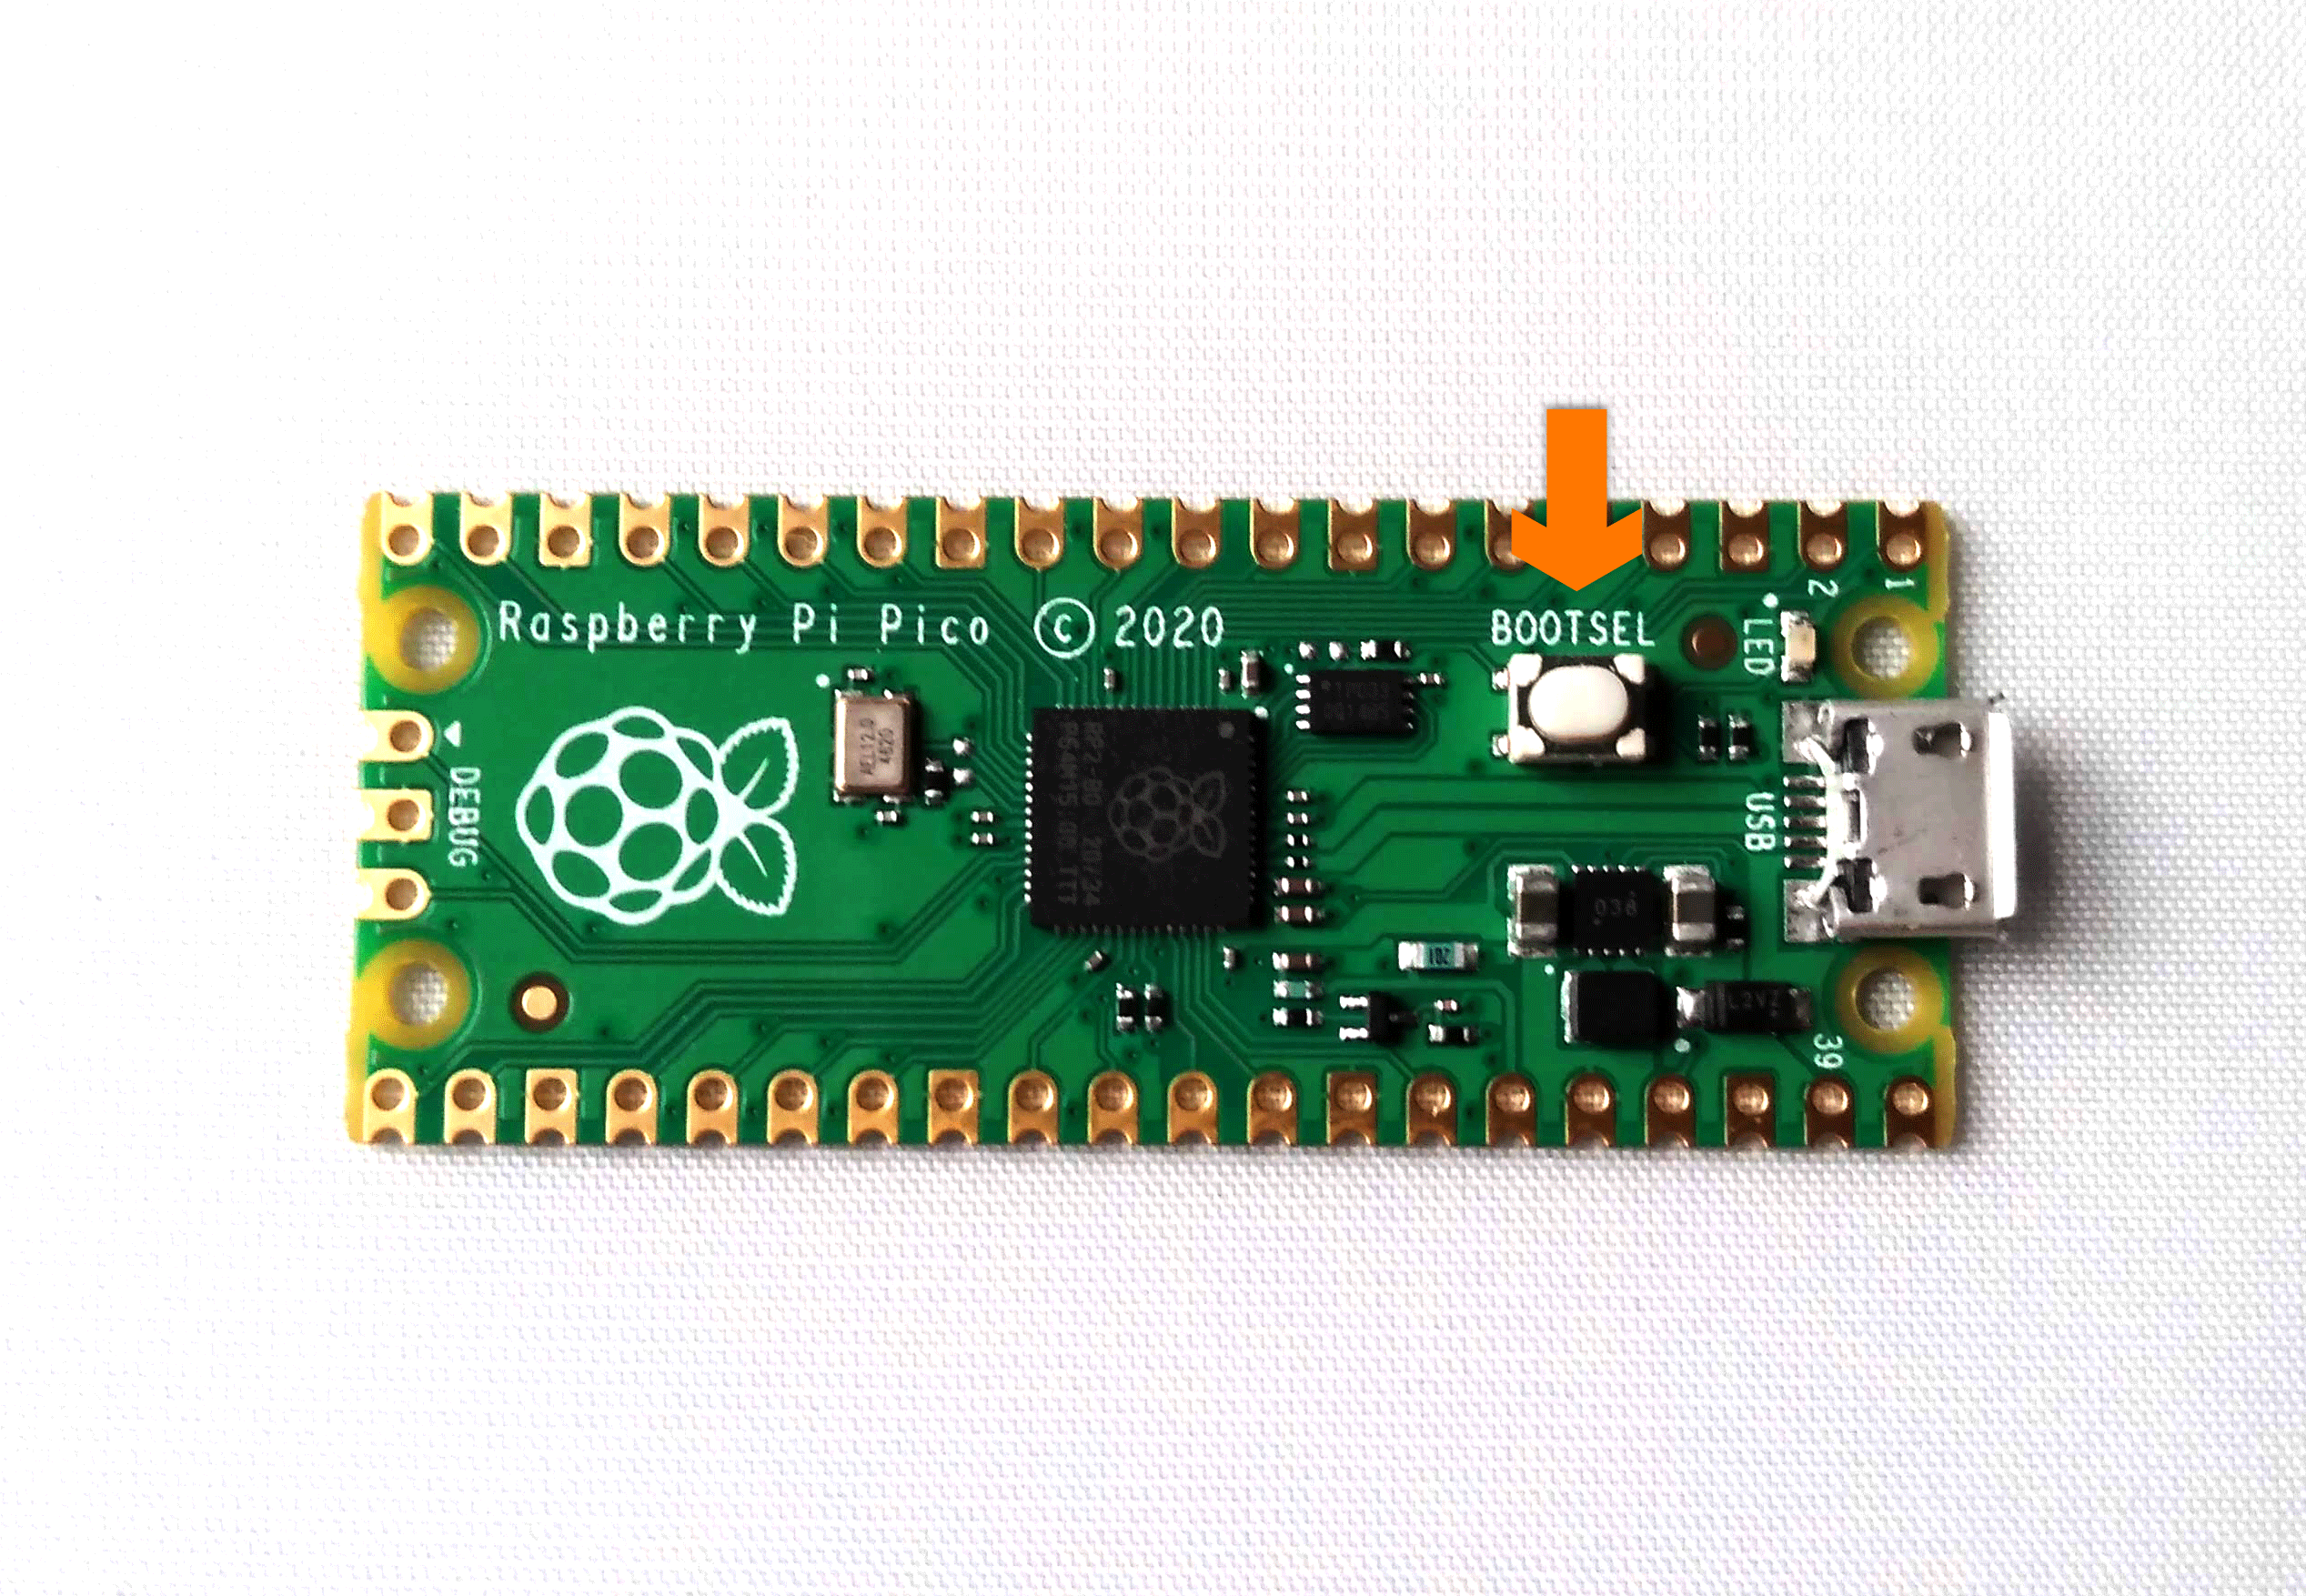
- Connect the other end of the micro USB cable to the Pico while you press and hold the BOOTSEL button on the Pico.
- Release the button once the cable is connected.
A disk volume called RPI-RP2 will appear on your computer.
Install UF2
- Open RPI-RP2 on your computer by double-clicking it.
- Drag and drop the blink.uf2 file that you downloaded earlier.
RPI-RP2 will unmount and the LED on the Pico will start blinking.
You’ve just uploaded the first bit of code to your Pico!
Further reading
You can find more information on creating code for the Pico here.