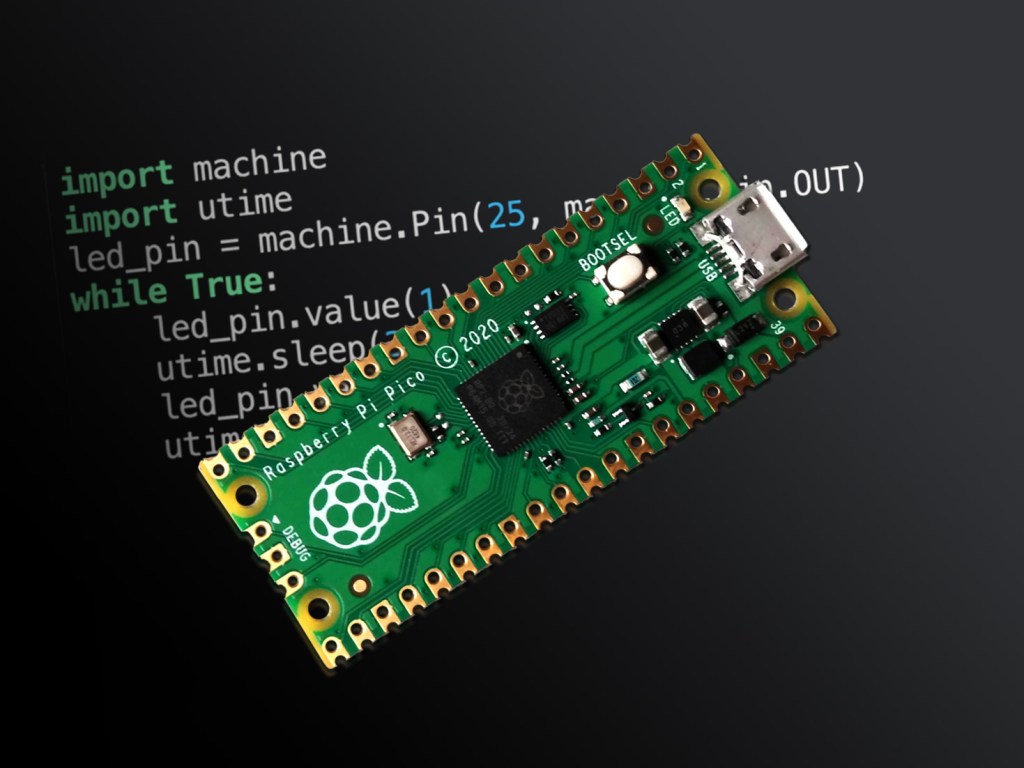

The Raspberry Pi Pico is the first microcontroller from Raspberry Pi. A tiny yet powerful board. This guide will get you flashing the LED using MicroPython on the Pico in no time!
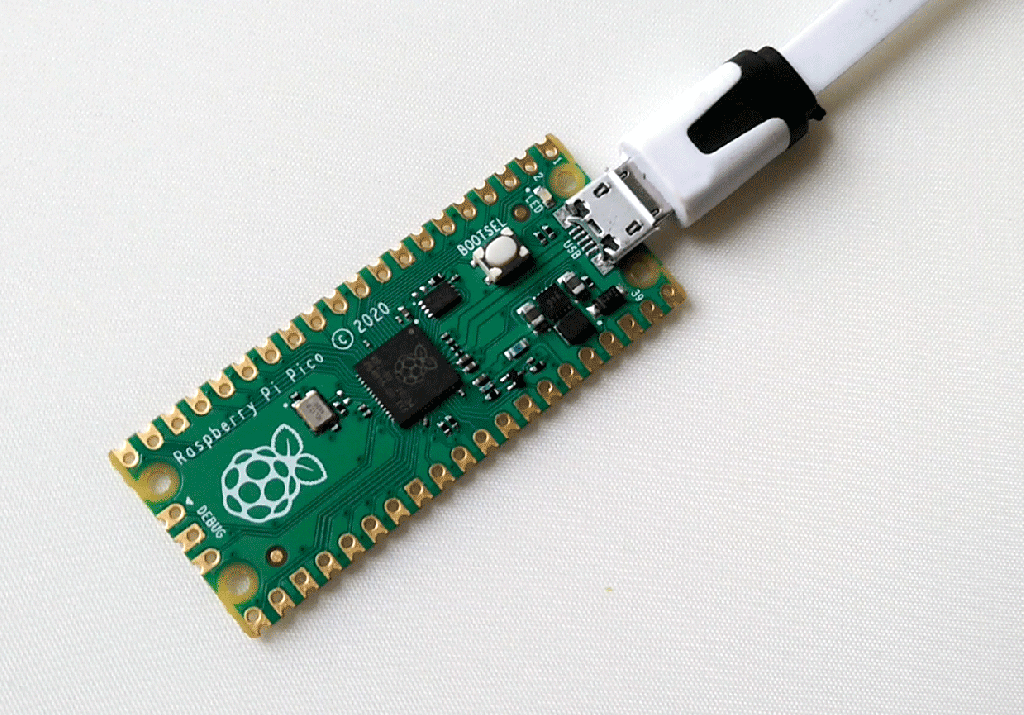
Connect the Pico to your computer
- Connect the micro USB cable to your host computer.
- Connect the other end of the micro USB cable to the Pico while you press and hold the BOOTSEL button on the Pico.
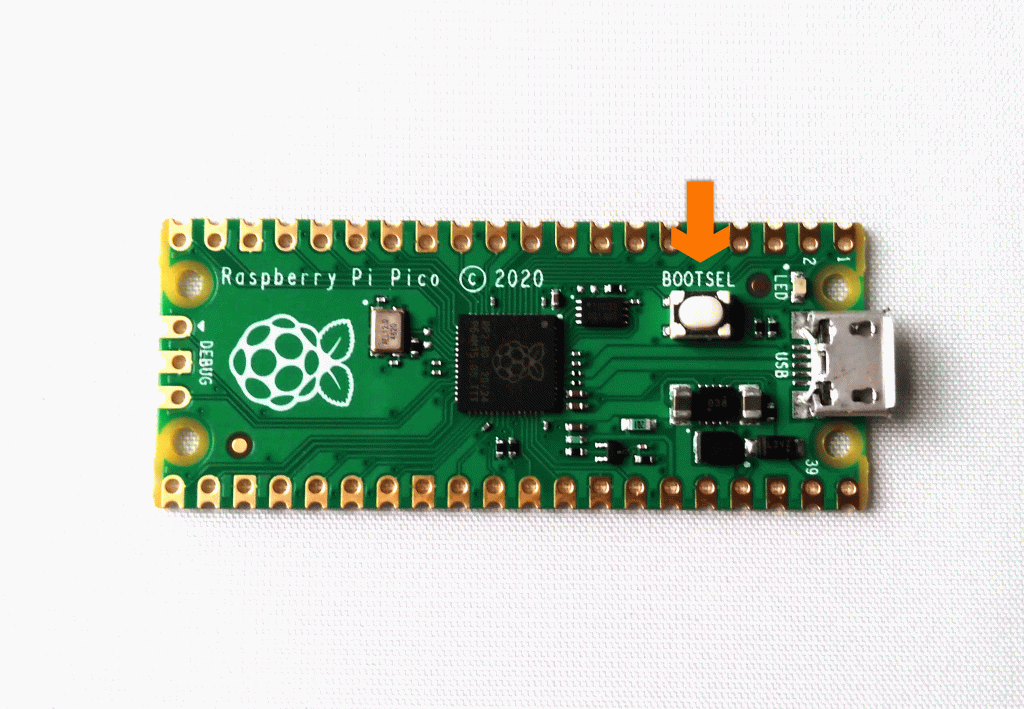
- Release the button once the cable is connected.
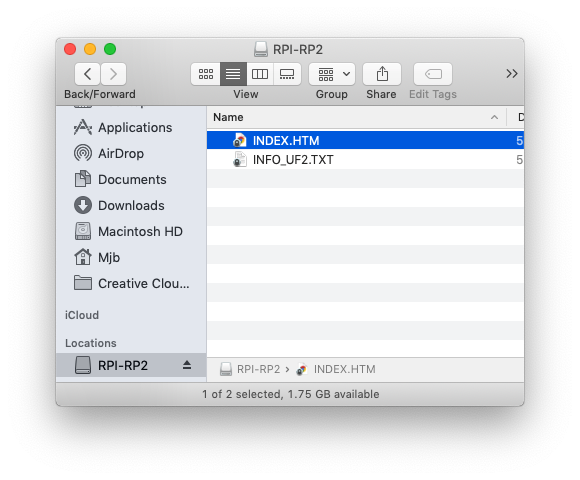
A disk volume called RPI-RP2 will appear on your computer.
Install MicroPython bootloader
- Go to the RPI-RP2 volume.
- Double-click the file called INDEX.HTM. This will take you to the Raspberry Pi Pico official documentation pages.
- Scroll down the page until you see the tabs.
- Click on Getting started MicroPython.

- Scroll down and click on the Download UF2 file button.
- Once the file has downloaded, drag and drop it onto the Pico.
The Pico will reboot and will be ready to start using MicroPython.
Install and configure Thonny
Thonny is a great programme to start learning Python which we will use to programme the Pico.
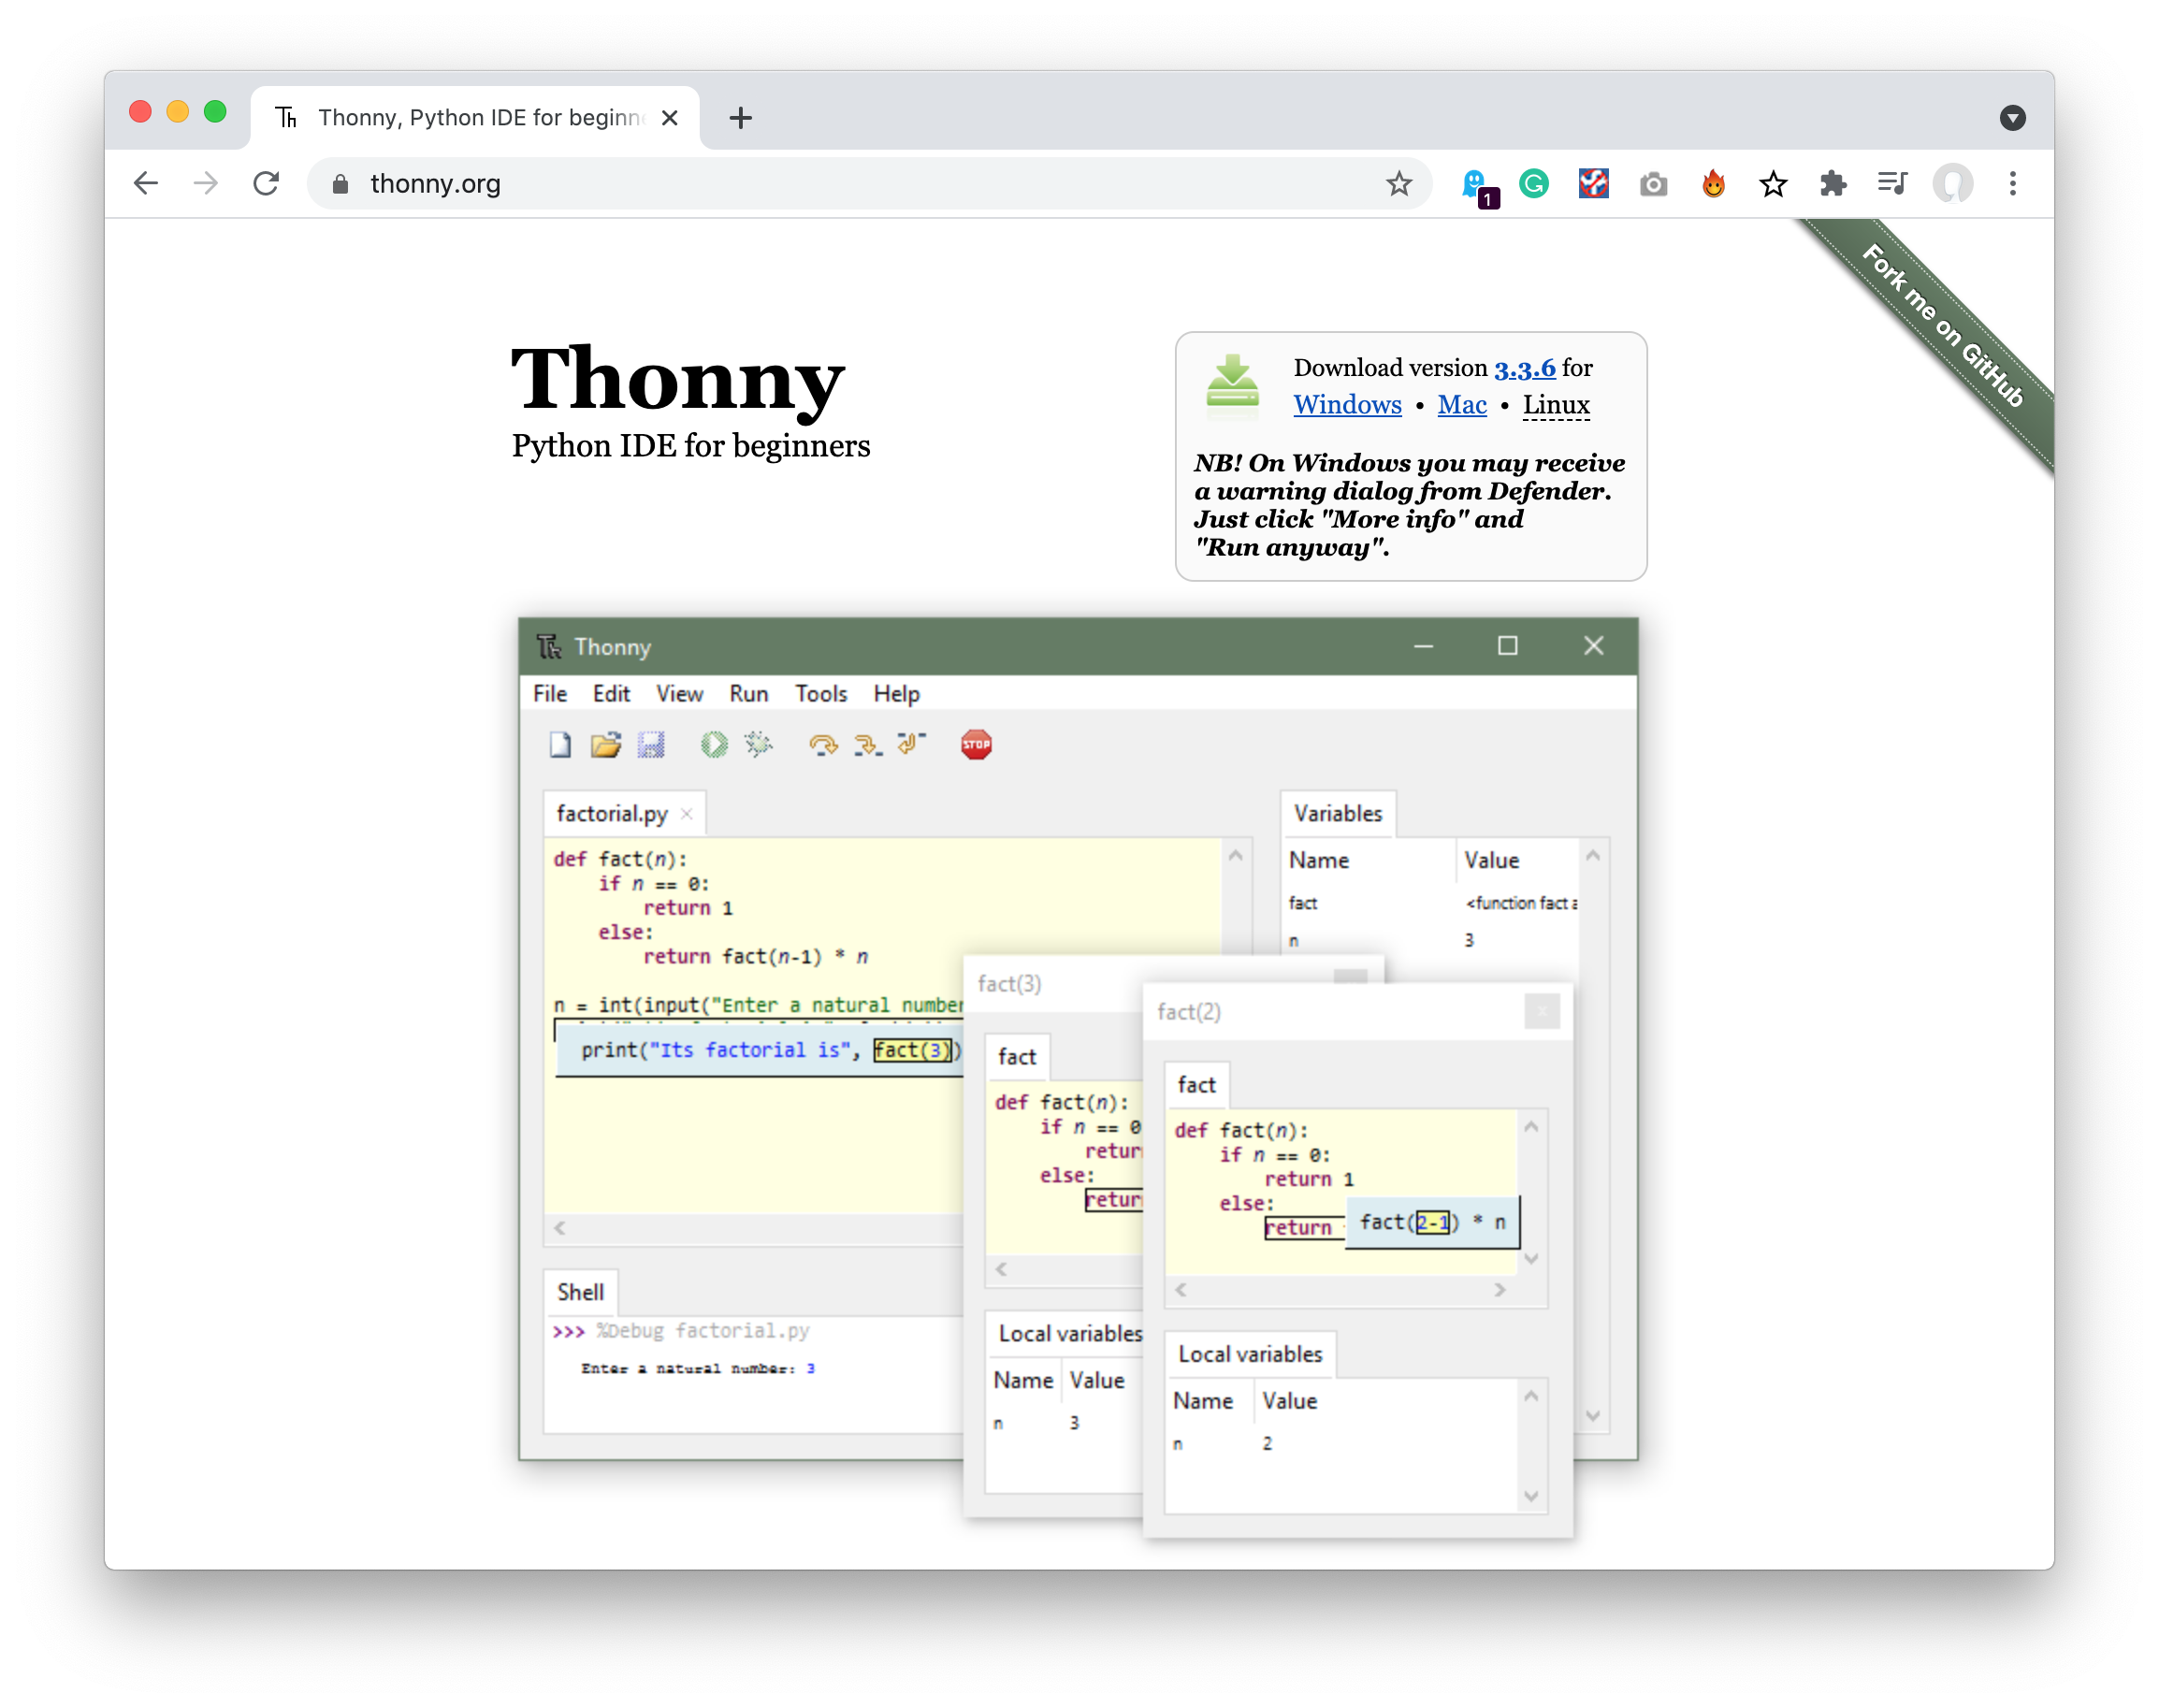
- Go to https://thonny.org/ and download the relevant version of Thonny for your operating system.
- Install Thonny on your computer.
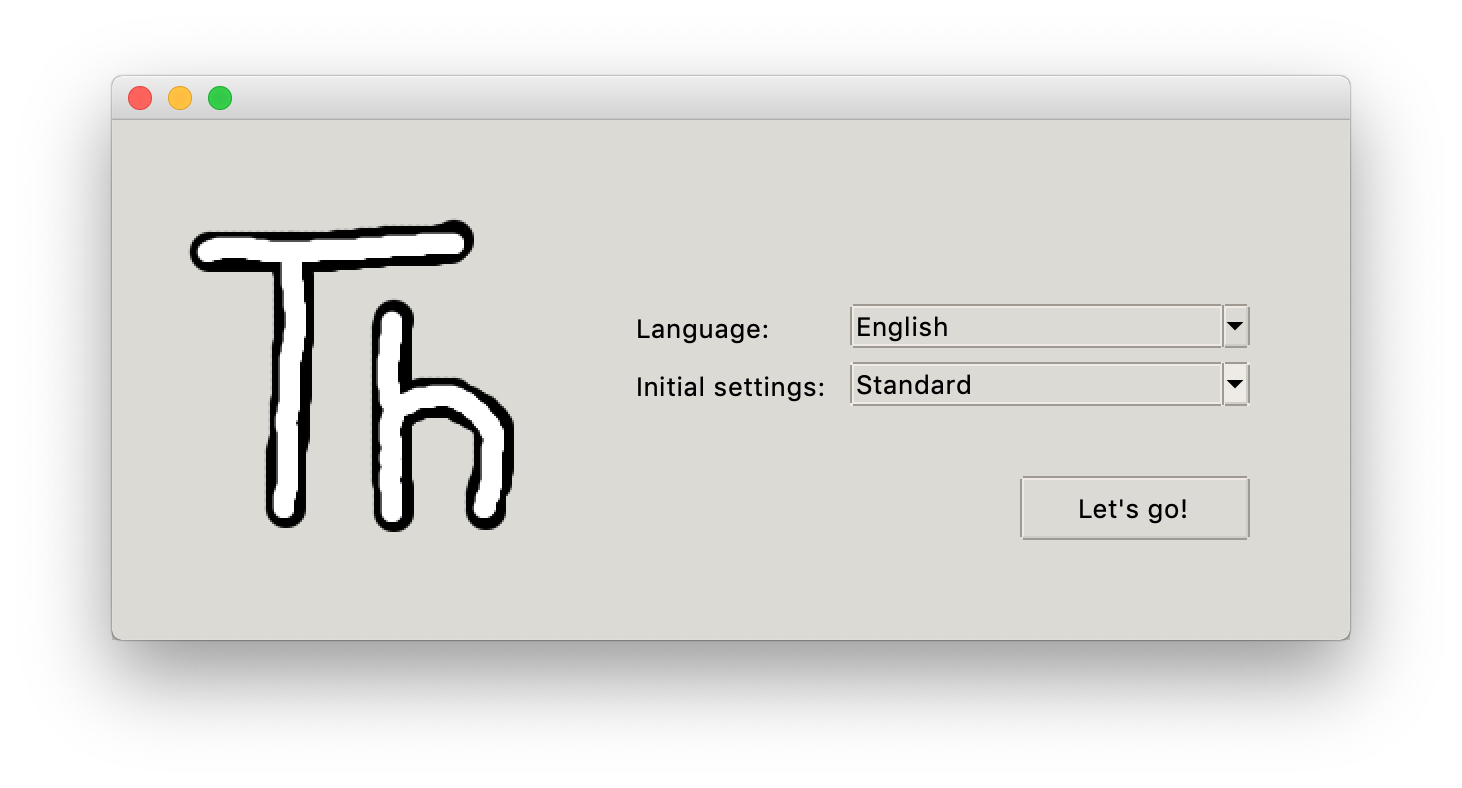
- Open Thonny. The first time you open it you will be prompted with the following window if you’re on an OS other than Raspberry Pi:
- In Initial settings, select Raspberry Pi and click Let’s go!
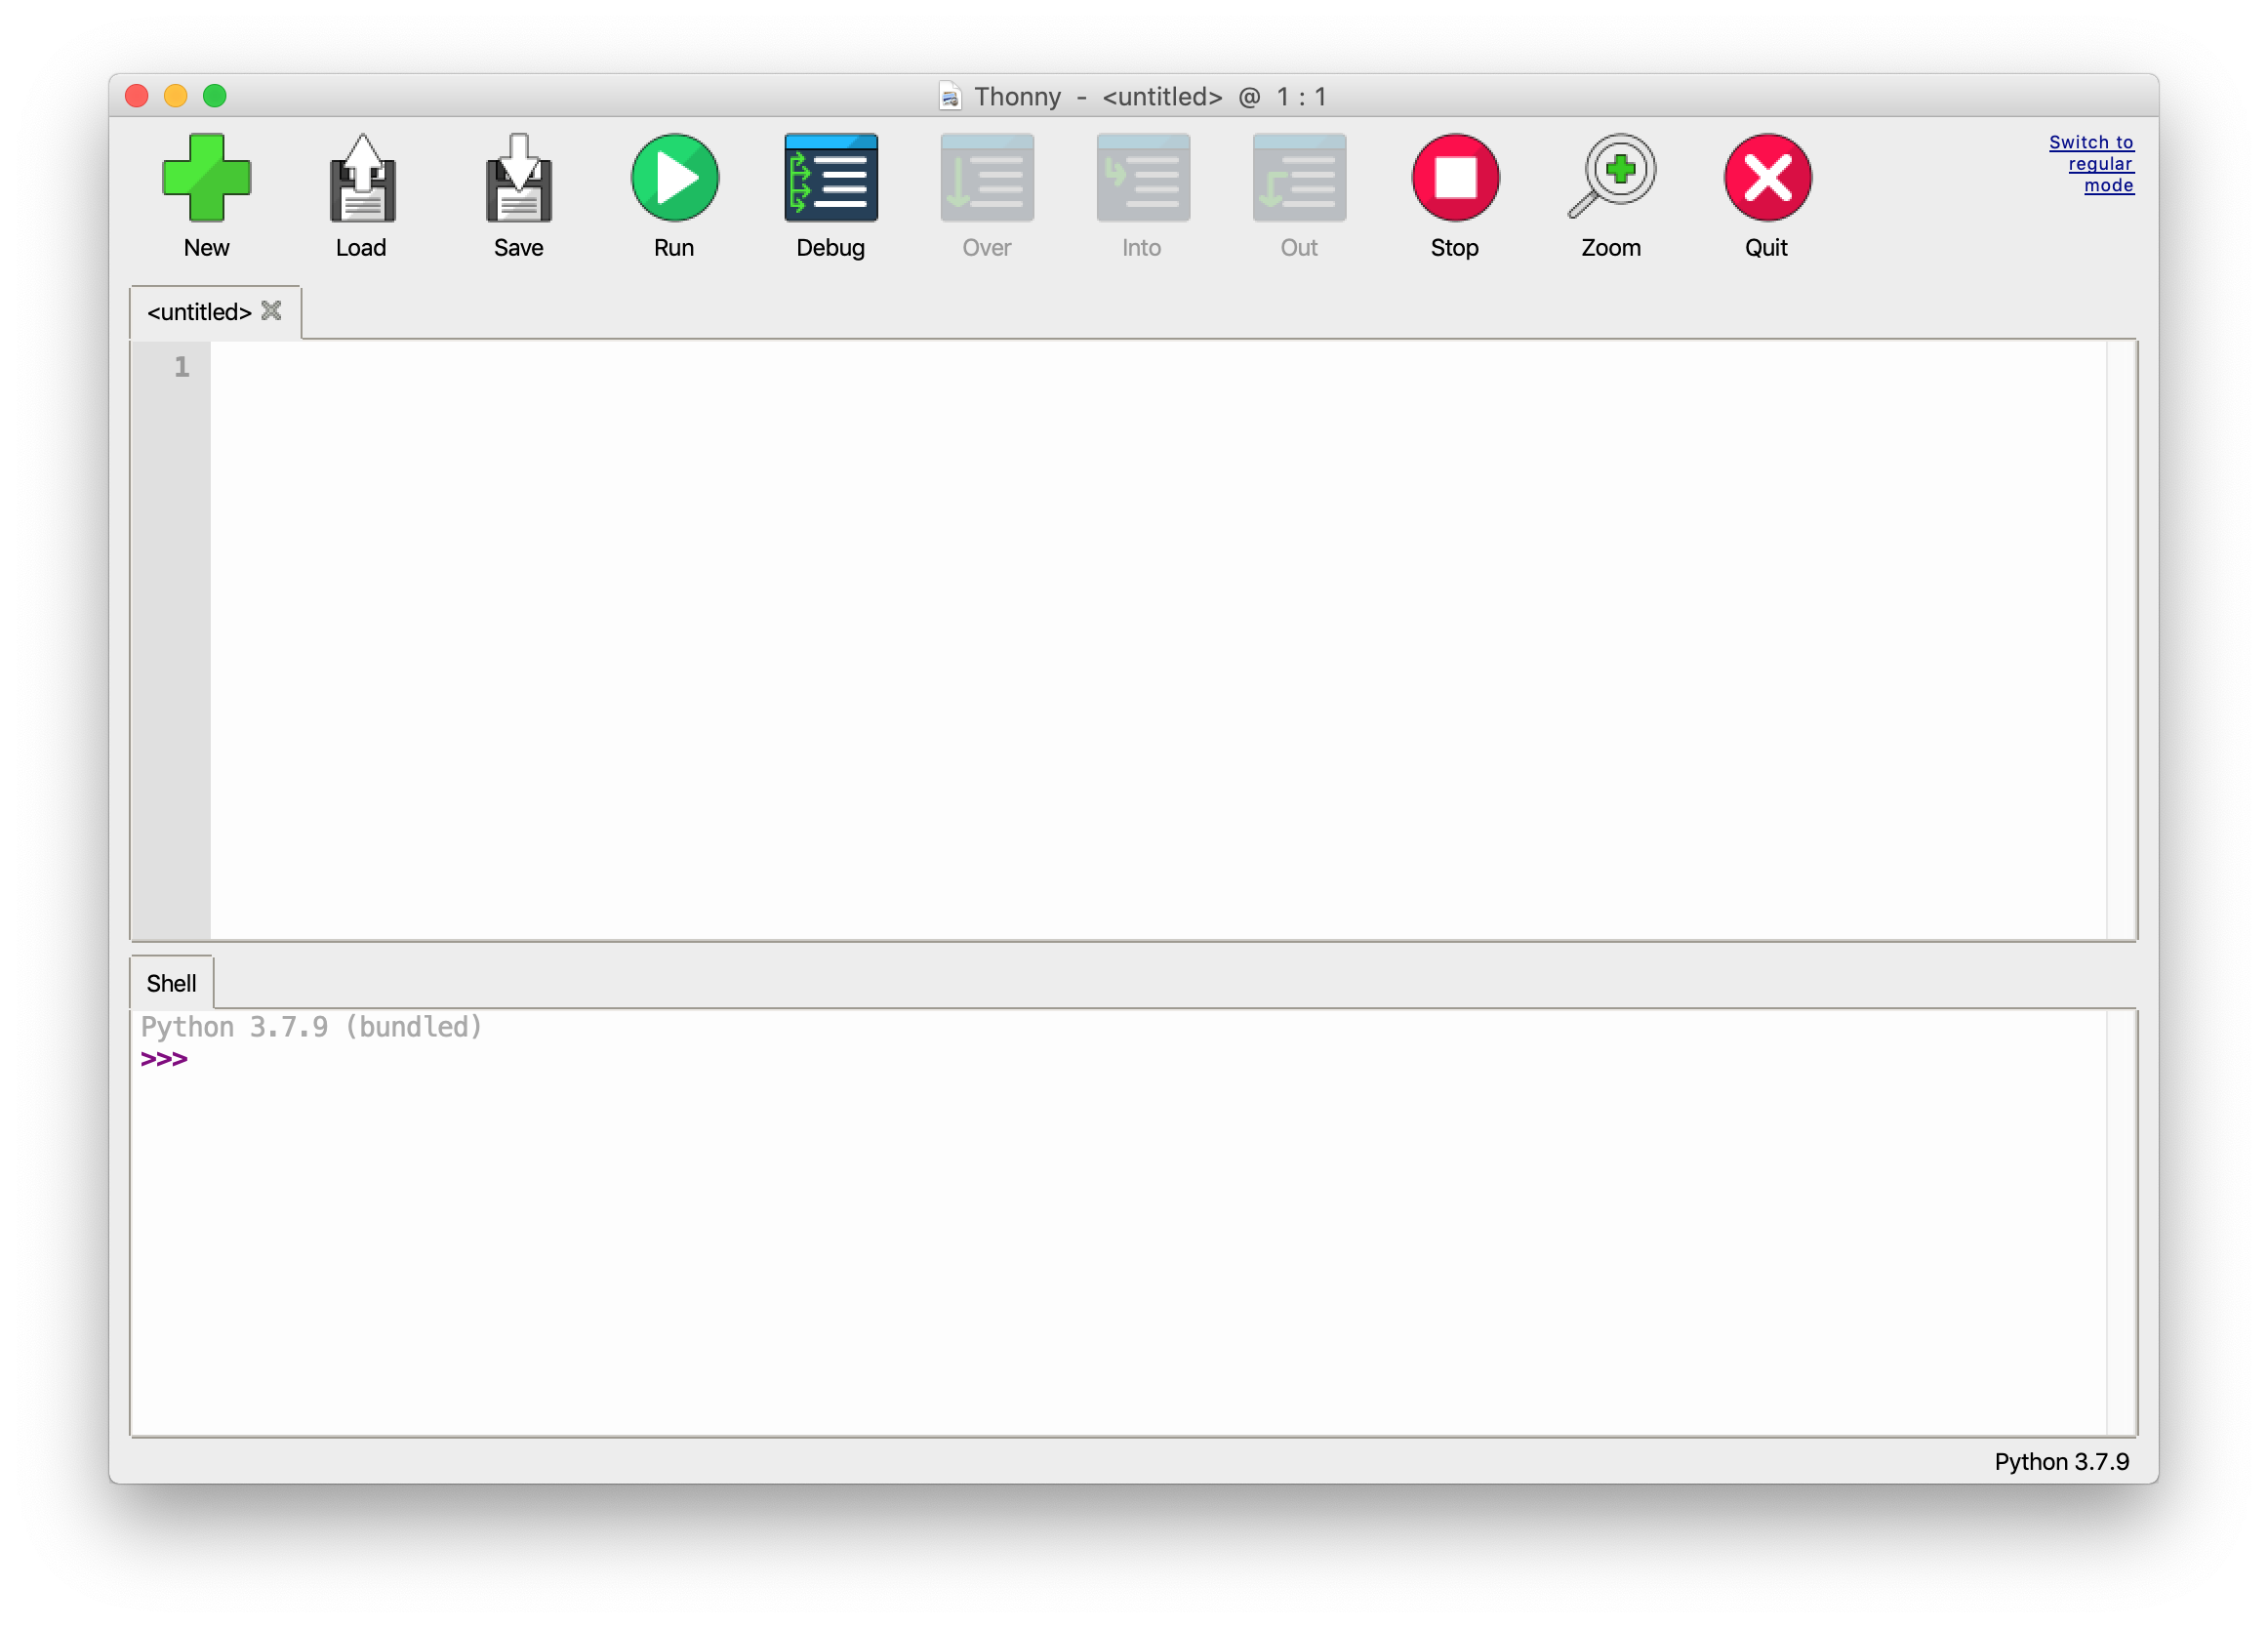
You will be presented with the Thonny editor window.
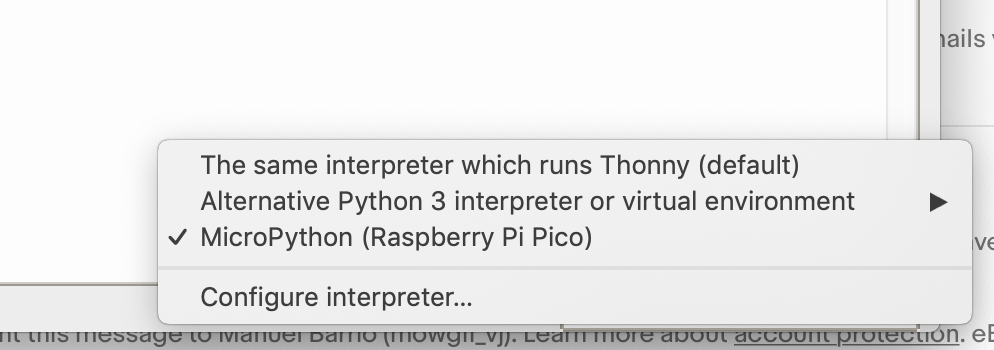
- Click on the bottom right-hand corner where it says Python X.X.X and select MicroPython (raspberry Pi Pico)
- You will be prompted to update MicroPython on the Pico. Go ahead and click Install.
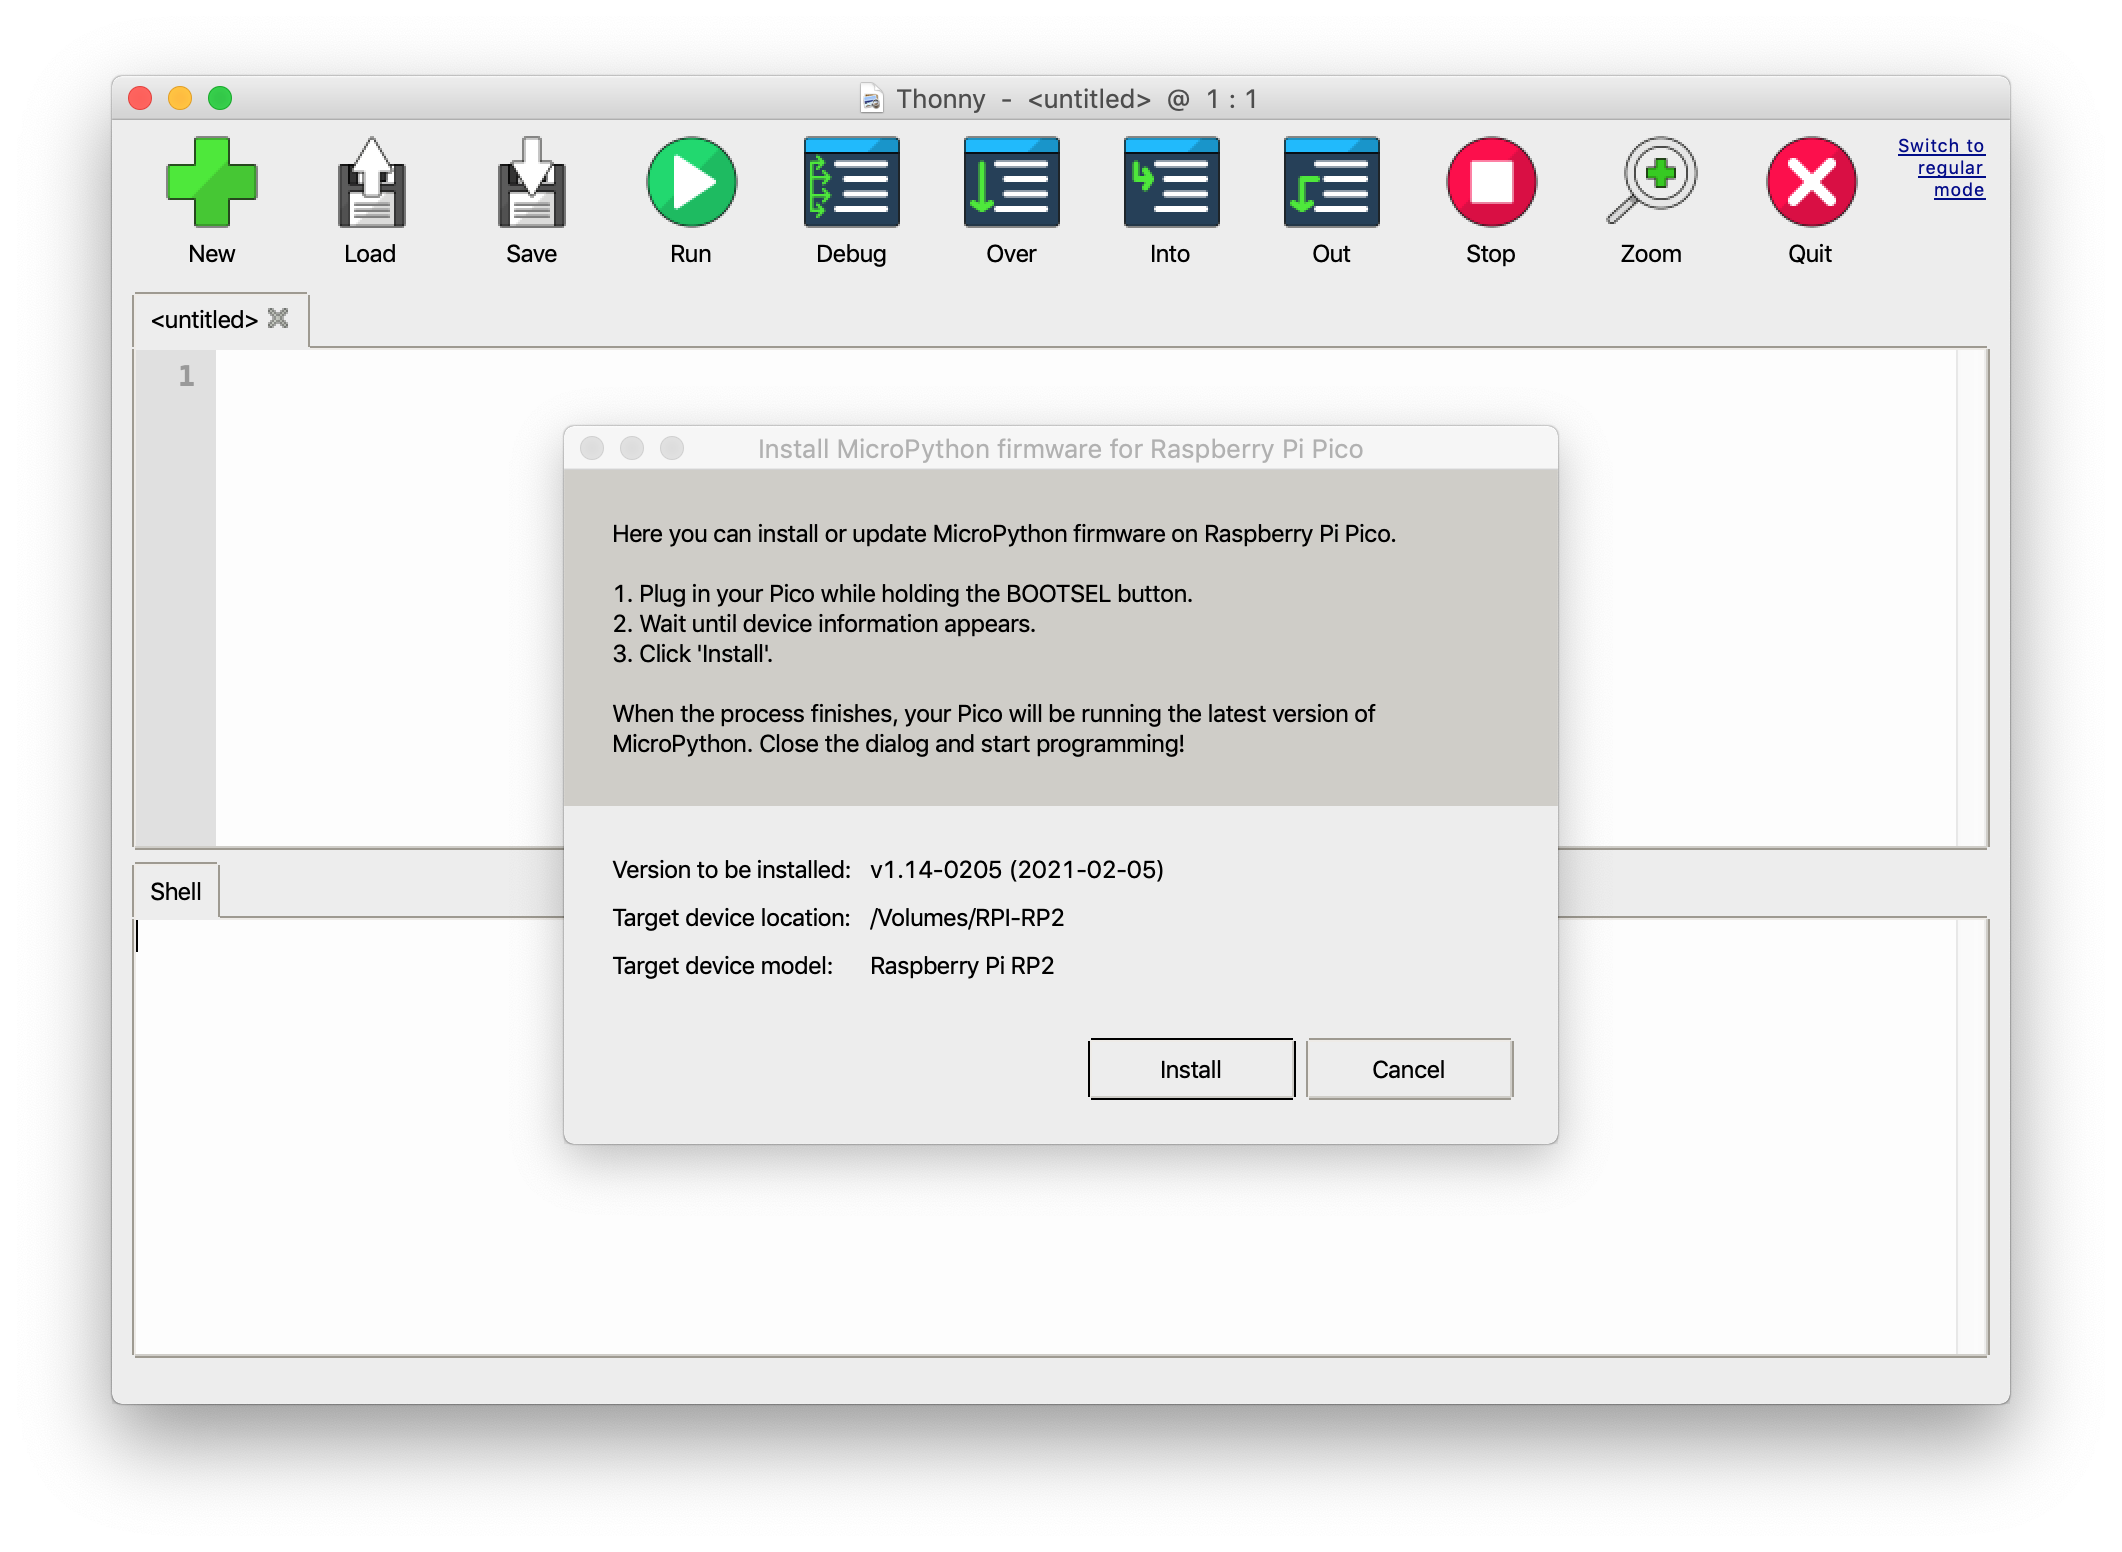
- Once installed, click Close.
- Enter the following code:
print("Hello world")- Click the Run button on Thonny’s toolbar.
- Select Raspberry Pi Pico when prompted.
- Name the file hello_worl.py and click OK.
You will see the message Hello world appear in the Shell window. Now we can move on to the classic blink programme.
Make the Pico blink
- Click on New.
- Enter the following code:
import machine
import utime
led_pin = machine.Pin(25, machine.Pin.OUT)
while True:
    led_pin.value(1)
    utime.sleep(1)
    led_pin.value(0)
utime.sleep(1)- Click the Run button.
- Select Raspberry Pi Pico when prompted.
- Name the file blink.py and click OK.
The LED on your Pico will start flashing.
Congratulations, you just programmed your Pico!