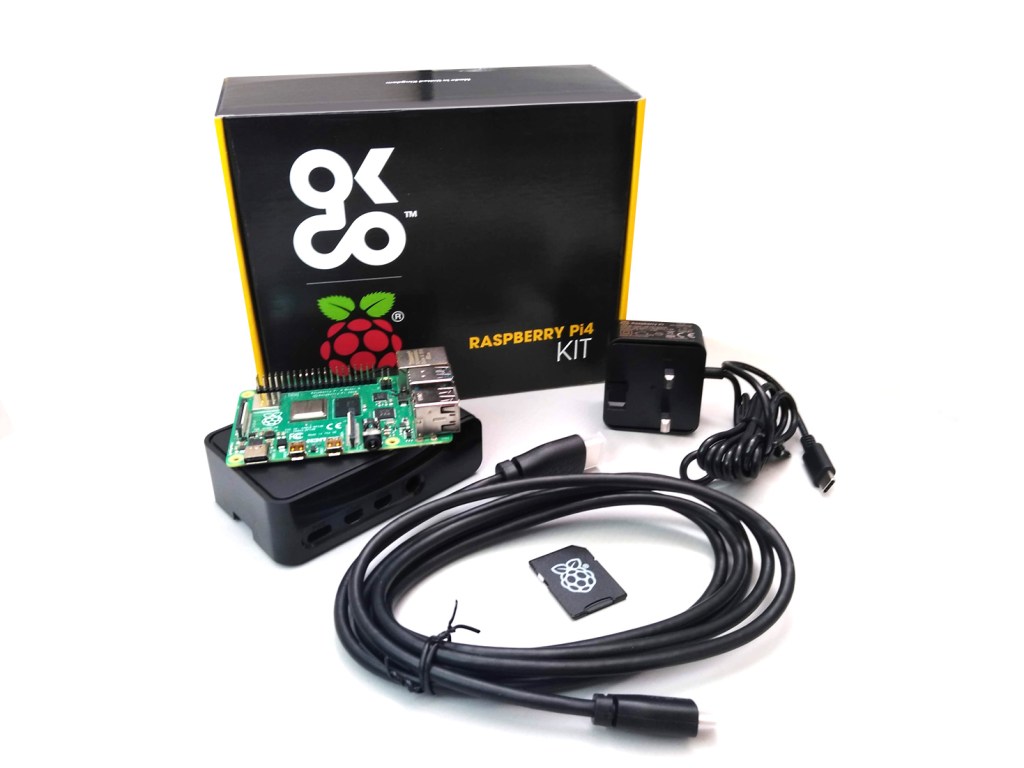
Get up and running with your OKdo Raspberry Pi 4 Starter Kit in no time.
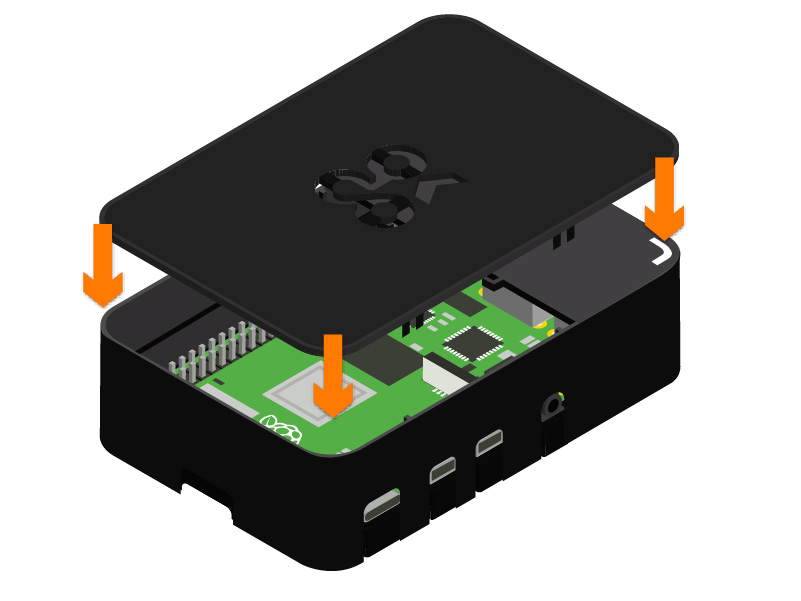
Assemble case
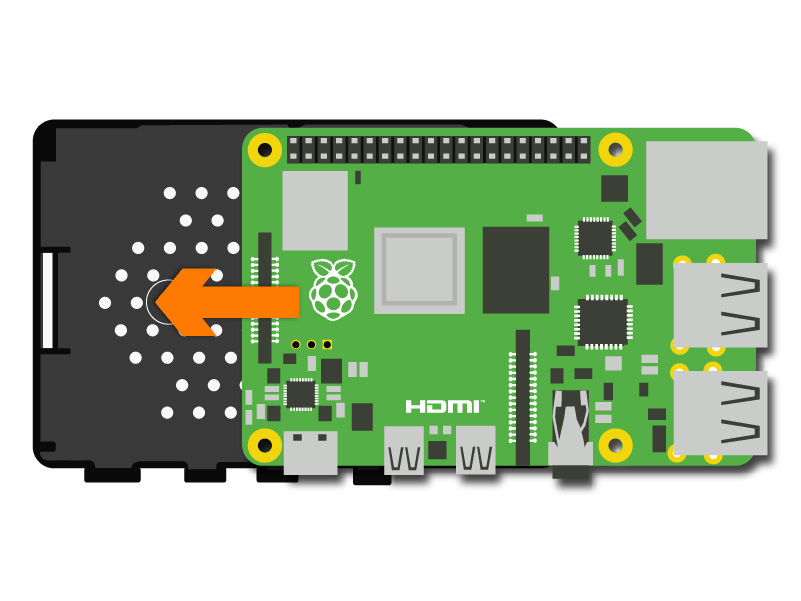
- Slide the Raspberry Pi into the base of the plastic case ensuring that you place it under the 2 small tabs as shown below.
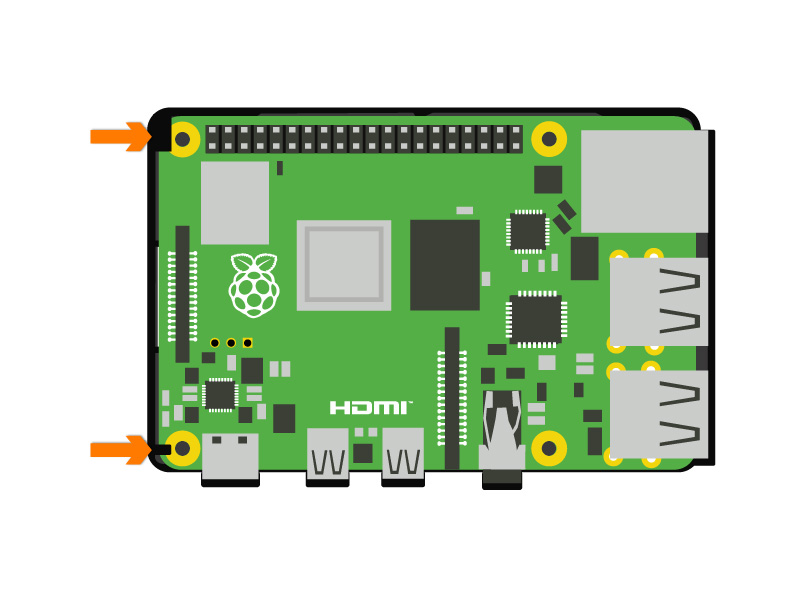
- Place the main body of the case on the Pi and base ensuring that all the openings slide over the ports and it clicks into place.
Insert micro SD card
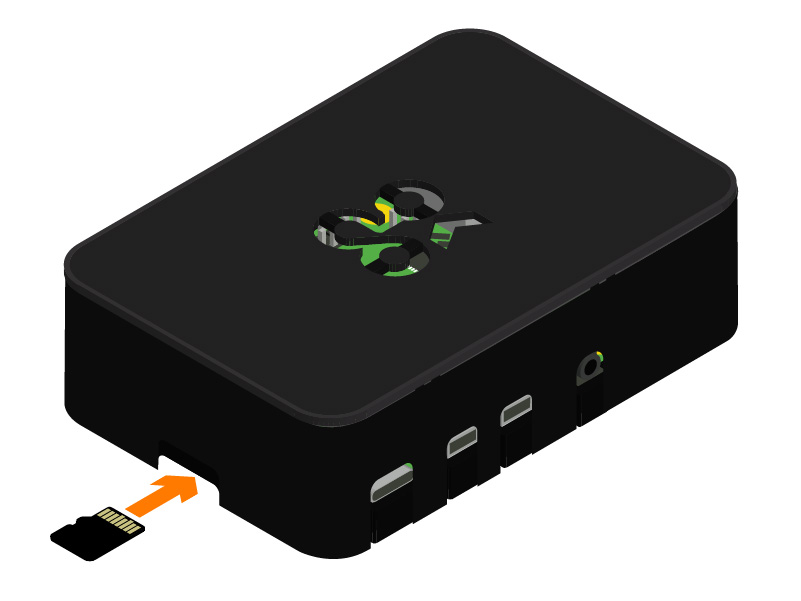
- Fully insert the micro SD card.
Connect keyboard & mouse
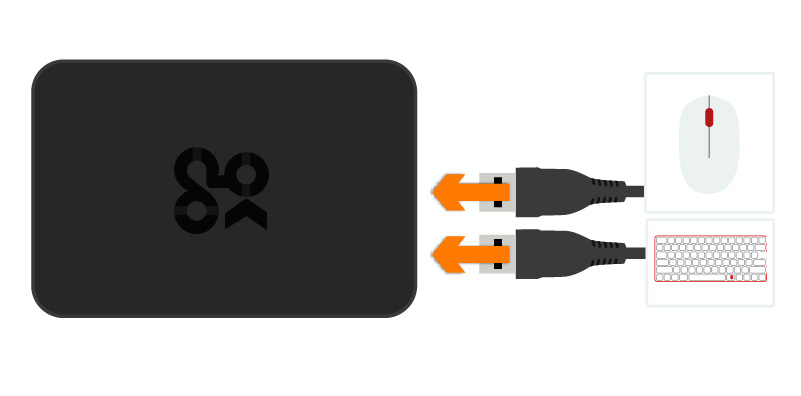
- Connect the mouse and keyboard to any 2 of the USB ports.
Connect screen
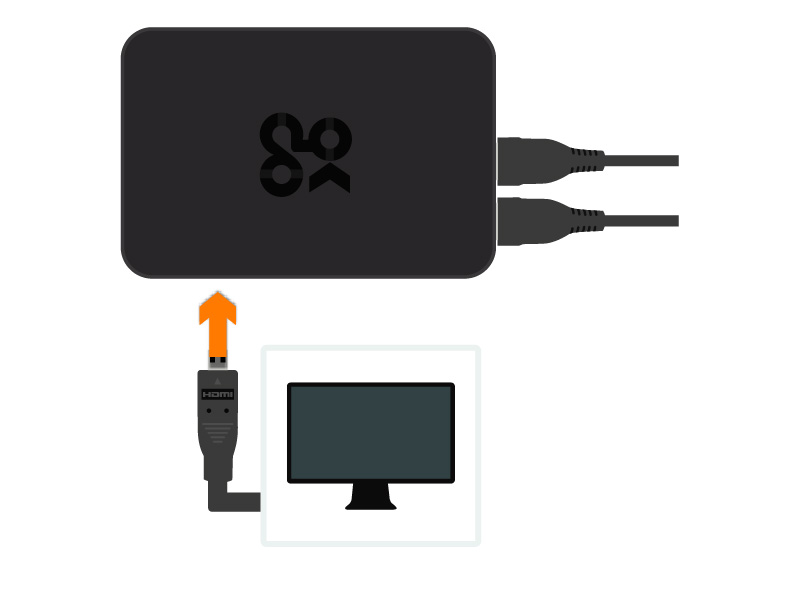
- Connect your screen to the HDMI port on the left.
Connect power
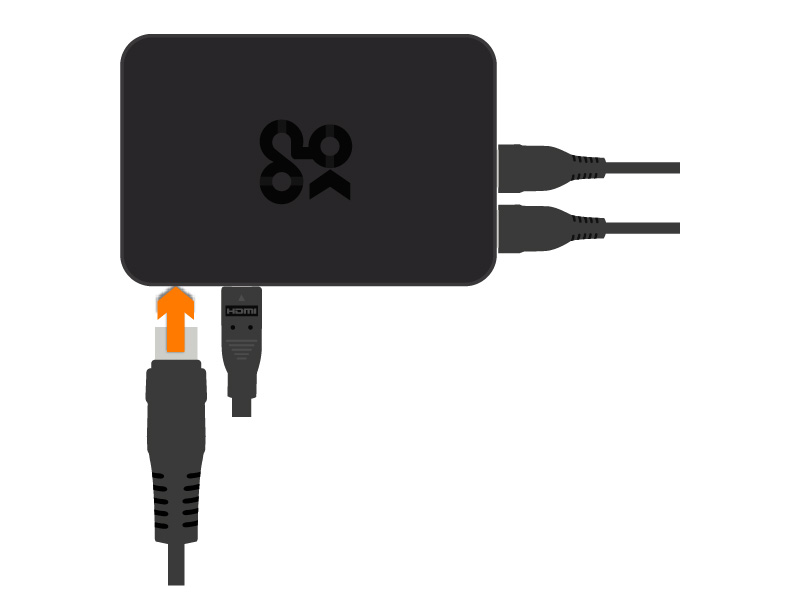
- Connect the power cable to the port shown above.
- Plug the adapter into a socket.
Follow on-screen instructions
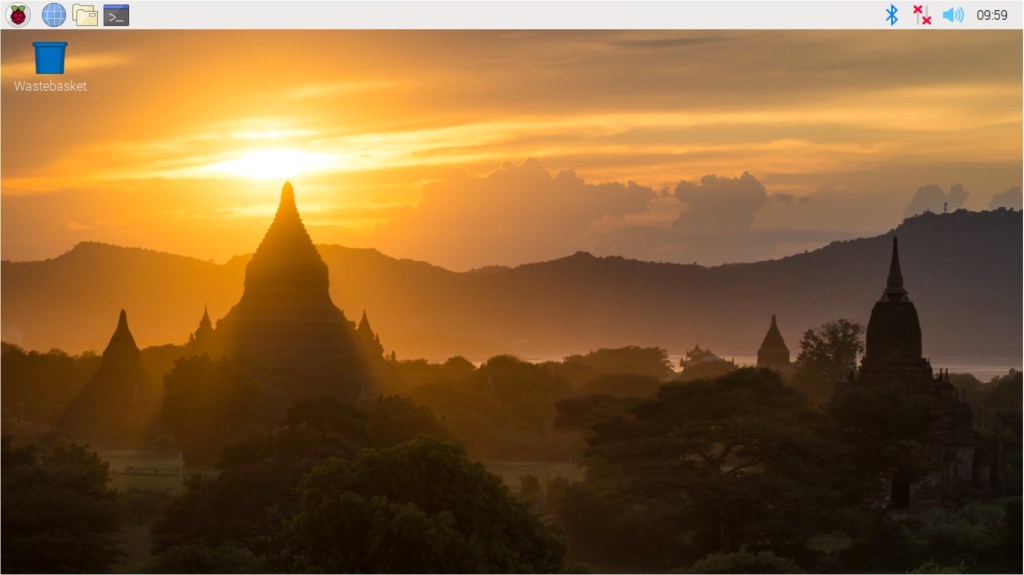
- Your Raspberry Pi will boot and display the desktop.
- The first time you start up your Raspberry Pi, the Welcome to Raspberry Pi application will pop-up, guiding you through the initial setup.