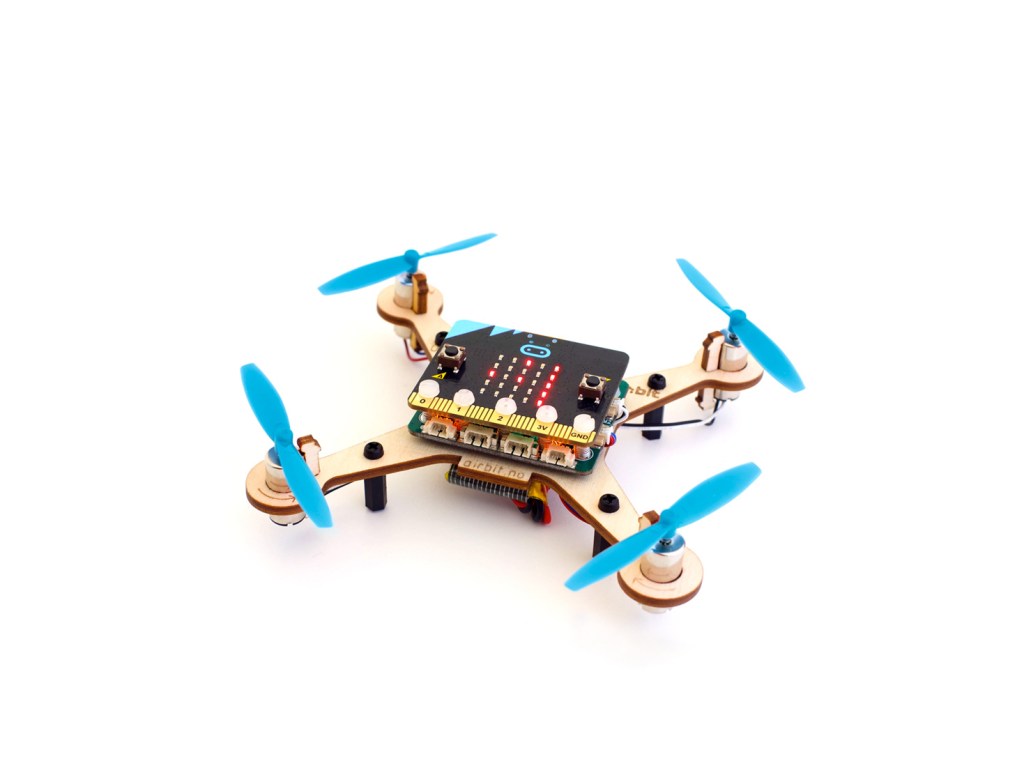
This get started with MakeKit Air:bit guide will give you a run through building and flying the Air:bit and provide links to more in-depth material from MakeKit if you need it.
The Air:bit from MakeKit is a quadcopter kit that contains everything you need to build your own drone. Just add a couple of micro:bits for control and you’ll have hours of fun flying indoors and out, whilst learning how drones are made and controlled.
The kit is just the starting point. All the parts and code are open source so you can adapt and modify both the airframe and the code if you want to experiment and extend the drone’s capabilities.
Unboxing
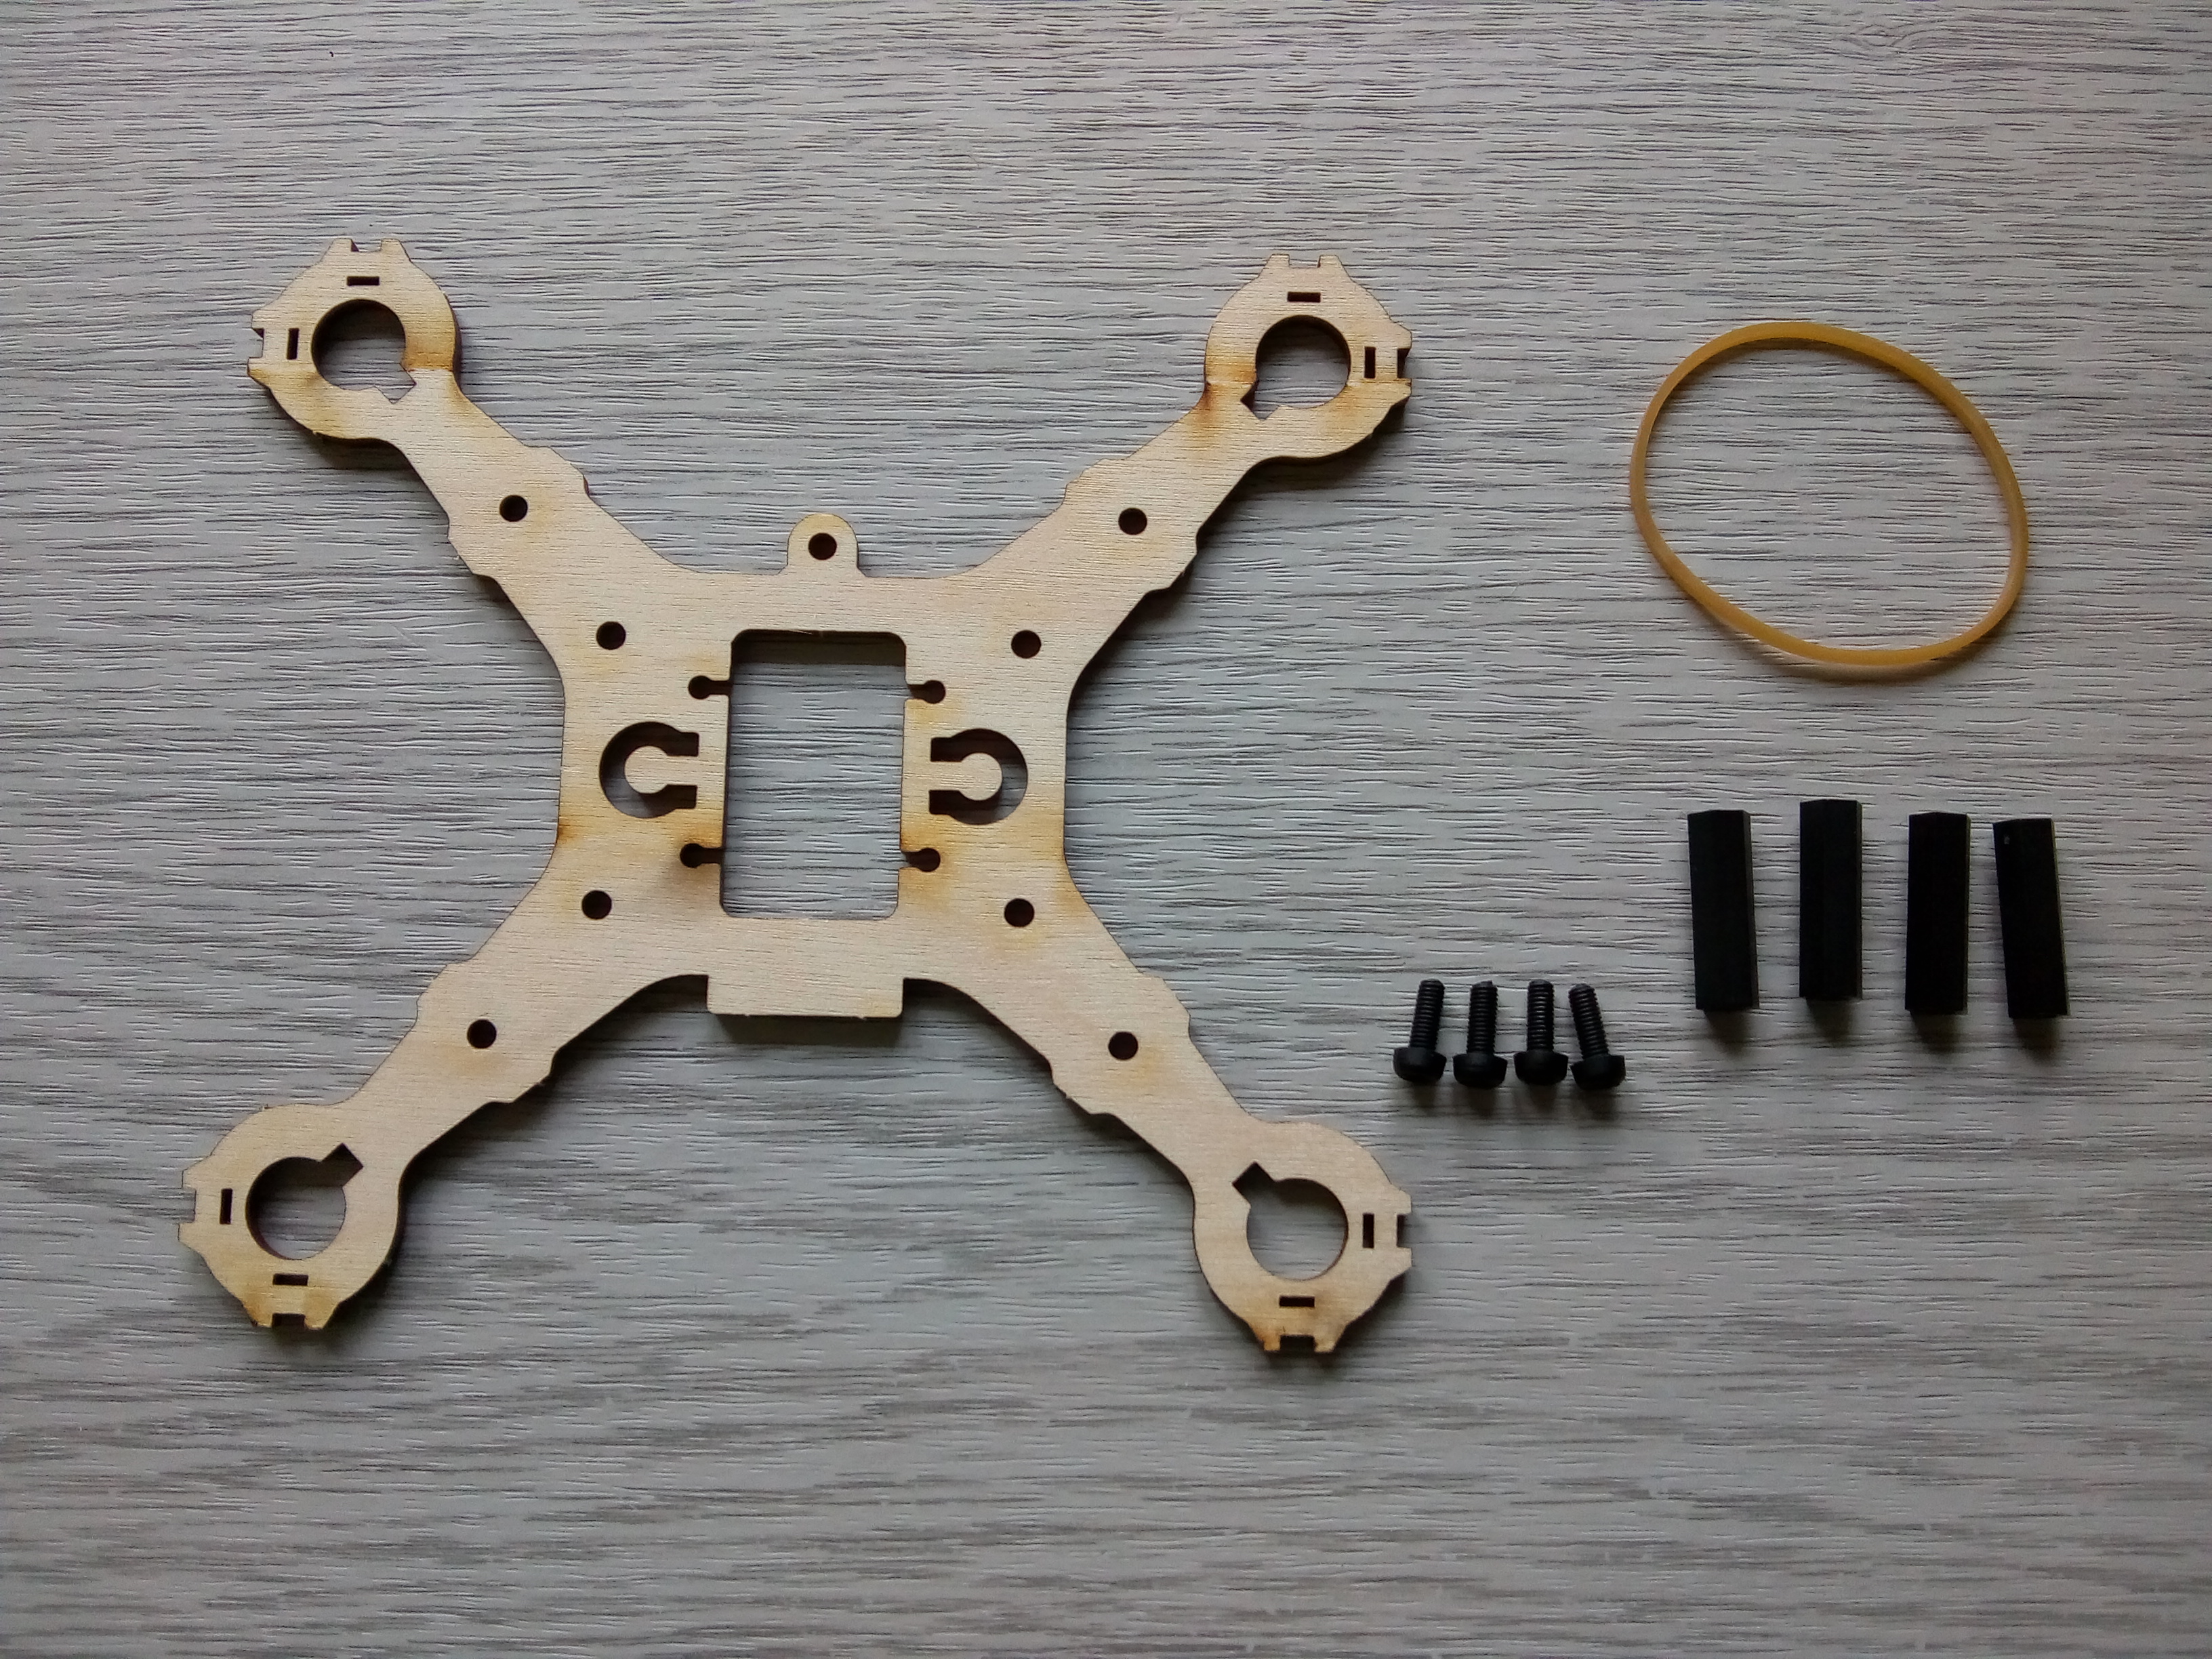
Start by unboxing the kit and checking you have all the components. The image below shows them all laid out.
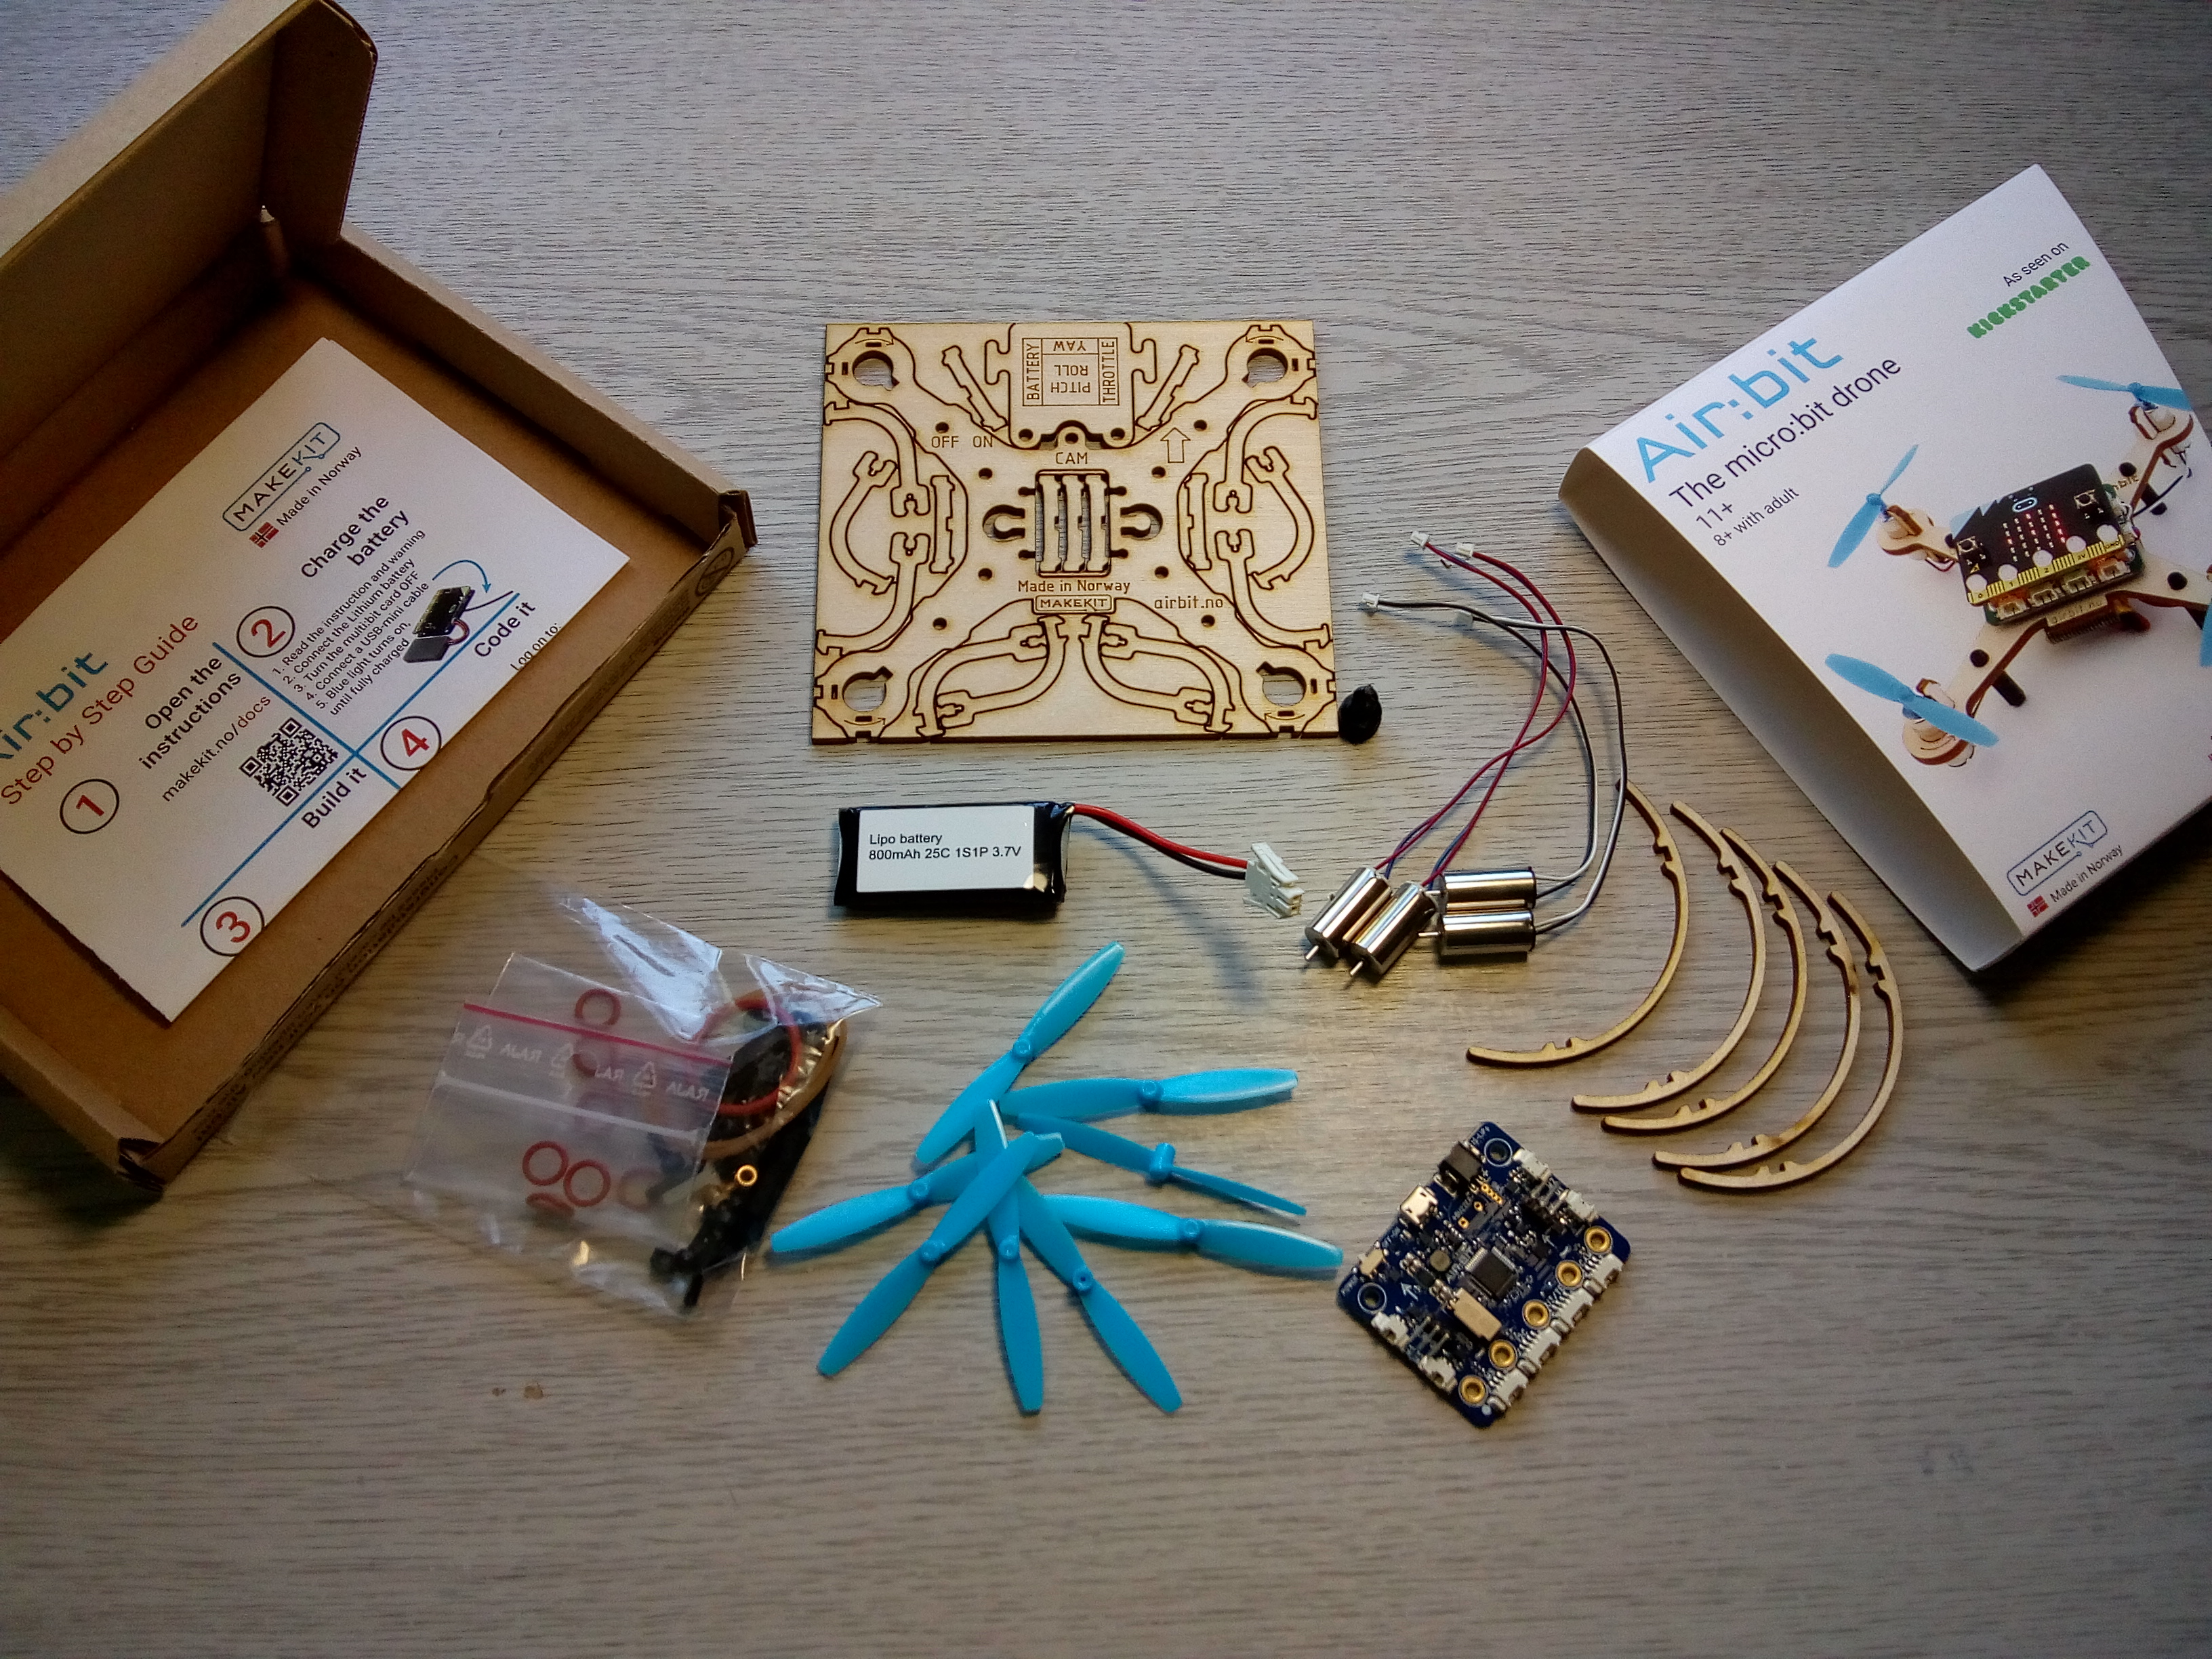
You will also need 2 micro:bits, one with a battery pack and one without. Both version 1 and 2 micro:bits work with the supplied code. It’s also possible to use a mobile phone as a controller but we didn’t test this out.
Tool requirements are modest. We used a modelling knife to help free the wooden components and a small Philips screwdriver and small pliers to tighten the nuts and bolts.
It is really easy to assemble the kit and install the code. Flying is quite intuitive, even if you haven’t flown a drone before. There are also a few spare parts if you have a flying incident!
Radio controller
We built a micro:bit controller but as an alternative, you can use either an Android or iOS smartphone app.
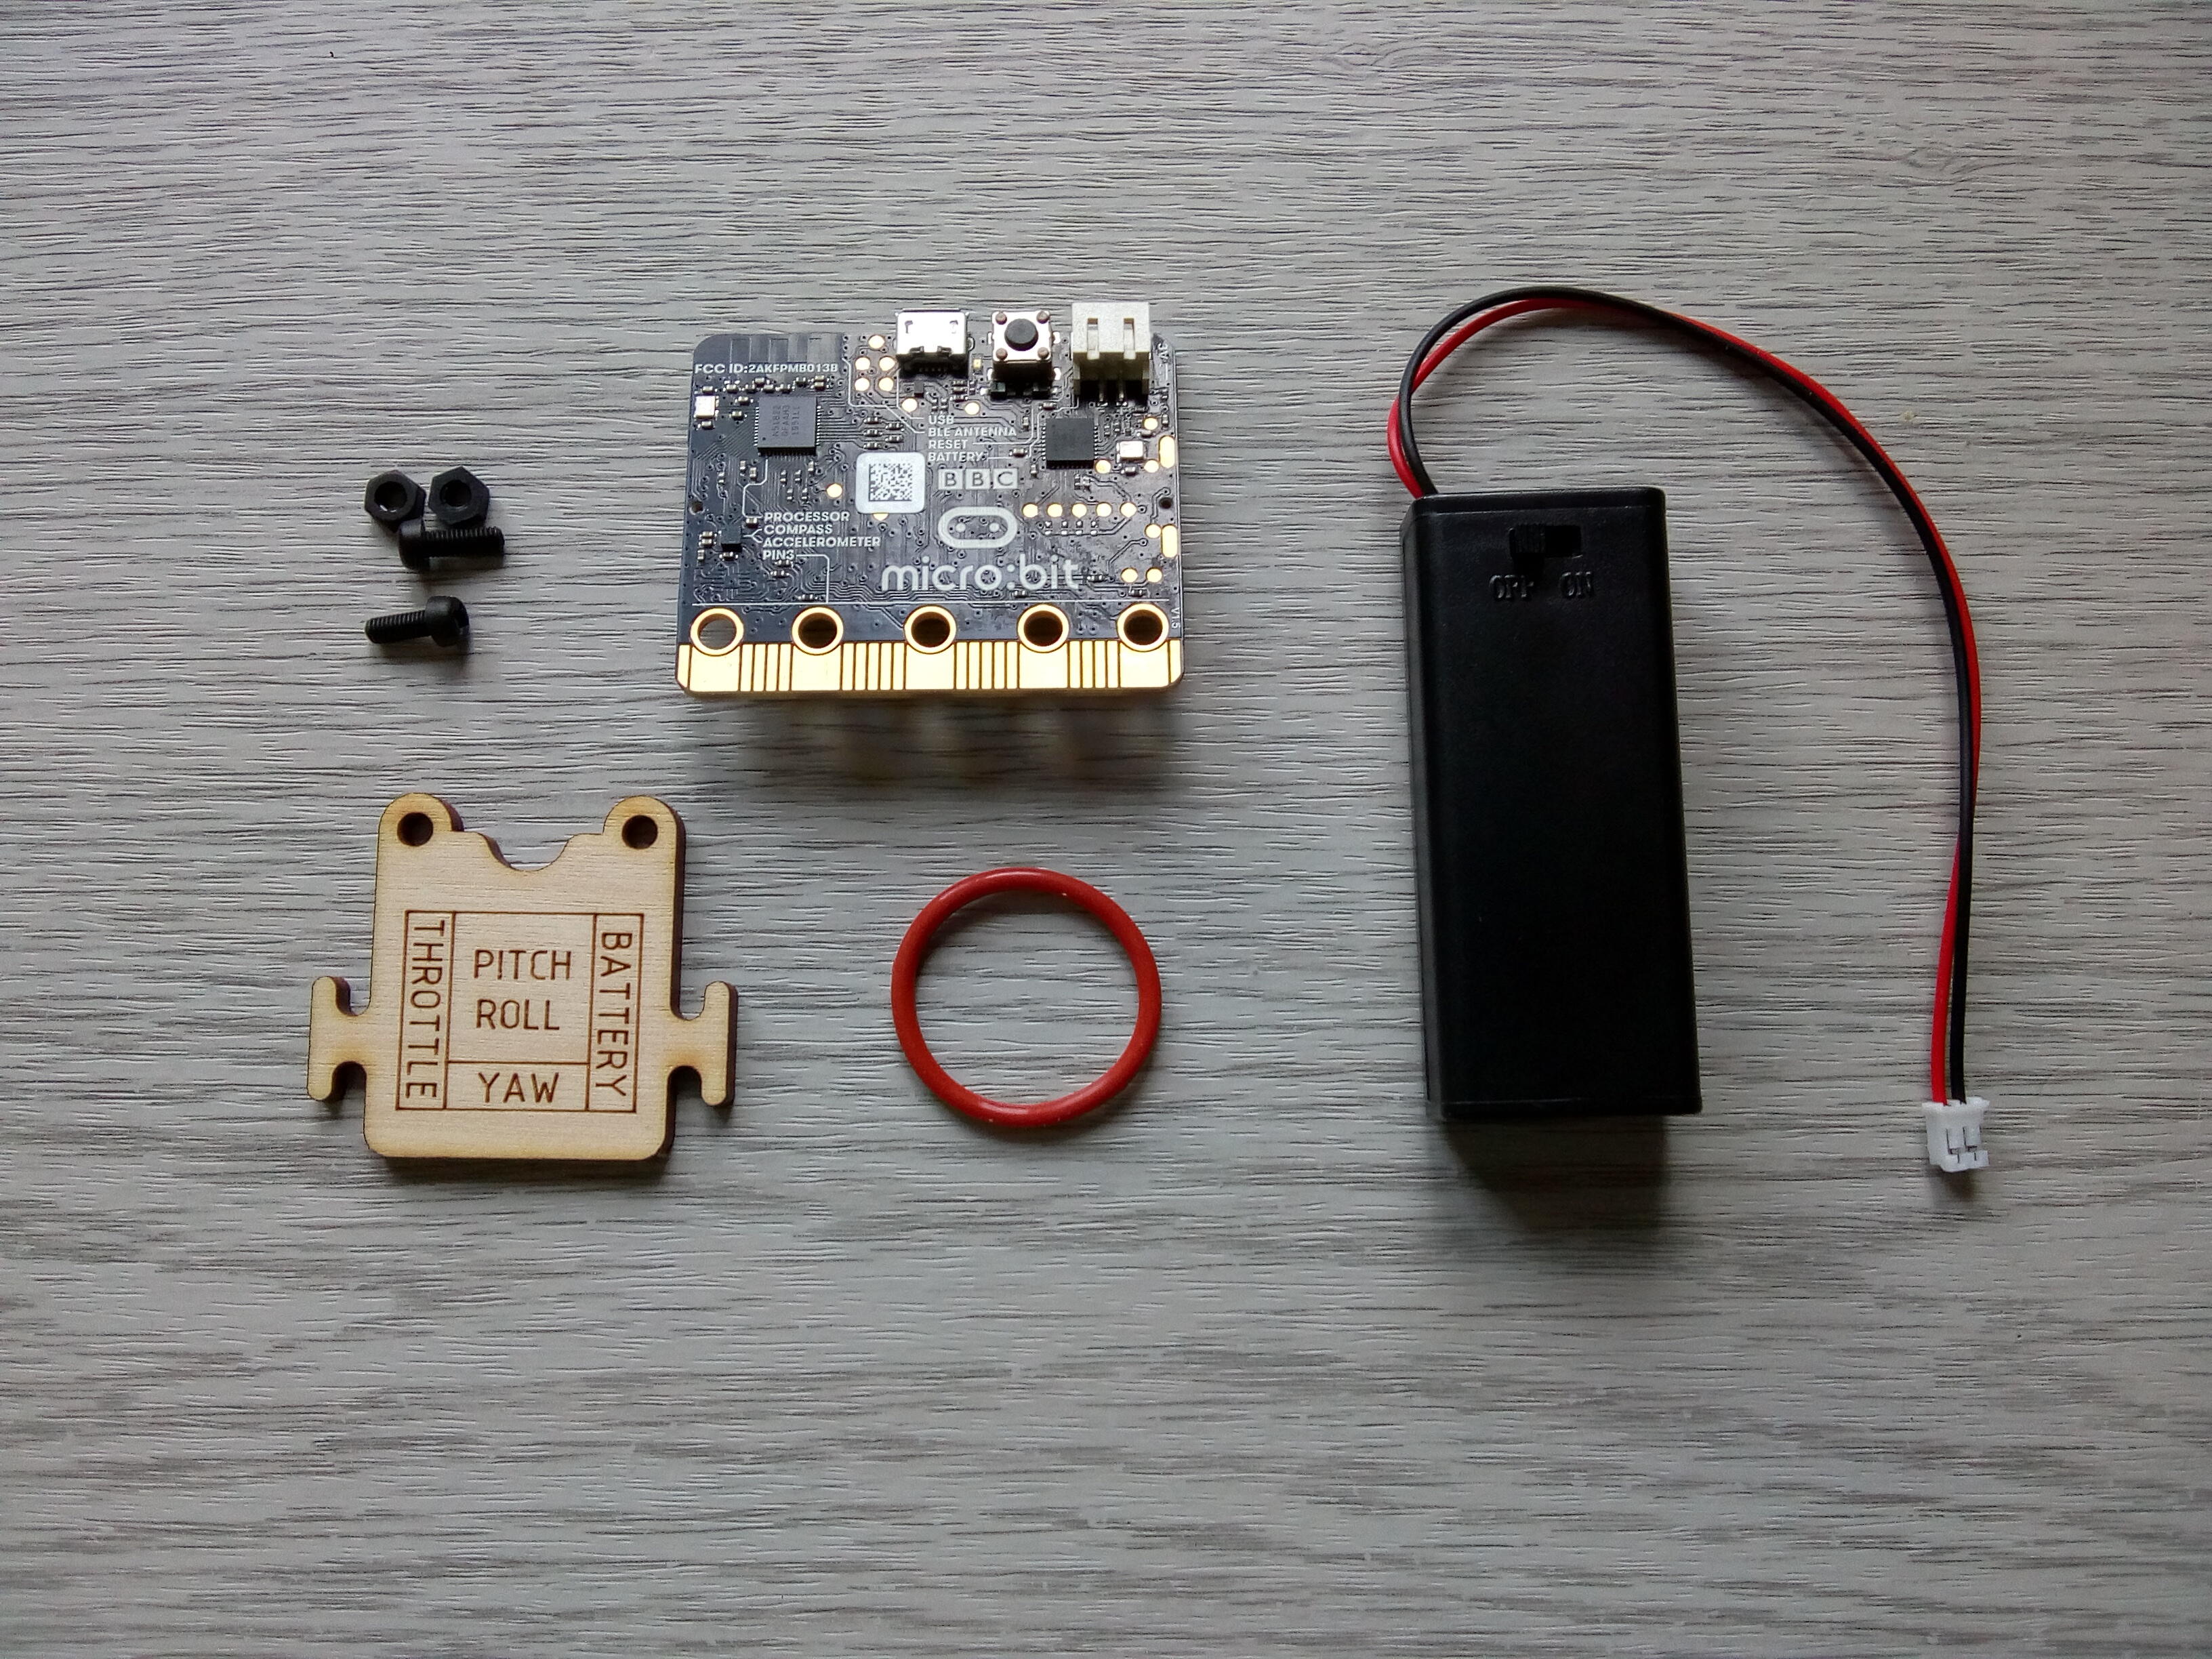
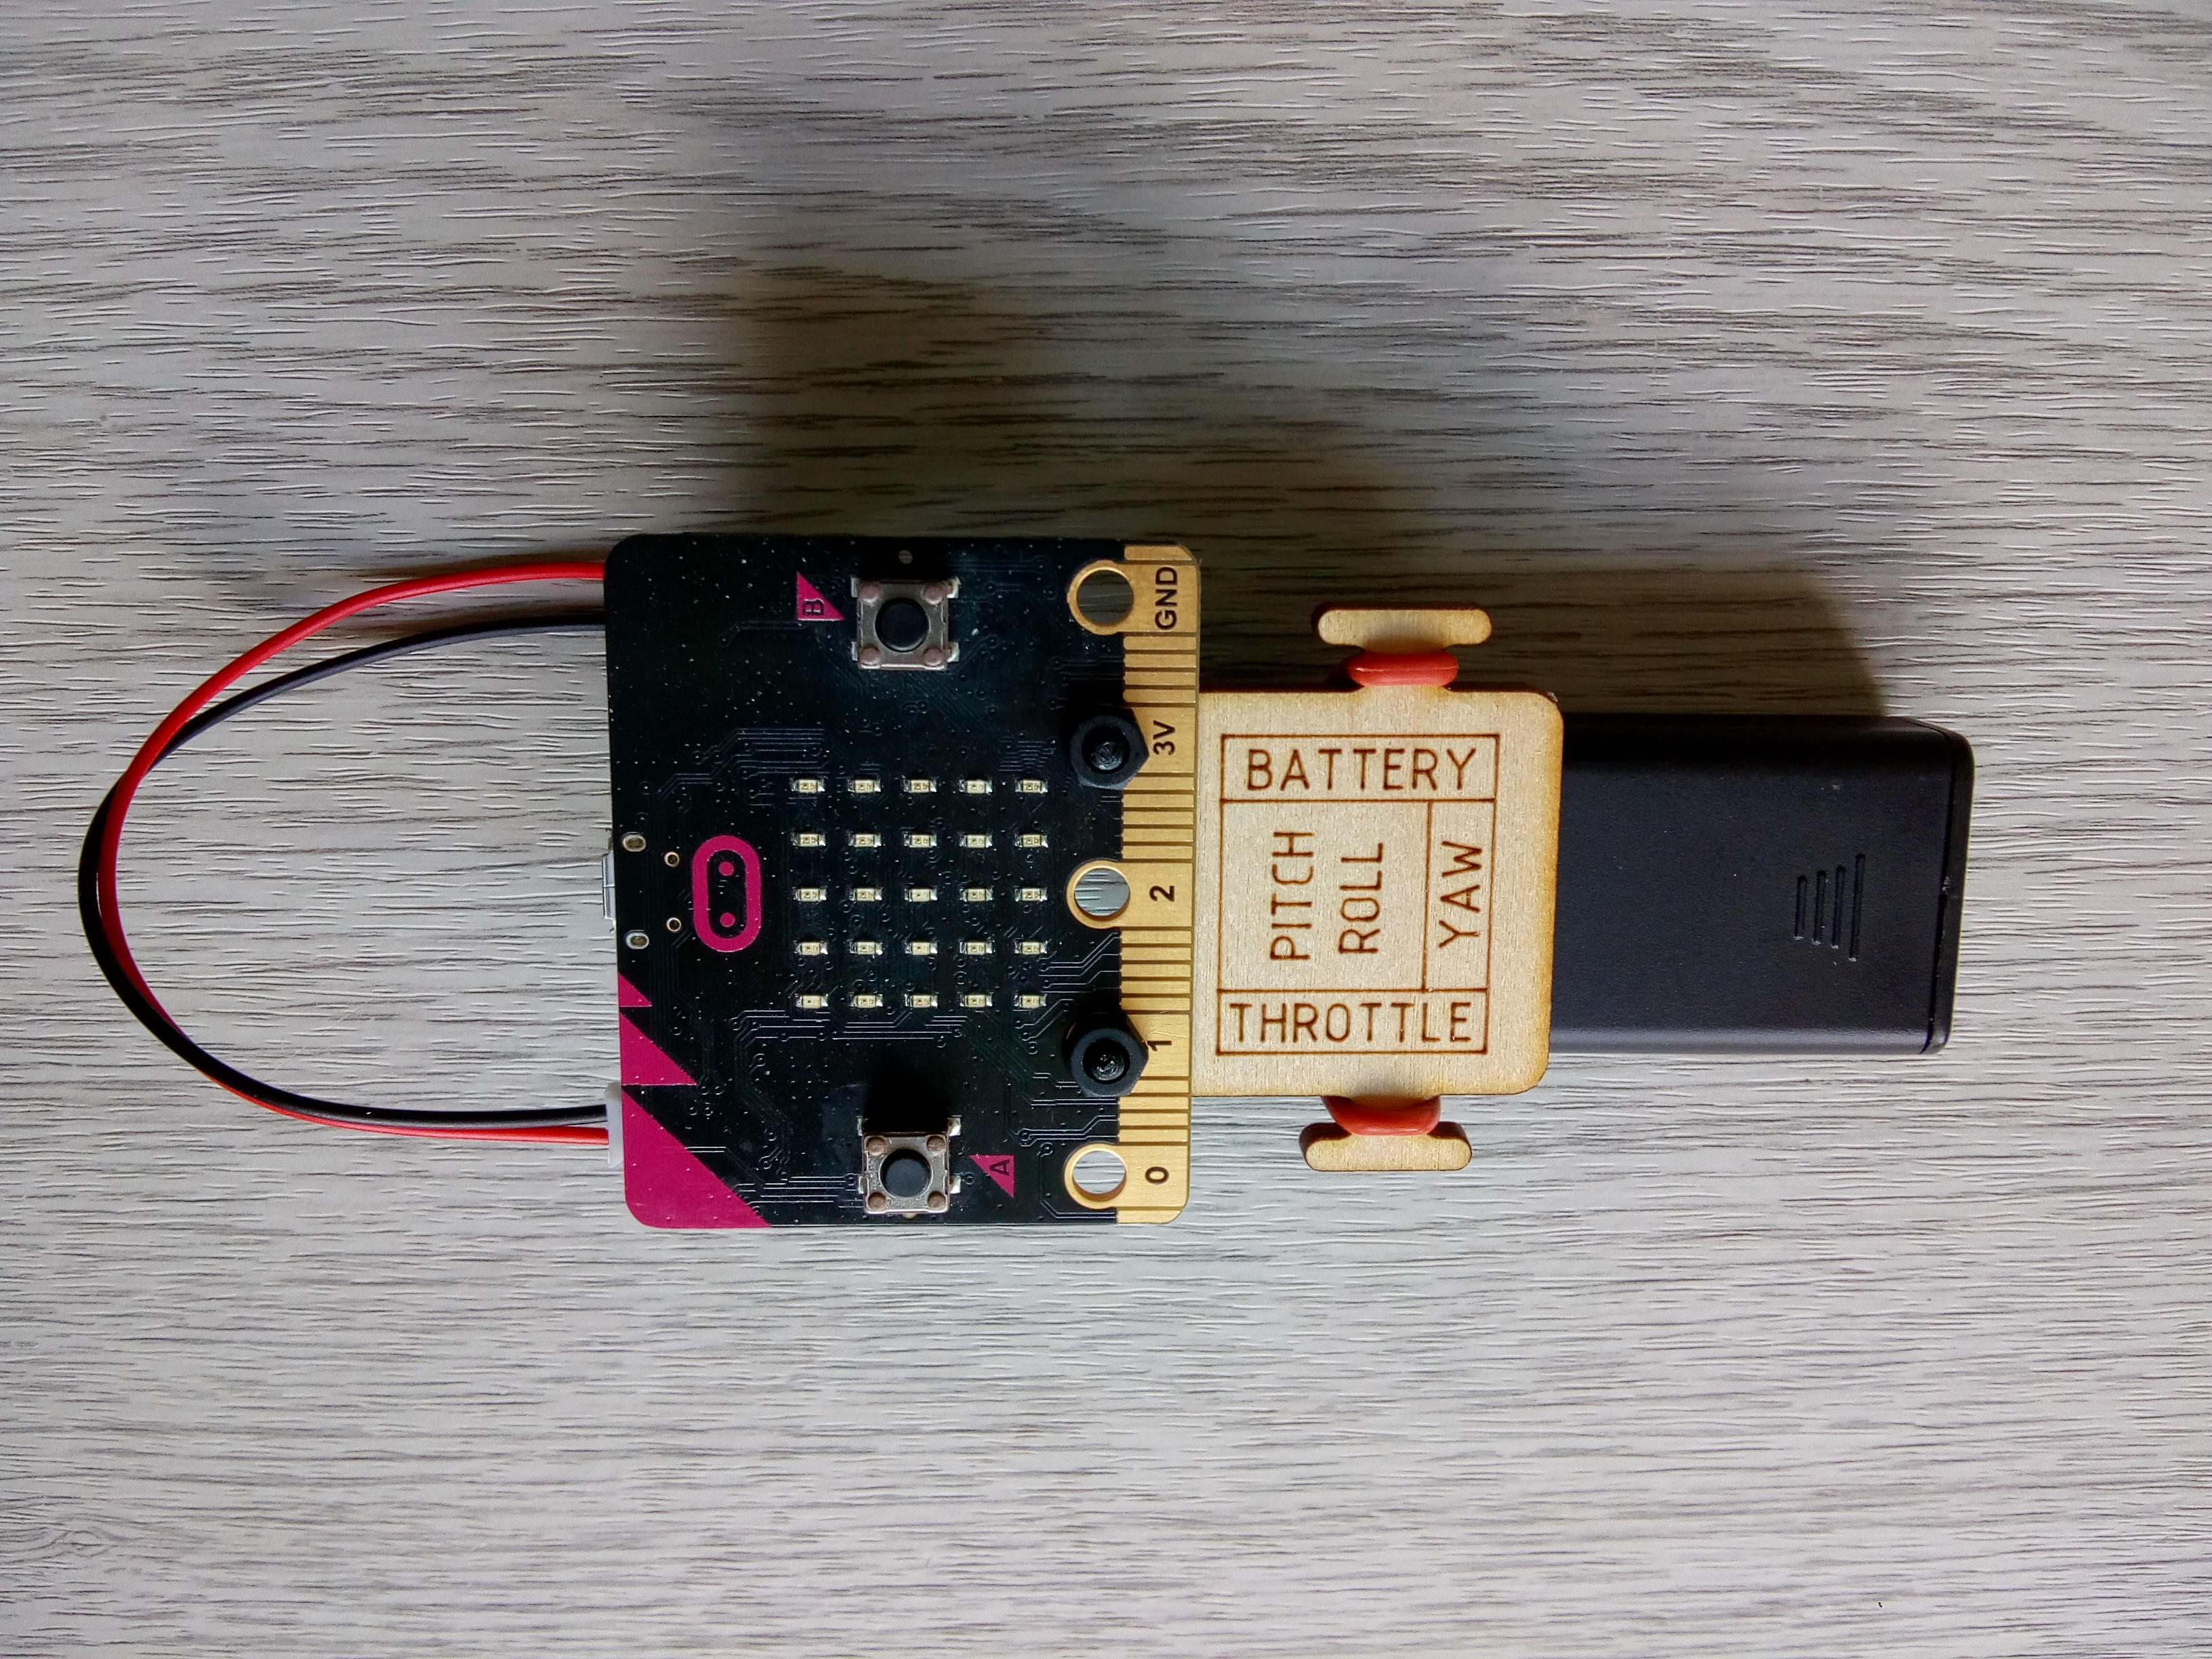
- Breakout the controller board and attach the micro:bit using two M3 x 8mm nylon nuts and bolts.
- Fit the battery holder to the back of the board with the rubber band.
- Connect the battery lead to the micro:bit.
Airframe
The next few steps build up the airframe ready for testing.
- Break out the airframe and place with the engraving face down.
- Attach each landing spacer with an M3 x 8mm bolt so the spacer faces upwards.
- Attach the long elastic band to the lugs in the centre of the frame.
Now arrange the motor parts. There are 2 clockwise motors (red & blue wires) and 2 counter-clockwise motors (black & white wires). The motor direction is marked on the airframe so check this carefully before assembly.
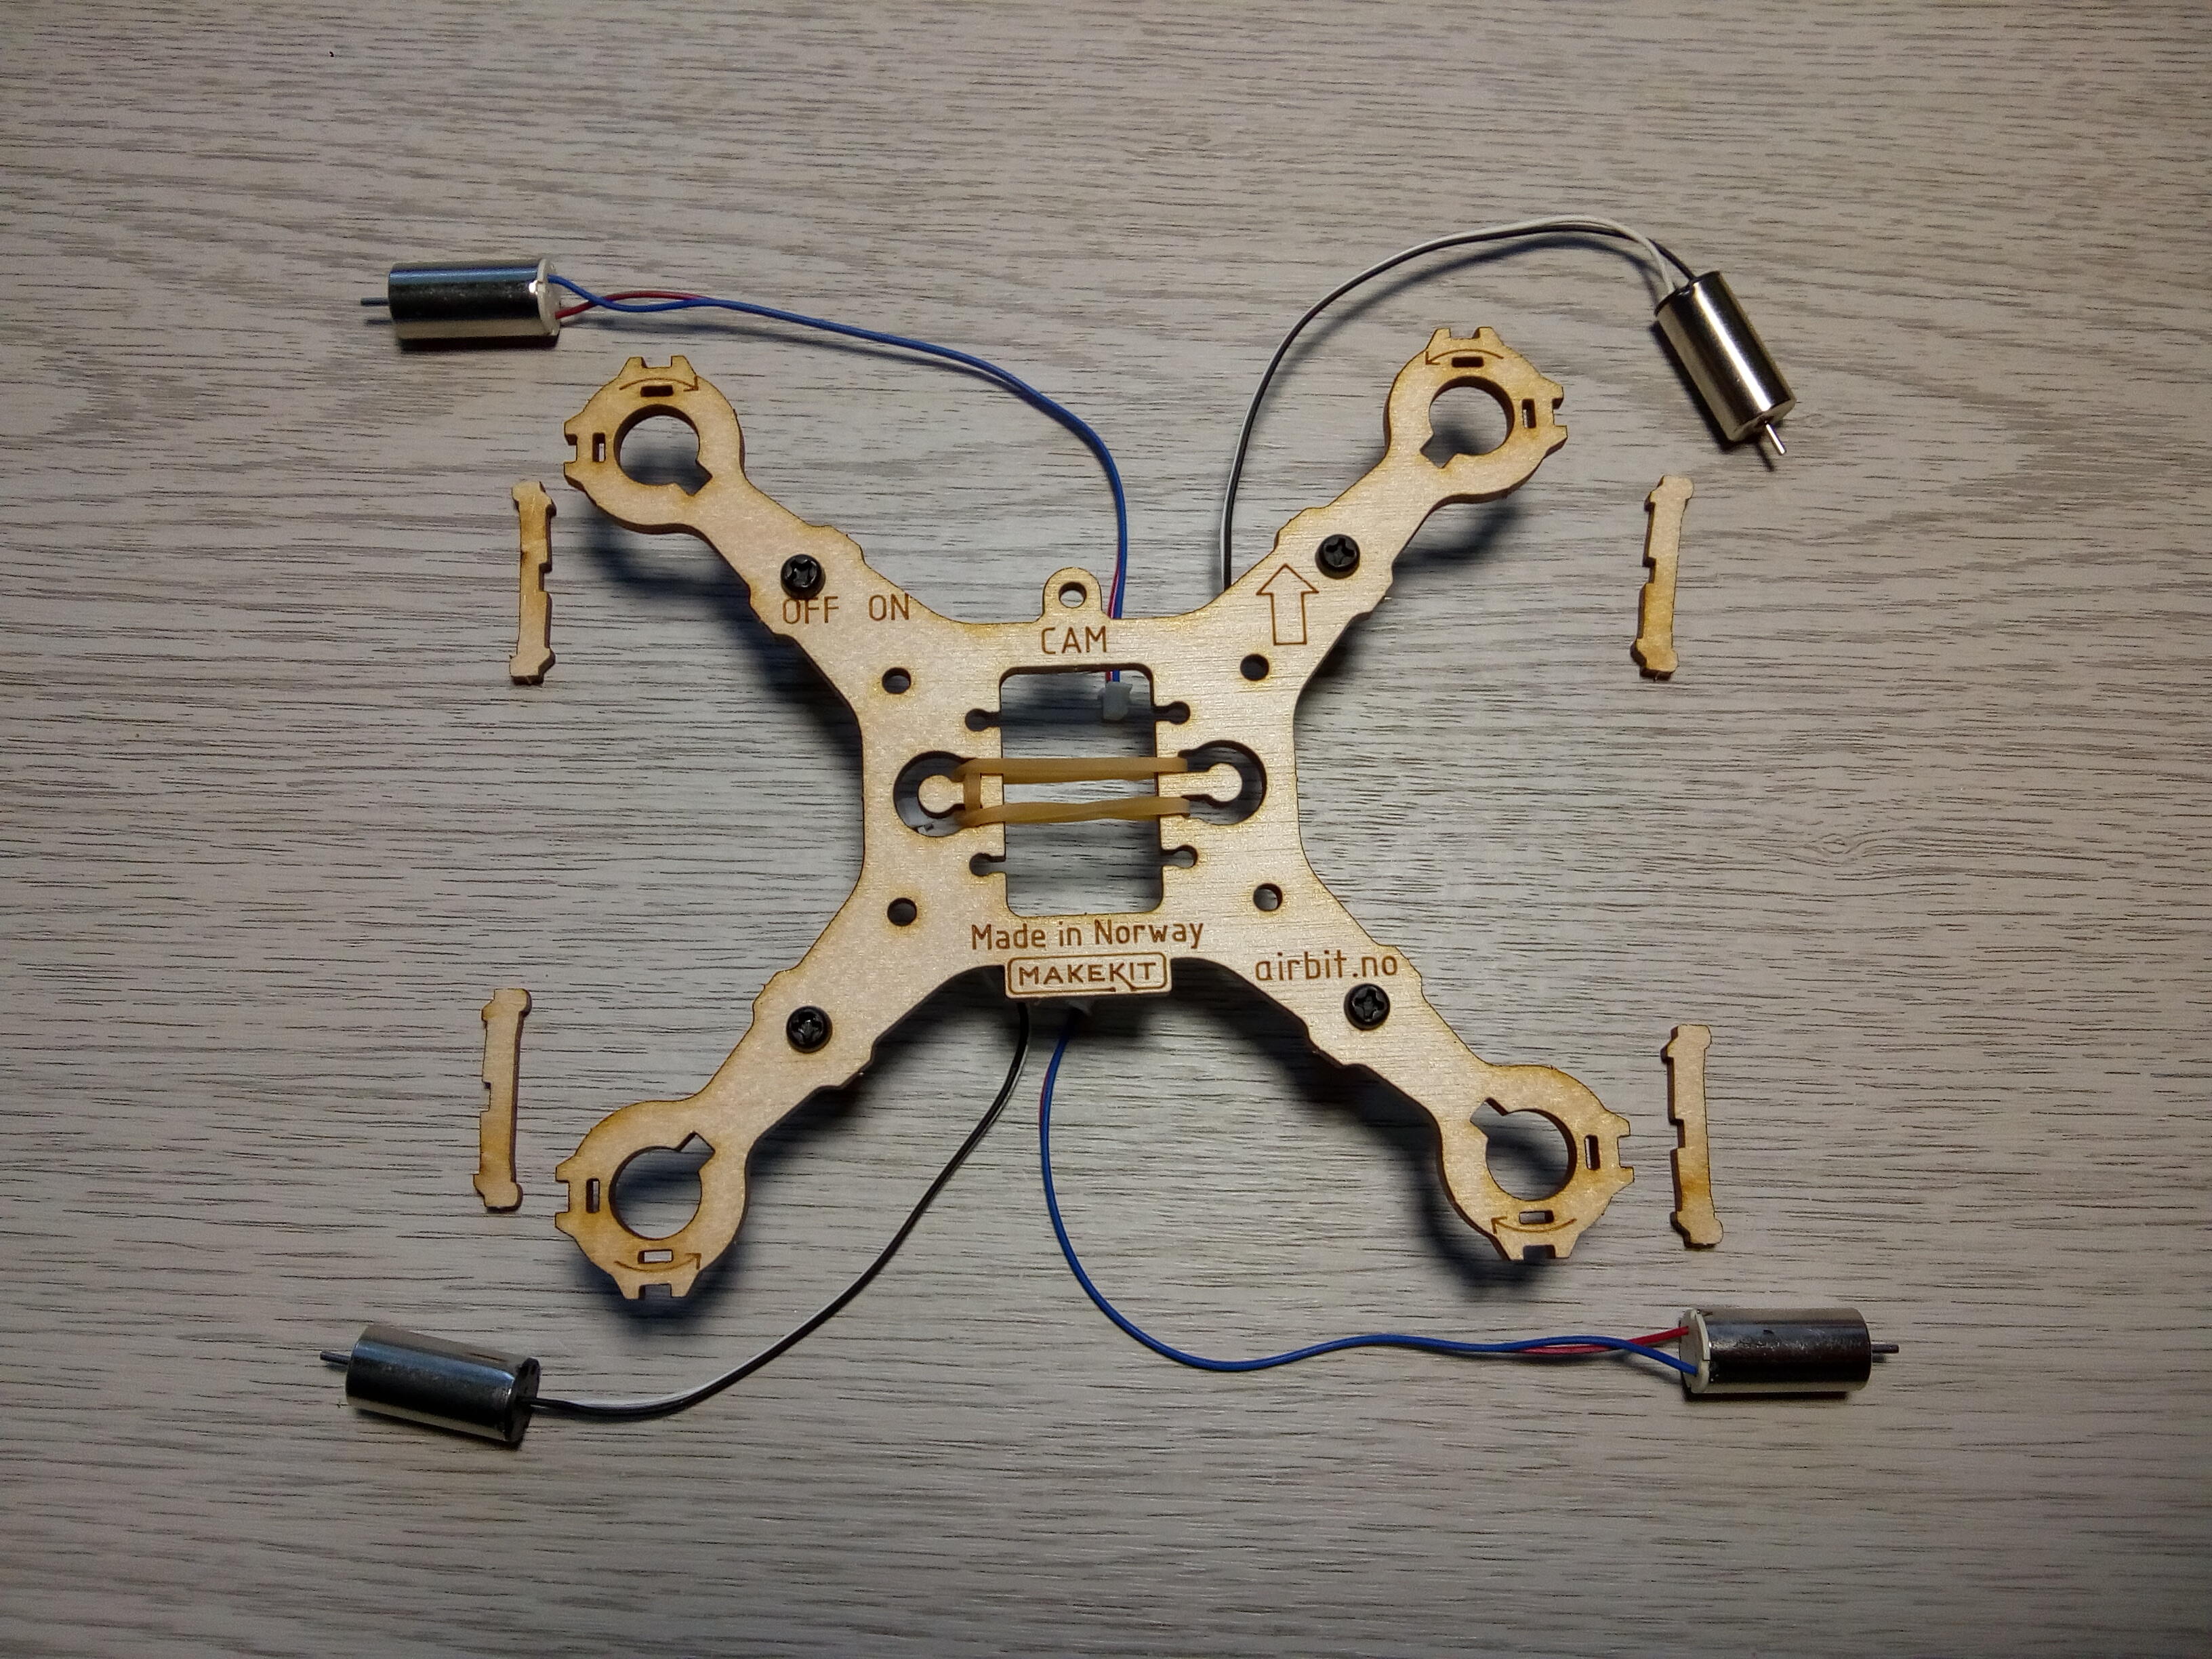
- For each motor in turn, insert the wedge so the notches align then push the motor in to place so the motor shaft faces upwards. The fit is quite tight and we found rotating the motor while pushing upwards helped, until it clicks into place.
- Feed the wires up through the notches in the centre of the frame and pull to the side.
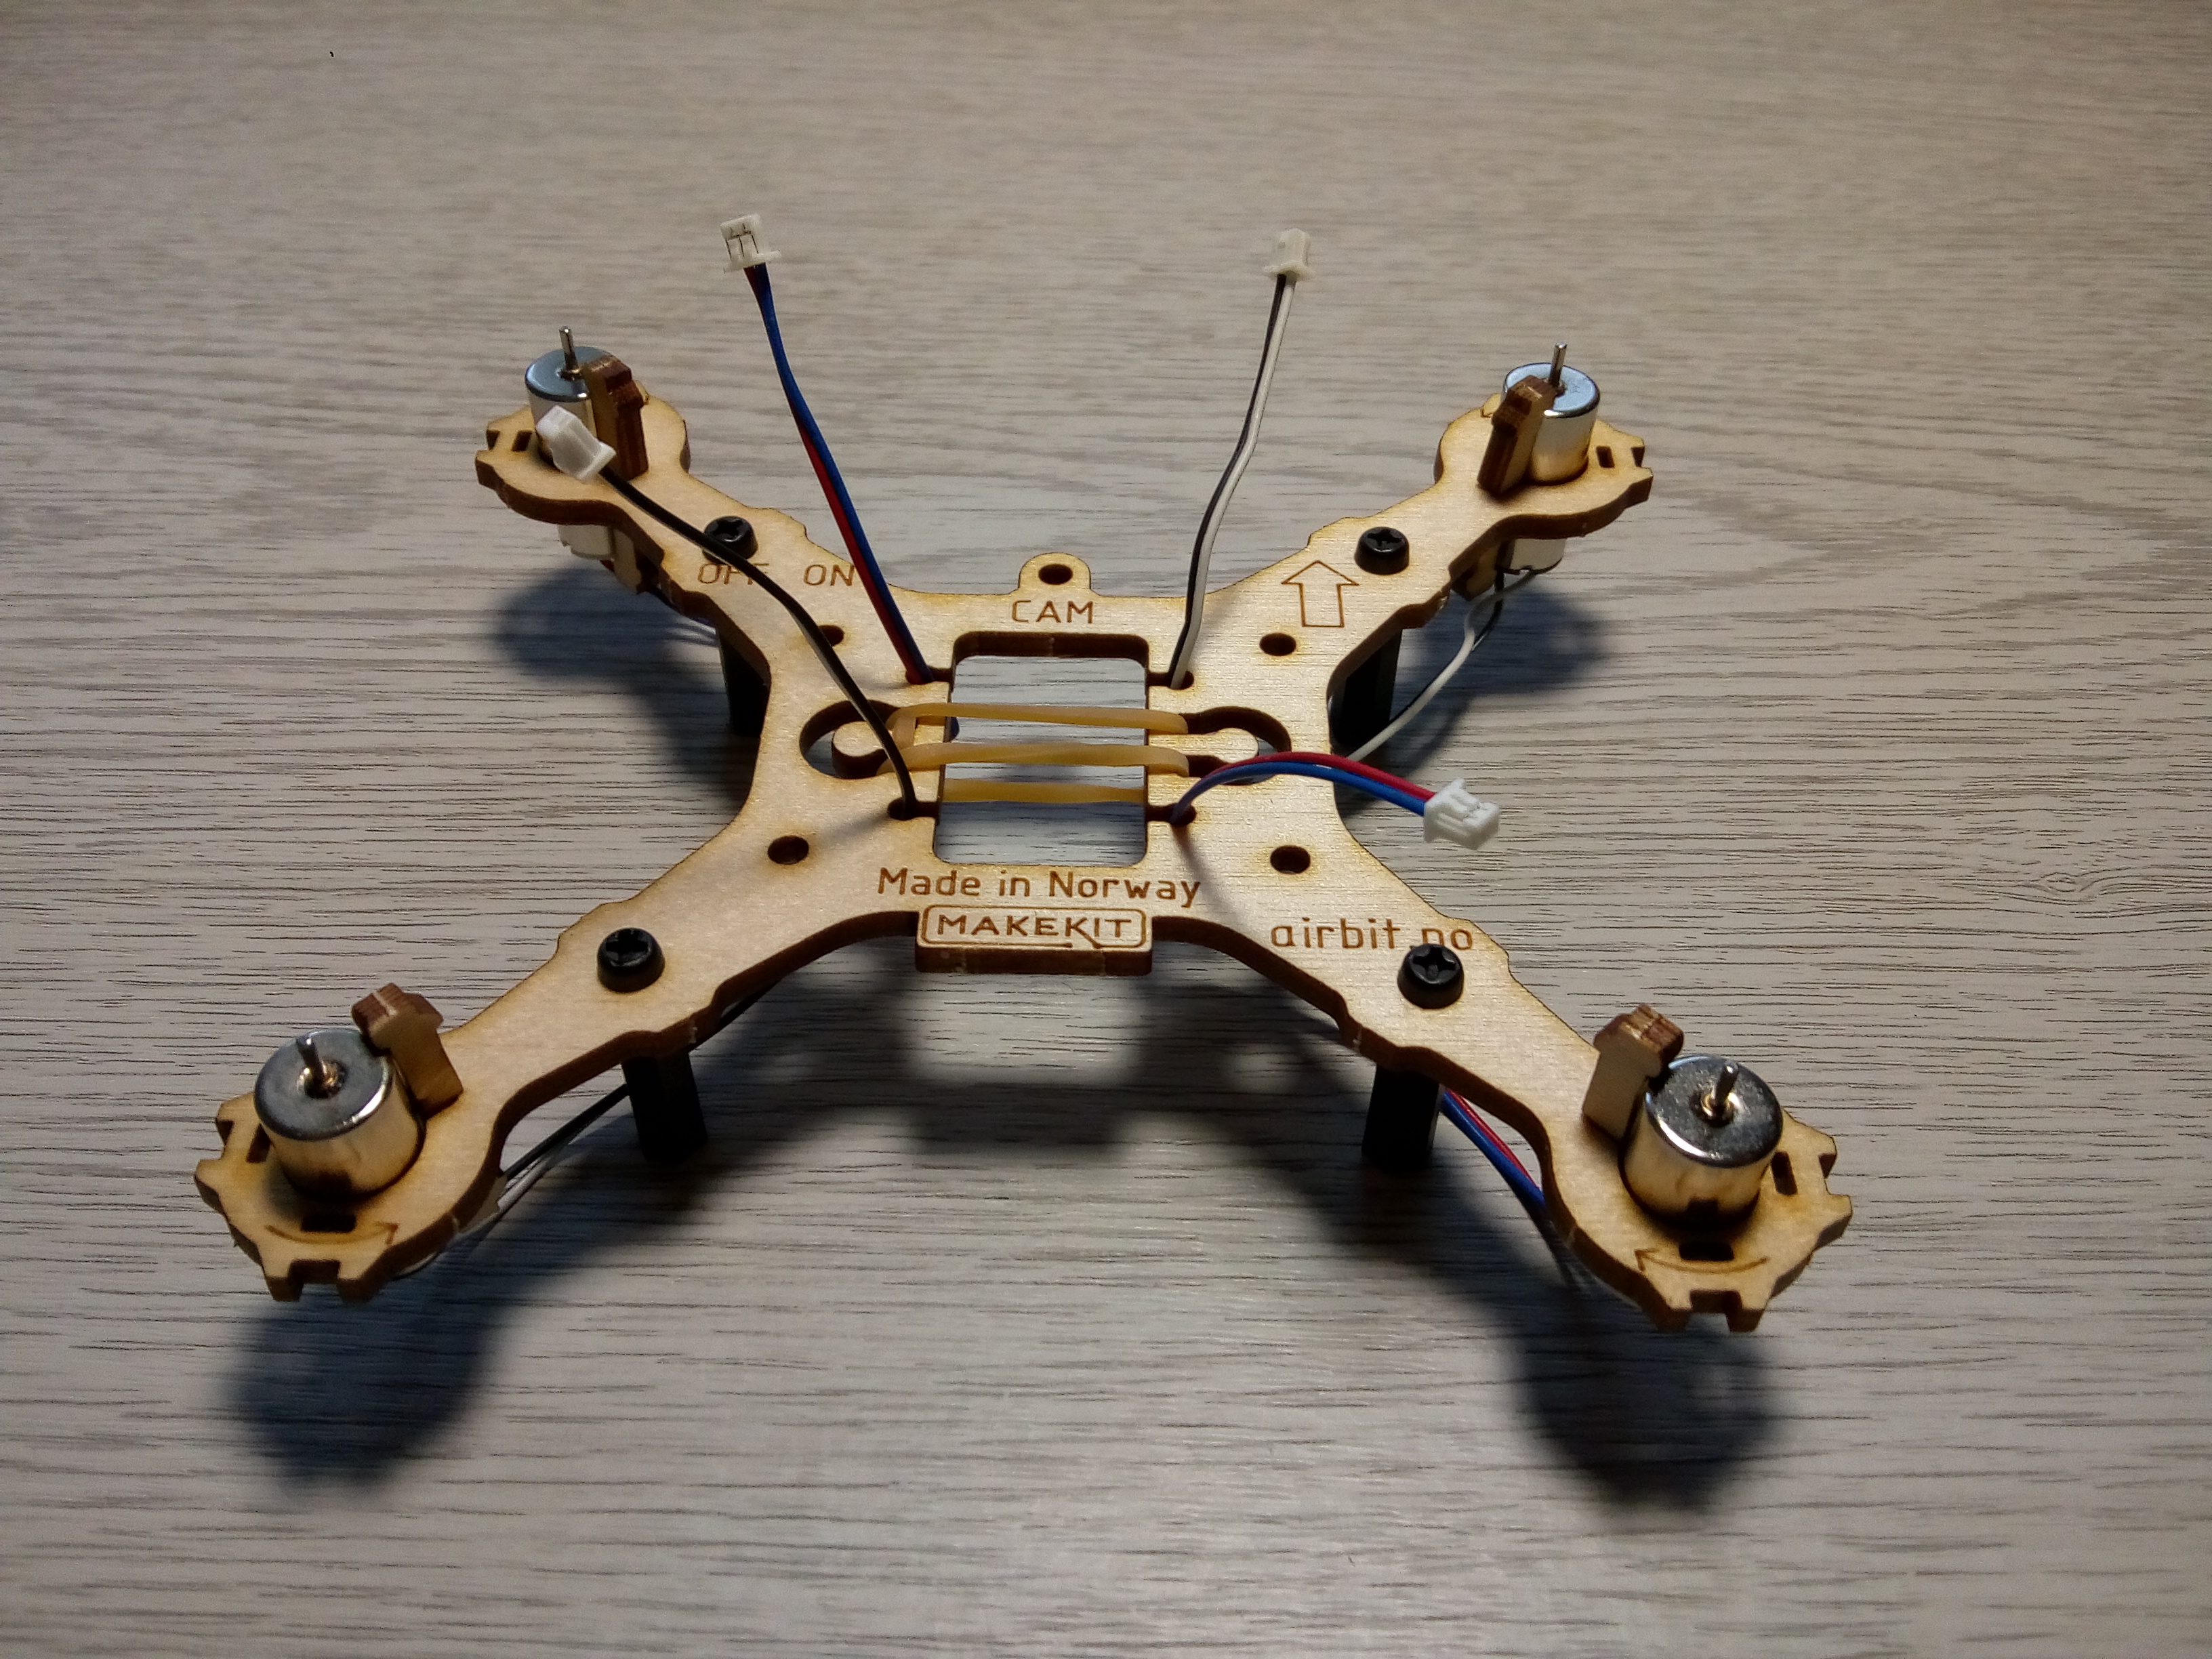
Drone controller
The airborne drone controller consists of custom power and motor control board supplied in the kit, connected to a micro:bit which you need to add. Either version of the micro:bit, 1 or 2 work with the supplied code.
- Place the control board so that the connectors face upwards and insert the four M3 x 12mm bolts through the outer contact holes, facing upwards.
- Screw the brass spacers into position, tightening them enough so that they make a good electrical contact.
- Place the two white countersunk bolts in the top holes, facing downwards and attach their nuts.
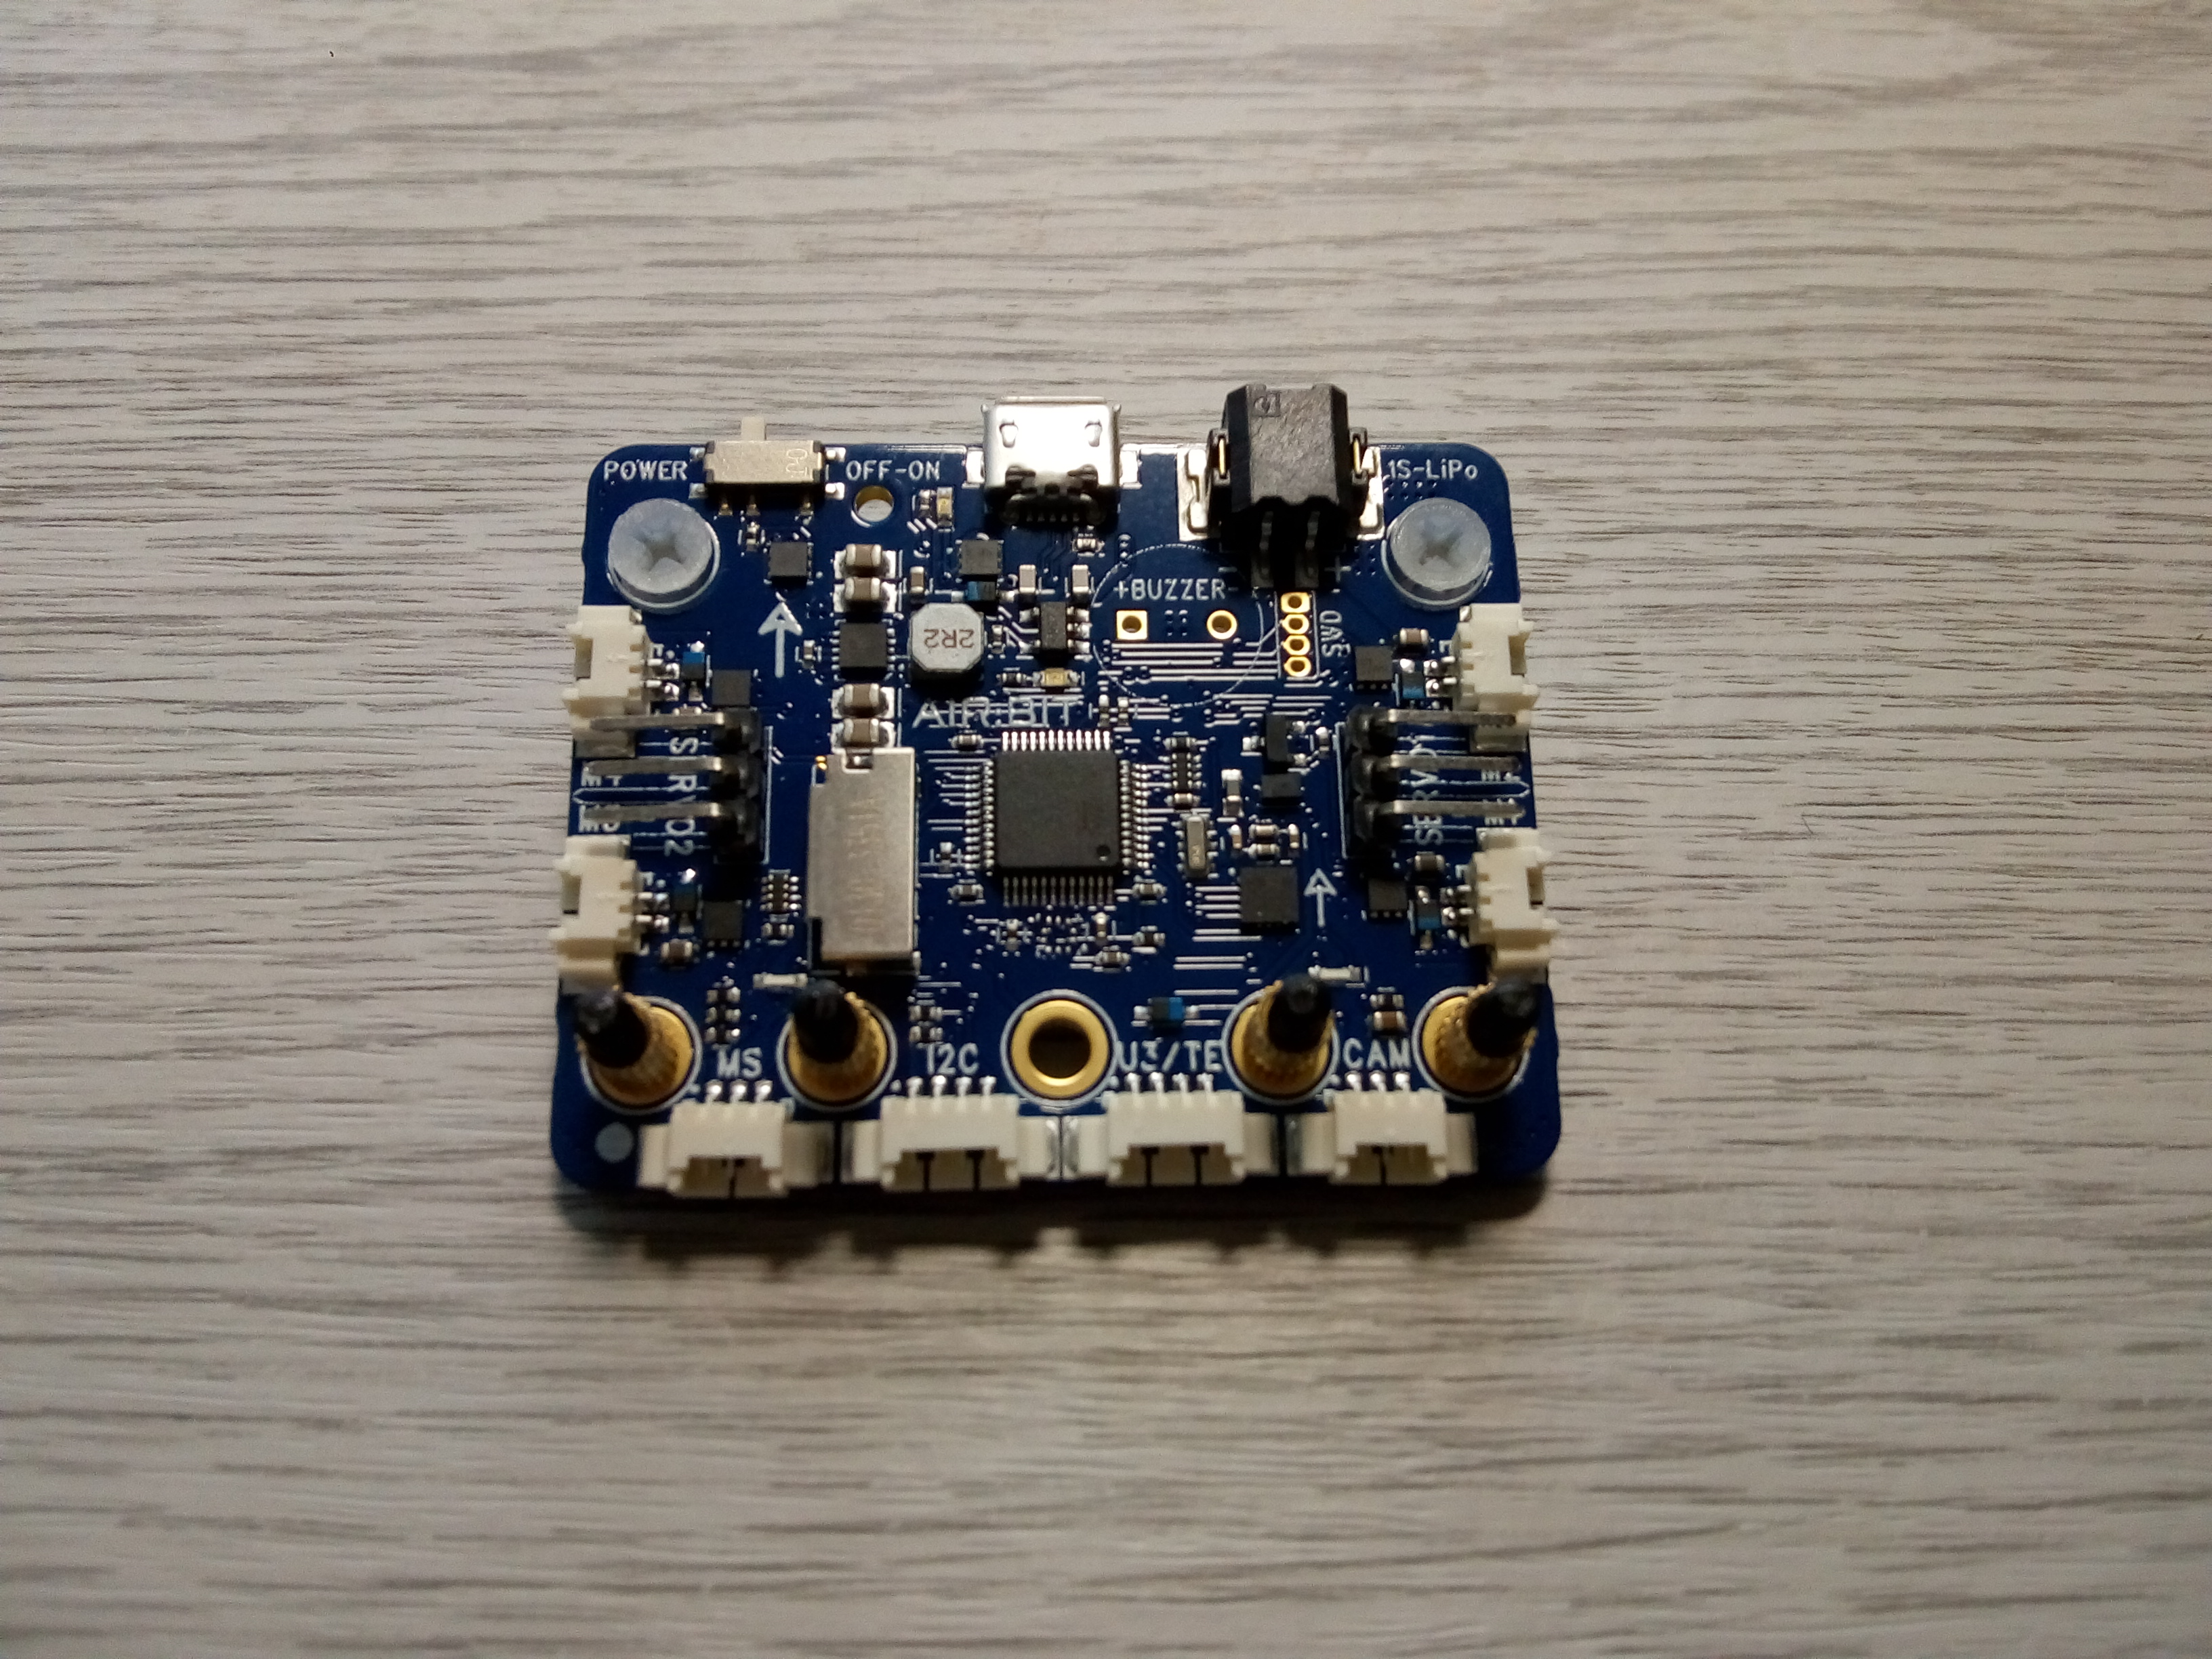
Now attach the micro:bit to the control board with the LED matrix facing upwards, using four nylon nuts.
- Tighten the nuts enough to make a good electrical contact.
- Attach the whole controller to the airframe using the two white nylon bolts and nuts.
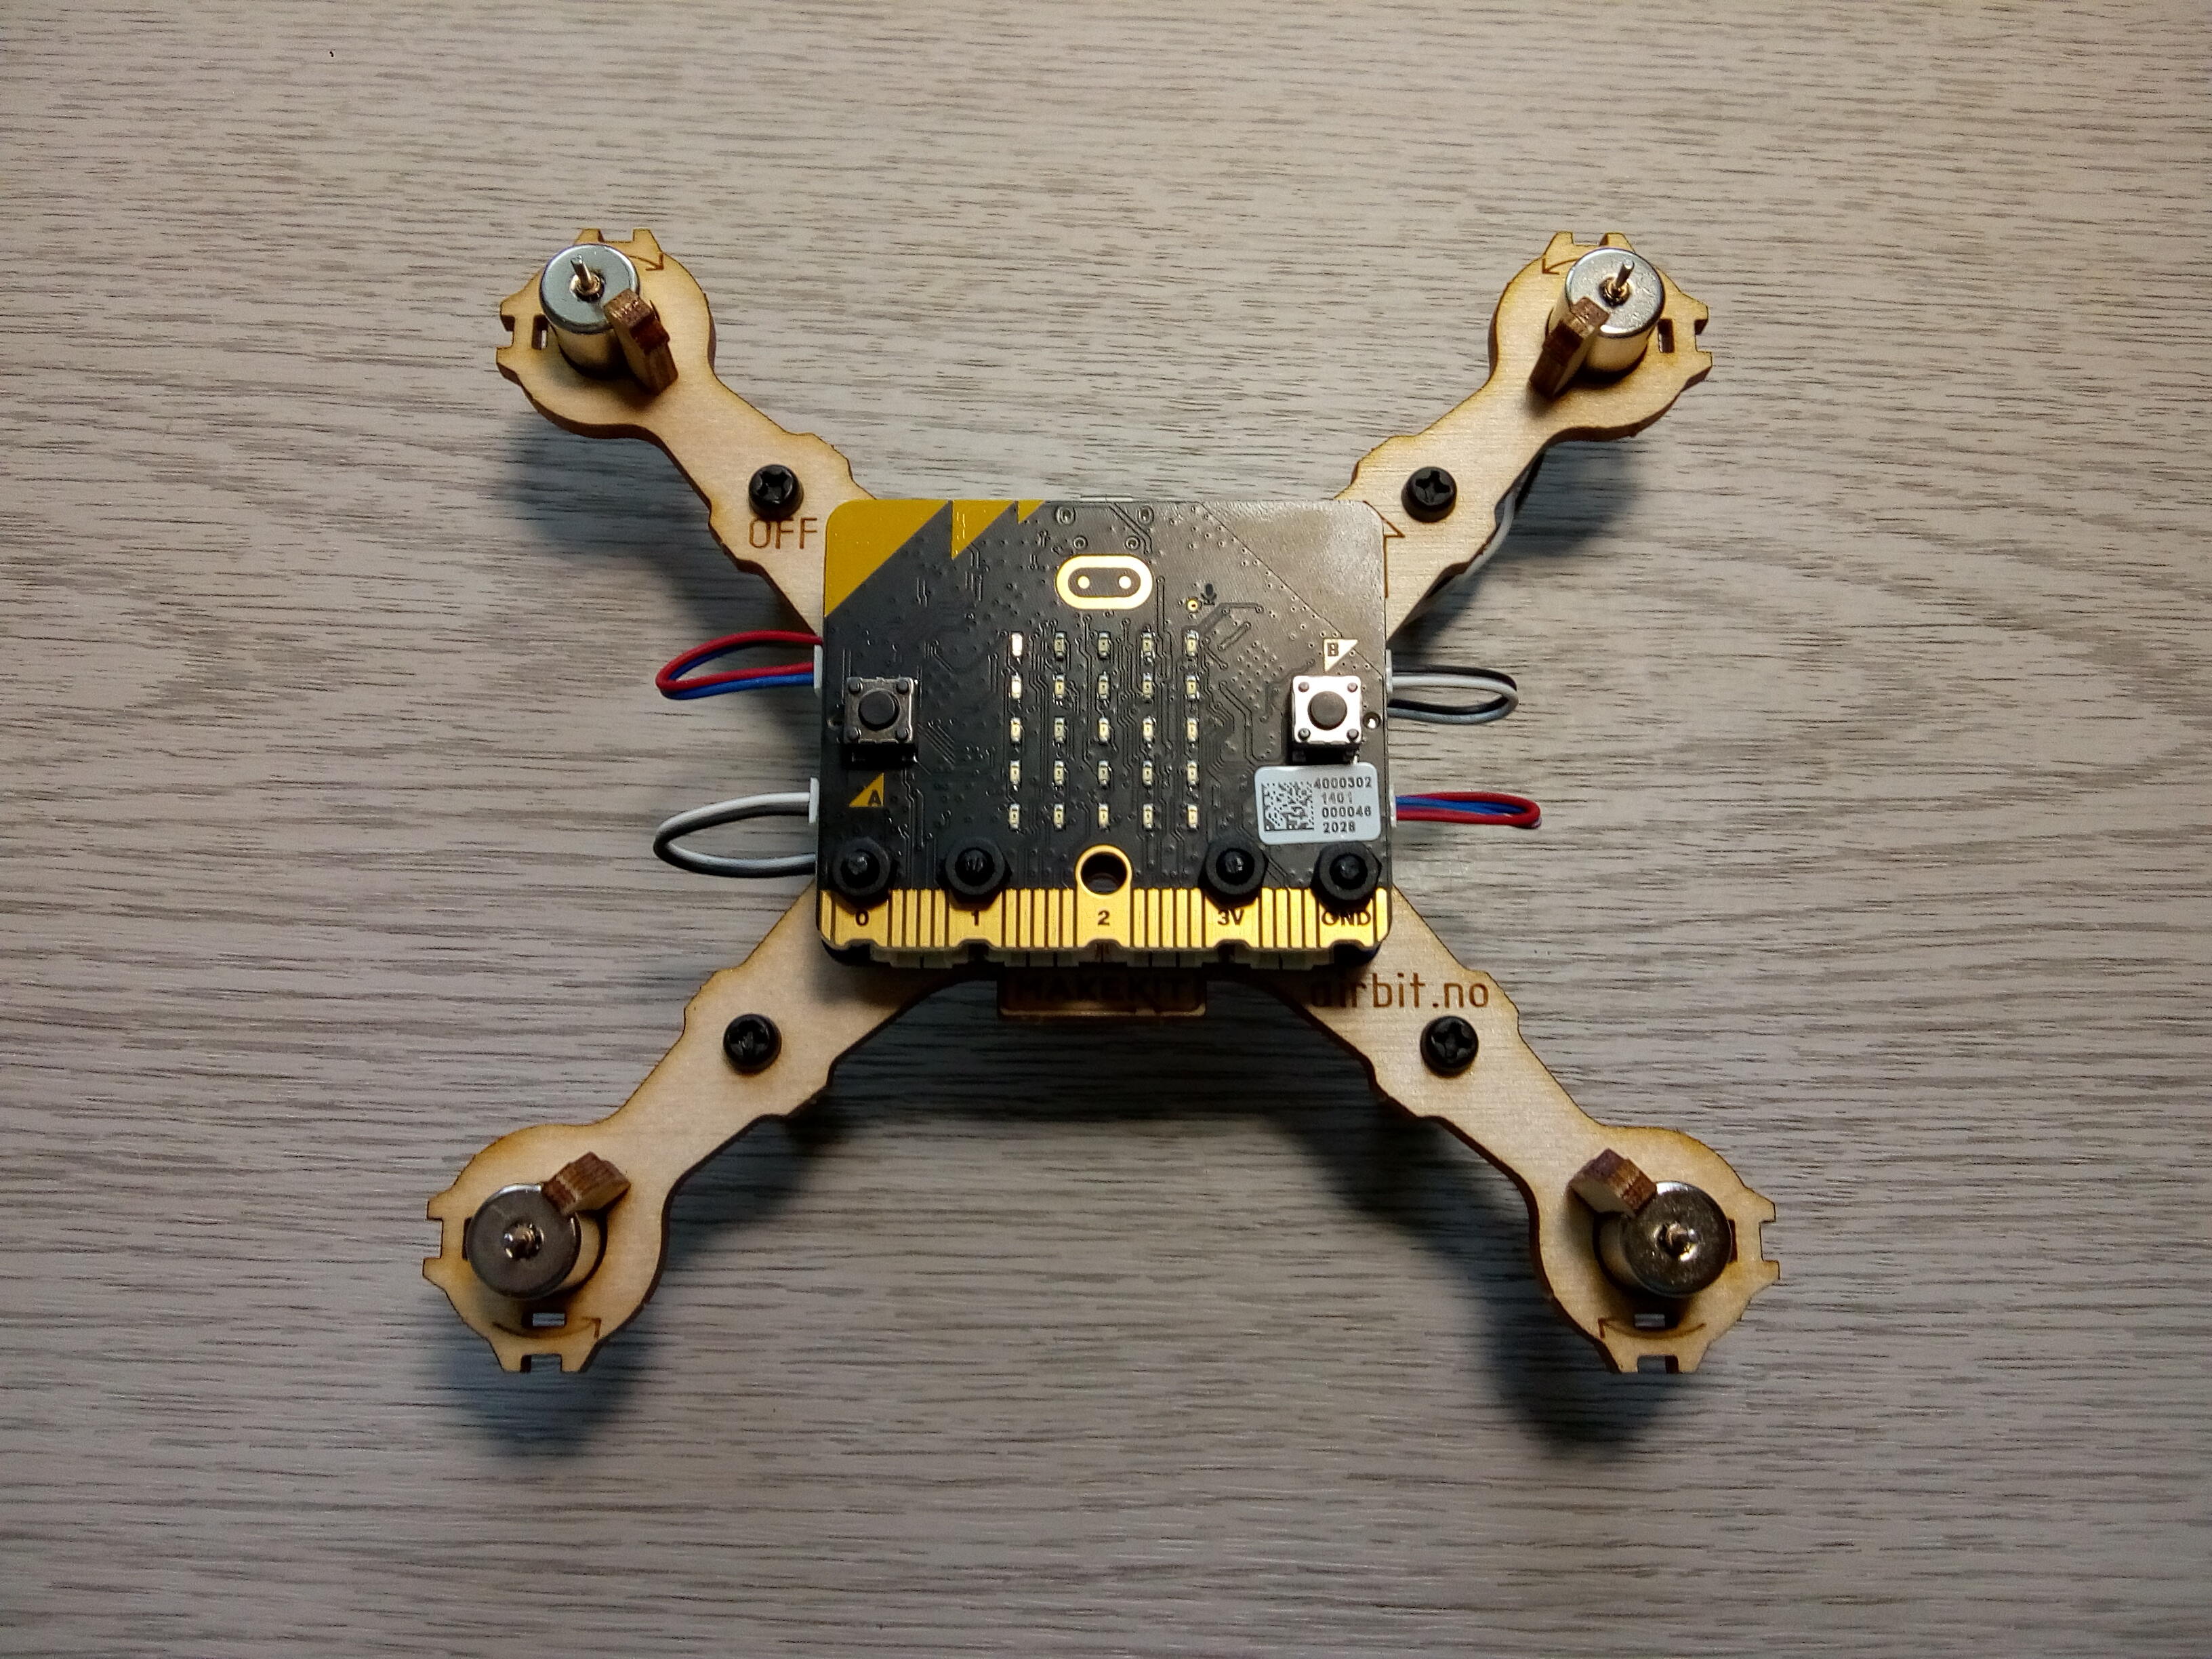
- Connect each motor lead to it’s closest connector making sure the polarity is correct – the connectors should click into place.
That completes the assembly so far – the rotor blades are added after coding and testing for safety reasons.
Coding
This next section goes through how to download and install the code for the micro:bit controller and the airborne drone controller.
We used the Microsoft Makecode environment running in a Chrome browser on a Linux desktop PC, but you can use a Windows or Mac PC if that’s what you have.
- Open your file manager and create a directory to save the code files.
- Download the Python code for the controller and save to the directory you just created.
- Download the Python code for the airborne controller to the directory.
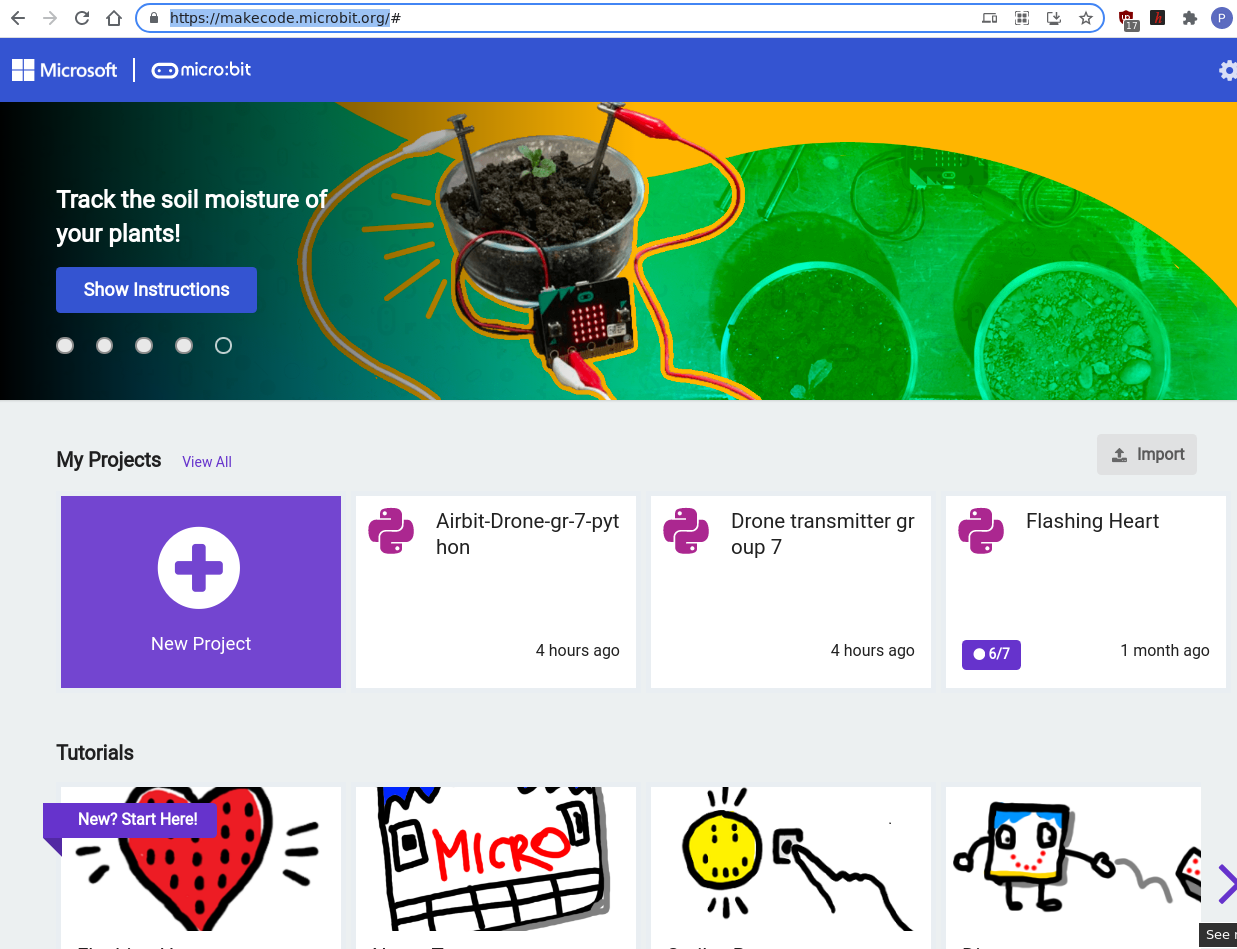
- Drag and drop the controller code onto the Makecode homepage and it will load the code for that project.
- Connect your controller micro:bit to your PC with a USB cable.
- Click the three dots icon on the Download button and connect your micro:bit.
- Download the code to the micro:bit by pressing Download.
- When the download has finished disconnect the micro:bit.
- Switch the battery on and the Radio Group number should scroll across the screen.
Make sure you use the same Radio Group number for both the Transmitter and Drone controller

- Now return to the Makecode home screen and load the airborne controller code.
- Attach a USB cable to the micro:bit connector on the drone, not the airborne controller board.
- Repeat the steps above to download the code to the drone’s micro:bit.
Testing
Before fitting the rotor blades the Air:bit can be tested to make sure that everything is working.
- Turn on the controller and the Radio Group number should scroll across the LED matrix
The bottom left LED should be on and a single LED should move around the matrix indicating the pitch and roll attitude.
- Fit the battery to the underneath of the airframe and connect the lead to the airborne controller board. This only fits one way round.
- Turn on the controller board and the same Radio Group number should scroll across the micro:bit matrix.
The bottom left LED should be on and a column of LEDs should be on on the right side of the matrix indicating the charge level of the battery.
A single LED in the centre of the matrix should move around when the controller changes its attitude.
- Press the A & B buttons together on the controller and the motors should start running.
- Increase the motor speed by pressing B and reduce it by pressing A.
- Press A & B buttons again to turn off the motors.
There is an emergency stop if you shake the controller
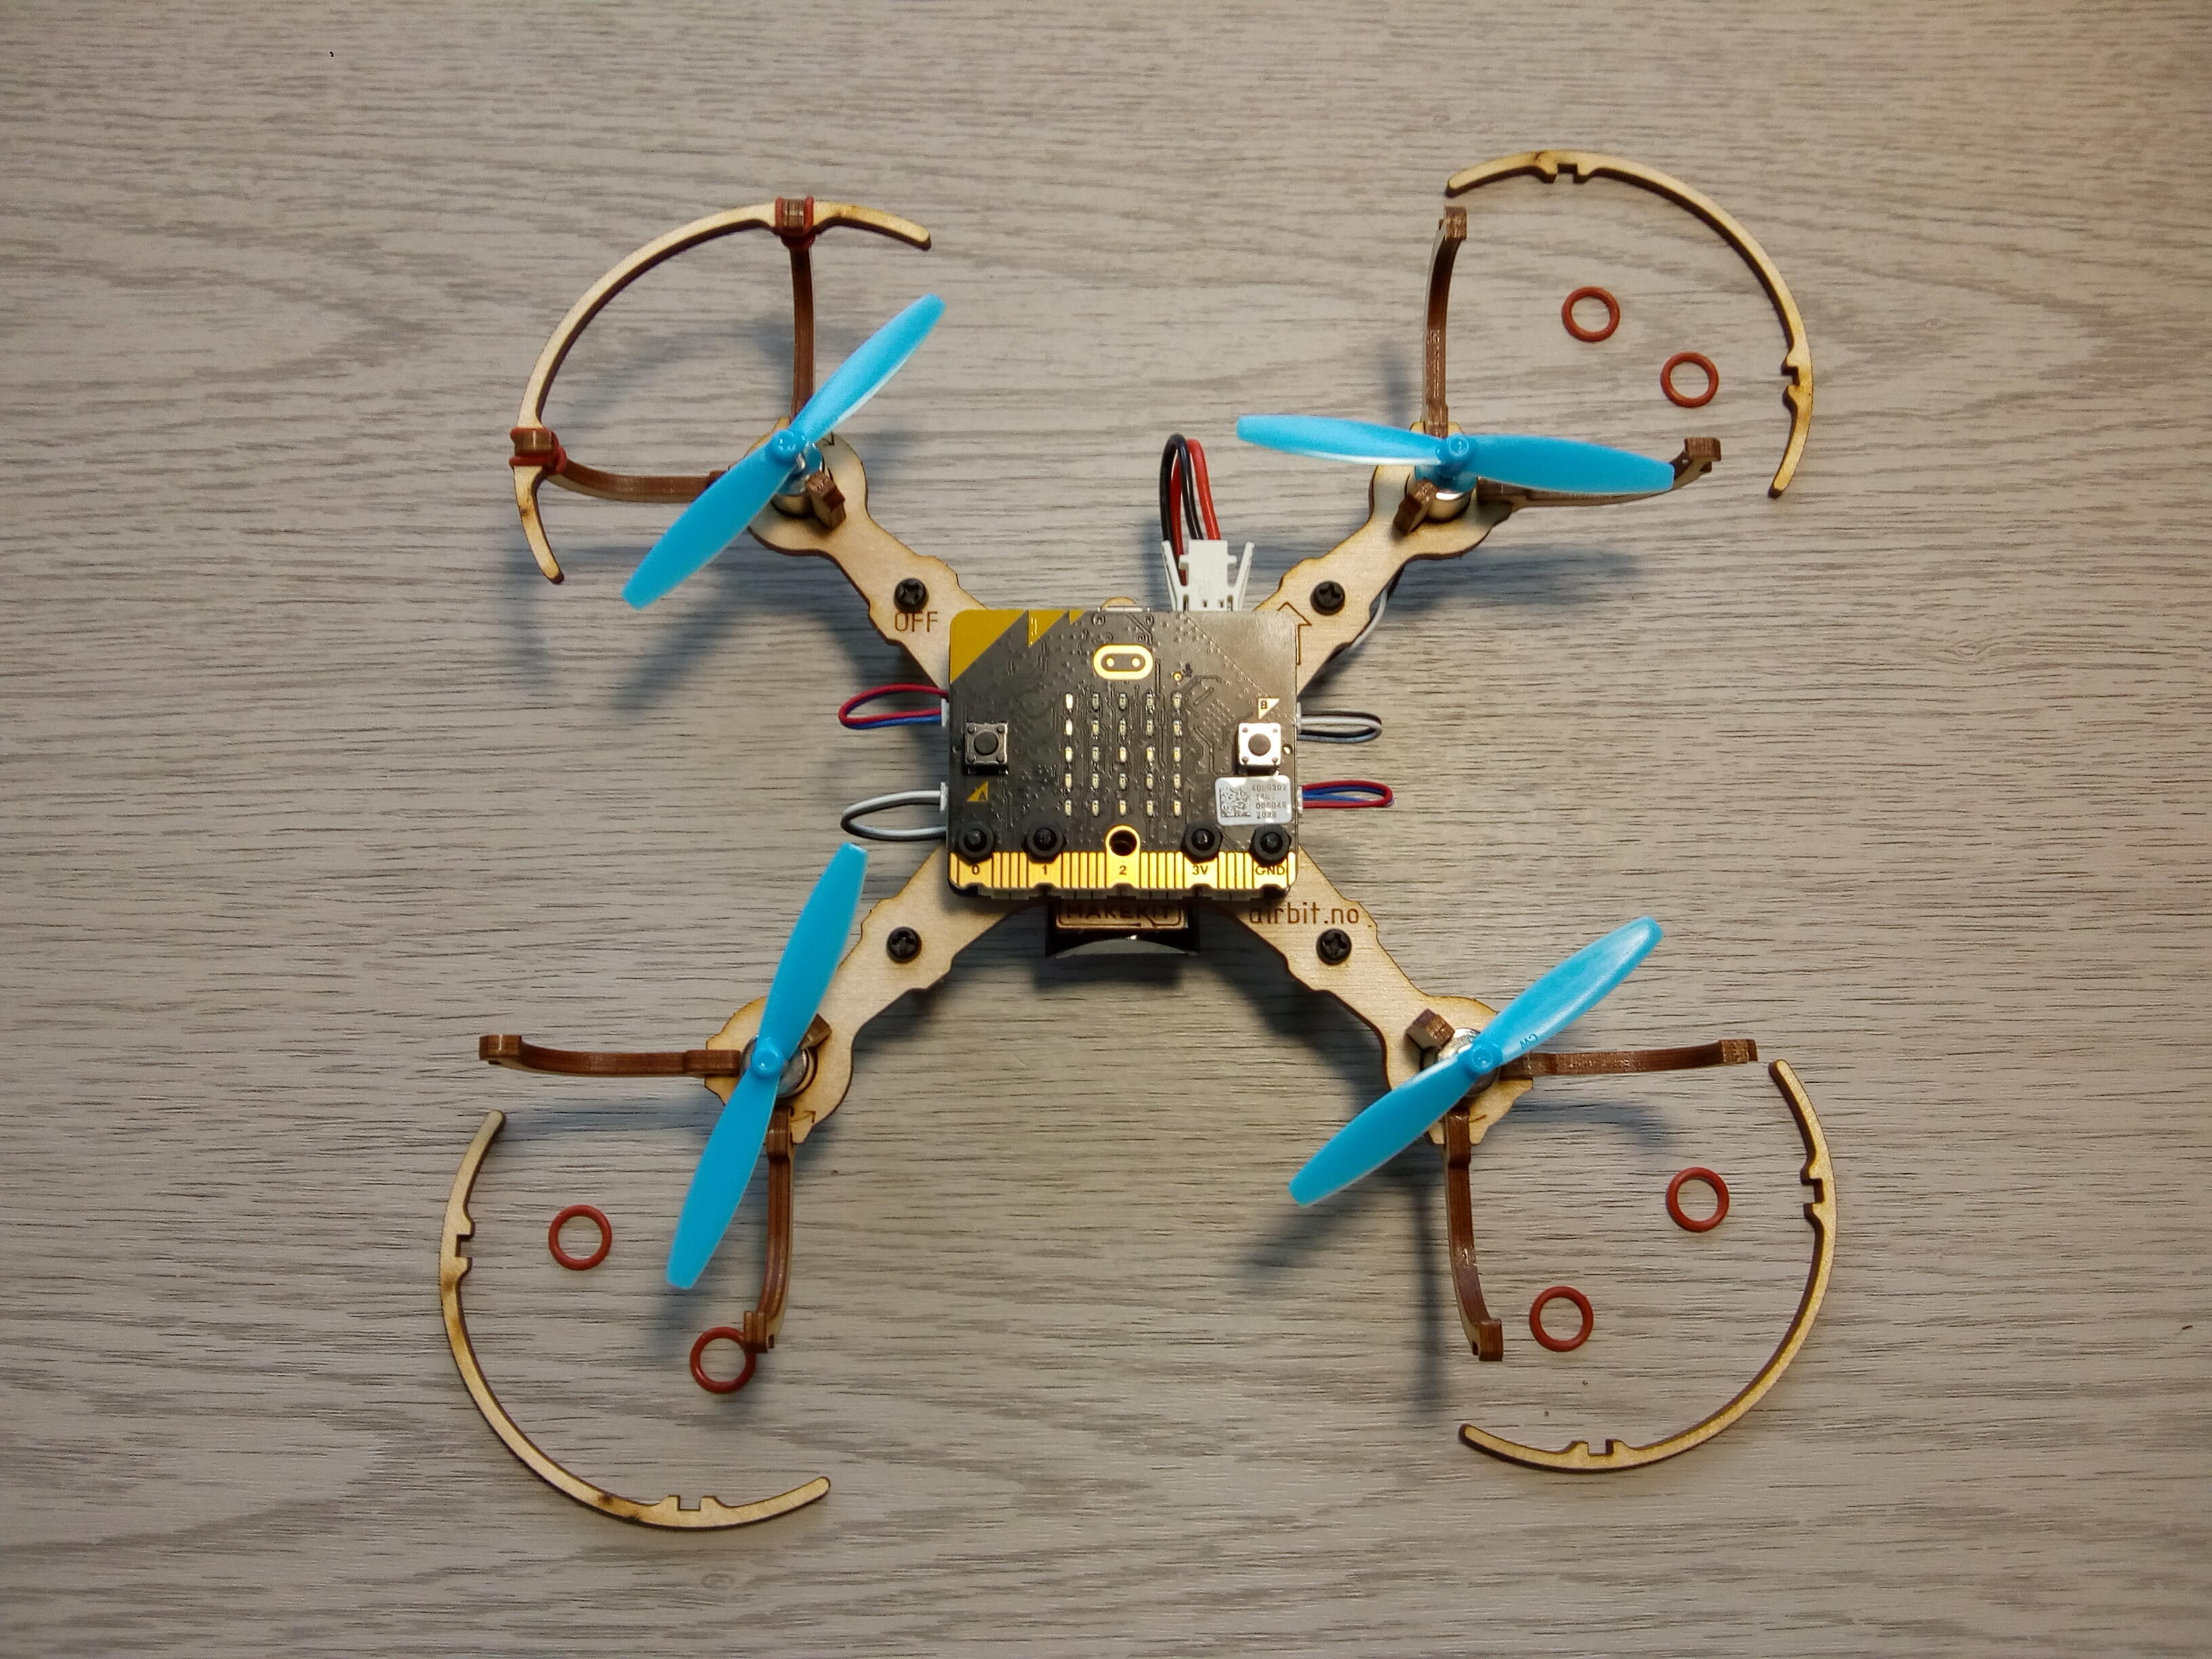
If everything is working, turn off the power and fit the rotors and rotor protectors.
- Fit the rotors marked CW (for the clockwise motors) and CCW (counter-clockwise for the counter-clockwise motors) – take care to fit them to the correct motors.
- Attach two rotor protection supports to the lobe of each motor arm – these are quite a tight fit and should locate in the slot and click into the cutouts.
- Slide a small rubber band onto each support and fit the rotor protector, secure in place with the rubber bands.
Charging
The Air:bit has an 800mAh battery which can power the drone for about 5 – 7 minutes.
To charge the battery, make sure the drone is switched off then plug a USB lead from your PC into the control board connector. A blue LED will come on and the LED matrix will show a battery icon with flashing lights to indicate charging.
When the battery is fully charged; which takes about 1 hour, the blue LED turns off and a skull icon displays on the matrix.
The Air:bit is now ready for its first flight.
Flying
The Air:bit can fly indoors and out if there is not too much breeze. We suggest trying your first flight indoors in a large clear room, preferably with a carpet or some foam mats for a soft landing.
- Make sure the air:bit is pointing away from you using the direction arrow marked on the airframe.
- Turn the controller and the drone controller on. They should both flash the same Radio Group number across the LED matrix.
- Press both the A & B buttons together to start the motors.
- Click the B button gradually so the motors increase their speed until the drone starts to lift off and hover
- Try moving the pitch and roll on the controller to make the drone move around.
- Click the A button to slow the motors and descend.
- Press the A & B buttons together to stop the motors.
- Switch the drone controller off so the battery is not left to discharge which would damage it.
Summary
Congratulations, you’ve just made your own drone and taken it for its first flight.
MakeKit provides loads of good quality documentation and videos in English and Norwegian on how to build, code and fly the Air:bit including an in-depth look at how the control code works here:
https://www.makekit.no/en/docs/
For any troubleshooting try this video.
Chocks away!
