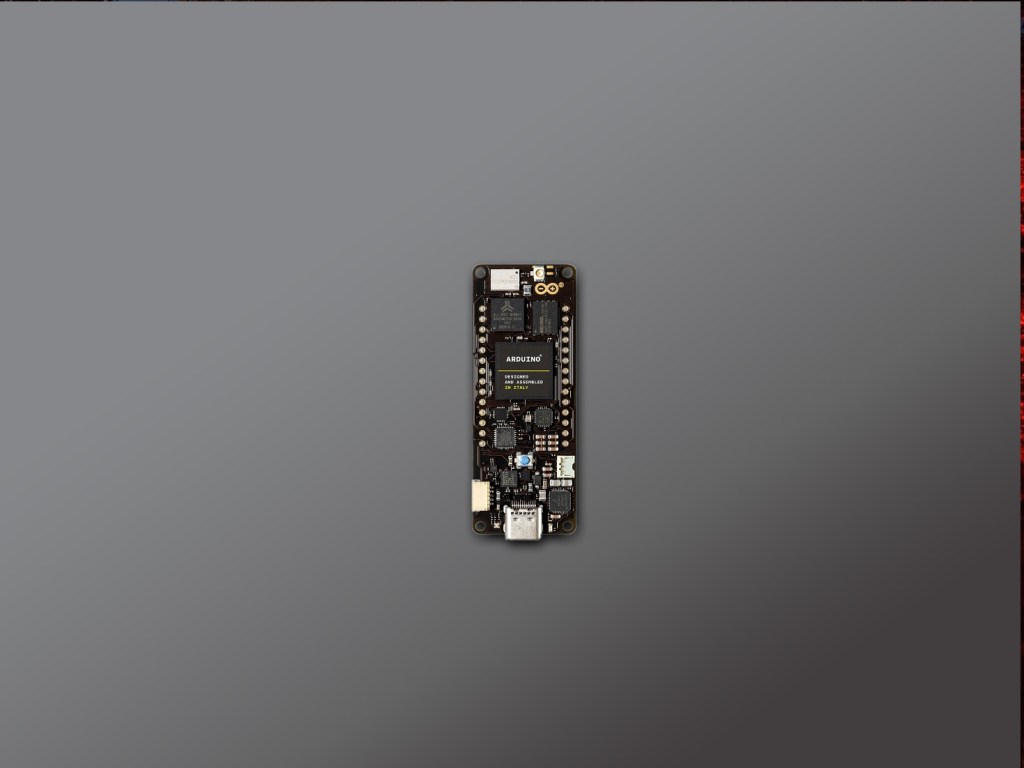
Portenta H7 is the most powerful addition to the Arduino range to date. Based on STMicro’s STM32H747 microcontroller it contains dual cores, a Cortex® M7 running at 480 MHz and a Cortex® M4 running at 240 MHz. They communicate via Remote Procedure Calls allowing functions to be called on the other processor seamlessly and both cores share all the in-chip peripherals. Support is built into the latest Arduino Integrated Development Environment (IDE) and the board can also run native Mbed™ applications and MicroPython code.
This getting started guide demonstrates how to install and configure the Arduino (IDE) for the Portenta H7 and tests the Blink application running on both cores concurrently.
Portenta boards operate at 3.3V. Never apply more than 3.3V to its Digital and Analog pins.
Download Arduino IDE
Go to the Arduino download page: https://www.arduino.cc/en/main/software
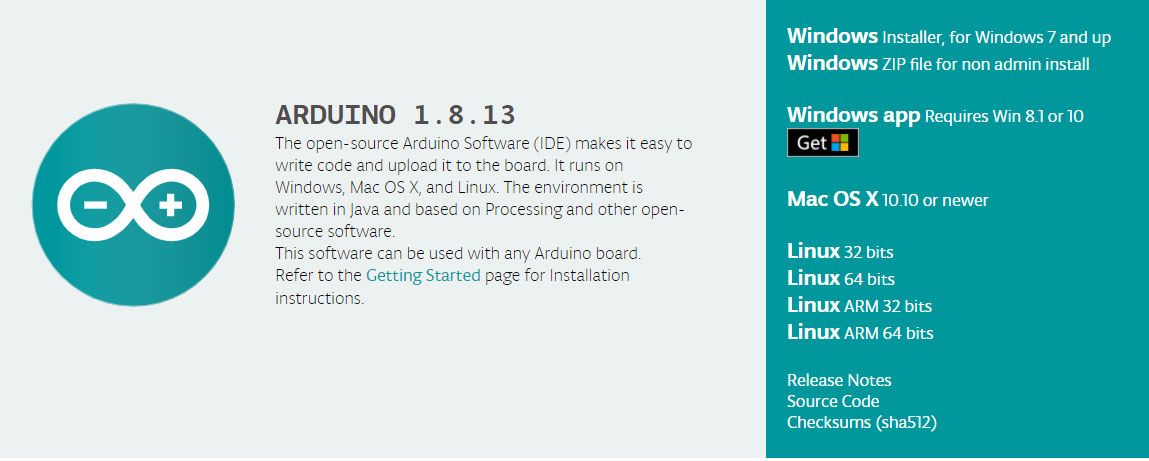
- Choose the appropriate download for your operating system, in our case Windows 10.
- Portenta H7 requires version 1.8.10+
- Allow access when you get security warnings.
- Follow the instructions from the Windows App Store.
We found some issues adding support for Portenta H7 to an existing installation. For the best experience, we recommend uninstalling any existing versions of the IDE and starting with a fresh download.
Add Portenta H7 support
Using a USB C cable connect the Portenta H7 to your host PC
- Open the Arduino IDE
- Open the Boards Manager from Tools> Board> Boards Manager.
- Enter Portenta in the search box.
- Click Install to add mbed enabled boards.
- Accept any security warnings.
Download and installation of the board support package will take a few minutes depending on your network speed.
- Click close when the package has installed.
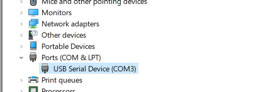
- Open the Windows Device Manager.
- Check that a new USB Serial Device has been added to the Ports section.
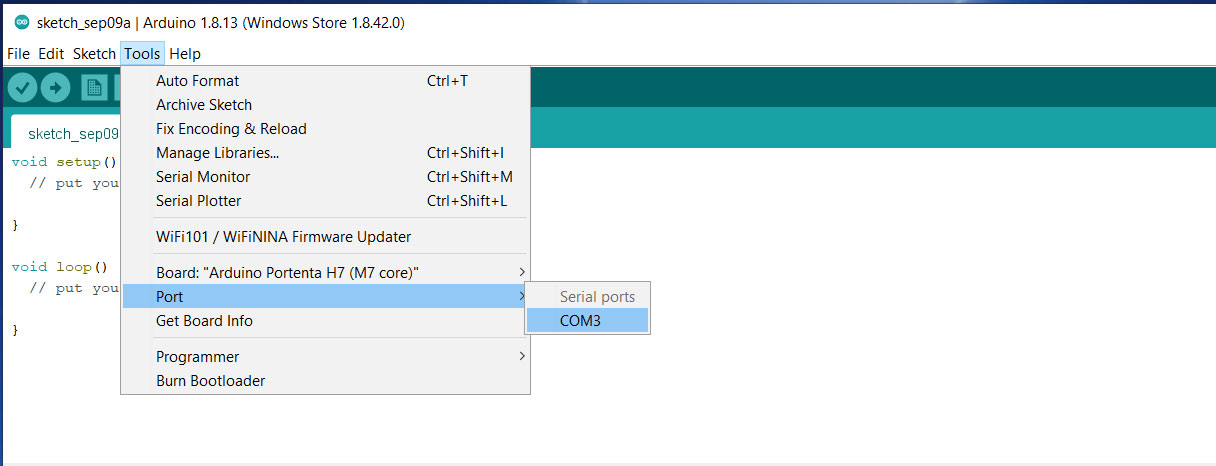
Select M7 core
- In the IDE set the board type to M7 core from Tools> Board> Arduino Mbed> Portenta H7 (M7 core).
- Set the port from Tools> Port> COM3
The COM port will vary depending on your host PC.
Upload M7 code
To test concurrency, each core will run a similar copy of the blink sketch. This section demonstrates how to flash the M7 core to blink the green component of the on-board RGB LED.
- Copy the code example below into the IDE.
/*
	Blink green LED using Portenta M7 Core
*/

const int ON = LOW; // Voltage level is inverted
const int OFF = HIGH;

void setup() {
  bootM4(); // Boot M4 core
  pinMode(LEDG, OUTPUT); // Set green LED as output
}

void loop() {
  digitalWrite(LEDG, ON); // Turn green LED on
  delay(1000); // Wait for 1 second
  digitalWrite(LEDG, OFF); // Turn green LED off
  delay(1000);
}
Including the bootM4 function causes the M4 core to run on startup.
- Save the file as blink_m7.
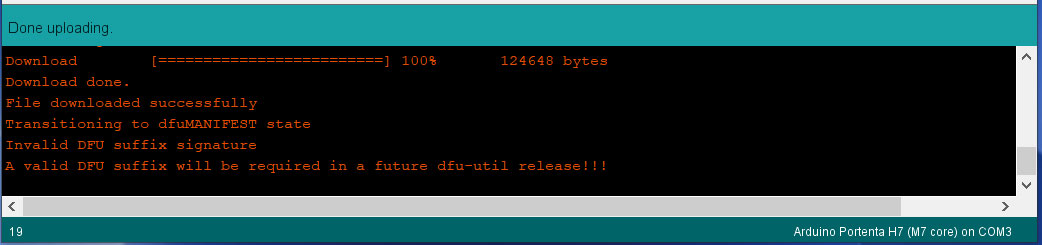
- Upload the code to the Portenta by pressing the upload button or Sketch> Upload.
The bottom pane of the IDE will show the code compiling and indicate if the upload was successful. The green LED should be blinking every second.
Ignore the Invalid DFU error.
Select M4 core
- In the IDE open a new sketch from File> New
- Set the M4 core from Tools> Board> Mbed Boards> Portenta H7 (M4 Core)

Upload M4 code
This section shows how to flash code to the M4 core. This code will run independently to the sketch running on the M7 core. It blinks the red component of the built in RGB LED.
- Copy the following code into the editor and save the file as blink_m4.
/*
	Blink red LED using Portenta M4 Core
*/

const int ON = LOW; // Voltage level is inverted
const int OFF = HIGH;

void setup() {
  pinMode(LEDR, OUTPUT); // Set red LED as output
}

void loop() {
  digitalWrite(LEDR, ON); // Turn red LED on
  delay(500); // Wait for 1/2 second
  digitalWrite(LEDR, OFF); // Turn red LED off
  delay(500);
}
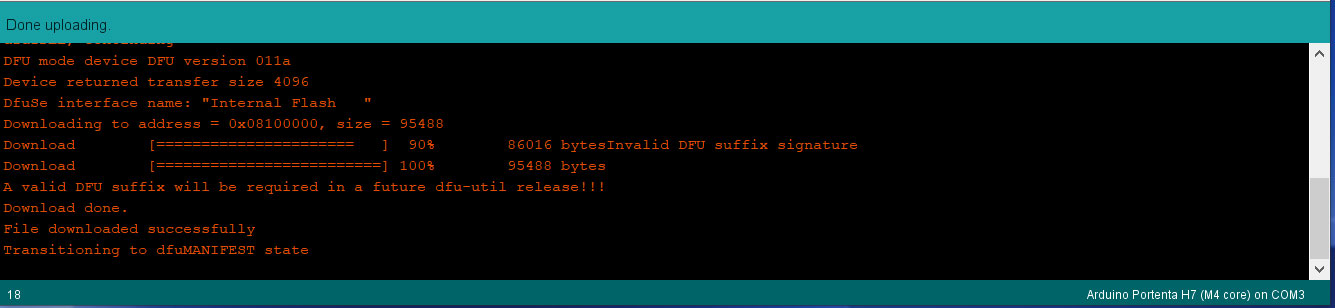
- Click the Upload button.
The bottom pane of the IDE will show the code compiling for the M4 core and should indicate success.
- Now the red LED should also be blinking every ½ second
Ignore the Invalid DFU error
Summary
Congratulations! You have setup the Arduino IDE for use with your Portenta H7 and run the blink application on each core independently, to validate the board and setup.
You can explore many more examples available from within the IDE by opening them from File> Examples. These include an RPC example allowing the M7 & M4 cores to communicate with each other using Remote Procedural Calls.
Further tutorials are available on the Arduino site at https://www.arduino.cc/pro/tutorials/portenta-h7