
A 7″ touchscreen on your Raspberry Pi is handy for many uses as it allows you to have complete control in a very small form factor. In this project, you’ll learn how to assemble and configure the official 7” touchscreen.
Get your Pi ready
- You should start with a Wi-Fi enabled Raspberry Pi with the latest OS installed.
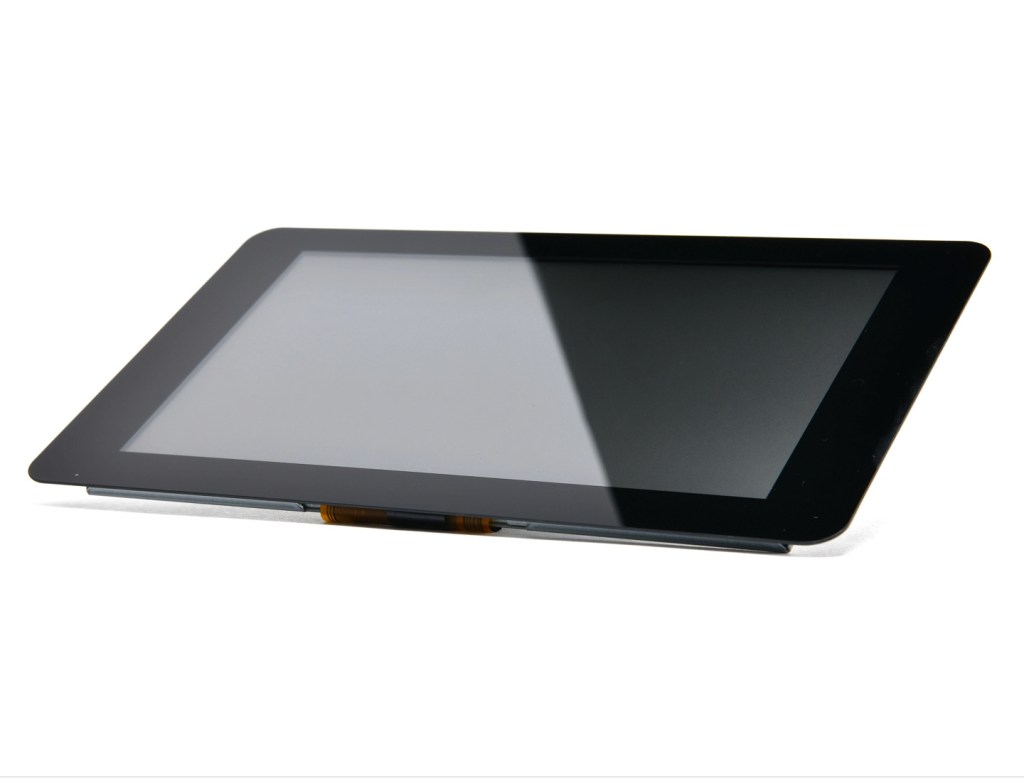
Assemble the screen
It is recommended that you don’t peel the protecting film off the screen until you’ve finished the assembly to avoid scratching it.
- Gently pull out the black tabs of the ribbon cable connector simultaneously.
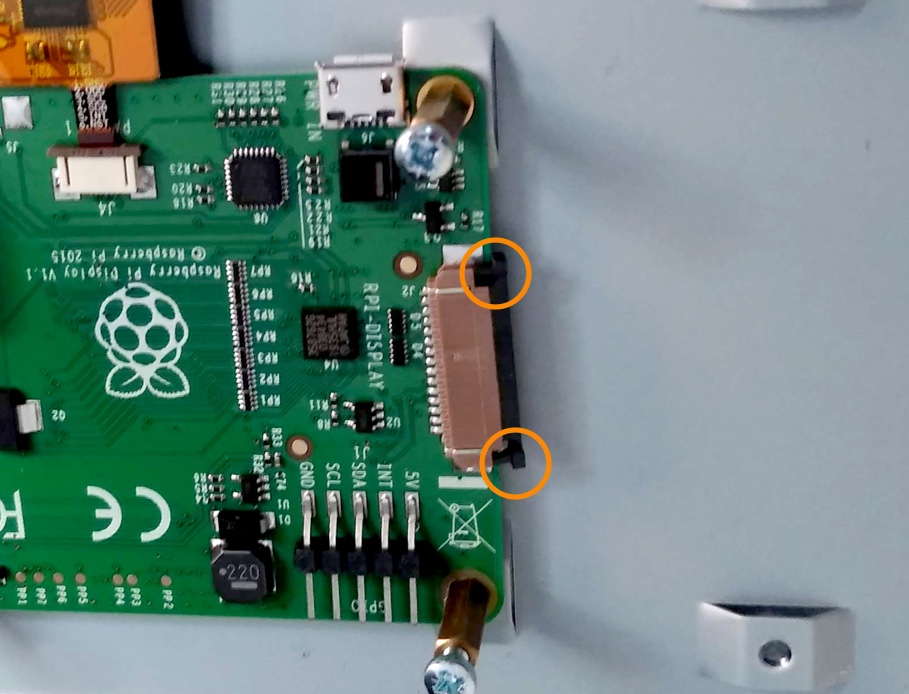
- Insert the ribbon cable into the connector with the blue side down
- Push the connector’s black tabs back in to secure it
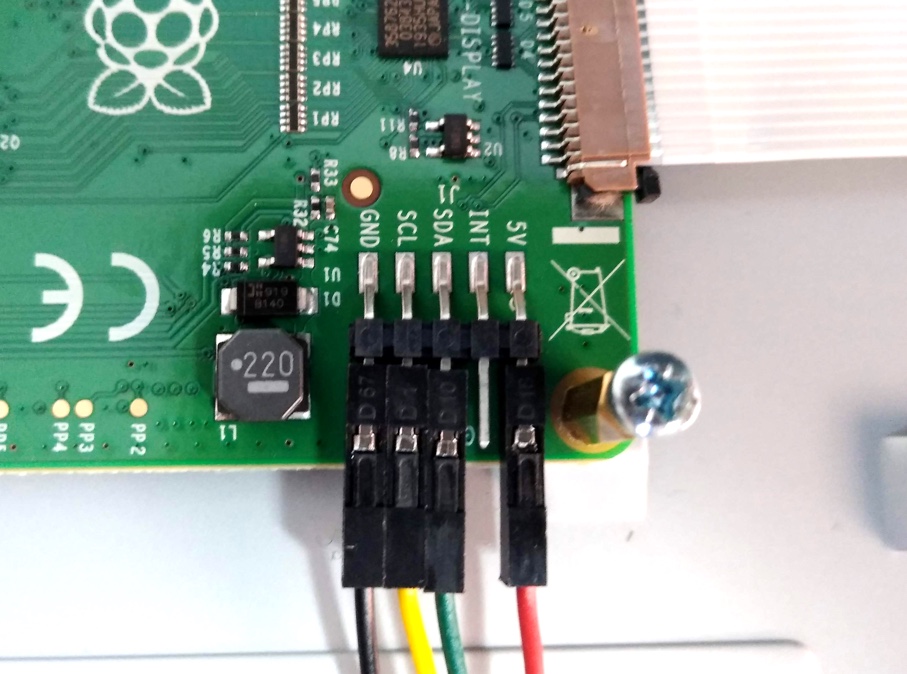
- Connect the black jumper wire to GND on the screen’s board
- Connect the red jumper wire to 5V on the screen’s board
- Connect the yellow jumper wire to SCL on the screen’s board
- Connect the green jumper wire to SDA on the screen’s board
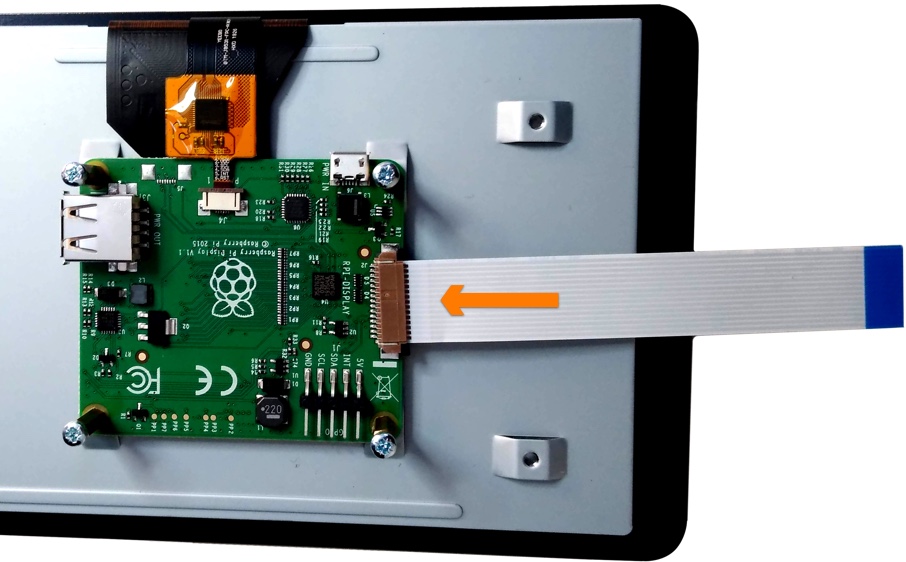
Attach the screen to the Pi
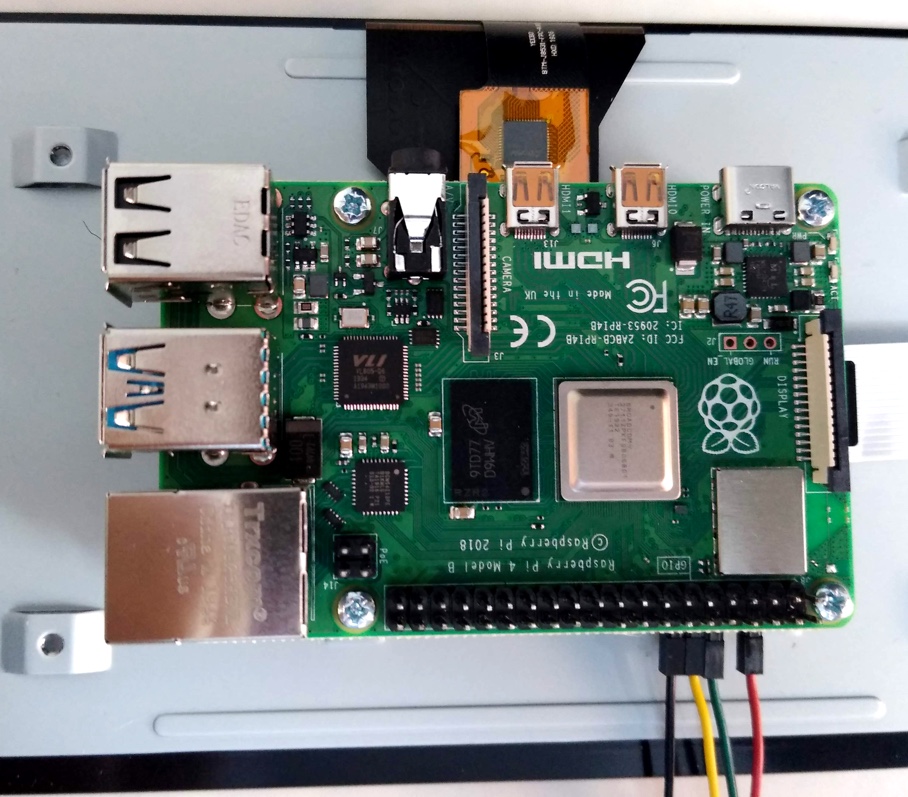
- Mount the Pi on to the back of the screen ensuring that the connector labelled DISPLAY on the PI is on the same side as the ribbon connector on the screen
- Place and tighten the 4 screws
- Gently pull the black tabs of the Pi’s DISPLAY connector
- Insert the display’s ribbon cable into the DISPLAY connector of the PI
- Push in the black tabs of the DISPLAY connector to secure the ribbon cable
With the Pi positioned upsidedown, as shown above:
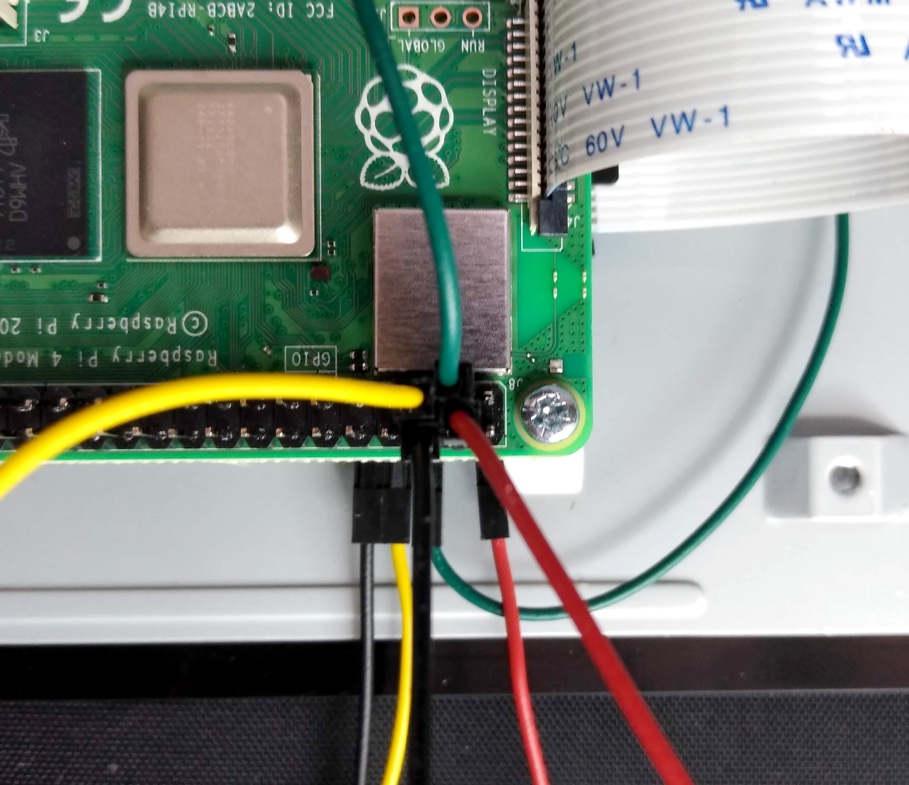
- Connect the red jumper wire to the 2nd pin from the right on the bottom row
- Connect the black jumper wire to the 3rd pin from the right on the bottom row
- Connect the green jumper wire to the 2nd pin from the right on the top row
- Connect the yellow jumper wire to the 3rd pin from the right on the top row
At this stage, you can power up your Pi and the screen should be up and running. Depending on your intended use, you might want to install a keyboard that will work on the touchscreen, if so, carry on to the next step.
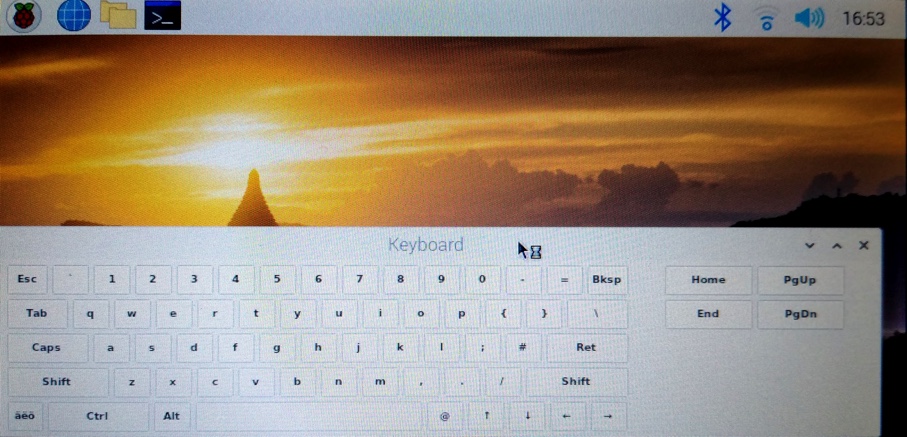
Install touchscreen keyboard
Now that your touchscreen is up and running you won’t need a mouse to navigate the interface but for many applications, you’ll be stuck without a keyboard. We’ll be using an external keyboard to install one that will work on the touchscreen. After this is done the external one won’t be needed any more!
- Connect an external keyboard to one of the USB ports of your PI
- Power up your touchscreen pimped-up Pi
- Open a Terminal window from the main menu bar and enter the following command:
sudo apt-get install matchbox-keyboard- Reboot your Pi
At this stage, you should be able to access the touchscreen keyboard from Menu>Accessories>Keyboard