This guide will show you how to turn your Raspberry Pi 400 into a retro gaming machine that you can use to play classic games from the ’80s and beyond. It will take you through how to install Retropie on an SD card that is capable of emulating classic gaming machines like the SEGA Mega Drive, Nintendo and Atari to name a few.
It also covers installing licensed game ROMs so you can play the classic game Sonic The Hedgehog. So, let’s jump into Raspberry Pi retro gaming!
Step 1: Download Retropie
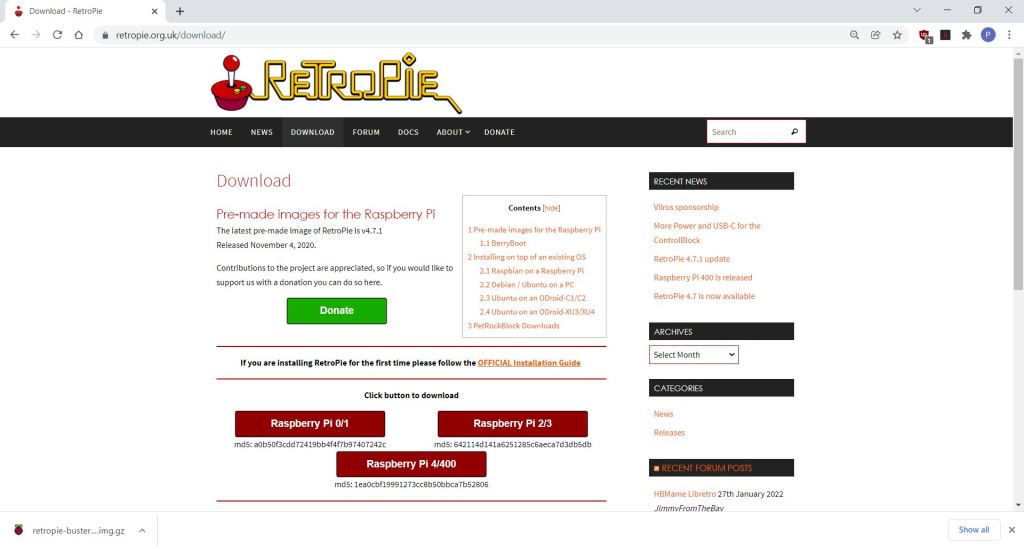
Retropie is an Open Source project that provides several different download files containing the Retropie system, which can be flashed to an SD card for use with Raspberry Pis.
Using your PC’s browser, visit the Retropie download page and download the system image for the Raspberry Pi 400.
![]() Tip: Our download file was named retropie-buster-4.7.1-rpi4_400.img.gz – this is the version 4.7.1 image for the Raspberry Pi 400. Your file might have a different name depending on the version.
Tip: Our download file was named retropie-buster-4.7.1-rpi4_400.img.gz – this is the version 4.7.1 image for the Raspberry Pi 400. Your file might have a different name depending on the version.
Step 2: Install Raspberry Pi Imager
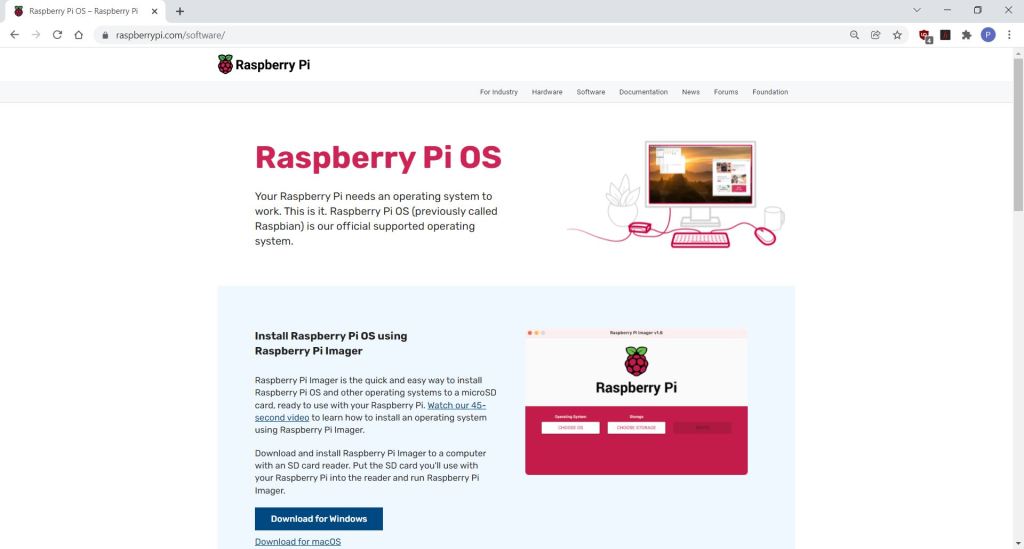
Raspberry Pi Imager is now the recommended way to create SD cards for use with Raspberry Pi’s. The software runs on Windows / Mac / Linux PC’s and can write the downloaded Retropie operating system image file to an SD card.
The software is provided by the Raspberry Pi Foundation.
Download and install the software version for your computer. We used a PC with Windows 10, but the steps are similar on all systems.
Step 3: Flash SD
The Retropie operating system can now be flashed to the SD card. We used a good quality 32GB SD card which leaves plenty of room for installing Retropie plus games.
![]() Tip: Use a new SD card and save the one that came with the Raspberry Pi400
Tip: Use a new SD card and save the one that came with the Raspberry Pi400
- Plug the SD card into your PC card reader or USB card reader
- Cancel any pop-ups that ask to format the disk
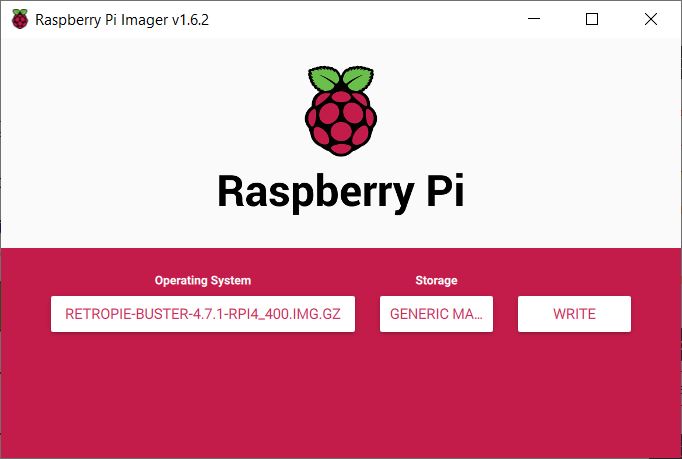
- Open Raspberry Pi Imager
- Click the Operating System button and select the Use custom option
- Select the Retropie disk image downloaded in Step 1
- Click the Storage option and choose the SD card
- Click the Write button and wait for a few minutes for the SD card to be written
- When the process has finished, remove the SD card from the card reader
Step 4: First boot
The Raspberry Pi 400 can now be setup:
- Attach an HDMI monitor or TV to the HDMI socket next to the USB-C power socket
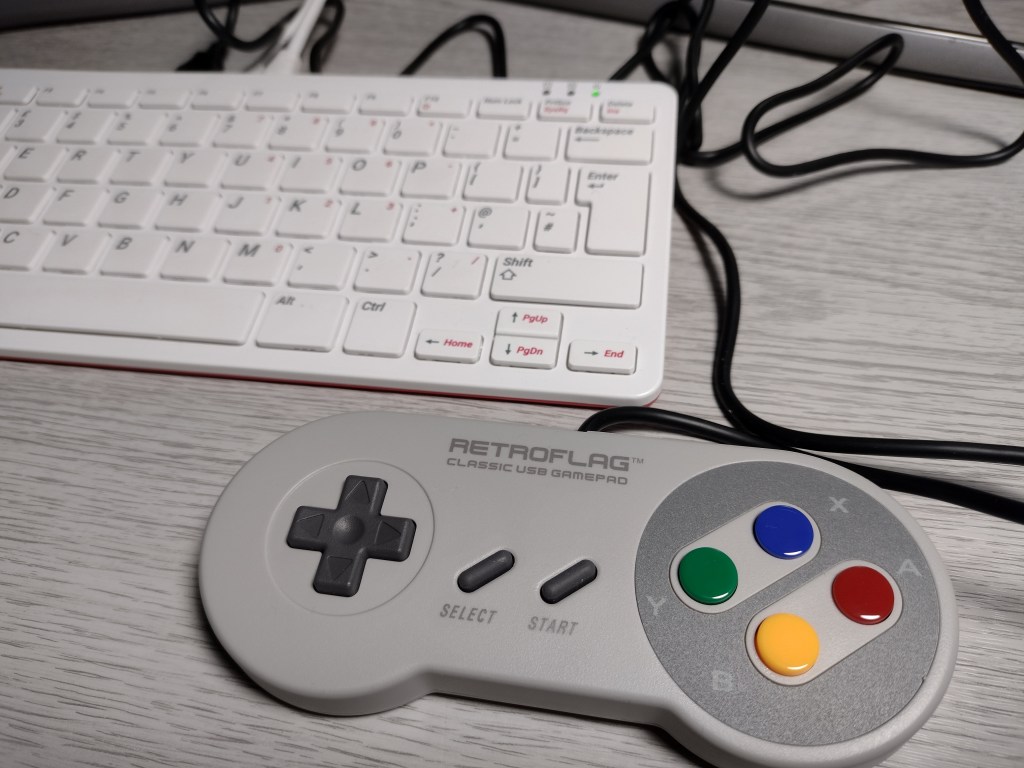
- Attach a retro USB SNES gamepad to the USB-C socket
- Connect the power cable to the USB-C power socket
- Insert the SD card into the card socket
- Power on the monitor / TV
- Plug in the power adapter
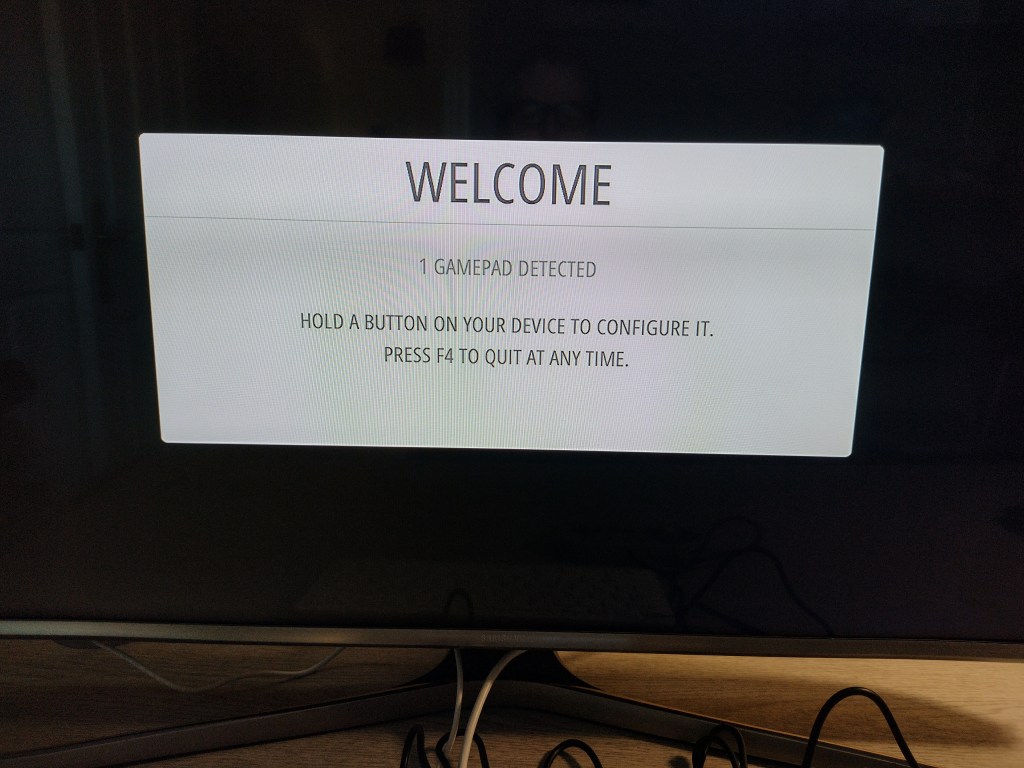
The Raspberry Pi 400 should boot up and display the Welcome screen when it is ready.
Step 5: Gamepad
Now set up the gamepad that is connected. It should be detected by Retropie after it boots up:
We used a USB SNES type retro gamepad but Retropie supports many types of controllers detailed in the excellent documentation.
Follow the on-screen instructions for your gamepad by clicking the controls when prompted.
![]() Tip: Select the correct buttons carefully when configuring the controller, as it is not that easy to reset them. Follow these instructions if you have any problems.
Tip: Select the correct buttons carefully when configuring the controller, as it is not that easy to reset them. Follow these instructions if you have any problems.
Step 6: WiFi
The Raspberry Pi 400 has WiFi built-in, and this makes it easy to transfer games to Retropie.
- On the controller, press select (Button A) to start the configuration menu
- Use the arrow up and down arrows on the controller to select raspi-config
- Press select (Button A) to start raspi-config
- Use the keyboard to select System Options -> Wireless LAN and enter your WiFi SSID and password
- Select Finish and allow the system to reboot
Now your Retropie is connected to WiFi.
Step 7: Installing Games
Retropie can emulate many different game systems but there are none enabled until you install games for them.
Games are also not supplied with the system due to copyright reasons so you have to install your own using game ROM’s.
There are many sources of game ROM’s available, and most of the classic games are still available from licensed distributors that can be used with Retropie. Most games are copyrighted and should only be downloaded from legitimate sources.
We installed Steam on our PC and installed the classic game Sonic The Hedgehog for the SEGA Megadrive
https://store.steampowered.com/app/71113/Sonic_The_Hedgehog/
To install the game ROM in Retropie:
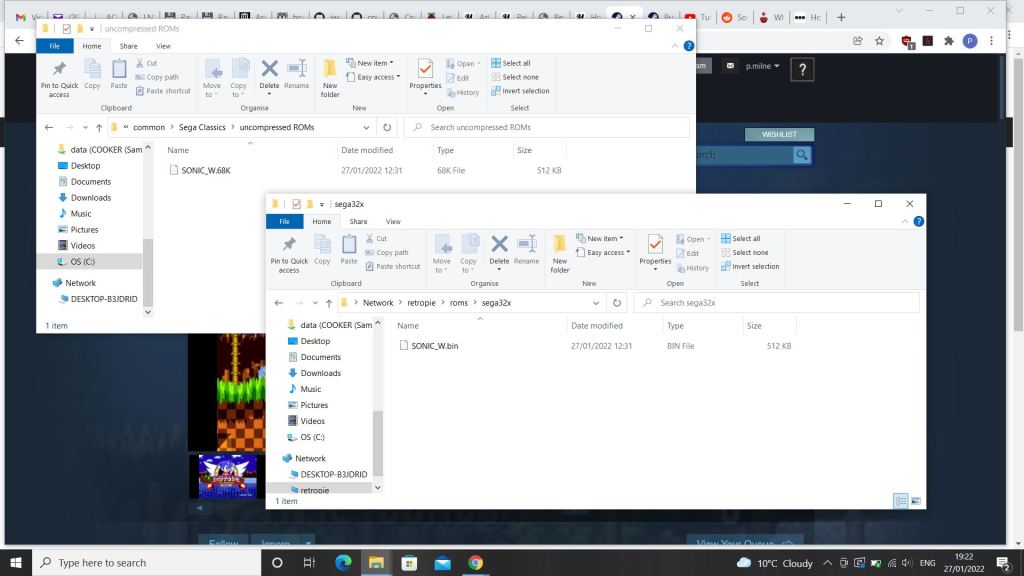
- Open the Windows file manager and navigate to the ROM file
- The games uncompressed ROM can be found in the directory:
C:Program Files (x86)SteamsteamappscommonSega Classicsuncompressed ROMsSONIC_W.68K
- Open another file manager window, select Network and enter the following in the Location box:
retropieroms
- This will list directories on Retropie for all the different systems it supports.
- Navigate to the sega32x directory and copy the ROM file across
- Now rename the ROM file SONIC_W.bin so that Retropie can recognise is as a binary file
Step 8: Loading Games
Now that a new game is installed, the emulator needs to be restarted so the game can be found:
- Press the start button to enter the Main Menu
- Select Quit and Restart Emulationstation
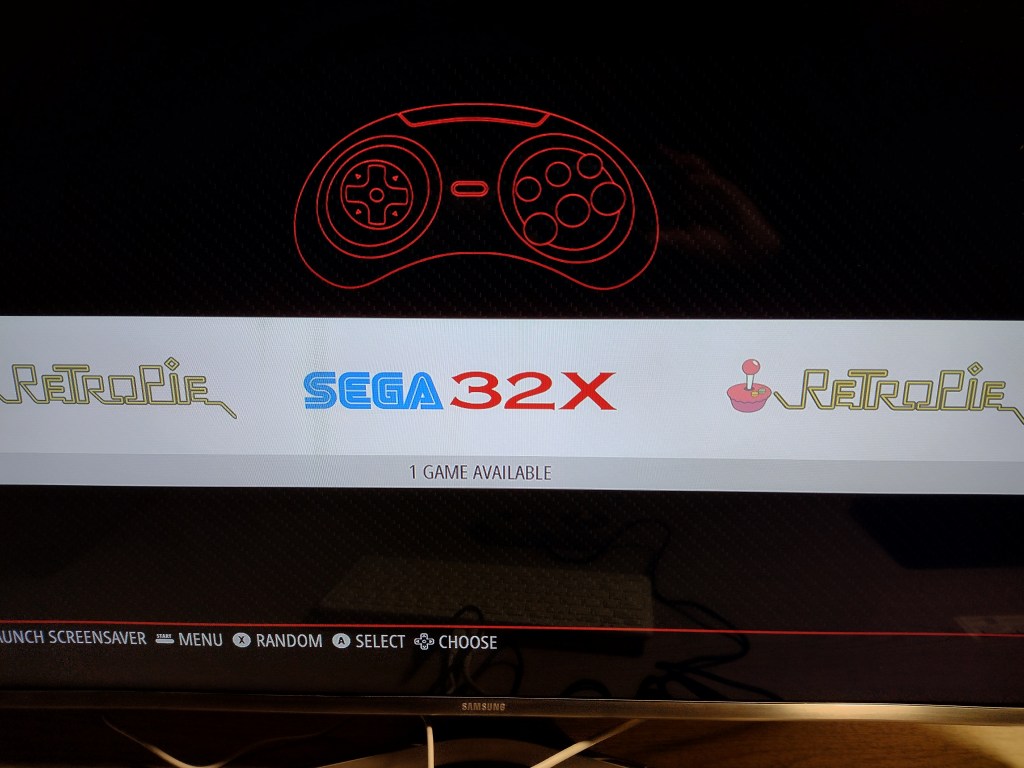
Now will now see the SEGA32X available as a Game System for selection.
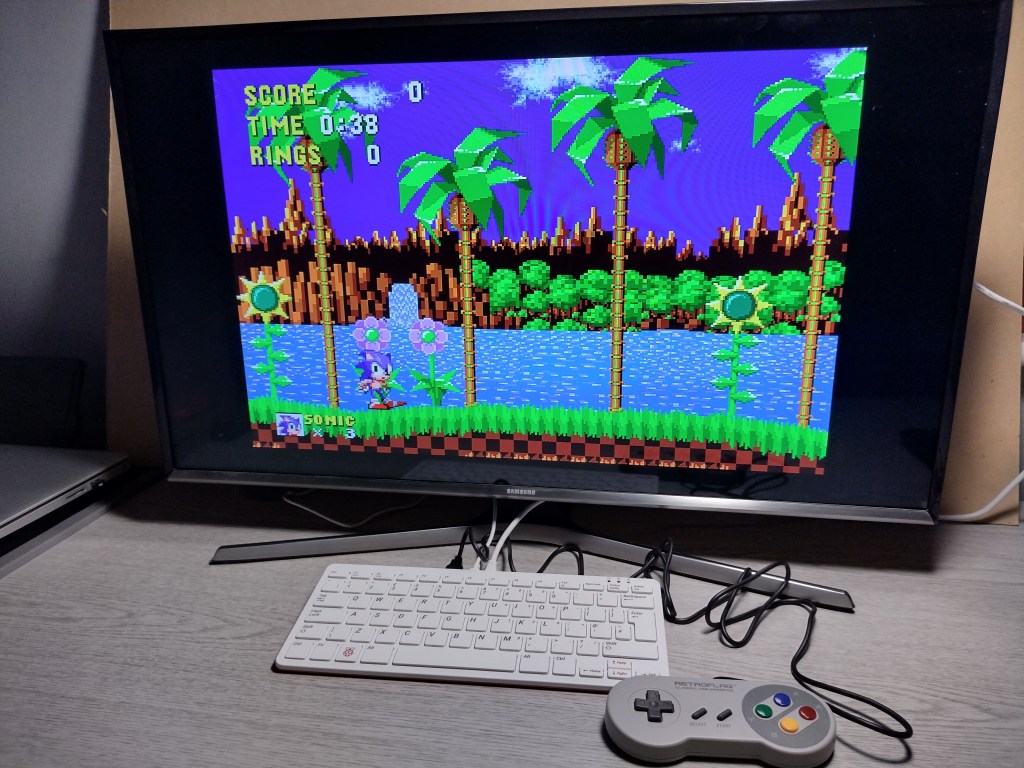
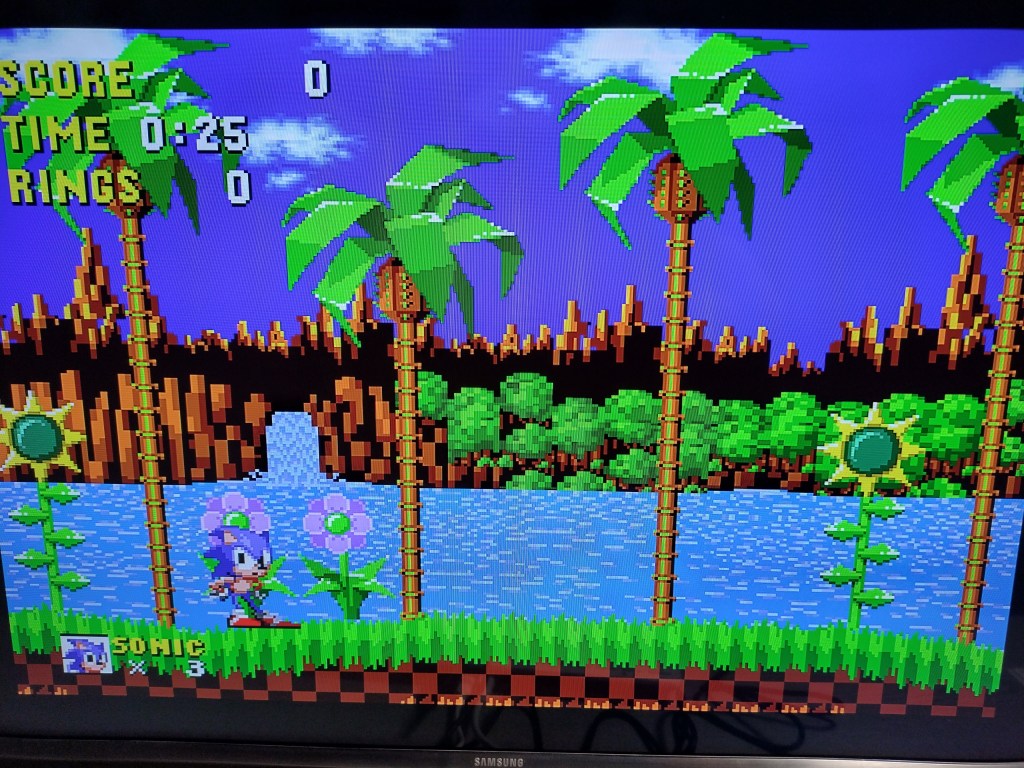
Step 9: Playing Games
All the games that are installed for the SEGA Mega Drive are listed (we only installed one).
Select the game and follow the on-screen instructions to load and play your game.
Summary
The Retropie project makes it relatively easy to turn your Raspberry Pi 400 into a classic gaming machine that can emulate many of the great gaming machines from the past.
100’s of licensed retro game ROM’s are still available from licensed distributors and can be downloaded at a low cost. There are also many gaming sites that offer new and free games but beware of illegal copies.
Visit the Retropie home page is here.
![]()
Raspberry Pi Shop
Discover our full range of Raspberry Pi products here!
Our Pi store is bursting with the latest Raspberry Pi boards, exciting kits and all the best Pi accessories.

![]()
Projects Hub
Are you looking for more inspiration? Visit our Projects Hub for amazing projects that will help you get started with your most loved brands and products.

Like what you read? Why not show your appreciation by giving some love.
From a quick tap to smashing that love button and show how much you enjoyed this project.

