
- Step 1. Mount heatsinks
- Step 2. Insert the ROCK board into the case
- Step 3. Secure screws
- Step 4. Position the fan
- Step 5. Secure fan screws
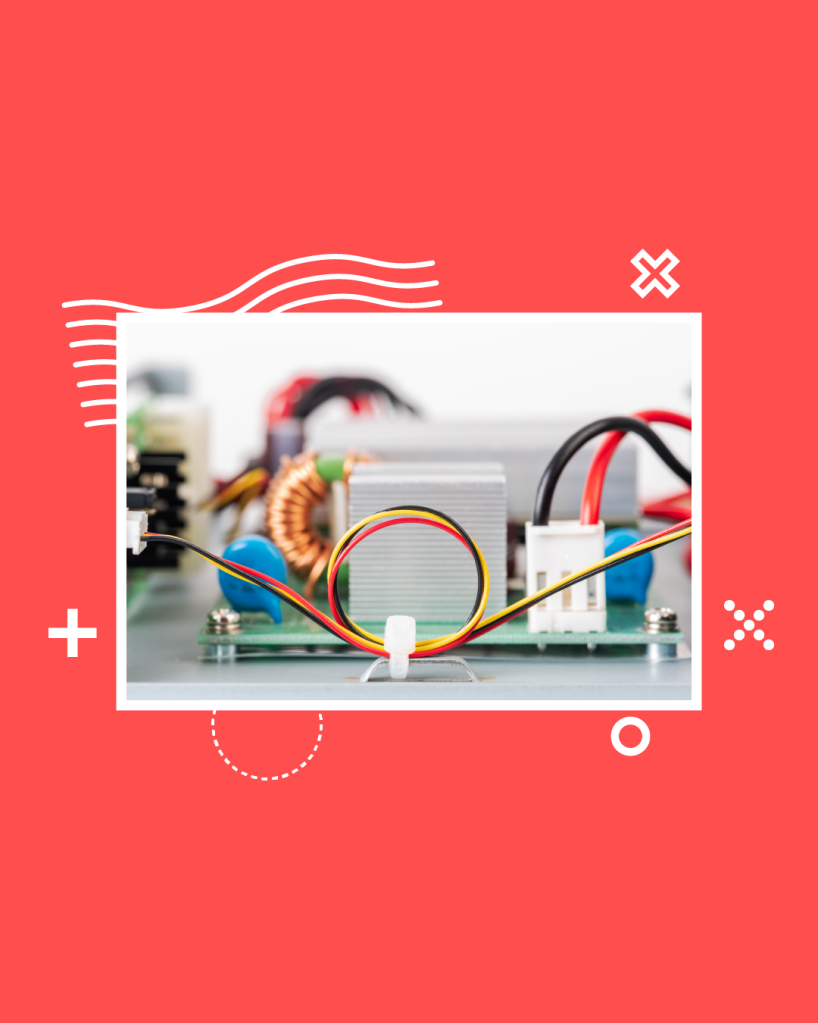
- Step 6. Connect the fan
- Step 7. Stick the feet
- Step 8. Insert the Micro SD card
- Step 9. Connect the mouse & the keyboard
- Step 10. Connect the screen
- Step 11. Connect the power
- Step 12. Follow the on-screen instructions
- Step 13. Close the case
- Step 14. Secure the case screw
- Step 15. Safe Shutdown
- Let’s invent the future together
Discover how to get started with the OKdo ROCK 4C+ Starter kit in a few simple steps. This kit includes all the components you need to need to set up the ROCK 4C+ board and the handy parts that are included in the kit, such as the case, the CPU heat sink and fan, and much more!
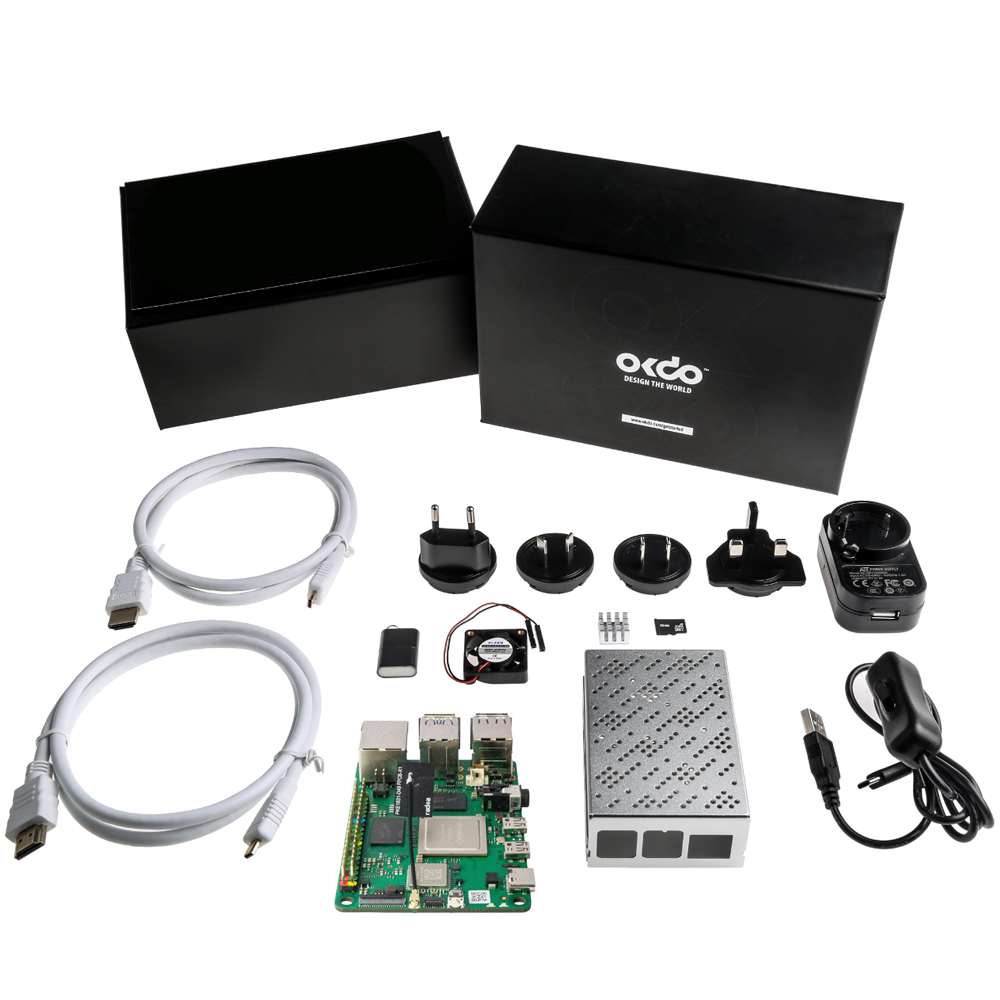

So, let’s get started!
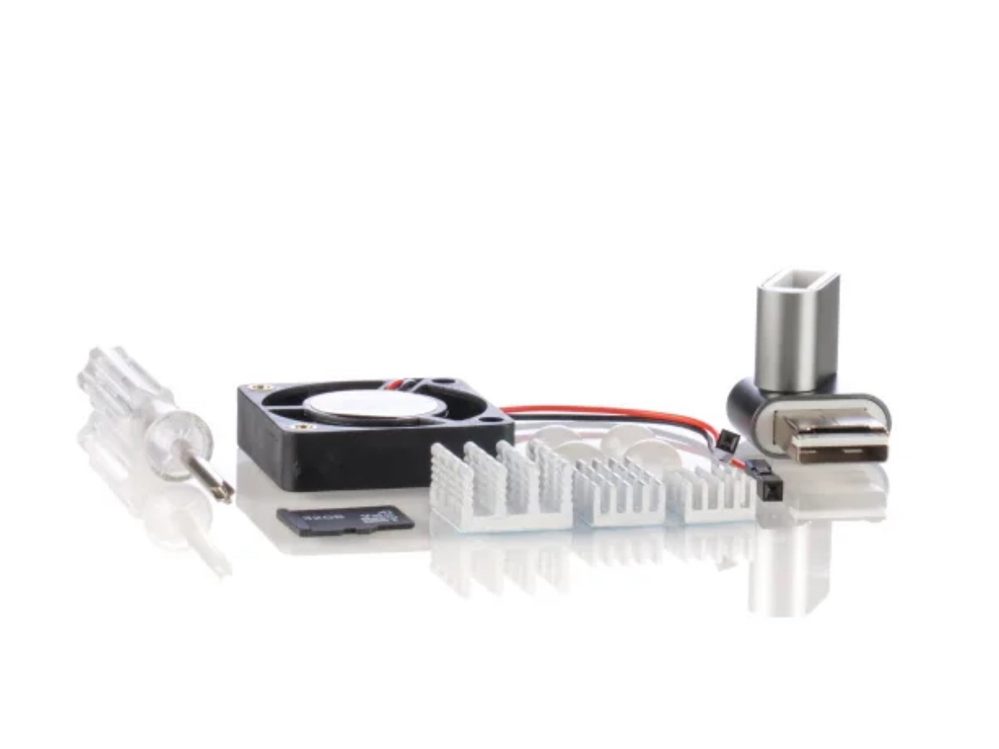
Step 1. Mount heatsinks
Peel the protective backing from the heatsinks and stick them to the components of the ROCK board.
Step 2. Insert the ROCK board into the case
Step 3. Secure screws
Note: Fastening the case top clamps will hold the board in place sufficiently. Loosely fit the 4 screws that hold the ROCK to the case if any resistance occurs.
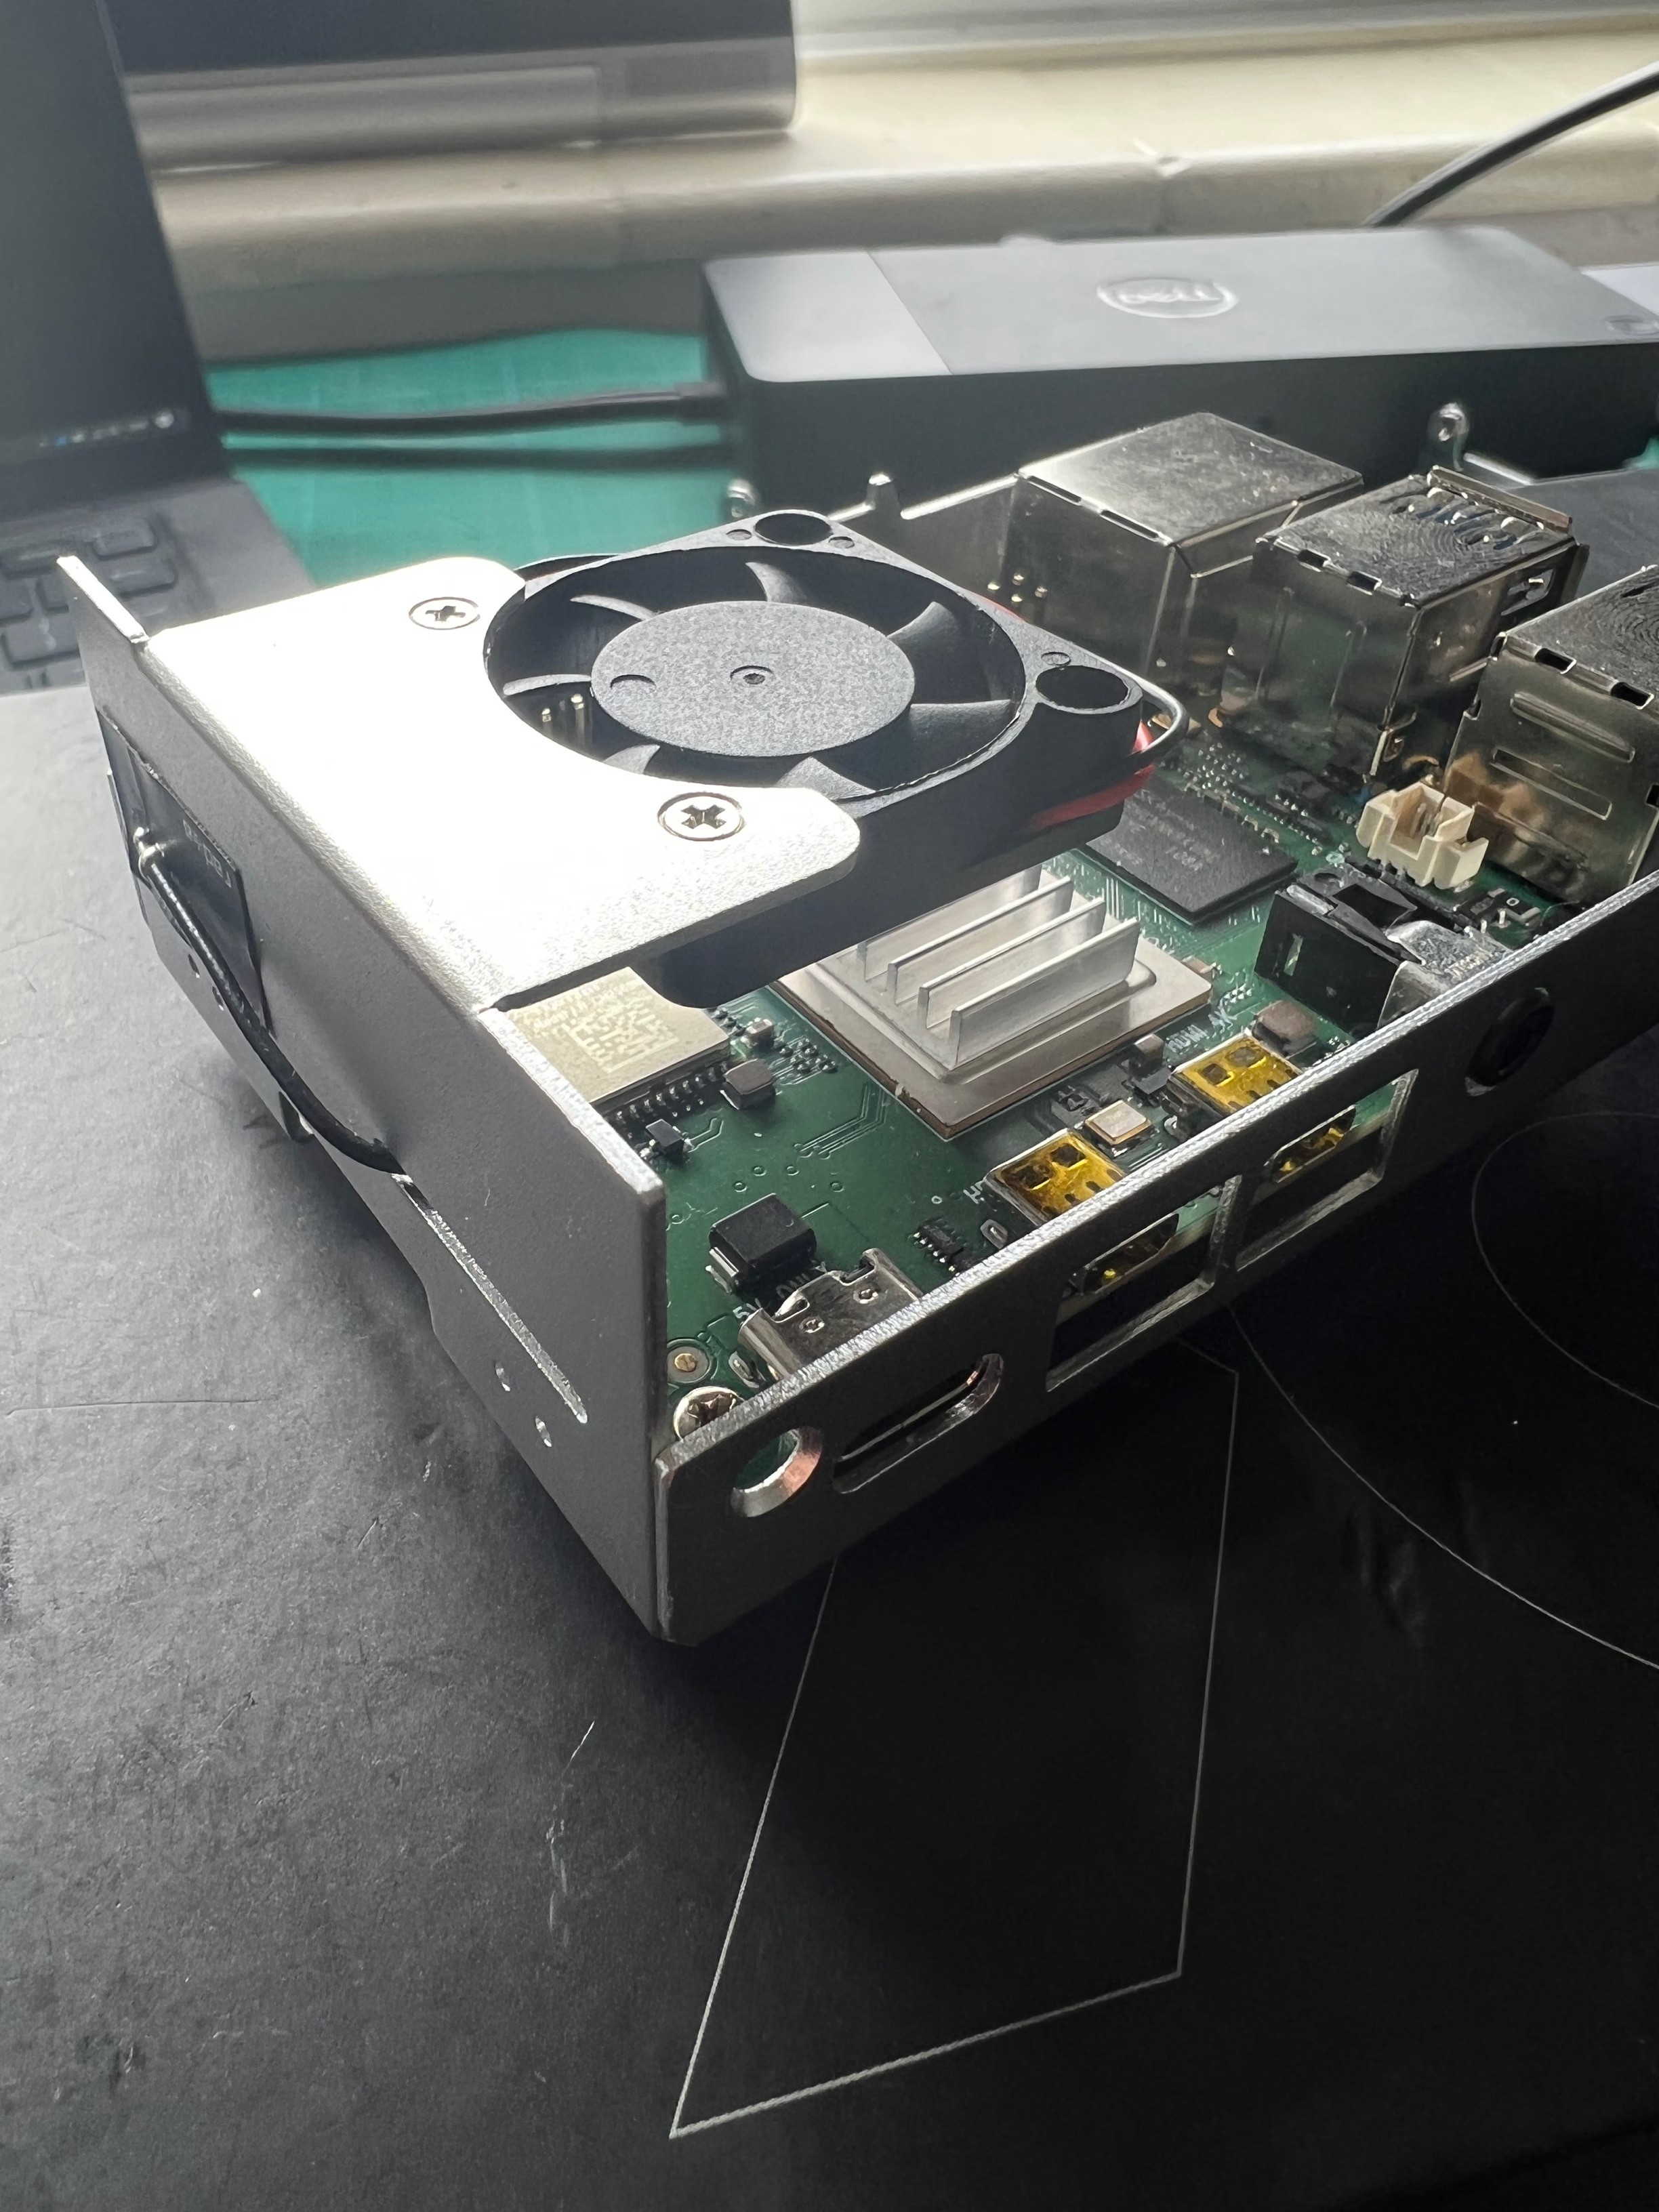
Step 4. Position the fan
Slide the fan into position.
Step 5. Secure fan screws
Secure the 2 screws that hold the fan in place.
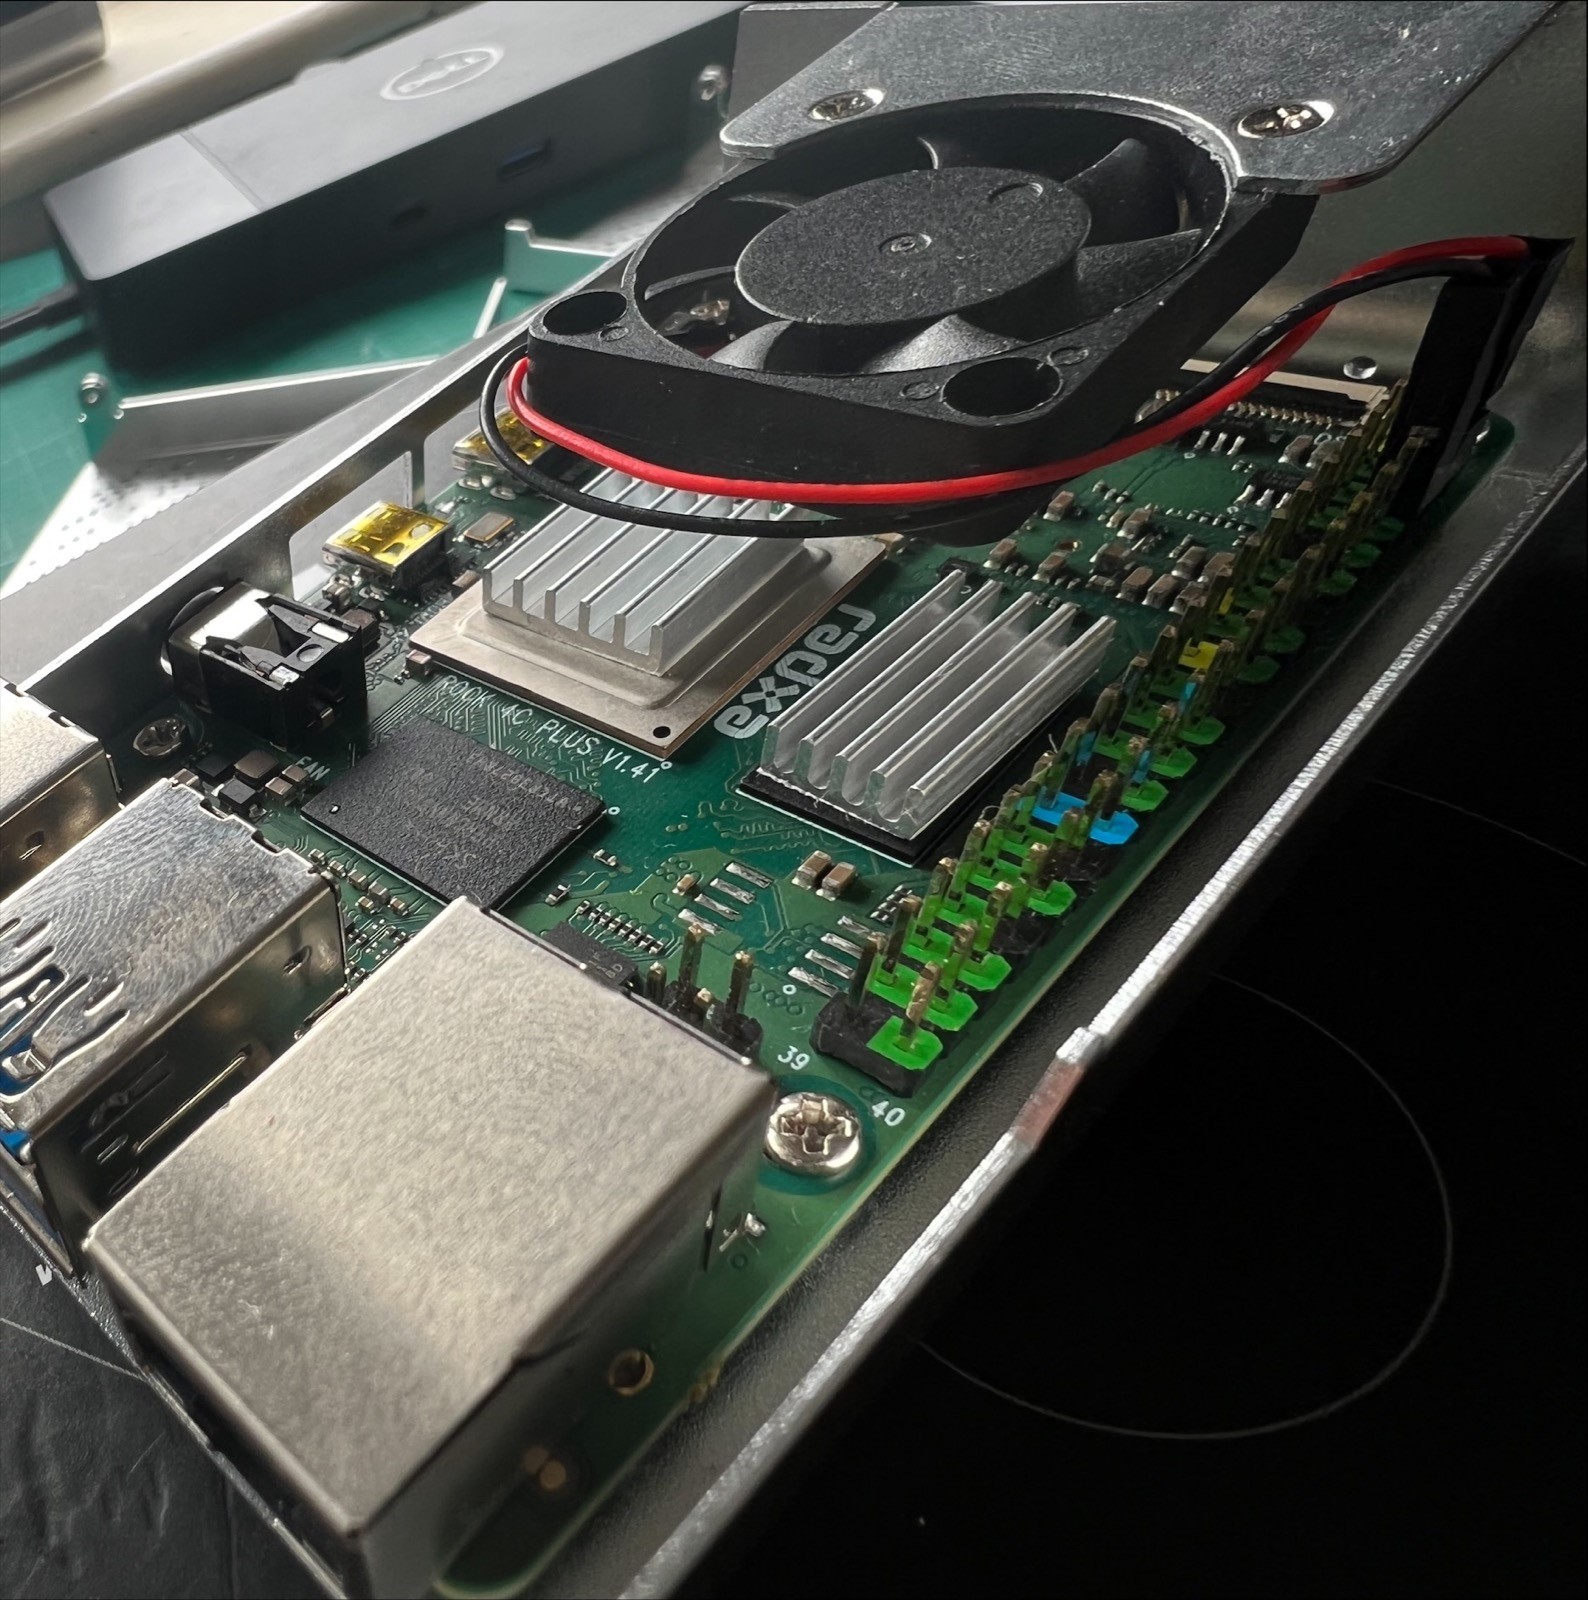
Step 6. Connect the fan
The fan provided in the kit can only be attached to the GPIO header, not the fan connector on the board (bottom right).
Important: Ensure that the fan’s leads are connected to the correct pins. Connections are Pin 4 – 5V (Red), Pin 6 GND (Black).
Step 7. Stick the feet
Turn the case around and stick the self-adhesive feet to the case.
Step 8. Insert the Micro SD card
Insert the micro SD card into the slot of the ROCK board.
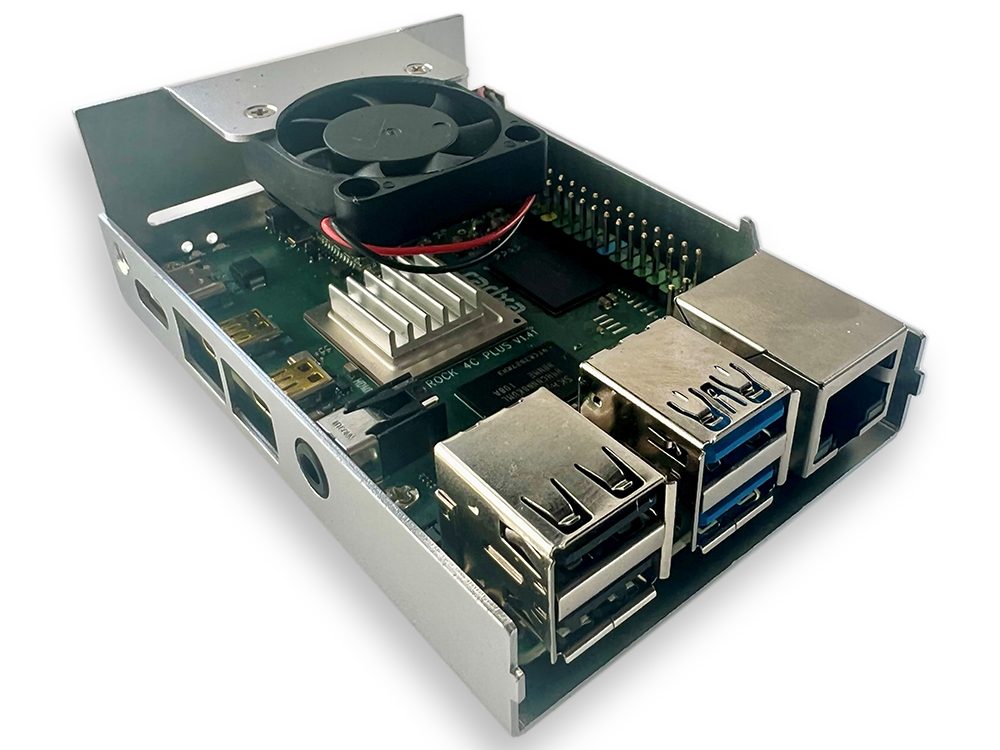
Step 9. Connect the mouse & the keyboard
Connect the mouse and keyboard to the USB 2.0 ports (Black).
Step 10. Connect the screen
Connect the screen to the HDMI port labelled “HDMI 4K”.
Step 11. Connect the power
Connect the power cable to the USB-C port labelled “5V ONLY”
Ensure that the switch on the power cable is turned on.
Step 12. Follow the on-screen instructions
Follow the on-screen instructions:
- It will boot the first time and ask you to provide a username and password for the new default user (this user will be a member of the sodu group, equal to an admin in a Windows environment).
- Then, choose your geolocation and the standard language.
- Then, choose the keyboard layout.
- The ROCK 4C+ will reboot.
- You will need to do a manual reboot/power cycle in order to get a proper desktop with icons etc.
Step 13. Close the case
Carefully slide the top of the case into position, ensuring that all the small tabs snap into place and the screw holes are aligned.
Note: Ensure that the fan’s leads are not in the way.
Step 14. Secure the case screw
Use the remaining screw to secure the lid to the base of the case.
Step 15. Safe Shutdown
Select Applications -> Log out -> Shut Down from the main menu.
When the Green and Blue LEDs have gone off, turn off the power cable switch.

Excited to discover what other ROCK single-board computers, compute modules and accessories are coming next into our range? View more in our ROCK Shop, and find the perfect Raspberry Pi alternative. You no longer need to hunt for stock!
ROCK Shop

Let’s invent the future together
What’s your challenge? From augmented reality to machine learning and automation, send us your questions, problems or ideas… we have the solution to help you design the world.
Visit our Blogs, Getting Started Guides and Projects for more inspiration!
Projects & Inspiration

Get Started Guides
Discover OKdo Blogs