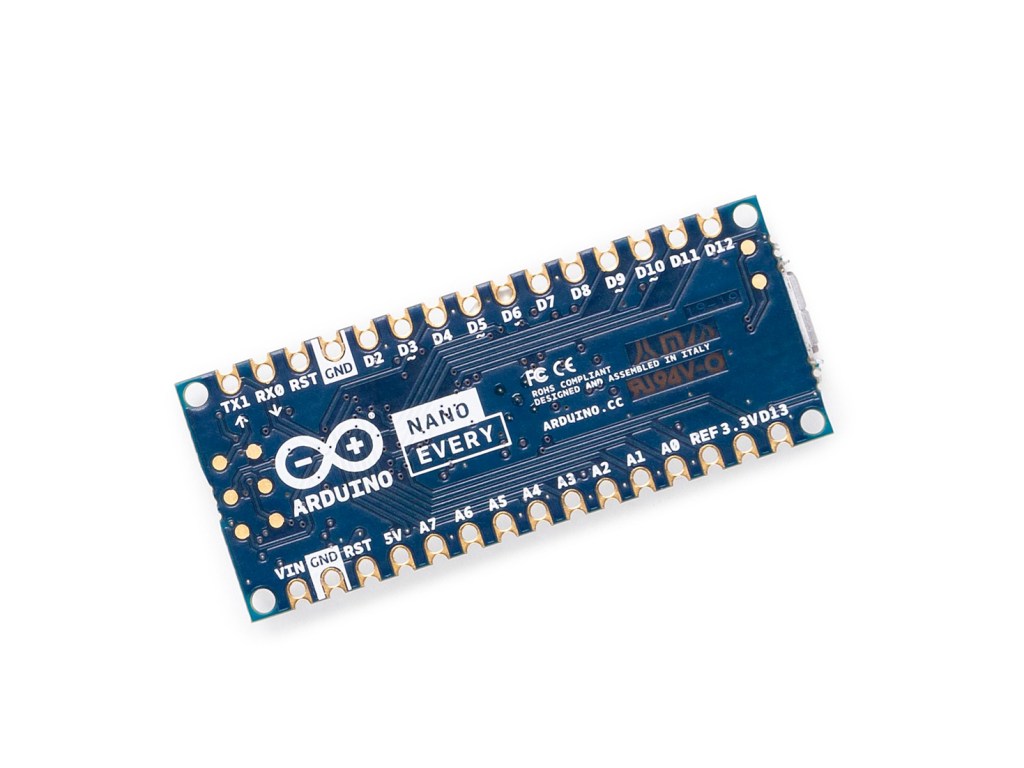

The Nano Every is the new super small 5V compatible board from Arduino for embedding in your electronics projects. It is a pin-compatible, drop-in replacement for the original Nano but with extended capabilities like a faster processor and more memory, at a lower price point.
If you want to sense analogue or digital inputs and control analogue or digital devices and don’t need network connectivity this project will get you started.
It runs though setting up a simple circuit with a button and LED, then installing the Arduino integrated development environment (IDE) on a PC. You use this to install a simple program to the Nano Every which senses when the button is pressed and turns on the LED.
What you'll need
Host computer PC/ MAc/Linux
Micro USB cable
5V LED
150 Ω resistor
Breadboard
Build the circuit
If your Nano doesn’t have headers installed, solder the supplied headers through the holes in each side of the board so that it can be inserted into a breadboard.
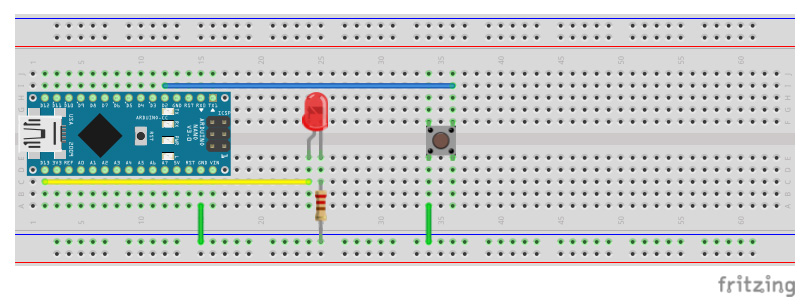
With the board disconnected from the USB cable, position the Nano on the breadboard across the centre divide. Then place all the components and connect them up according to the diagram below:
A correct value resistor should be used in series with the LED to limit the current sourced from the output pin to less than 20mA otherwise the board can be damaged
Install Arduino IDE
Go to Arduino download page: https://www.arduino.cc/en/main/software
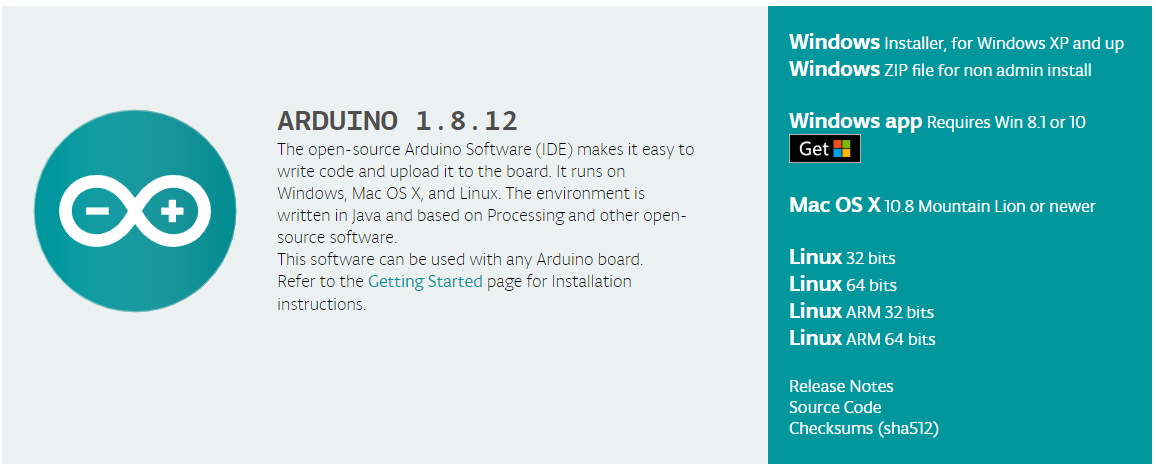
- Choose a suitable download for your PC operating system – we chose Windows app since we are on Windows 10 Laptop.
- Allow access when you get security warnings.
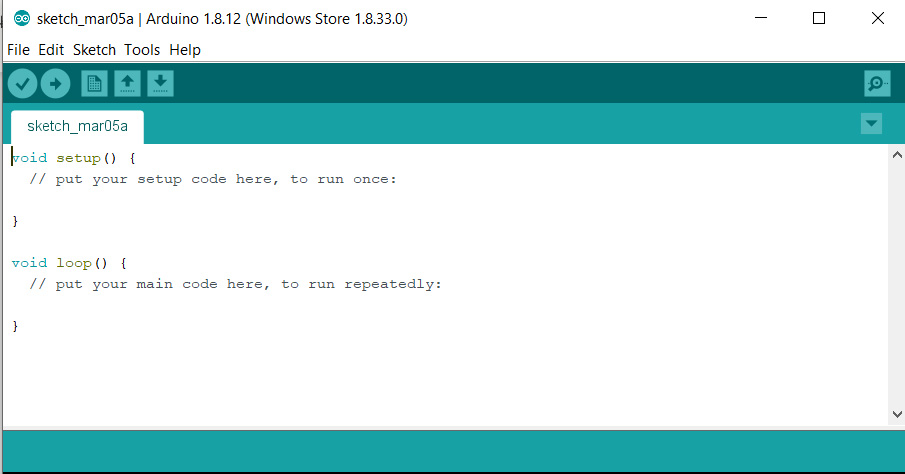
Once the software has downloaded and the installation is complete, a window containing a blank sketch (Arduino program) will open.
Configure IDE for Nano Every
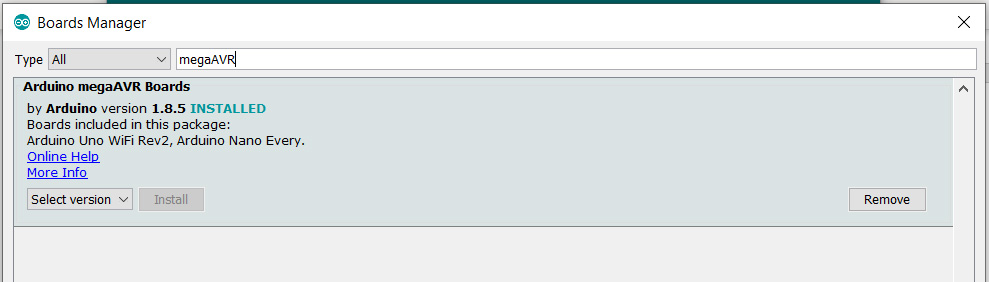
Install support for the Nano Every board from Tools > Boards > Boards Manager
- Search for megaAVR and install the Arduino megaAVR Boards package:
- Choose install and accept any security warnings
- Attach the USB cable to the board and plug it into the PC. The system should load the correct device driver – Accept any security warnings
- The Green power LED will come on and the Orange LED will be flashing, indicating that the board is powered up and running the default Blink sketch which comes pre-installed
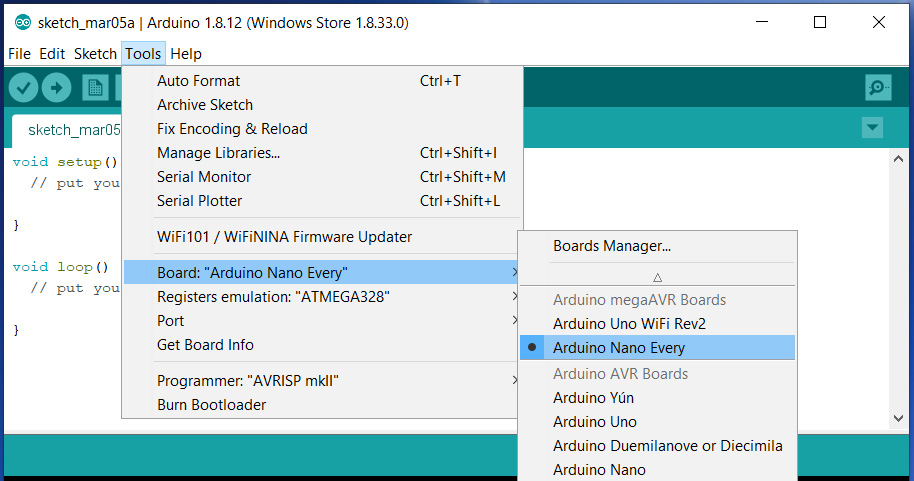
Set the board type to Nano Every from Tools > Board > Arduino Nano Every
Set the port from Tools -> Port – COM (Arduino Nano Every)
The COM port will vary depending on your host PC

The IDE is now correctly set up to allow programming of the Nano Every.
Arduino example code
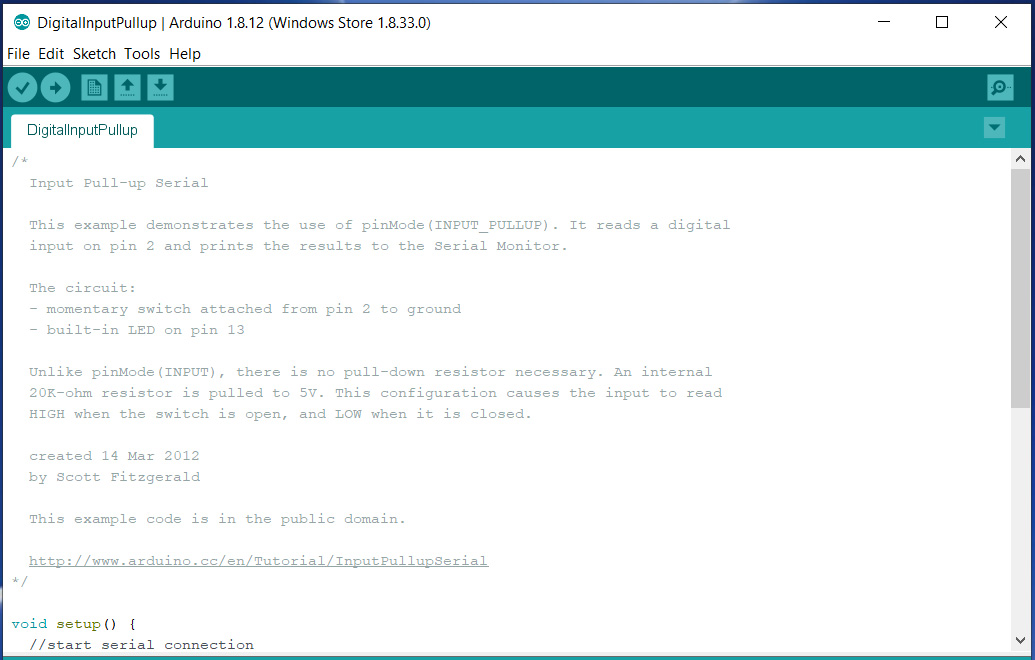
Open the DigitalInputPullup sketch from File > Digital > DigitalInputPullup
Set the emulation mode to None from Tools > Registers emulation > None
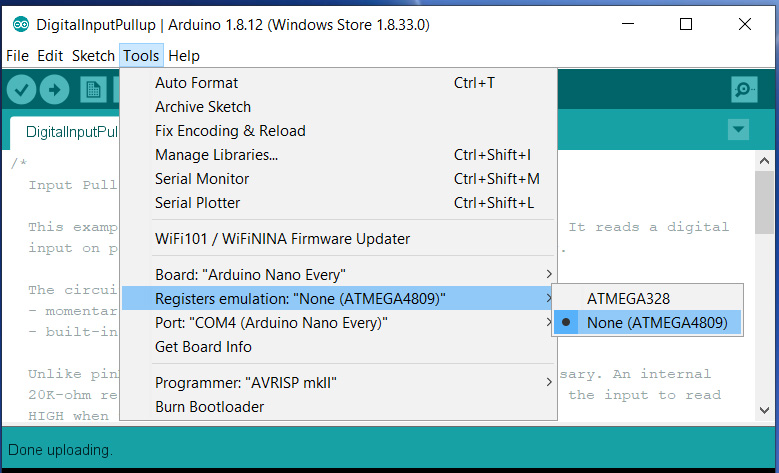
Upload the example code by pressing the upload button or Sketch > Upload
The bottom pane of the IDE will show the code compiling then the TX and RX LEDs on the board will flash for a few seconds while the code uploads. Once completed, the code will automatically be running on the board.
We encountered an error in the IDE about locating memory which can be safely ignored
Now when you press the push button, the LED should light up (the Orange LED on the board will come on as this is also connected to the same pin) When you release it, the LED should turn off.
Tip: If the external LED doesn’t come on when you press the button, check that it is connected the correct way round.
Summary
Congratulations! You have setup the Arduino IDE for use with your Nano Every board, built a simple circuit and uploaded a new program to the board.
The program demonstrates how to monitor a digital input and use this to control a digital output which are the basic principles used in hundreds of Arduino projects.
You can explore many more examples available from within the IDE by opening them from File > Examples. These can give you a starting point to modify and adapt for your own projects.