

In this get started with Arduino Nano BLE 33 Sense guide, you’ll learn how to install and configure the Arduino Integrated Development Environment (IDE) for developing applications to run on the board and learn how to program the Nano to sample environmental temperature and humidity and broadcast the readings to a mobile phone using the BLE standard.
The Nano 33 Sense has on-board temperature and humidity, atmospheric pressure, light and gesture sensors and a 3 axis IMU, microphone, BLE and Bluetooth connectivity.
The Arduino Nano 33 Sense runs at 3.3V. Connecting higher voltage signals, like the 5V commonly used with the other Arduino boards, will damage the Arduino NANO 33 BLE Sense.
What you'll need
Micro USB cable
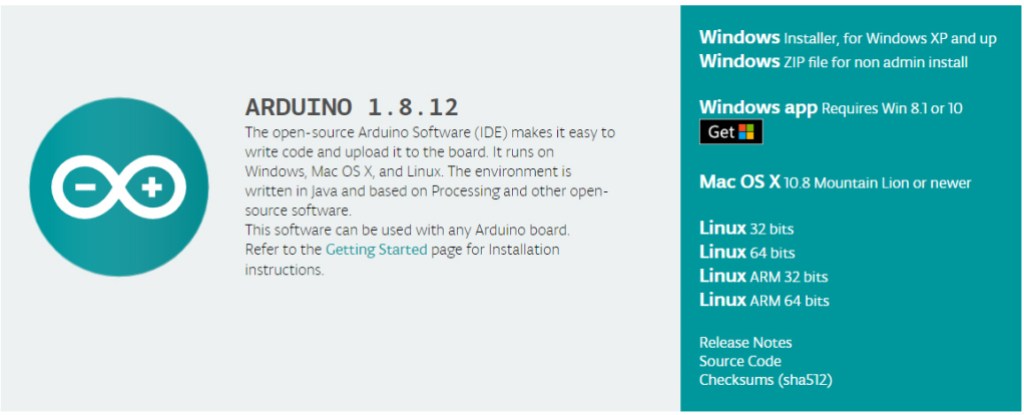
Download Arduino iDE
- Go to https://www.arduino.cc/en/main/software and download the correct IDE for your operating system, Windows in our case.
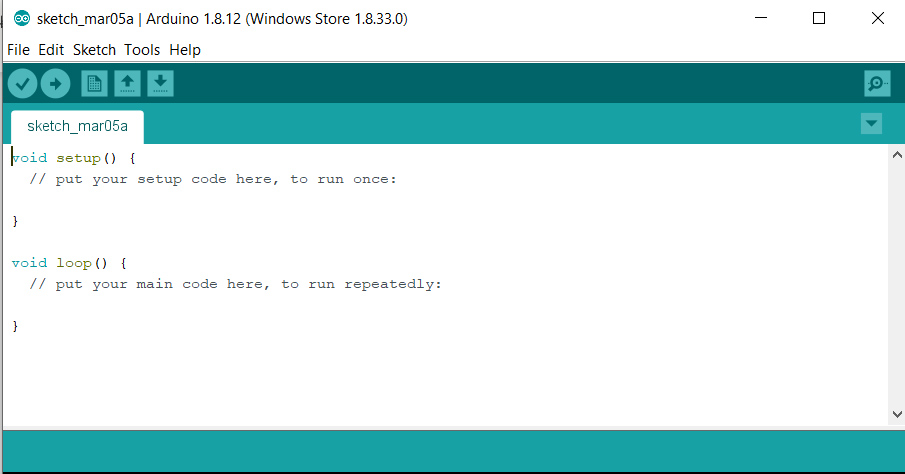
- Once downloaded, install the package by opening it and following any prompts.
- After installation, you will be presented with a window containing a blank “sketch” which is an Arduino program.
Configure IDE
Before you start programming you’ll need to configure the IDE to work with your specific Arduino model.
- On the main menu of Arduino IDE, go to Tools>Boards>Boards Manager.
- Enter nano 33 ble in the search window and install Arduino nRF528x Boards (Mbed OS)
- The installation process will take a little while, once finished, click on close.
- Connect the Arduino to your host computer using the USB cable. The system should load the correct device driver. Accept any security warnings.
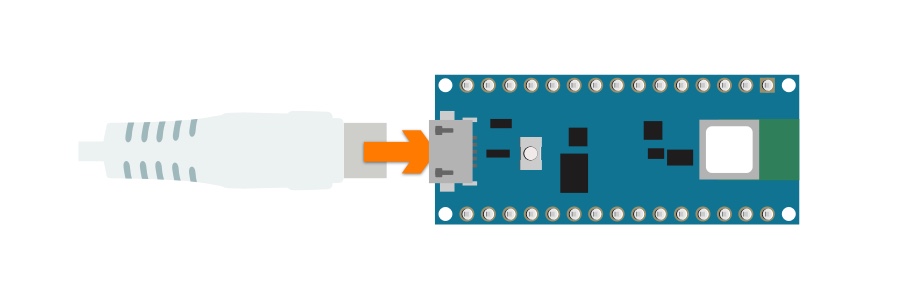
The green power LED on the Arduino will come on and the orange LED will be flashing, indicating that the board is powered up and running the default Blink sketch which comes pre-installed
- Go to Tools>Board and select Arduino 33 BLE from the menu
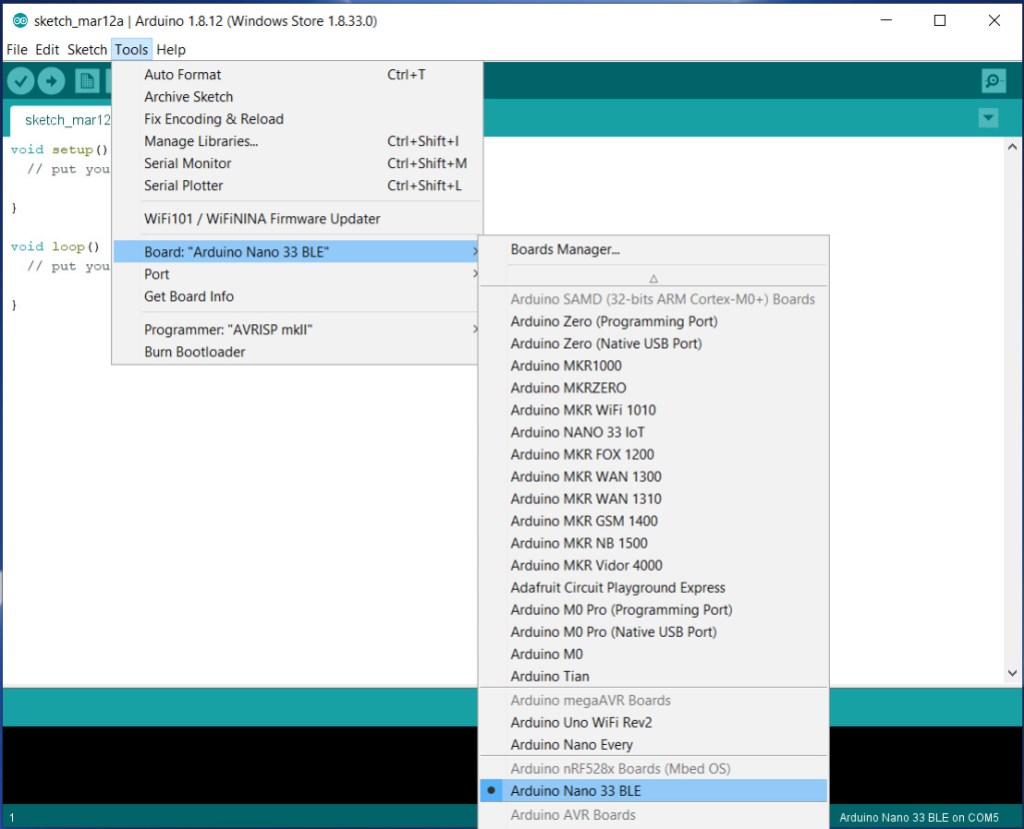
- From Tools>Port, select COM (Arduino NANO 33 BLE), on a Mac it will appear as dev/cu.usbmodem14101 (Arduino Nano 33 BLE)
The COM or modem port number will vary depending on your host computer.

Programme the Arduino
- Go to Sketch>Include library>Manage Libraries and install ArduinoBLE
- Go to Sketch>Include library>Manage Libraries and install Arduino_HTS221

- Copy the code example below into the IDE window
/*
Nano 33 BLE Sense Getting Started
A BLE peripheral broadcasting temperatature and humidity readings that can be viewed
on a mobile phone. On-board LED indicates a BLE connection.
Adapted from Arduino BatteryMonitor example by Peter Milne
*/
#include <ArduinoBLE.h>
#include <Arduino_HTS221.h>
const int UPDATE_FREQUENCY = 2000; // Update frequency in ms
const float CALIBRATION_FACTOR = -4.0; // Temperature calibration factor (celcius)
int previousTemperature = 0;
unsigned int previousHumidity = 0;
long previousMillis = 0; // last time readings were checked, in ms
BLEService environmentService("181A"); // Standard Environmental Sensing service
BLEIntCharacteristic tempCharacteristic("2A6E", // Standard 16-bit Temperature characteristic
BLERead | BLENotify); // Remote clients can read and get updates
BLEUnsignedIntCharacteristic humidCharacteristic("2A6F", // Unsigned 16-bit Humidity characteristic
BLERead | BLENotify);
void setup() {
Serial.begin(9600); // Initialize serial communication
while (!Serial);
if (!HTS.begin()) { // Initialize HTS22 sensor
Serial.println("Failed to initialize humidity temperature sensor!");
while (1);
}
pinMode(LED_BUILTIN, OUTPUT); // Initialize the built-in LED pin
if (!BLE.begin()) { // Initialize BLE
Serial.println("starting BLE failed!");
while (1);
}
BLE.setLocalName("Nano33BLESENSE"); // Set name for connection
BLE.setAdvertisedService(environmentService); // Advertise environment service
environmentService.addCharacteristic(tempCharacteristic); // Add temperature characteristic
environmentService.addCharacteristic(humidCharacteristic); // Add humidity chararacteristic
BLE.addService(environmentService); // Add environment service
tempCharacteristic.setValue(0); // Set initial temperature value
humidCharacteristic.setValue(0); // Set initial humidity value
BLE.advertise(); // Start advertising
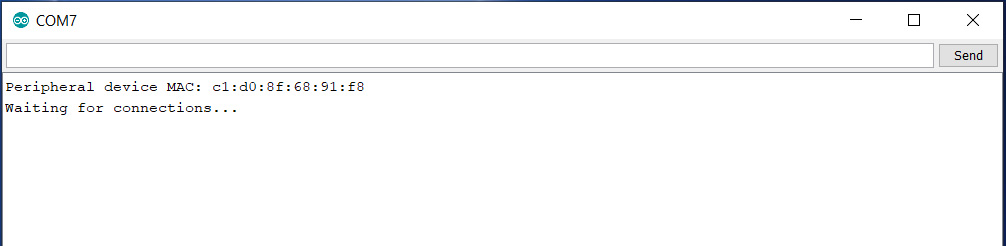
Serial.print("Peripheral device MAC: ");
Serial.println(BLE.address());
Serial.println("Waiting for connections...");
}
void loop() {
BLEDevice central = BLE.central(); // Wait for a BLE central to connect
// If central is connected to peripheral
if (central) {
Serial.print("Connected to central MAC: ");
Serial.println(central.address()); // Central's BT address:
// Turn on the LED to indicate the connection:
digitalWrite(LED_BUILTIN, HIGH);
while (central.connected()) {
long currentMillis = millis();
// After UPDATE_FREQUENCY ms have passed, check temperature & humidity
if (currentMillis - previousMillis >= UPDATE_FREQUENCY) {
previousMillis = currentMillis;
updateReadings();
}
}
// When the central disconnects, turn off the LED
digitalWrite(LED_BUILTIN, LOW);
Serial.print("Disconnected from central MAC: ");
Serial.println(central.address());
}
}
int getTemperature(float calibration) {
// Get calibrated temperature as signed 16-bit int for BLE characteristic
return (int) (HTS.readTemperature() * 100) + (int) (calibration * 100);
}
unsigned int getHumidity() {
// Get humidity as unsigned 16-bit int for BLE characteristic
return (unsigned int) (HTS.readHumidity() * 100);
}
void updateReadings() {
// Read the HTS22 temperature and humidity
int temperature = getTemperature(CALIBRATION_FACTOR);
unsigned int humidity = getHumidity();
if (temperature != previousTemperature) { // If reading has changed
Serial.print("Temperature: ");
Serial.println(temperature);
tempCharacteristic.writeValue(temperature); // Update characteristic
previousTemperature = temperature; // Save value
}
if (humidity != previousHumidity) {
Serial.print("Humidity: ");
Serial.println(humidity);
humidCharacteristic.writeValue(humidity);
previousHumidity = humidity;
}
}
- Upload the code to the Arduino by going to Sketch>Upload or by clicking the right side pointing arrow on the IDE window
- The bottom pane of the IDE will show the code compiling then the TX and RX LEDs on the Arduino will flash for a few seconds while the code uploads. Once it’s done it will run automatically on the Arduino.
The temperature reading needs to be adjusted to give a more accurate value due to the heating effects of the nearby microprocessor
We encountered some issues where the Arduino changed its port after uploading. If so check the Board>Port setting is correct.
BLE mobile app
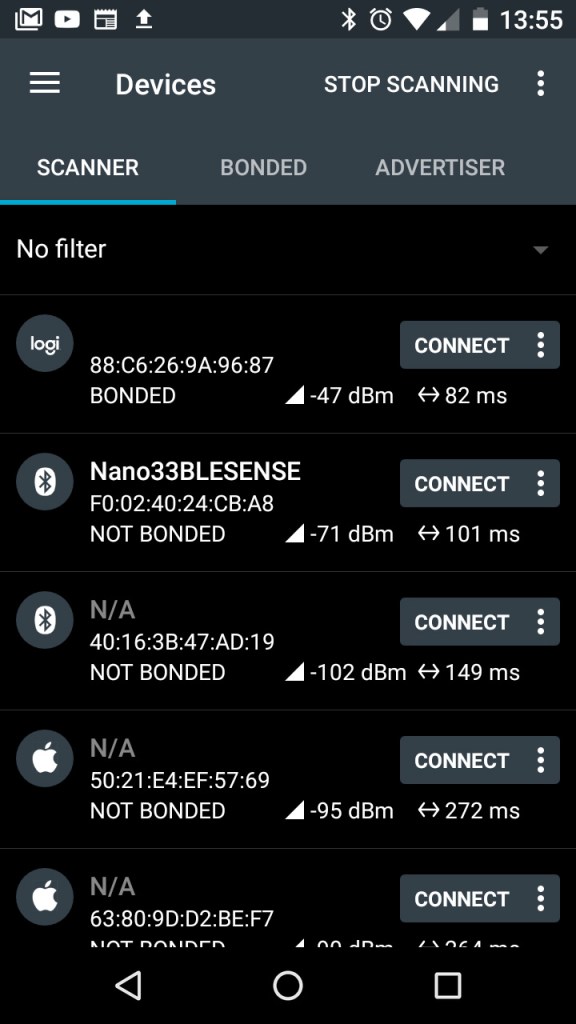
- On your mobile, install Nordic Semiconductors nRF Connect App. There are Android and IOS versions.
- In the Arduino IDE open Serial Monitor by clicking on the magnifying glass icon on the top right.
The Nano will start sending BLE advertising packets and wait for a Central (Mobile Phone) to connect.
- In the nRF App on your mobile select Scan and you should see Nano33BLESENSE as a device you can connect to.
BLE Peripherals can only connect to one device at a time – if the Nano33BLESENSE is already connected it could be to another device nearby.
- Connect to the Nano33BLESENSE and select the Environmental Sensing service.
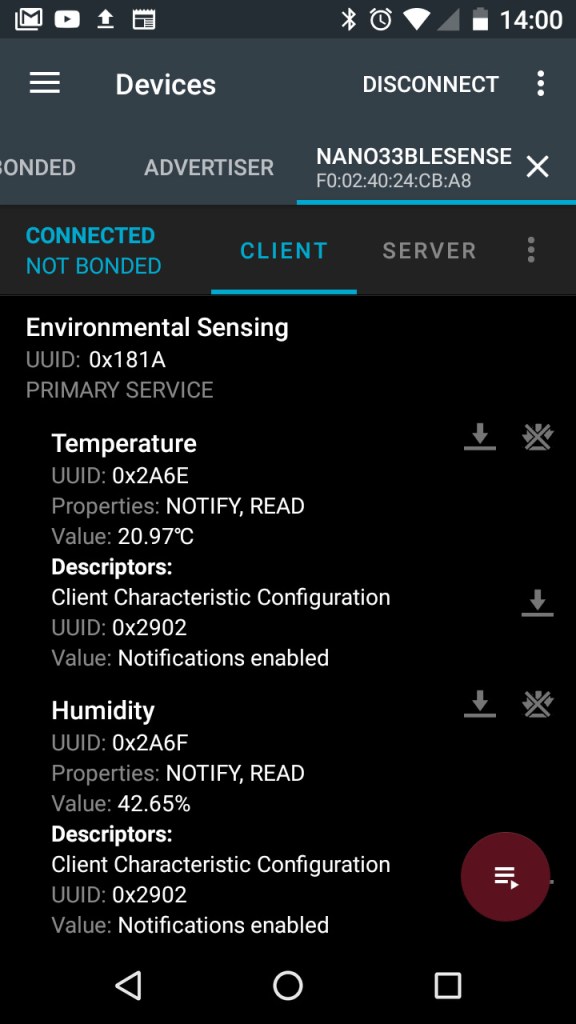
- Touch the multiple down arrows next to the Temperature and Humidity characteristics and the display will update every time the temperature or humidity values change as these are set to notify.
Summary
Congratulations! You have setup the Arduino IDE for use with your NANO 33 BLE SENSE board and built and run a BLE application. The application showed how to access the on-board sensors and use services and characteristics from the BLE standard so that the data transmitted can be interpreted on any BLE device.
The Nano 33 BLE Sense board has several other sensors that can be utilised over BLE. You can explore many more examples available from within the IDE by opening them from File > Examples. These can give you a starting point to modify and adapt code for your own projects.
Further information on the Bluetooth standard can be found here:
https://www.bluetooth.com/specifications/bluetooth-core-specification/