Get started with the ROCK 3A, and learn how to download and install Debian Bullseye (64-bit) onto an SD card and perform the basic system setup. This handy guide will tell you everything you need to know to get started with the ROCK 3A in a few easy steps.
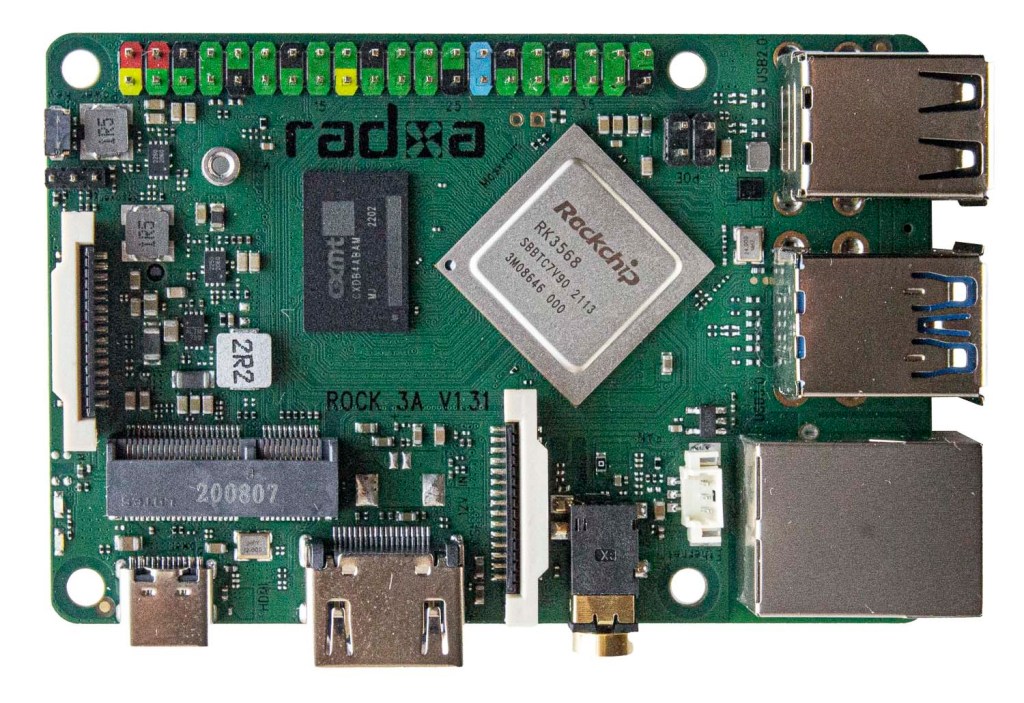
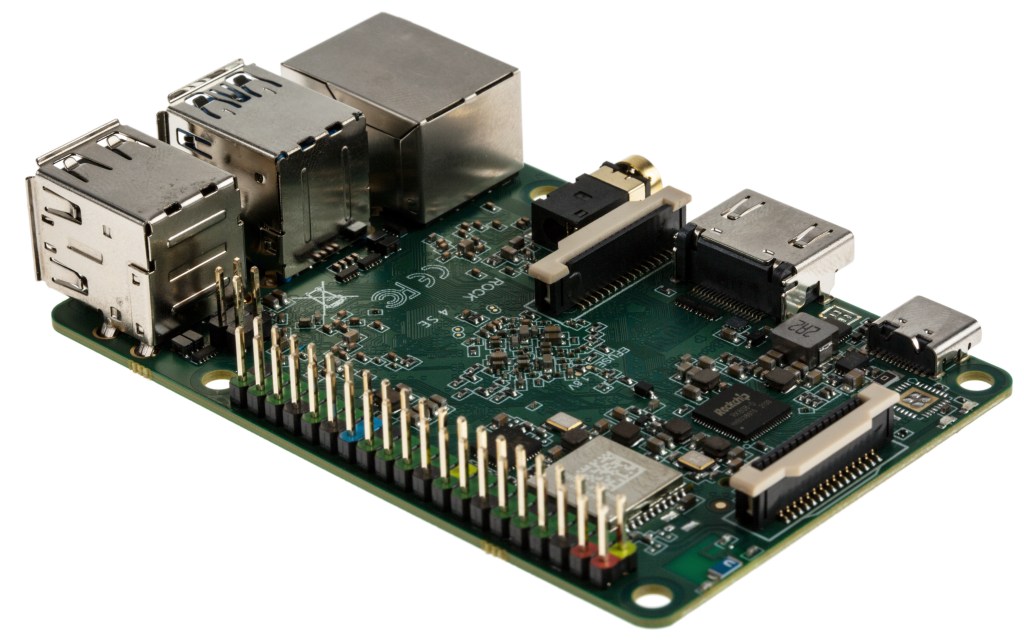
Meet the ROCK 3A, a robust and flexible Single Board Computer (SBC) based on the reliable Rockchip RK3568 SoC in a compact form factor packed with awesome features, including Quad core Armv8.2‑A Cortex®‑A55 CPU, Arm Mali™ G52 GPU, near CD quality audio, HDMI 2.0 port supporting displays up to 4K@60pfs resolution, and it’s compatible with a wide range of software operating systems.
The ROCK 3A can run several 64-bit Linux distributions, with Debian, Ubuntu Server and Android 11 being officially supported.
In this Getting Started guide we show how to install Debian Bullseye onto an SD card and perform the system setup. This will give you a lightweight, dynamic and functional XFCE desktop for general use on your ROCK 3A, from which you can add further Open Source applications to your liking.
Parts Needed to Get Started with ROCK 3A:
ROCK 3 Model A
OKdo Universal Power Supply
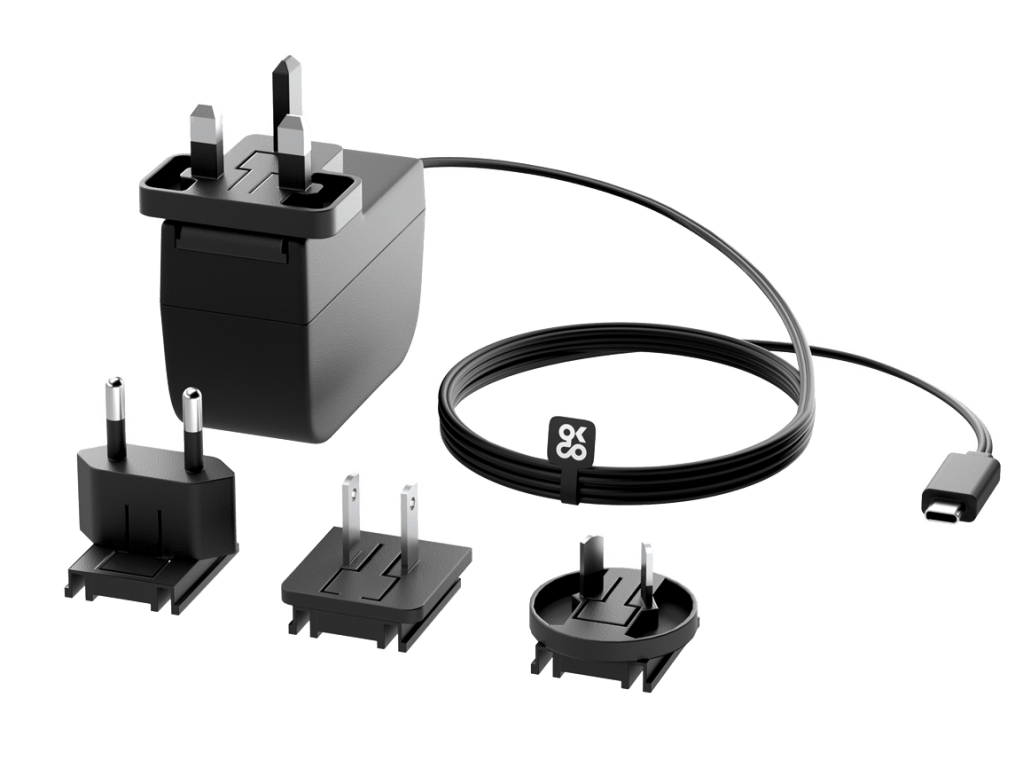
All parts needed to get started:
- The ROCK 3A single board computer
- 5.1V / 3A Universal Power Supply 15.3W USB-C
- 32 GB MicroSDHC Card Class 10
- Host computer Windows/Mac/Linux
- HDMI Monitor
- USB Keyboard
- USB Mouse
- micro-HDMI Cable
- Cat 5 Ethernet Cable
- Internet connection and router
Step 1: Debian Download
The ROCK 3A has a number of Official and Community supported Operating Systems (OS) available for download, depending on your requirements.
We show how to install the official Debian Bullseye which is a desktop OS suitable for general use. You can do this using either a Windows, Mac or Linux host PC or laptop.
Visit the OKdo Software & Downloads hub and click the Debian Bullseye link for the ROCK 3A
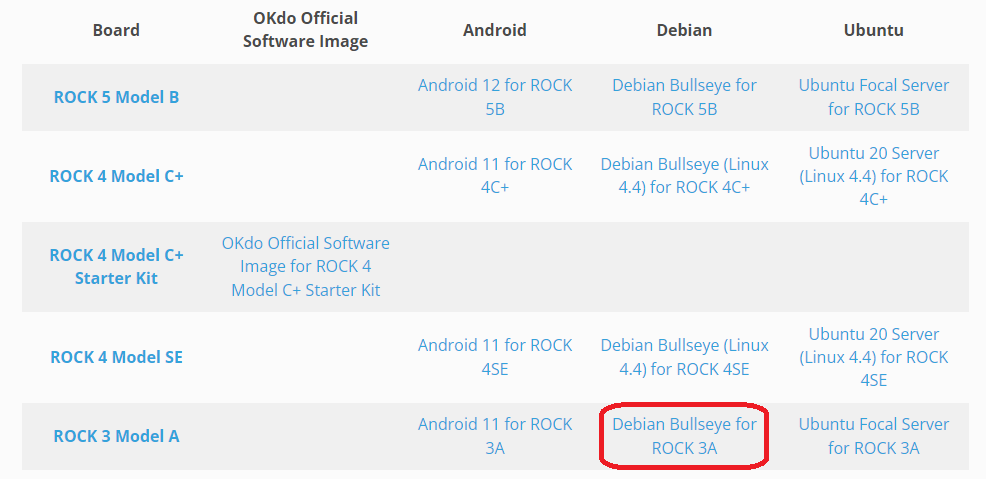
- Click the link to the Debian Bullseye image which is about 840MB
- Download the file to you PC’s downloads directory – the file name will be similar to this depending on the date of the latest release: rock-3a-debian-bullseye-xfce4-arm64-20221101-0243-gpt.img.xz
- There is no need to expand the compressed file
Step 2: SD Card
Special purpose imaging software is required to flash the image to the SD card. We recommend the Open Source balenaEtcher which is available on either Windows, Mac or Linux. It also performs some validation checks on the flashed image:
- Visit the download page at balenaEtcher and install the version for your host PC
Now everything is ready to flash the OS image onto the microSD card. Use a good quality, branded, 32GB card or larger. We use SanDisk Ultra cards which are fast, durable and reliable.
- Insert the SD card into a card reader on your host PC;
- Open balenaEtcher and select the OS image you downloaded in Step 1;
- Select the SD card to flash – be careful to choose the correct one;
- Click the Flash button;
- Wait for the imaging and validation process to complete, then eject the SD card and remove it from your host PC;
- Remove the SD card from the card reader and insert it into the SD card slot on your ROCK 3A board with the gold connectors facing upwards.
Tip: If your system asks you to format the card at any time just click cancel

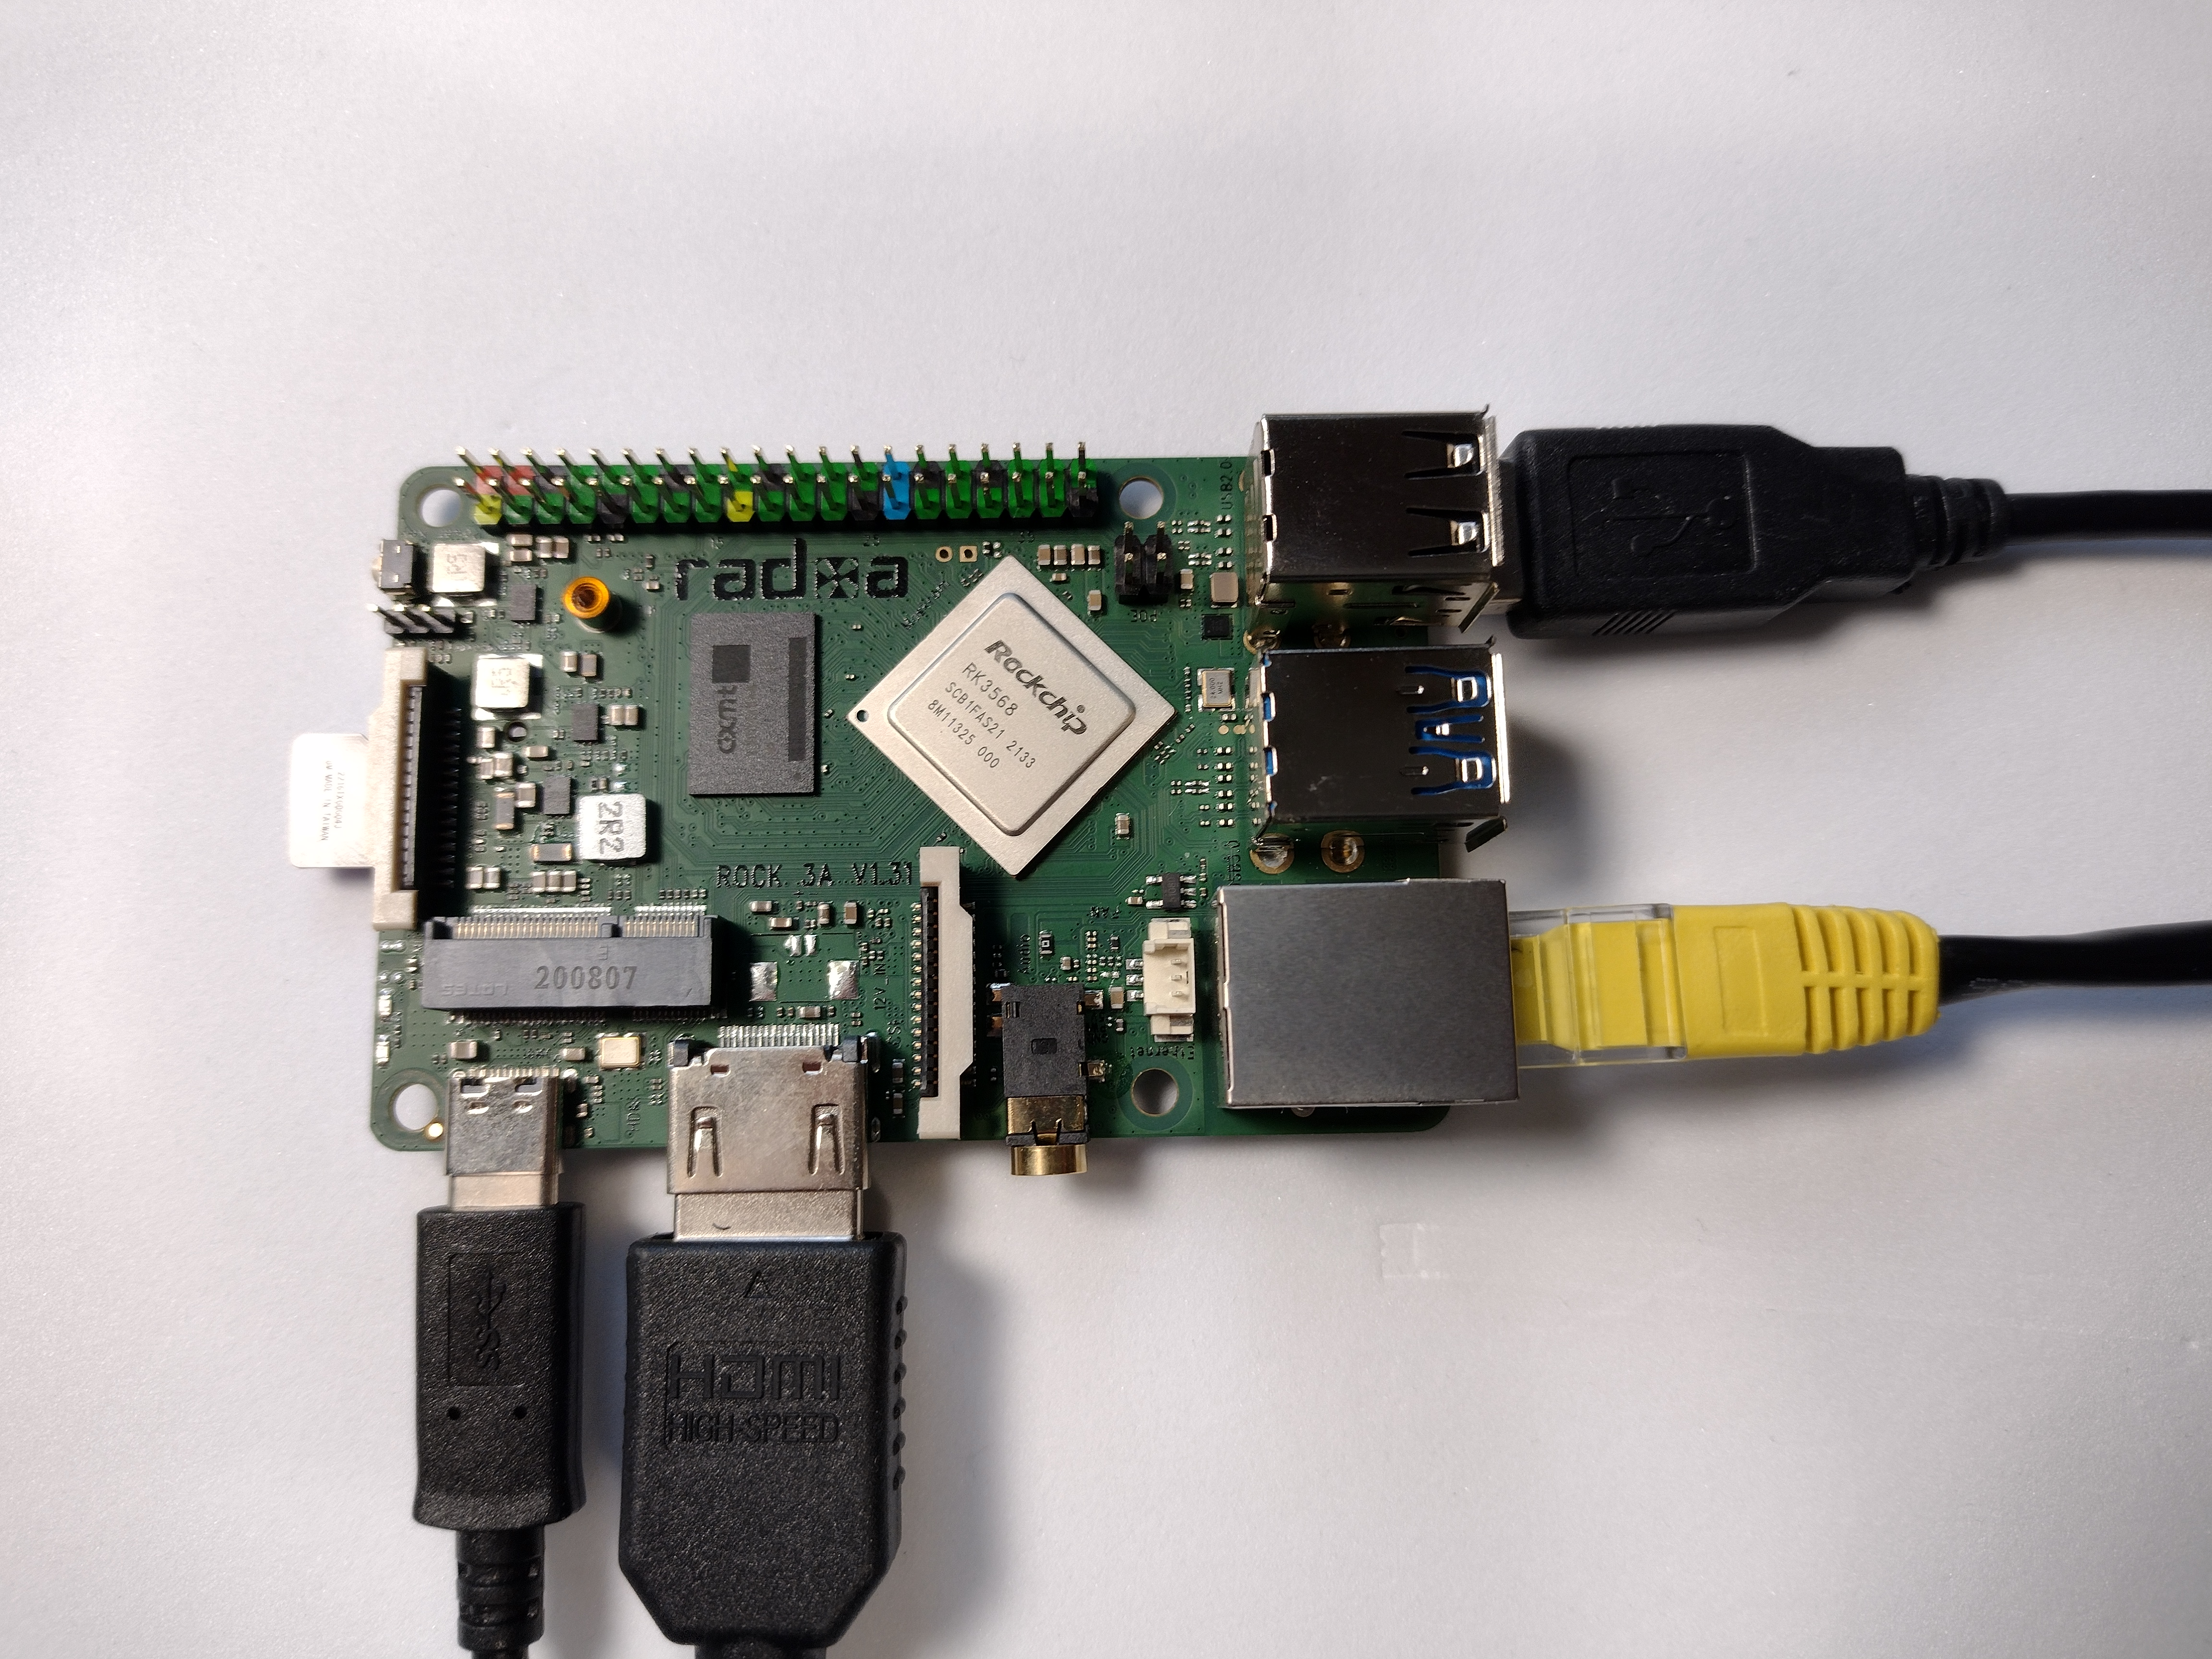
Step 3: Connections
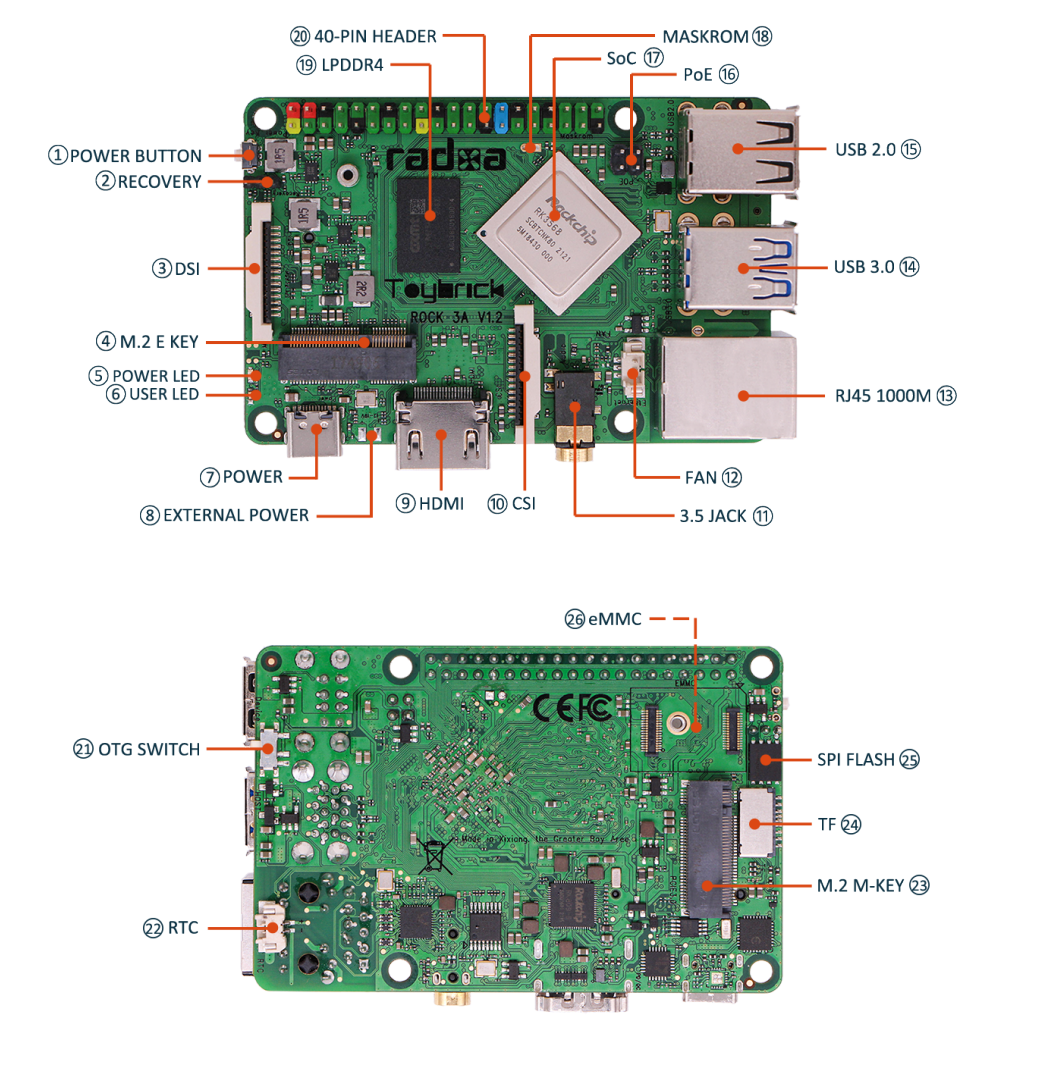
Now the SD card is prepared, connect a keyboard, mouse and monitor to the board and attach the Ethernet cable. The ROCK 3A has a full size HDMI connector which supports up to 4K@60fps. The 3.5mm audio jack supports audio out / microphone in.
- Connect a keyboard and mouse to the USB 2.0 (Black) sockets
- Attach a high speed, HDMI cable to the HDMI output and your monitor
- Connect a CAT5 Ethernet cable to the Ethernet port and your internet Router / Switch
The ROCK 3A supports several power technologies including smart power or fixed voltage adaptors:
- USB Type‑C™ PD V2.0 supporting 9V/2A, 12V/2A, 15V/2A and 20V/2A.
- Qualcomm® Quick Charge™ 2.0 QC3.0/2.0 adapter 9V/2A and 12V/1.5A.
- Fixed voltage in 6V to 24V range on the USB Type‑C™ connector.
Connect your power supply to the USB-C power socket but do not power it yet.
Step 4: Boot
Check that everything is prepared as in the steps above, turn on your monitor and plug in the power supply to boot the ROCK. When the login dialogue appears, the default username is rock with password rock. We recommend changing the password to something more secure in the next step.
- Plug in the power supply
- The green power LED will turn on and the blue activity LED will start blinking after a few seconds
- First boot takes about 30 seconds, the monitor may be blank so just be patient!
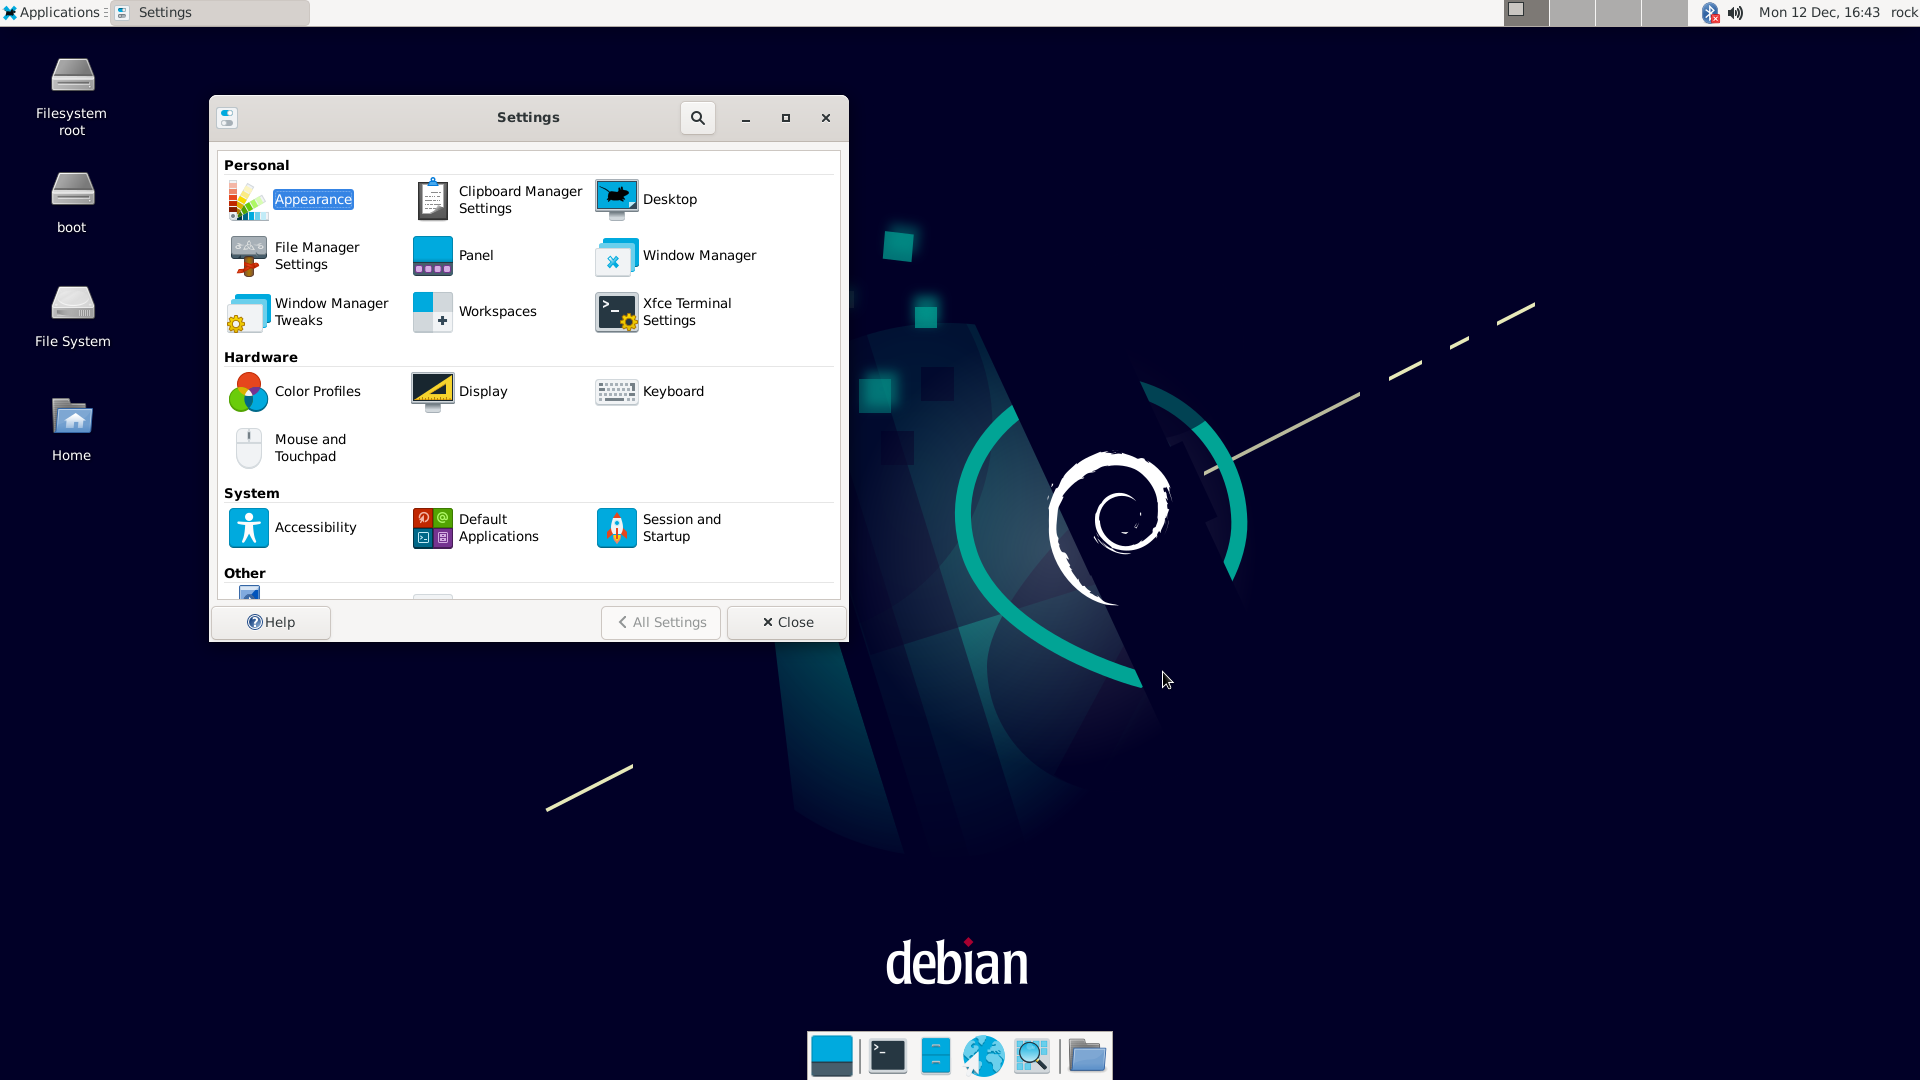
- Suddenly the XFCE Desktop will appear with the login dialogue box
- Login with the default username and password and the standard desktop will appear
Tip: The default XFCE desktop has a basic configuration – customise its many features by selecting Applications -> Settings from the main menu or right click anywhere on the desktop
Step 5: Change Password
Using Terminal from the menu, change the default password to a more secure one:
- Open Applications -> Terminal Emulation or press Ctrl + Alt + T
- Enter the following command at the prompt and follow the instructions to set a new password
passwd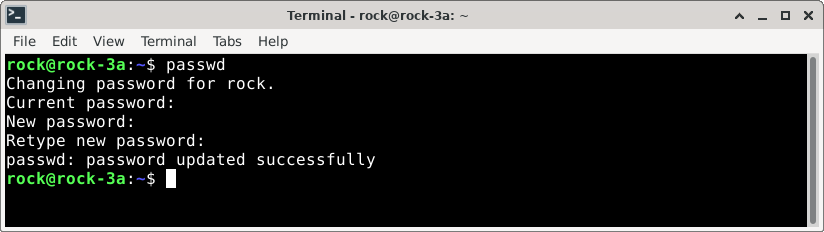
Step 6: Update System
The OS is constantly being updated so you can pull in these updates with the following commands as superuser (sudo) using the Terminal. It is advisable to do this on a regular basis to keep your system uptodate and secure:
- Open Applications -> Terminal Emulation
- Execute the following commands at the prompt
sudo apt update

sudo apt upgrade
Tip: If you get an warning about NO PUBLIC KEY found, refresh the public key with the following commands, then run apt update again:
export DISTRO=bullseye-stable

wget -O - apt.radxa.com/$DISTRO/public.key | sudo apt-key add -
Step 7: Set Display (Optional)
Your monitor’s HDMI display settings should be recognised automatically, if you want to adjusting them, you can do so using the Display Manager from the Applications menu:
- Right click anywhere on the desktop background and select Applications -> Settings -> Display
- Select your monitor Resolution and Refresh rate
- Click Apply
- Wait for display to reset

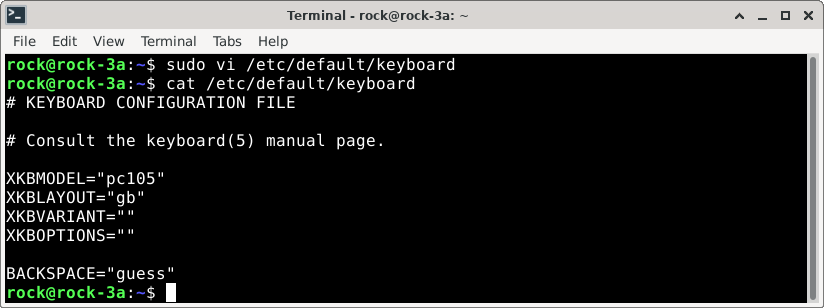
Step 8: Set Keyboard (Optional)
The default keyboard setting is US English. You can change it by editing the XKBLAYOUT value in /etc/default/keyboard using vi or nano, for example to change from US to UK keyboard layouts change the following line:
- XKBLAYOUT=”us” to XKBLAYOUT=”gb”
The keyboard setting will change after rebooting
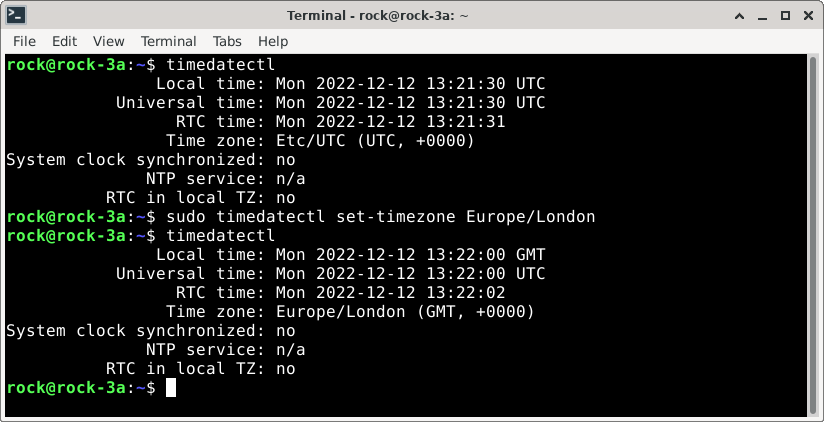
Step 9: Set Timezone (Optional)
The default time zone setting is Universal Time (UTC). Local Time can be set using the timedatectl in the Terminal:
- Display a list of available timezones (press F key to page forward):
timedatectl list-timezones- Set your local timezone from the list using this command with the example for London, UK:
sudo timedatectl set-timezone Europe/London- Check the settings with the following command:
timedatectlTip: Linux commands are case sensitive so follow any capitalization exactly and once you have typed a few characters press the Tab key to use autocompletion
Step 10: Reboot
Now that everything is configured how you want, reboot the system from the menu to enable the all the settings:
- Click Applications -> Logout -> Restart
Let the system reboot, log back in and you are ready to go!
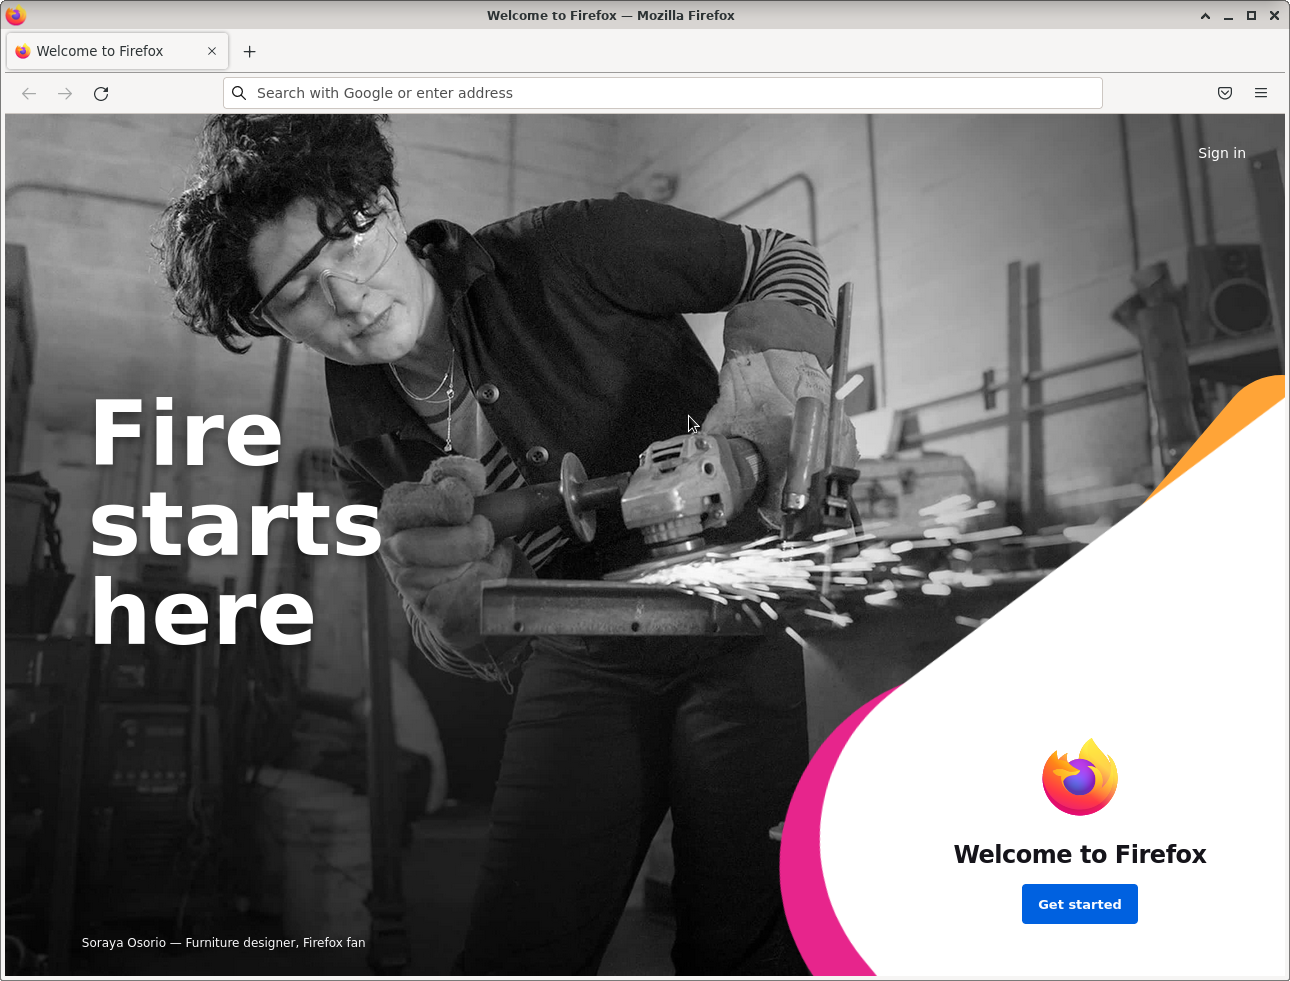
Step 11: Adding Applications
The Debian package repository (Debian Repo) contains over 50K Open Source software applications called Packages, most of which will work with the ROCK 3A. You can search or browse the Debian repo.
Once you know the name of the package, it can be installed using the Terminal along with any dependencies. Here we are installing the Firefox Extended Support Release browser which is a free and open-source web browser:
sudo apt install firefox-esrMost applications will add entries in the main menu system so you can access them easily.
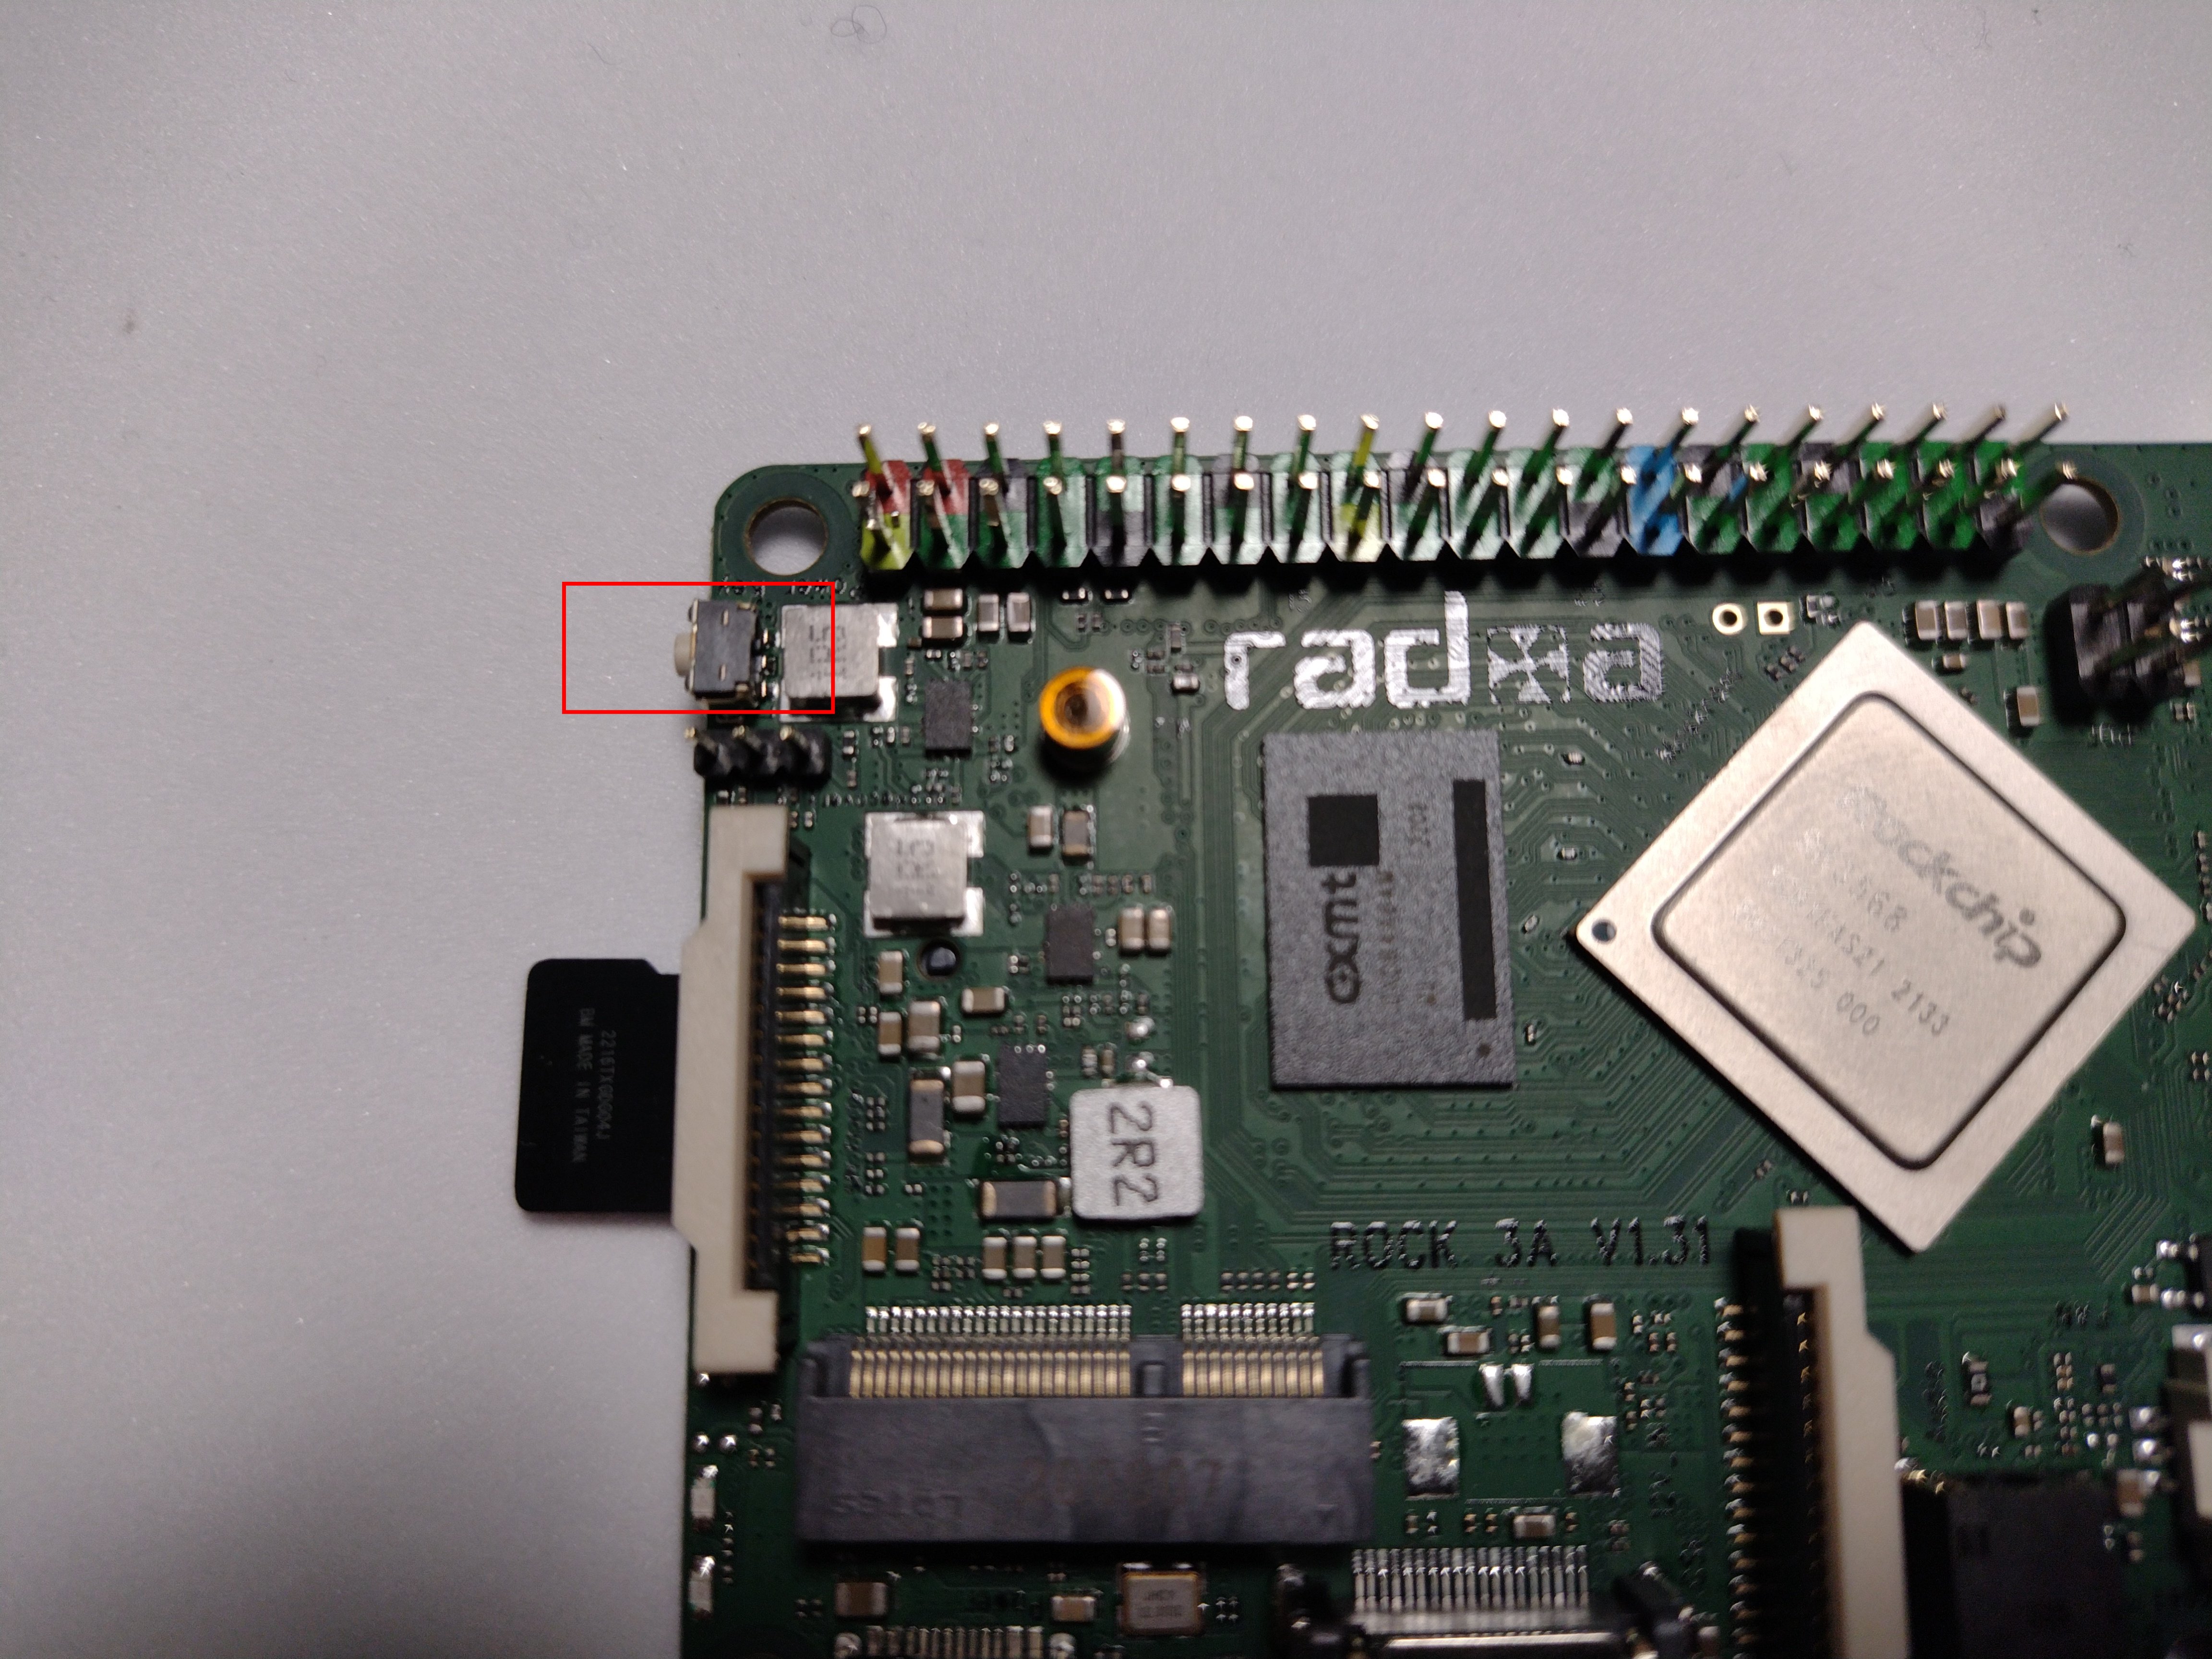
Step 12: Power Button
One really useful feature of the ROCK 3A is the power button. Located close to the GPIO header, it can be used to safely power the system on and off reducing the risk of damaging the SD / eMMC memory.
- Short pressing the button when the system is running will perform a safe shutdown to a low power state. The green LED will remain on and the blue LED will go off after a few seconds.
- Short pressing the button again will wake the system up again – the green LED is on and the blue LED will turn on after a few seconds.
- In the low power state – with just the green LED on, it is safe to turn off / remove the power supply completely.
Summary
If you have followed all the steps in this guide you will have a nicely configured Debian desktop running on your ROCK 3A all setup for general use.
There are now thousands of Open Source software applications at your fingertips which can be added to your system, from programming environments, audio and video editing tools, office applications, scientific software and gaming, so start exploring!

Excited to discover what other ROCK single-board computers, compute modules and accessories are coming next into our range? View more in our ROCK Shop, and find the perfect Raspberry Pi alternative. You no longer need to hunt for stock!
ROCK Shop


Let’s invent the future together
What’s your challenge? From augmented reality to machine learning and automation, send us your questions, problems or ideas… we have the solution to help you design the world. Get in touch today.
Visit our Blogs, Getting Started Guides and Projects for more inspiration!