Isn’t it spooky how quickly Halloween comes around each year? You know the score – witches, zombies and assorted Trick ‘n’ Treaters banging on your door until all hours demanding the goodies. So wouldn’t you just love a little something up your sleeve to turn the tables and scare the living daylights out of them?
We thought so. That’s why we devised this fiendishly clever way of creating epaper animations which can be displayed on a PaPiRus using Raspberry Pi.

All you’ll need is a basic knowledge of photo editing along with:
- Raspberry Pi 3B
- PaPiRis HAT
- 7” screen
Of course we can’t run video formats through PaPiRus – but don’t let that frighten you off, because we can still create the illusion of glorious animation by running a series of pictures in sequence with tiny changes from one to the next. (Remember those flick books you made at school with the corners of your maths books? Or was that just us?)
Let’s kick off with a top tip: current screens can only display black and white images, so for best results use pictures which are already mono. Or use images which can be converted into mono without losing important detail.
Find Your Image Size
Once you find the scary picture you’d like to use, give it a good old crop and resize to make sure it fits the size of your screen (though leaving this until after you’ve tweaked them for animation would be even better).
Different screens have different resolutions depending on the size, so you’ll have to bear this in mind as you go. Here are the most common:
- 44″ 128 x 96
- 9″ 144 x 128
- 0″ 200 x 96
- 6″ 232 x 128
- 7″ 264 x 176
Being serious tech lovers, we’re proud to say our screen is a (relatively) whopping 2.7”.
Now for the editing bit.
Image Editing
We used PhotoFiltre 7 to edit our pictures, but pretty much any photo editing application will do just fine. Here’s how to edit your images…
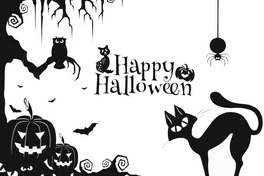
We found a pic we liked:

Scary, huh? Although it uses colour, we reckoned it would work in mono. So with a bit of magic wand and colour conversion, we created a B/W version of it.

OK, it’s not got quite the same eerie atmos, but at least all the detail is nice and clear.
Resize Your Image
Next, we resized it to match the resolution of our 2.7″ screen.
Creating Animations
At this point we have a confession to make – we chose the image in part because it actually lends itself to some easy editing for us to start the epaper animation sequence. Check this out…
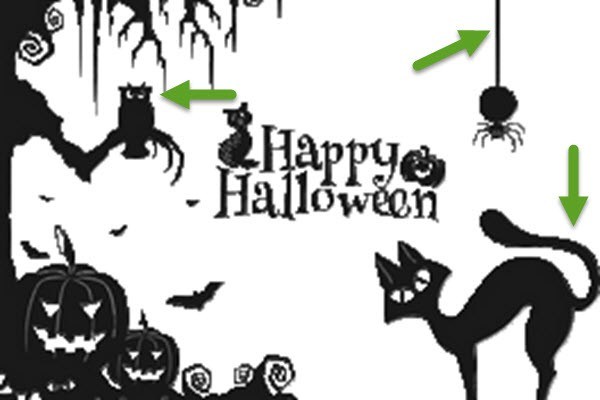
Our owl could open and shut its eye…the spider’s strand could lengthen and shorten to give the tarantula the appearance of dropping down…and the cat’s tail could wave in a menacing kind a way.
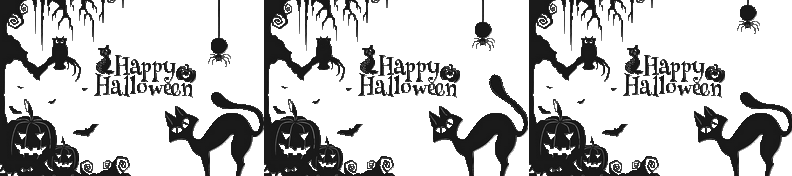
To do this, simply save each file in the format you like best from BMP, PNG, JPG or GIF and name the pictures with progressive numbers starting from 0. So for example we these 0.jpg, 1.jpg and 2.jpg.
Then we moved on to uploading our animation.
(But before that, you may want to assemble and connect your PaPiRus which you’ll be using to display your masterpiece – if you need a helping hand try our guide at PaPiRus Assembly Tips And Gotchas)
Upload Your Images
Back to uploading our pics. We did this by transferring our sequence onto our Raspberry Pi. Now doing this can be a slightly different process depending on which desktop system you use. Filezilla is fairly widely used and easy enough – and it’s the one we used – but other SFTP clients are pretty similar to work.
Just type the IP address of your Raspberry Pi in the Host field, use ‘pi’ and ‘raspberry’ for Username and Passwordand type 22 in the Port field then click on Quickconnect.
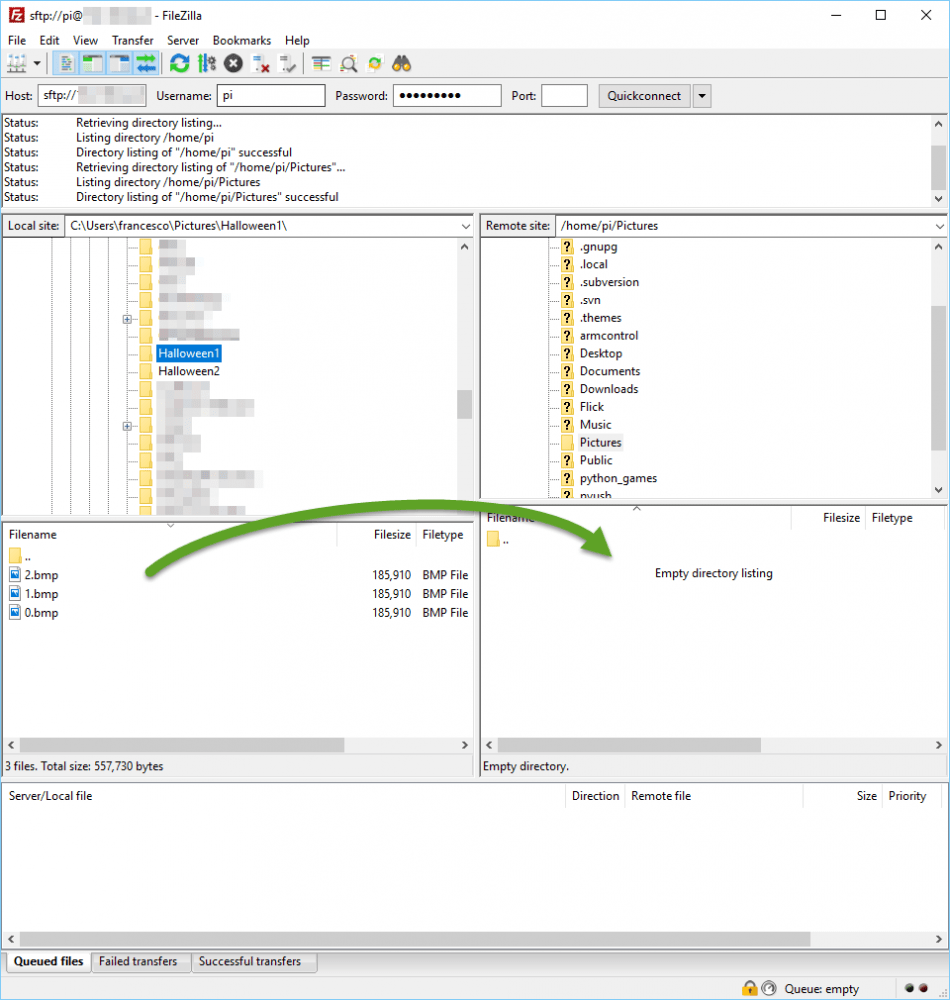
Once the connection is open, simply shove the pictures in a directory (erm, maybe ‘Pictures’???).
Select Pictures on the right pane of the screen and, on the left pane, open the folder in which you’ve created your animated sequence. Select all the file then simply drag and drop them. Boom!
Once the transfer is done, close Filezilla (or whatever app you chose).
(By now you should have installed PaPiRus on your Raspberry Pi. If you still haven’t, follow the procedure as indicated on this Github repository.)
Start Your Animation
Turning to you Raspberry Pi, you’ll either have access via SSH or directly using your keyboard, mouse and monitor.
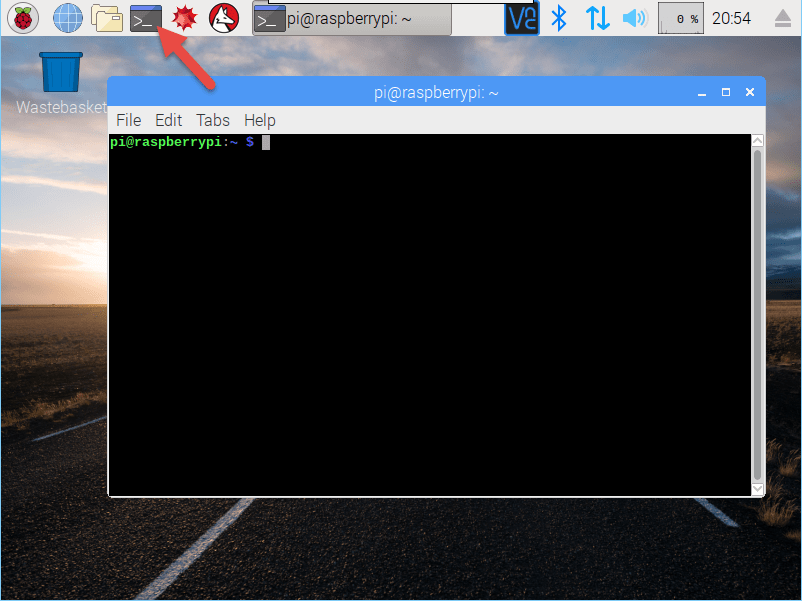
Open a terminal and type:
| papirus-animation ~/Pictures |
Congratulations! You now know how to add ePaper animations to your PaPiRus!
If you’re making a short animation like ours, you can make it loop ad infinitum by using this command:
| papirus-animation ~/Pictures –loop |
Now you’re a pro, why not have a go at making your own ePaper animation with a different image. The only limit truly is your imagination. And whilst we don’t expect you to come up with the next Hereditary here, we do reckon you’ll have a bunch of fun. After all, knowing this little trick will work a treat.
Like what you read? Why not show your appreciation by giving some love.
From a quick tap to smashing that love button and show how much you enjoyed this project.

