

The Nano 33 IoT adds WiFi connectivity to your projects, in a very small PCB footprint. This get started guide will show you how to install the Arduino integrated development environment (IDE) on a host PC and getting your Nano 33 IoT connected to a Wifi network.
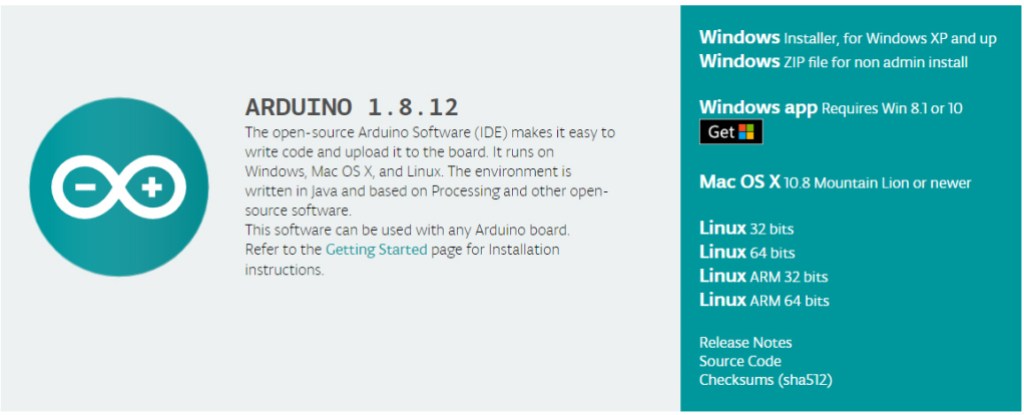
Download Arduino iDE
- Go to https://www.arduino.cc/en/main/software and download the correct IDE for your operating system, Windows in our case.
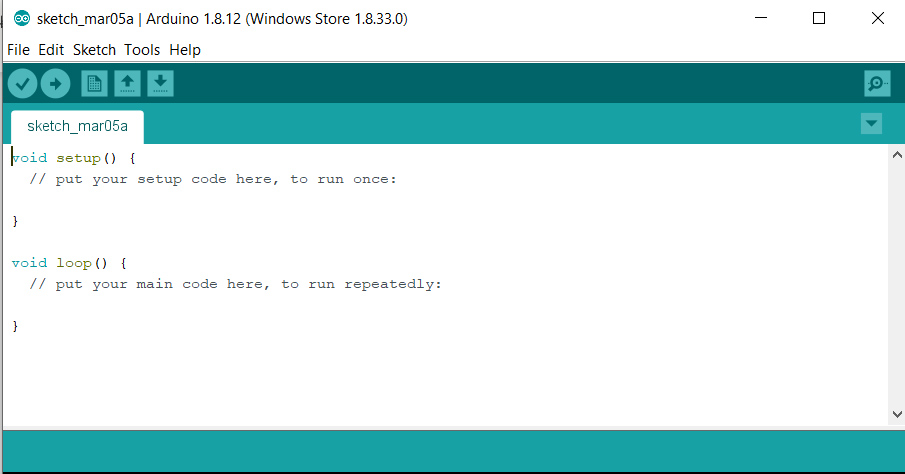
- Once downloaded, install the package by opening it and following any prompts.
- After installation, you will be presented with a window containing a blank “sketch” which is an Arduino program.
Configure IDE
Before you start programming you’ll need to configure the IDE to work with your specific Arduino model.
- On the main menu of Arduino IDE, go to Tools>Boards>Boards Manager.
- Enter SAMD in the search window and install Arduino SAMD (32-bits ARM Cortex-M0+)
- The installation process will take a little while, once finished, click on close.
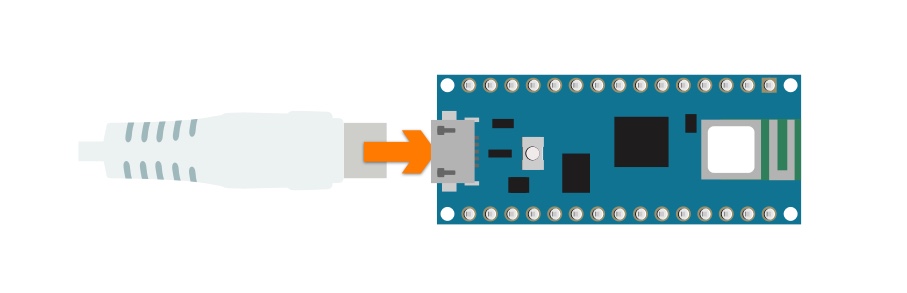
- Connect the Arduino to your host computer using the USB cable. The system should load the correct device driver. Accept any security warnings.
The green power LED on the Arduino will come on and the orange LED will be flashing, indicating that the board is powered up and running the default Blink sketch which comes pre-installed
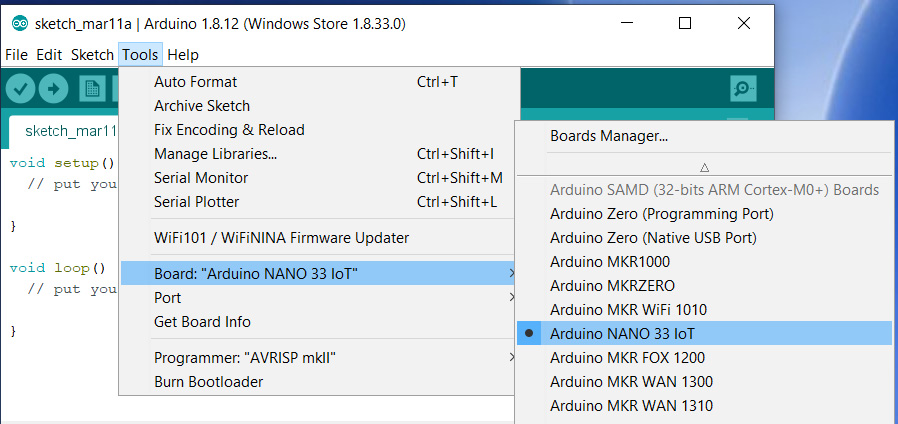
- Go to Tools>Board and select Arduino 33 IoT from the menu
- From Tools>Port, select COM (Arduino NANO 33 IoT), on a Mac it will appear as dev/cu.usbmodem14101 (Arduino Nano 33 IoT)

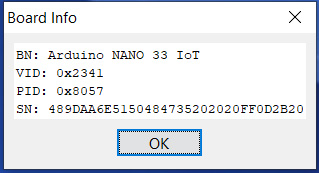
- Select Get Board Info from Tools to check your board is set up correctly
Programme the Arduino
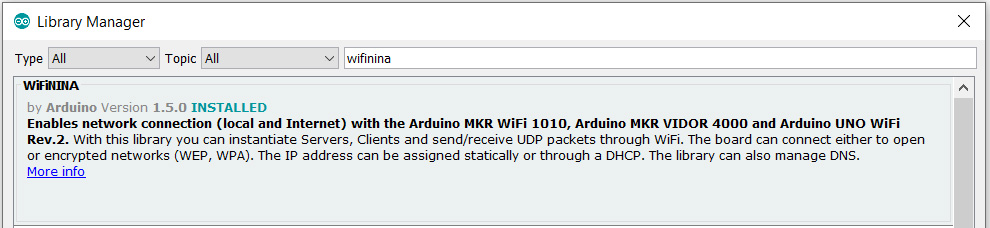
- Go to Sketch>Include library>Manage Libraries.
- Search for wifinina and install it.
- Copy the code example below into the IDE window updating the wifi SSID & password at the top of the code to match those of your own network.
/*
  WiFi Test for Nano 33 IoT

  Connects to Wifi network and prints IP address on serial monitor

*/

#include <SPI.h>
#include <WiFiNINA.h>

char ssid[] = "PLUSNET";      // Wifi SSID
char pass[] = "mypassword";       // Wifi password

int status = WL_IDLE_STATUS;

// Initialize the Wifi client
WiFiSSLClient client;

void setup() {
  //Initialize serial and wait for port to open:
  Serial.begin(9600);
  while (!Serial) {
    ; // wait for serial port to connect. Needed for native USB port only
  }
  // check for the WiFi module:
  if (WiFi.status() == WL_NO_MODULE) {
    Serial.println("Communication with WiFi module failed!");
    // don't continue
    while (true);
  }

  String fv = WiFi.firmwareVersion();
  if (fv < WIFI_FIRMWARE_LATEST_VERSION) {
    Serial.println("Please upgrade the firmware");
  }
  connectToAP();    // Connect to Wifi Access Point
  printWifiStatus();
}

void loop() {}

void printWifiStatus() {
  Serial.print("SSID: ");
  Serial.println(WiFi.SSID());

  IPAddress ip = WiFi.localIP(); // Device IP address
  Serial.print("IP Address: ");
  Serial.println(ip);
}

void connectToAP() {
  // Try to connect to Wifi network
  while ( status != WL_CONNECTED) {
    Serial.print("Attempting to connect to SSID: ");
    Serial.println(ssid);
    // Connect to WPA/WPA2 network
    status = WiFi.begin(ssid, pass);

    // wait 1 second for connection:
    delay(1000);
    Serial.println("Connected...");
  }
}- Upload the code to the Arduino by going to Sketch>Upload or by clicking the right-side-pointing-arrow on the IDE window
- The bottom pane of the IDE will show the code compiling then the TX and RX LEDs on the Arduino will flash for a few seconds while the code uploads. Once it’s done it will run automatically on the Arduino.
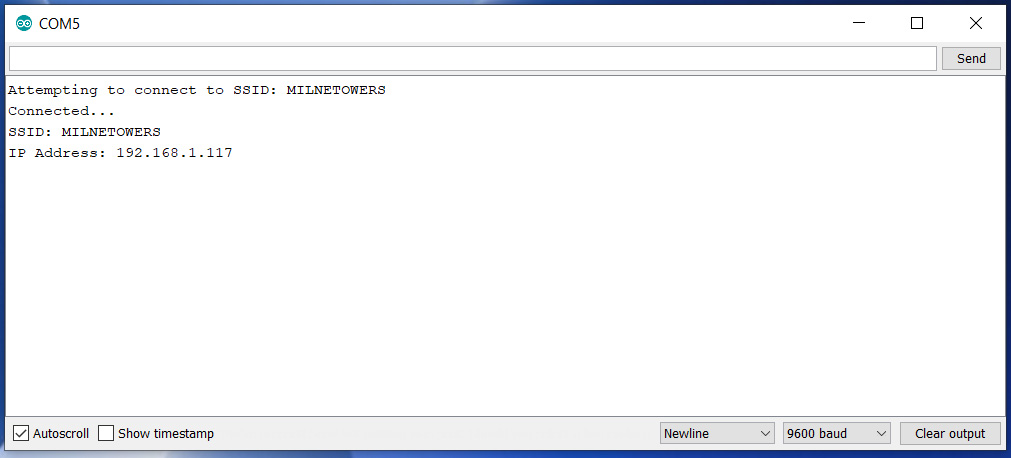
- Press the white Reset button on the Arduino.
- In the Arduino IDE open Serial Monitor by clicking on the magnifying glass icon on the top right.
The serial monitor window will open and the Nano 33 IoT will connect to the Wifi network and display the network SSID and IP address
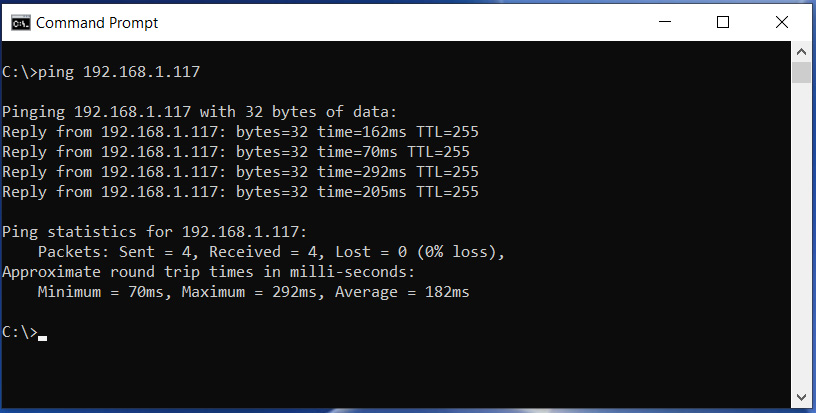
Network test
- On your host computer open a Terminal window, enter ping followed by the IP address of your Nano 33 IoT and press return. This should confirm that the Nano is reachable on the network.
Summary
Congratulations! You have set up the Arduino IDE for use with your Nano 33 IoT, uploaded a new program to the board and tested that it can now connect to your Wifi network.
You can explore many more examples available from within the IDE by opening them from File > Examples. These can give you a starting point to modify and adapt code for your own projects.