A great big howdy to everyone who’s just finished our intro on creating a wireless monitoring system with XinaBox. Really, we admire your staying power. Hopefully you’ll feel it’s all been worthwhile when you get to the end of this post and figure out how to actually send data.
So without further ado, fasten your metaphorical seat belts and here we go…
In our intro we chose to set up our system to be used to wirelessly monitor safety applications across a sprawling site with plenty of obstacles, like a manufacturing plant or container port. We also checked out LoRa wireless modulation before exploring some of the XinaBox hardware options available.
Now (fanfare of trumpets please) we’re moving on to programming a CR02 module or ‘Xchip’ — which features an integrated microcontroller and radio — and then sending and receiving data across a LoRa wireless link.
Here’s what we’ll need:
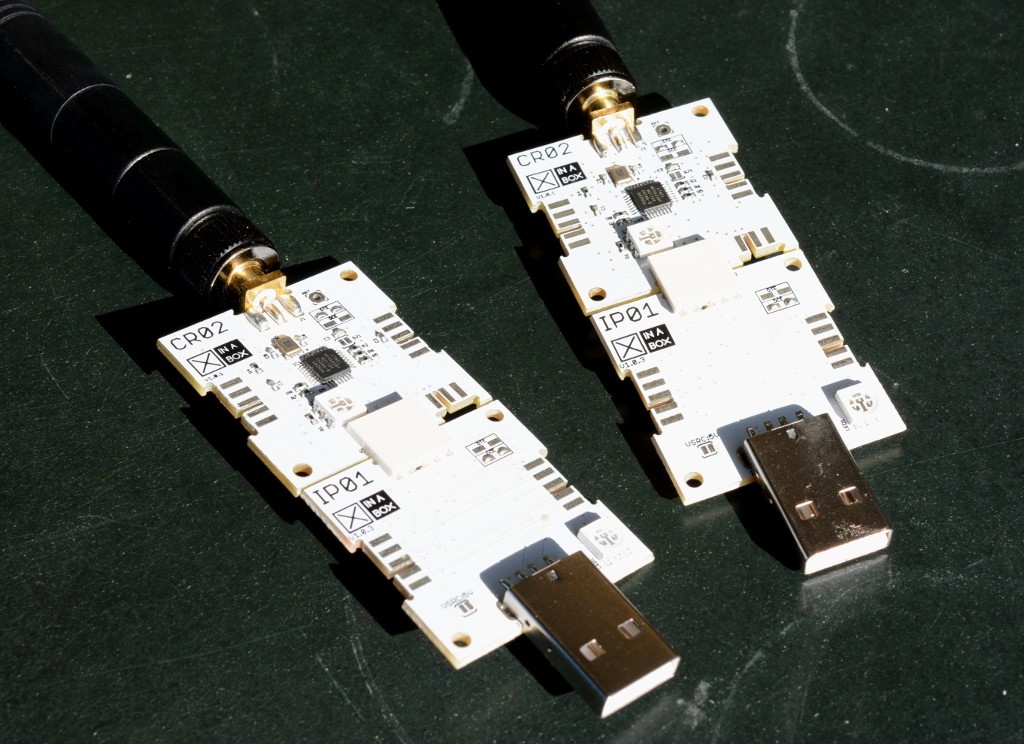
- IP01 (174-3703) programmer CR02 (174-3699) x 2
- xBUS connector (174-4977) x 2
- Arduino IDE
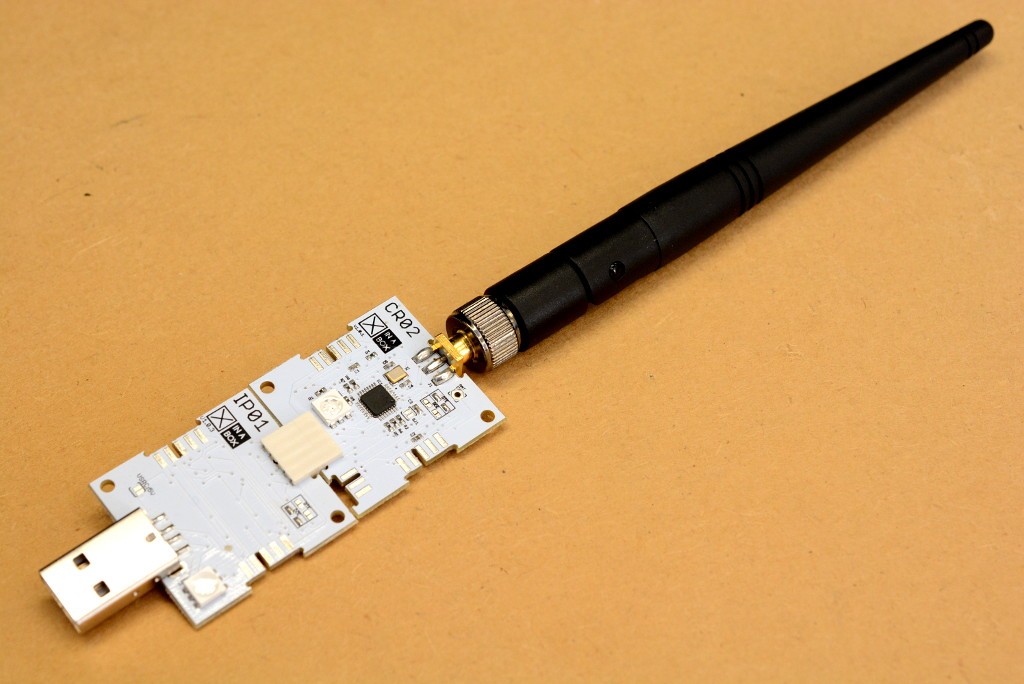
- Suitable antenne (e.g. SMA whip tuned for the 868MHz band (054-2563)) x 2
Hardware Setup
First things first, our setup.
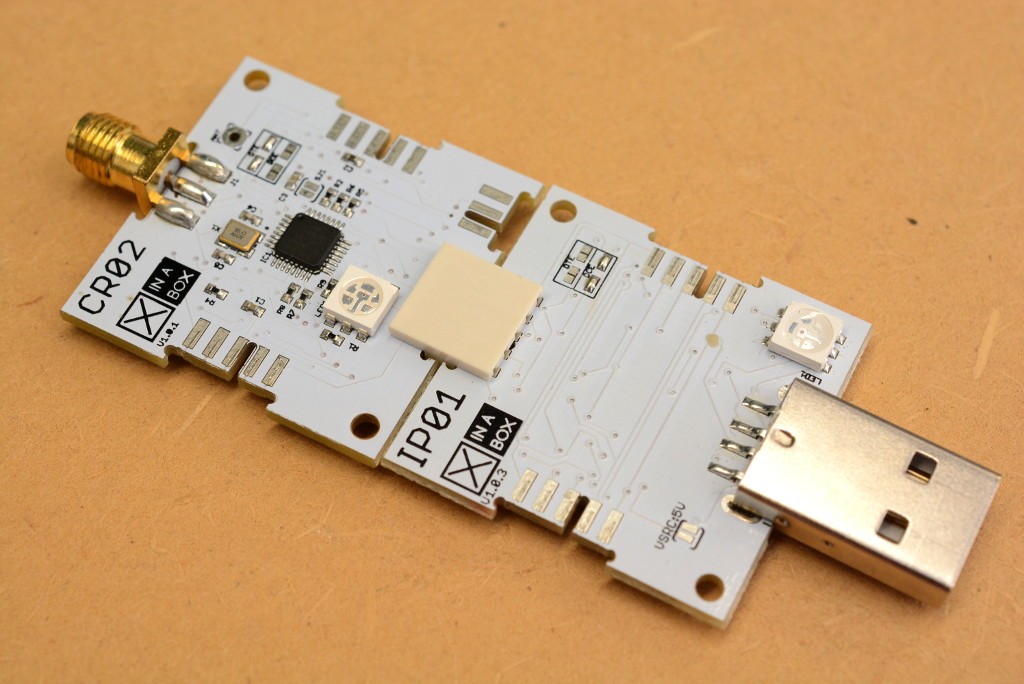
We’ll need to connect the IP01 (174-3703) programmer to the CR02 (174-3699) using an xBUS connector (174-4977). We’ll also have to have a suitable antenna attached before running any LoRa examples, such as an SMA whip tuned for the 868MHz band (054-2563).
And of course we’ll actually need two sets of these parts to test both sending and receiving.
Setup Arduino
We’ll also need to have installed the Arduino IDE, or some other way of programming Arduino compatible boards. The PlatformIO IDE should work just as well.
We’ve chosen a rather neat library called RadioHead. This lets us send and receive packetised messages via lots of common data radios, including the RFM95W (integrated into the CR02 CHIP we’re using).
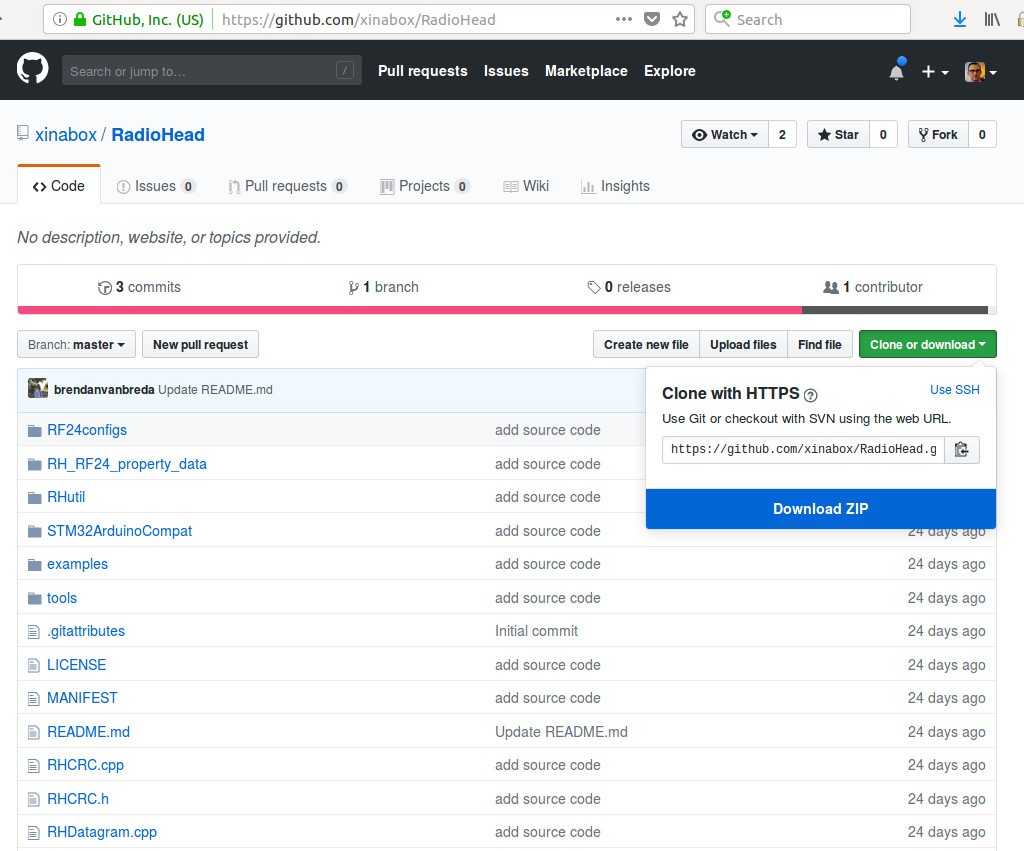
We’ll need to use the RadioHead fork hosted under the XinaBox GitHub organisation at this moment in time.
When it to comes to installing your library in the Arduini IDE, make life easy by simply downloading a ZIP archive and then select Sketch → Include Library → Add .ZIP Library.
Under the Tools → Board menu, select “Arduino Pro or Pro Mini”, choosing the appropriate port via Tools → Port. Under Linux, the IP01 should read as /dev/ttyUSB0 (or maybe a higher number if another FTDI-based device is connected).
With setup out of the way, let’s move on to the ‘Hello, World of hardware’ — LED blink!
Blink
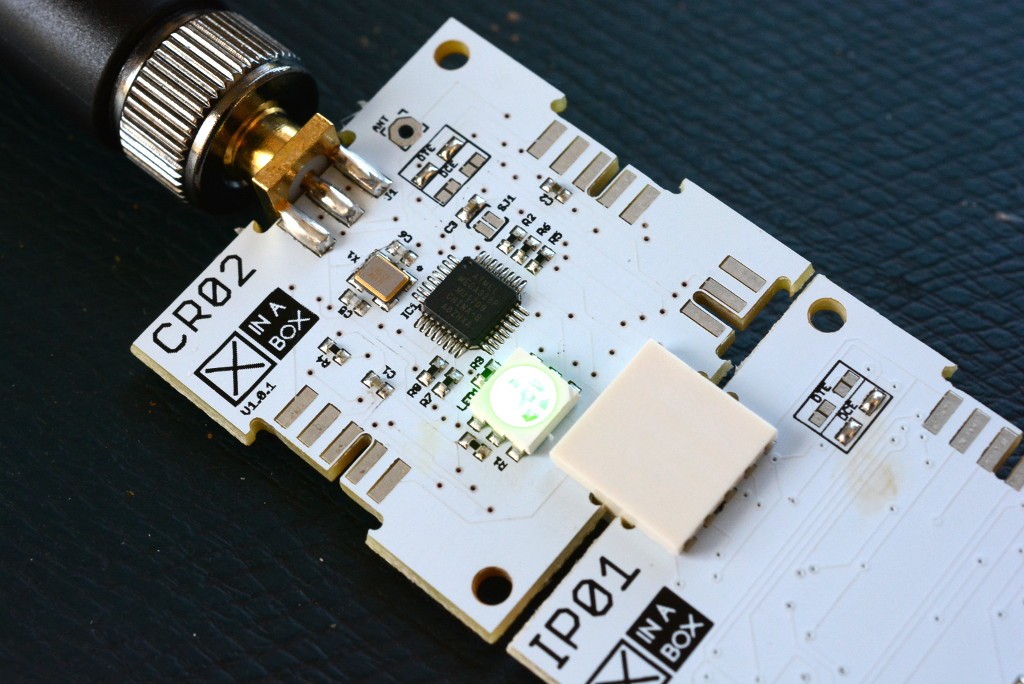
The CR02 actually has a tri-colour LED, so the provided blink example is a little bigger than the one that comes with the Arduino IDE. But essentially it’s the same and just cycles through each flashing colour in turn.
Top tip: when you upload the sketch, the LED on the IP01 should flash rapidly for a few seconds. If this doesn’t happen, you’ve probably got a hardware error or port permissions issue, check you have the right board and serial port selected.
Now let’s take a look at sending and receiving data via the LoRa radio.
Setting Up A Server
Check out this “server” sketch example:
This includes the RadioHead library for our wireless module, before going on to define some constants, such as the operating frequency, which with the CR02 will be in the 868MHz band.
#include <RH_RF95.h>

#define LED_BUILTIN 16

#define CR02_FREQUENCY 868.0

uint8_t tempdata[30];
Next in setup we configured an LED pin and serial port for debugging, before going on to initialize the radio module and configure its frequency and transmit power.
void setup()
{
  pinMode(LED_BUILTIN, OUTPUT);

  Serial.begin(115200);

  if (!CR02.init()) {
    Serial.println("init failed");
  }
  // The default transmitter power is 13dBm, using PA_BOOST.
  // If you are using RFM95/96/97/98 modules which uses the PA_BOOST transmitter pin, then
  // you can set transmitter powers from 5 to 23 dBm:
  // Failure to do that will result in extremely low transmit powers.

  //CR02.setModemConfig(CR02.Bw31_25Cr48Sf512);
  CR02.setFrequency(CR02_FREQUENCY);
  CR02.setTxPower(23, false);
}
There’s also a line commented out that lets us set the link bandwidth and LoRa spreading factor (SF) to non-default values. That’s because a higher spreading factor means more link budget and so longer range – but at the cost of reduced bandwidth and more time on air transmitting. It’s a balancing act.
It’s fine to leave the spreading factor at its default level when you’re simply developing your system, but you may well want to tweak it later to suit your specific environment. What you’re after is the best combination of range and energy usage plus use of spectrum. As a rule of thumb, the less time on air, the better. But if you really need to make sure your message will get through and bandwidth and battery life are less of a concern (e.g. with an alerting system) then you’ll probably be best plumping for the highest SF. We did.
For details of how to use the setModemConfig() call to configure the CR02 LoRa radio, check out the RadioHead documentation.
Now on to the main loop.
Here we looked for an incoming message. When we received it, we just flicked on the LED and wrote the message out to the serial port, along with the received signal strength indication (RSSI). Then switched off the LED and transmitted our reply. Simple!
void loop()
{
  if (CR02.available())
  {
    // Should be a message for us now
    uint8_t buf[RH_RF95_MAX_MESSAGE_LEN];
    uint8_t len = sizeof(buf);
    if (CR02.recv(buf, &len))
    {
      digitalWrite(LED_BUILTIN, HIGH);
      Serial.print("got request: ");
      Serial.println((char*)buf);
      Serial.print("RSSI: ");
      Serial.println(CR02.lastRssi(), DEC);

      // Send a reply
      sprintf(tempdata, "%s", "Hello Client");
      CR02.send(tempdata, sizeof(tempdata));
      CR02.waitPacketSent();
      Serial.println("Sent a reply");
      digitalWrite(LED_BUILTIN, LOW);
    }
    else
    {
      Serial.println("recv failed");
    }
  }
}
Setting Up A Client
LoRa Client
The CRO2 Client example is pretty similar. And, guess what, this instead transmits a message, then waits for a response. Take a peek at its main loop:
void loop()
{
  Serial.println("Sending to CR02_server");
  // Send a message to CR02_server

  sprintf(tempdata, "%s", "Hello Server");

  CR02.send(tempdata, sizeof(tempdata));

  CR02.waitPacketSent();
  // Now wait for a reply
  uint8_t buf[RH_RF95_MAX_MESSAGE_LEN];
  uint8_t len = sizeof(buf);

  if (CR02.waitAvailableTimeout(3000))
  {
    // Should be a reply message for us now
    if (CR02.recv(buf, &len))
    {
      digitalWrite(LED_BUILTIN, HIGH);
      Serial.print("got reply: ");
      Serial.println((char*)buf);
      Serial.print("RSSI: ");
      Serial.println(CR02.lastRssi(), DEC);
    }
    else
    {
      Serial.println("recv failed");
    }
  }
  else
  {
    Serial.println("No reply, is CR02_server running?");
  }
  digitalWrite(LED_BUILTIN, LOW);
  delay(400);
}
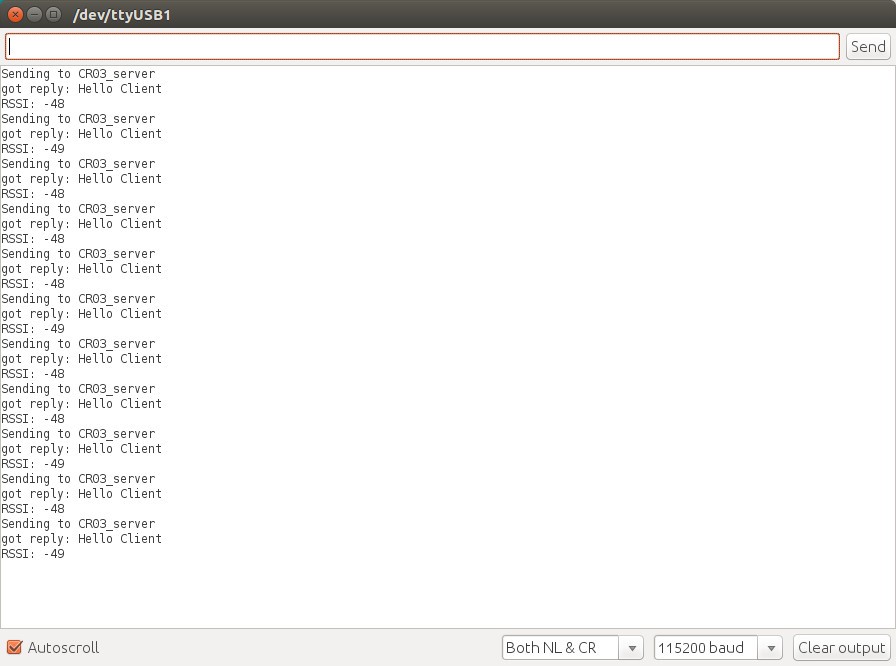
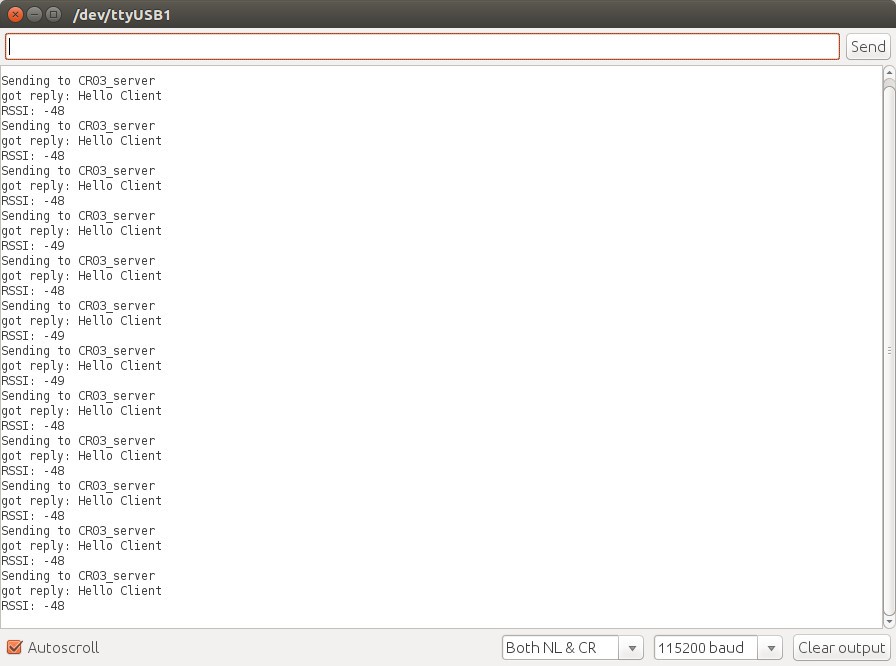
It’s all fairly simple stuff, and we ended up with a message response printed out, along with the RSSI of the signal from the server. How cool is that?
If you crave the complex, there are more advanced options to keep you amused.
For starters, our simple examples don’t deliver encryption/message authentication or any sort of addressing. But there are RadioHead examples which use encryption and provide a reliable datagram service complete with basic node addressing support. These haven’t been tested with the CR02, though, so you may have to make some tweaks.
So there you go. You can now send and retrieve data via your XinaBox LoRa wireless monitoring setup. Over and out.
But stay tuned and check out our next post to figure out how to add peripherals into the mix – and see your wireless monitoring system really start to come together…
Like what you read? Why not show your appreciation by giving some love.
From a quick tap to smashing that love button and show how much you enjoyed this project.

