

- Step 1: Debian Download
- Step 2: SD Card
- Step 3: Connections
- Step 4: First Boot
- Step 5: Wi-Fi (Optional)
- Step 6: Change Password
- Step 7: Change Display (Optional)
- Step 8: Change Language (Optional)
- Step 9: Change Keyboard (Optional)
- Step 10: Change Timezone (Optional)
- Step 11: System Update
- Step 12: Reboot
- Step 13: Adding Applications
- Step 14: Power Button
- Step 15: eMMC (Optional)
- Summary
Get started with the ROCK 3C, and learn how to download and install Debian Bullseye onto an SD card and perform the basic system setup. This handy guide will tell you everything you need to know to get started with the ROCK 3C in a few simple steps.
Author: Peter Milne, engineer and Linux advocate with more SBCs than an Apollo 11 landing craft.
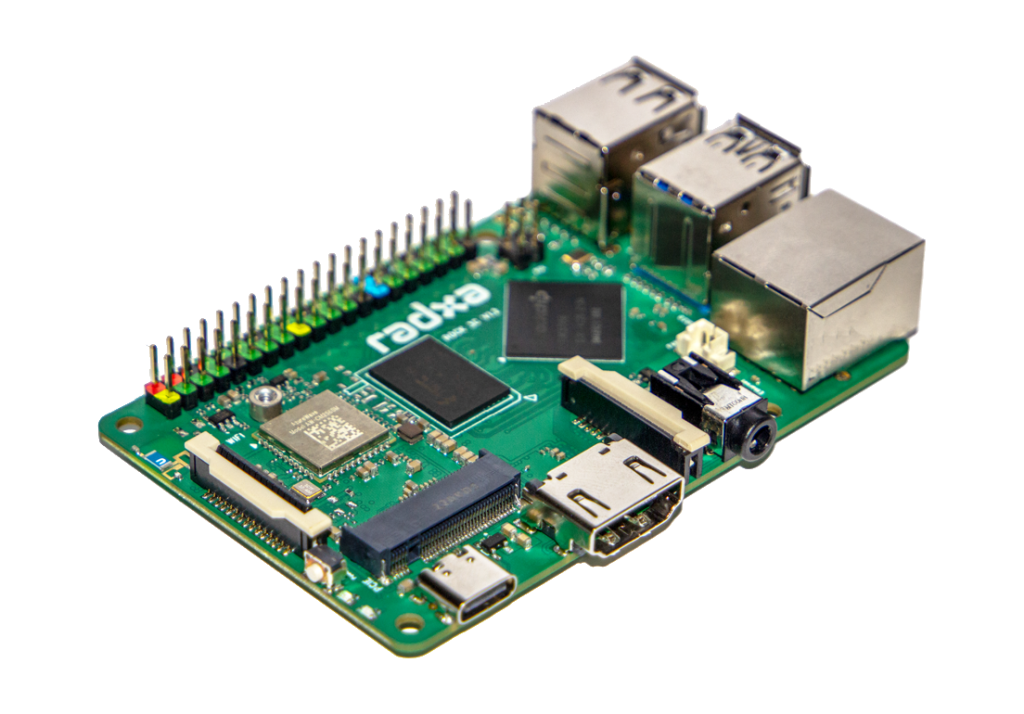
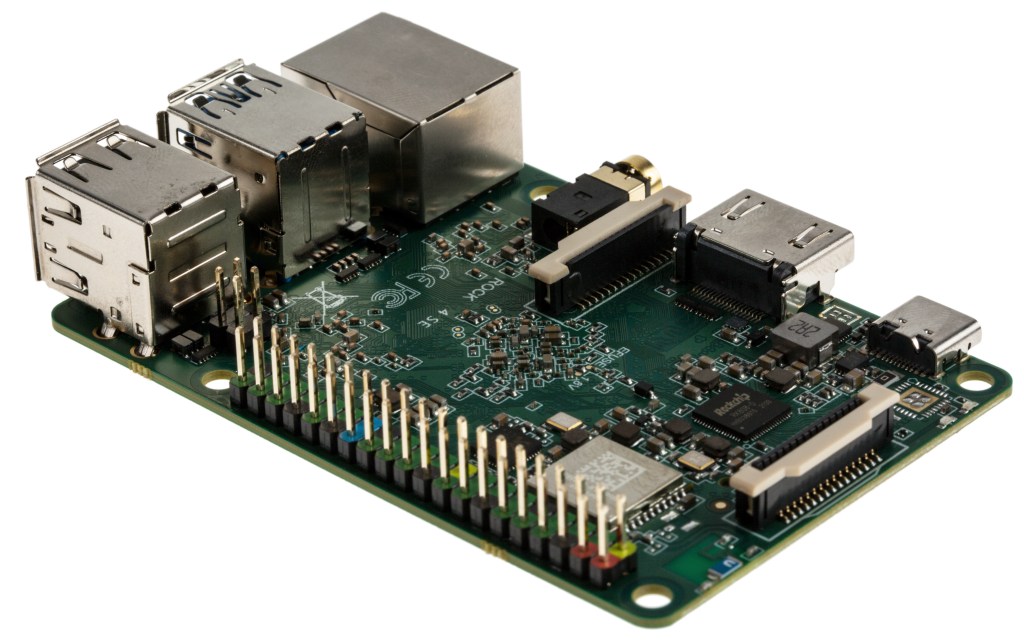
The ROCK 3C is the latest Single Board Computer (SBC) in the ROCK range from OKdo. It features a Quad core Armv8.2‑A Cortex®‑A55 CPU, Arm Mali™ G52 GPU and is available with 2GB or 4GB of high speed RAM. Network connectivity is available by onboard WiFi / Bluetooth radio or Gigabit Ethernet with a POE option. It also features sockets for removable eMMC storage and M.2 SSDs.
64-bit Linux distributions are available for the ROCK 3C with Debian and Ubuntu Server being officially supported along with several other 3rd-party images like Armbian.
In this guide we show how to get the board up and running by installing Debian Bullseye onto an SD card or eMMC module. This will give you a lightweight, dynamic and functional XFCE desktop environment for general use on your ROCK 3C. From there you can choose from 1000’s of free Open Source applications to add to your system.
Parts Needed to Get Started with ROCK 3C:
ROCK 3 Model C
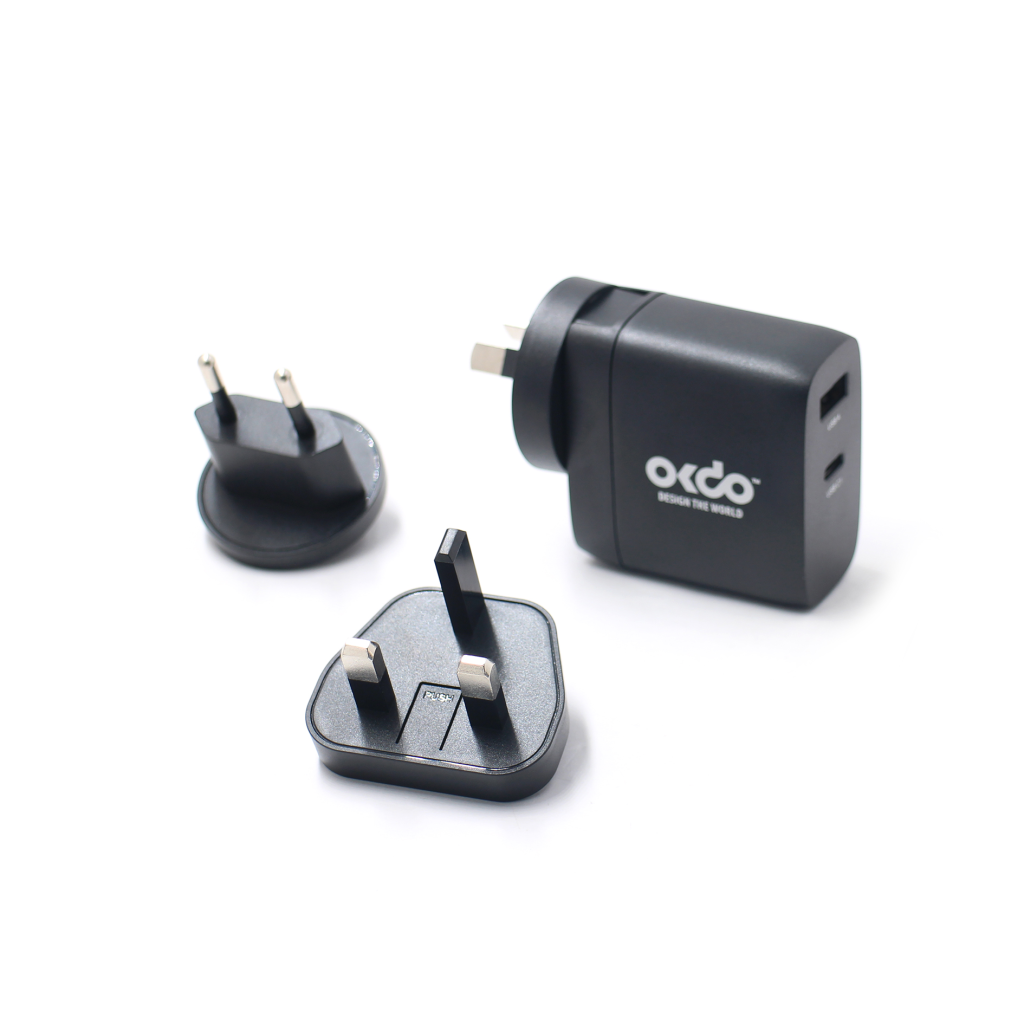
OKdo Universal Power Supply
All parts needed to get started:
- The ROCK 3 Model C single board computer
- OKdo Multihead Dual Port USB Quick Charge Power Supply (PSU)
- USB-C to USB-C Cable
- 32 GB MicroSDHC Card Class A1
- eMMC 5.1 module for ROCK 32GB
- USB3 eMMC Reader/Writer for ROCK
- Host computer Windows/Mac/Linux
- micro-HDMI cable
- Cat 5 Ethernet cable
- Internet connection and router
Step 1: Debian Download
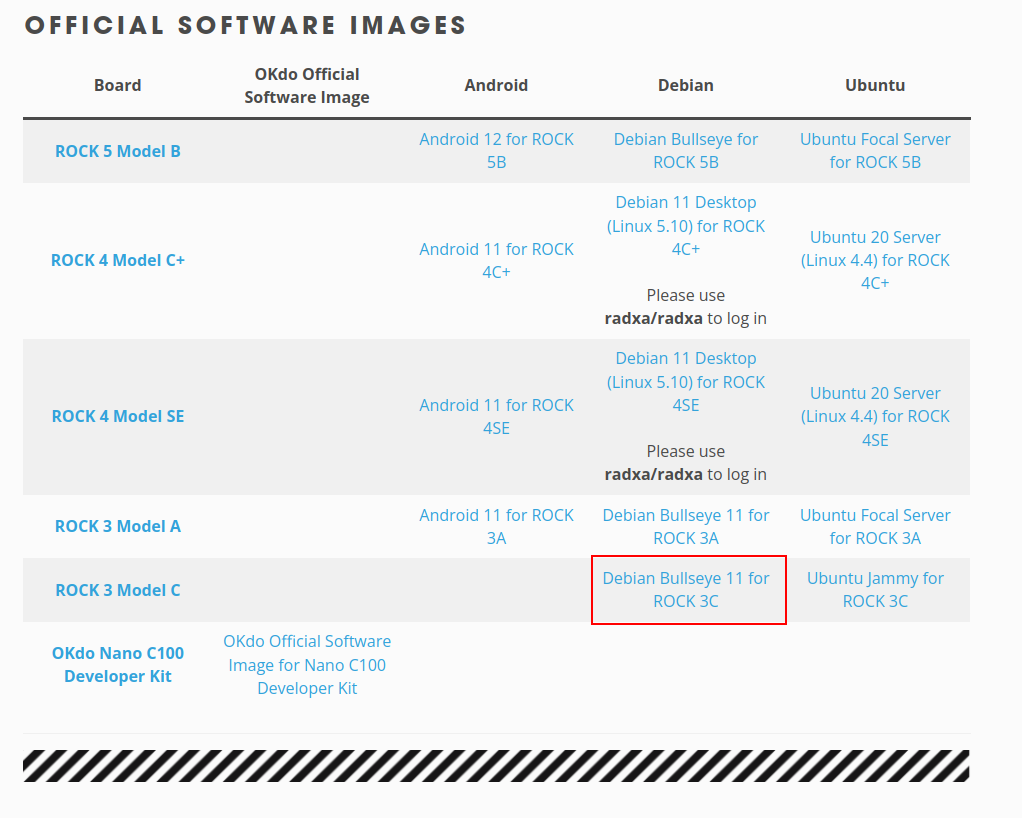
The ROCK 3C has a number of Official and Community supported Operating Systems (OS) available for download, depending on your requirements.
We have chosen Debian Bullseye which comes with an XFCE desktop environment from the Official repository. It includes Chromium and Firefox browsers and a set of useful accessories to help you customise your system. Once installed, you can choose to add further software from the extensive Debian repository.
You can prepare the OS using either a Windows, Mac or Linux host PC or laptop.
Visit the OKdo Software Hub and click the Debian Bullseye link for the ROCK 3C
- Click the link to the Debian Bullseye image which is about 1GB
- Save the file to your PC’s downloads directory – the file name is similar to:
rock-3c_debian_bullseye_xfce_b33.img.xz
- There is no need to expand the compressed file
Note: There are other Linux Operating Systems to choose from on the downloads page. The installation process is similar for all of them.
Step 2: SD Card
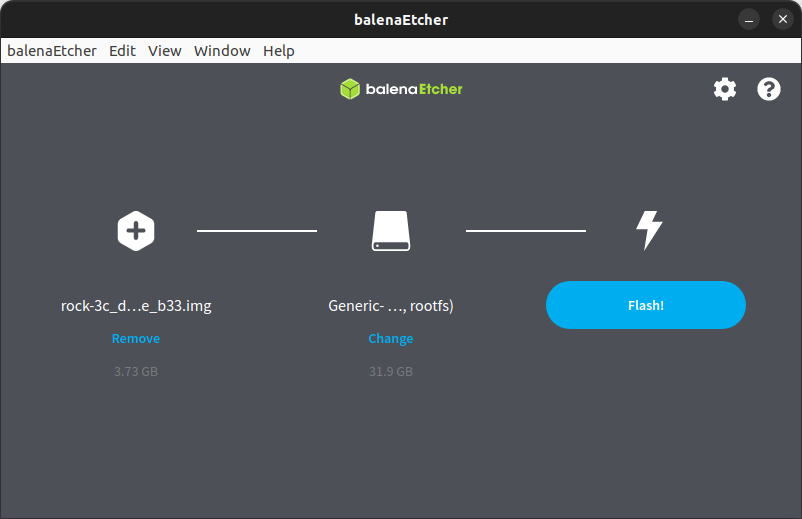
Special purpose imaging software is required to flash the downloaded image to a microSD card or eMMC module. We recommend using balenaEtcher which is available for Windows, Mac or Linux PC’s. It also performs validation checks on the flashed image:
- Visit the download page at balenaEtcher and install the version for your host PC
Now everything is ready to flash the OS image onto your storage media. Use a good quality, branded, 32GB card or larger. We use SanDisk Ultra cards which are fast, durable and reliable.
- Insert the SD card into a card reader on your host PC
- Open balenaEtcher and select the OS image you downloaded in Step 1
- Select the SD card to flash – be careful to choose the correct one
- Click the Flash button
- Wait for the imaging and validation process to complete
- Eject the SD card from your computer and insert it carefully into the SD card connector on the ROCK 3C with the gold pads facing upwards
Tip: If your system asks you to format the card at any time just click cancel
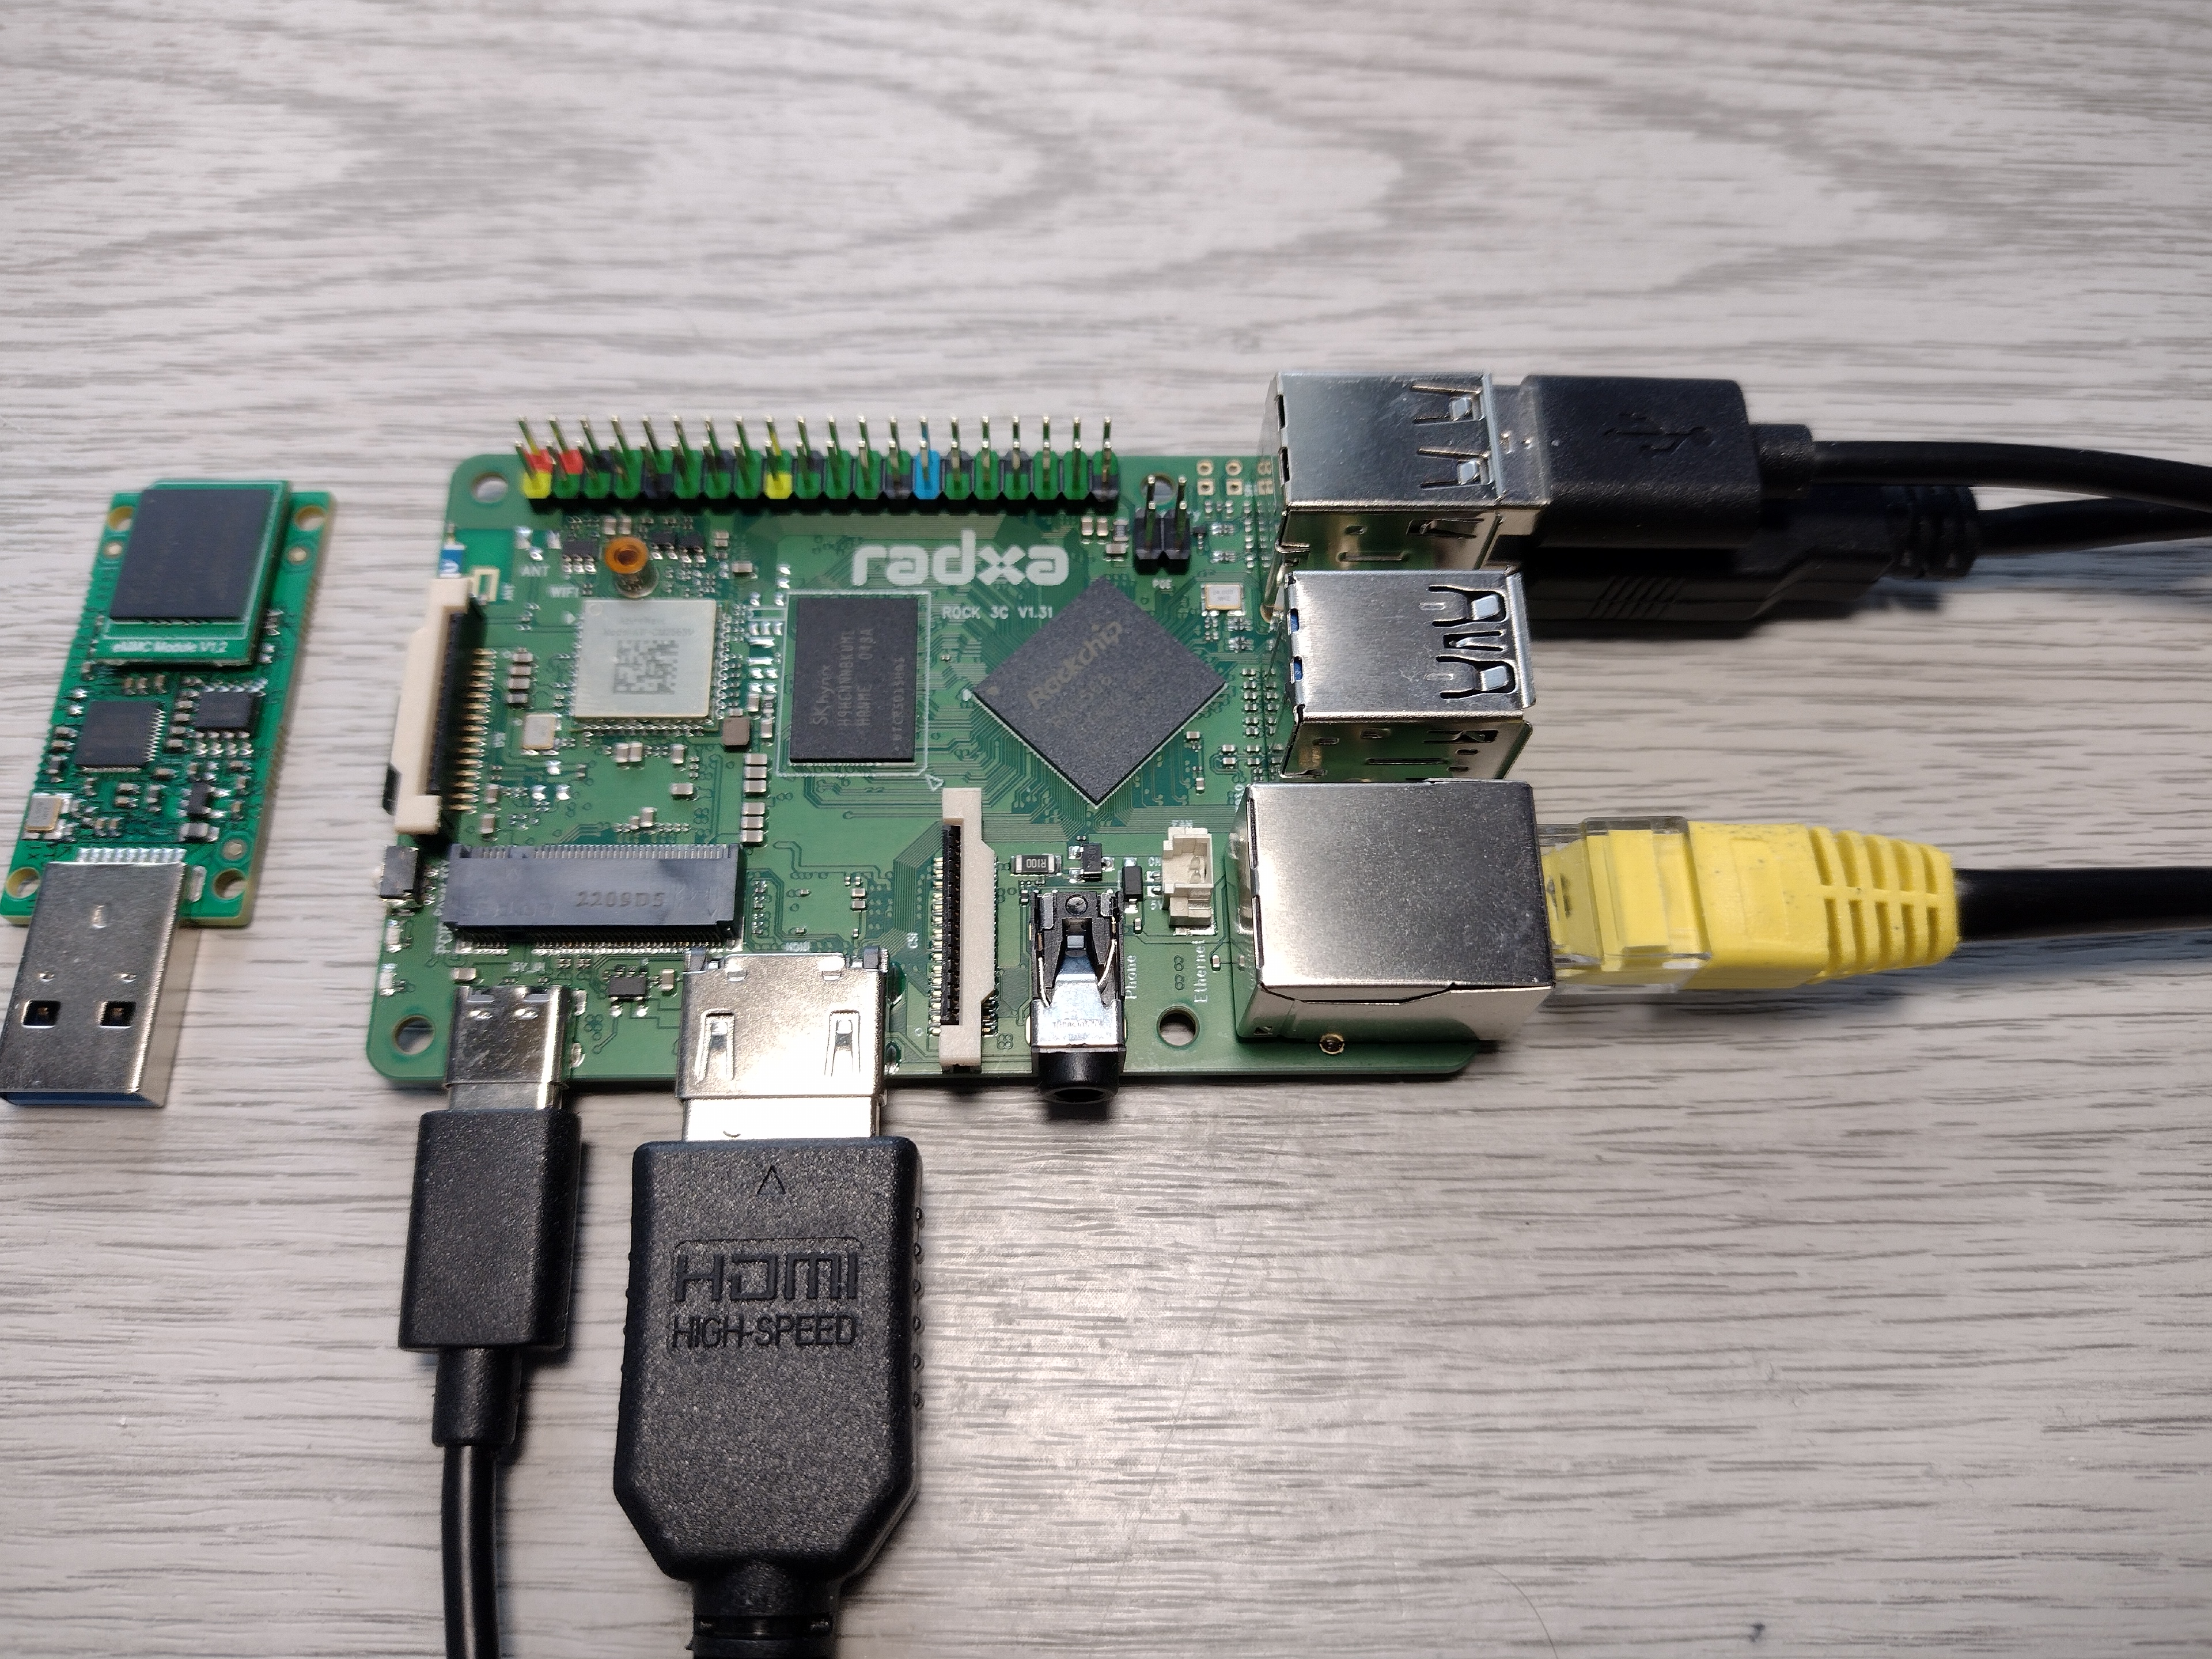
Step 3: Connections
Connect up your peripherals and if you are attaching to your network via Ethernet you will need an Ethernet cable at this point.
The ROCK 3C has a full size HDMI connector for 1080p video as well as a 3.5mm jack for audio out and microphone in. The HD codec supports up to 24‑bit/96KHz audio.
- Connect a keyboard and mouse to the USB 2.0 (Black) sockets
- Attach a high speed, HDMI cable to the HDMI output and your monitor
- (Optional) Connect a CAT5 Ethernet cable to the Ethernet port and your internet Router / Switch
The ROCK 3C’s recommended power source capacity is at least 5V/3A without M.2 SSD or 5V/4A with M.2 SSD.
- Connect your power supply to the USB-C power socket but do not power it on yet
Step 4: First Boot
Check that everything is prepared as in the steps above, turn on your monitor and apply power so the board starts to boot up:
- The green power LED will turn on and after a few seconds the blue activity LED will start blinking.
- First boot takes about 30 seconds, the monitor may be blank so just be patient!
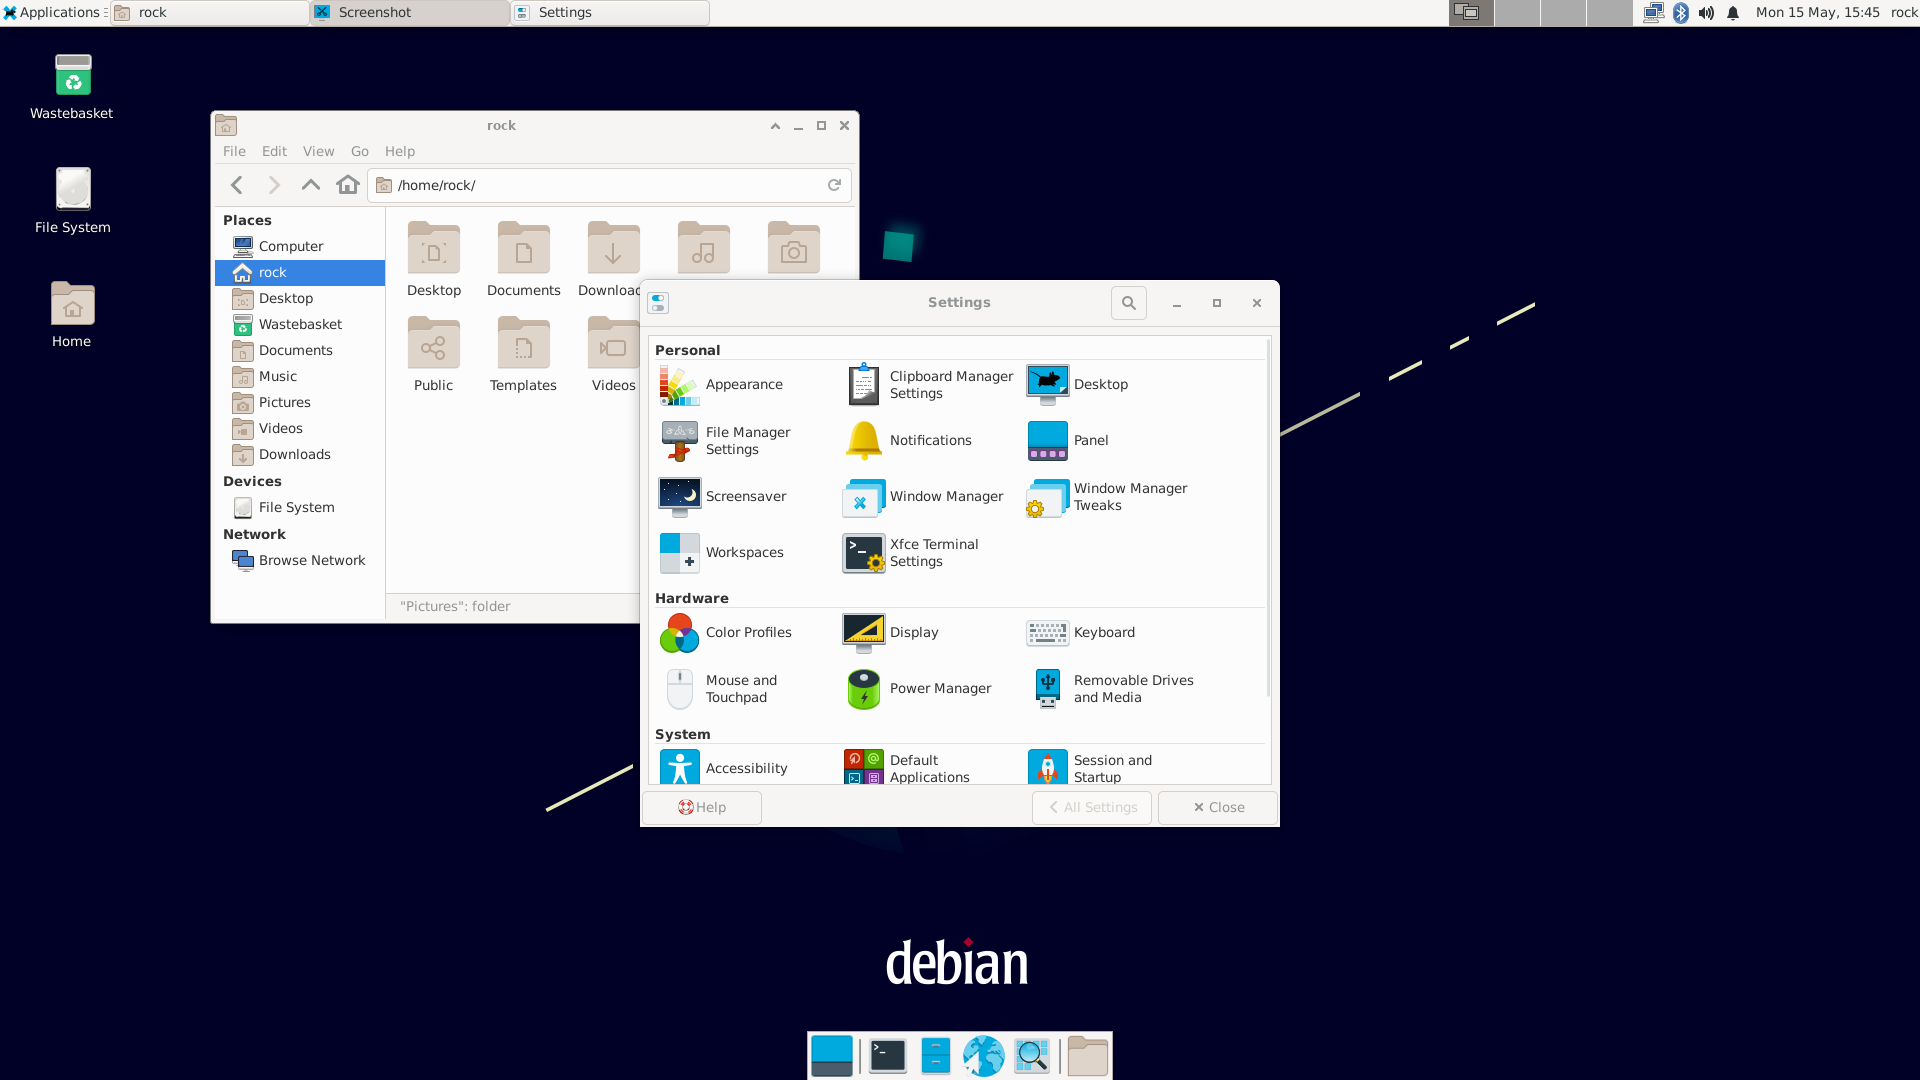
- Suddenly the XFCE Desktop will appear and display the login dialogue box.
- Login with the default username rock and password rock (both lower case).
Tip: The default XFCE desktop has a basic configuration – customise its many features by selecting Applications -> Settings from the main menu or right click anywhere on the desktop
Step 5: Wi-Fi (Optional)
Wi-Fi access is available using the built-in Wi-Fi radio module on the ROCK 3C. It has a chip antenna on the PCB near pin-1 of the GPIO header.
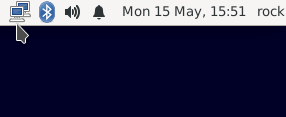
To connect to a Wi-Fi Access Point (AP) click on the Network Manager icon in the top right hand corner of the desktop which will open a list of AP’s that you can attach to:
- Select an AP and a dialogue box will open for you to enter the WiFi password if it is secured.
- Click OK and after a few seconds the ROCK will be attached to the network.
Step 6: Change Password
Two users are setup in the default installation:
- Username: rock Password: rock
- Username: radxa Password: radxa
For increased security it is advisable to change the default passwords to more secure versions. Also the radxa user can be removed if you are not using it:
- Open Applications -> Terminal Emulation or press Ctrl + Alt + T
- Enter the following command at the prompt and follow the instructions to set a new password
passwd- Now remove the radxa user
sudo deluser --remove-home radxa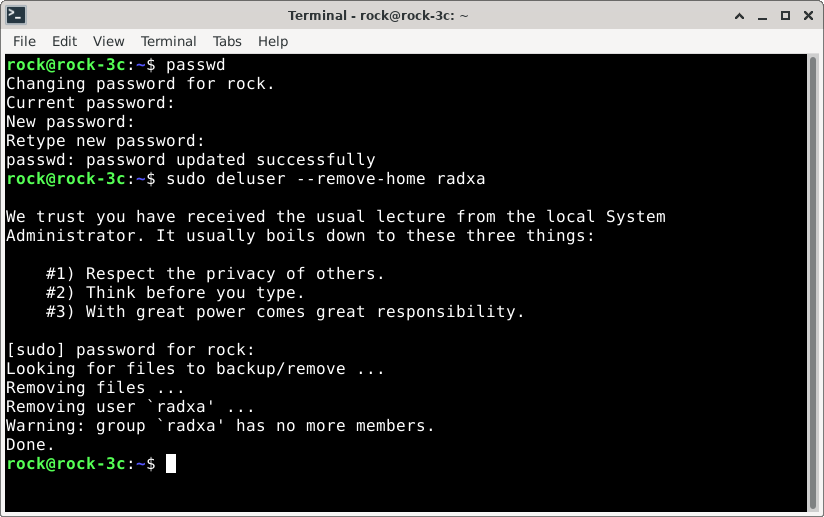
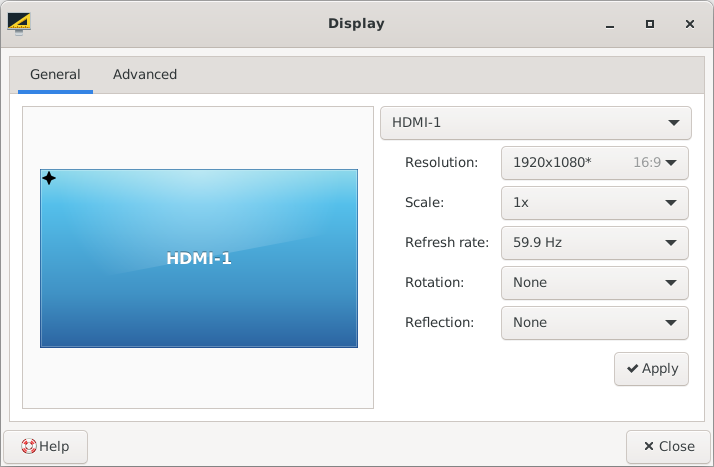
Step 7: Change Display (Optional)
Your monitor’s HDMI display settings should be recognised automatically, but if you want to adjust them, use the Display Manager from the Applications menu:
- Right click anywhere on the desktop background and select Applications -> Settings -> Display
- Select your monitor Resolution and Refresh rate
- Click Apply
- Wait for display to reset
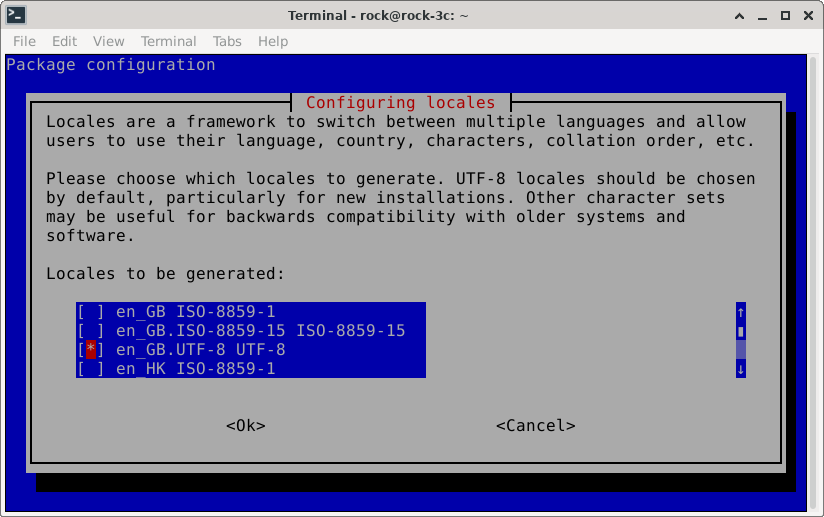
Step 8: Change Language (Optional)
The default language setting is English (US) which you can change using the following commands in Terminal. To make the change you need to access the root user first. You will notice the prompt change to the hash character (#):
$ sudo -s

# dpkg-reconfigure locales
- Follow the prompts to set your desired language. Scroll using the arrow keys and press the spacebar to make your selection
- After the command prompt returns, exit the root user
# exitTip: Only use root when necessary as it is easy to issue commands that might damage your system
Step 9: Change Keyboard (Optional)
The default keyboard setting is English (US) but can be changed using the Keyboard Manager:
- Right click anywhere on the desktop background and select Applications -> Settings -> Keyboard
- Click the Layout tab
- Click the Add button to add your keyboard layout
- Then click Remove to remove the English (US) keyboard
- To trigger a change in the settings, toggle the Use system defaults switch to on, accept the pop-up, then switch the defaults off again
- Click Close
The keyboard setting will change after rebooting

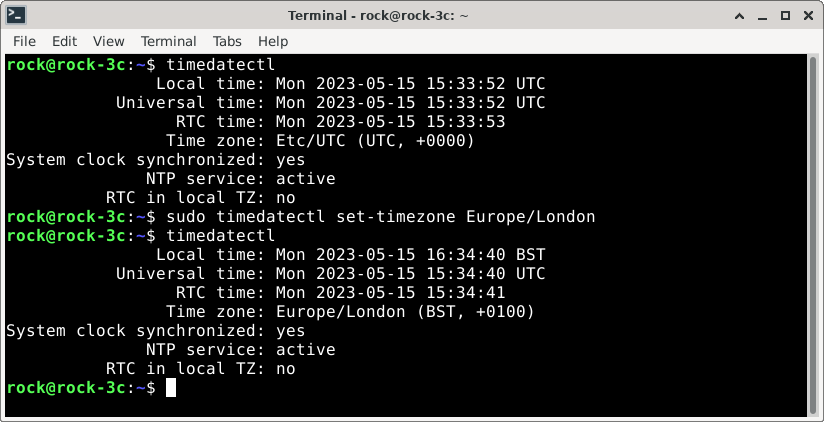
Step 10: Change Timezone (Optional)
The default time zone is Coordinated Universal Time (UTC). Local time can be set using the timedatectl command in Terminal:
- Display a list of available timezones (press F key to page forward):
$ timedatectl list-timezones- Set your local timezone as superuser from the list using this command the example is for London, UK:
$ sudo timedatectl set-timezone Europe/London- Check the settings with the following command:
$ timedatectlIf the ROCK 3C is connected to the internet the system clock will synchronise after a few minutes giving a very accurate system time and date.
Tip: Linux commands are case sensitive so follow any capitalization exactly and once you have typed a few characters press the Tab key to use autocompletion
Step 11: System Update
Debian is constantly being updated so it is recommended to run an update following installation and then periodically after that. This will give you access to the latest software versions and keep the system uptodate and secure:
- Open Applications -> Terminal Emulation
- Execute the following commands at the prompt
$ sudo apt update

$ sudo apt upgrade
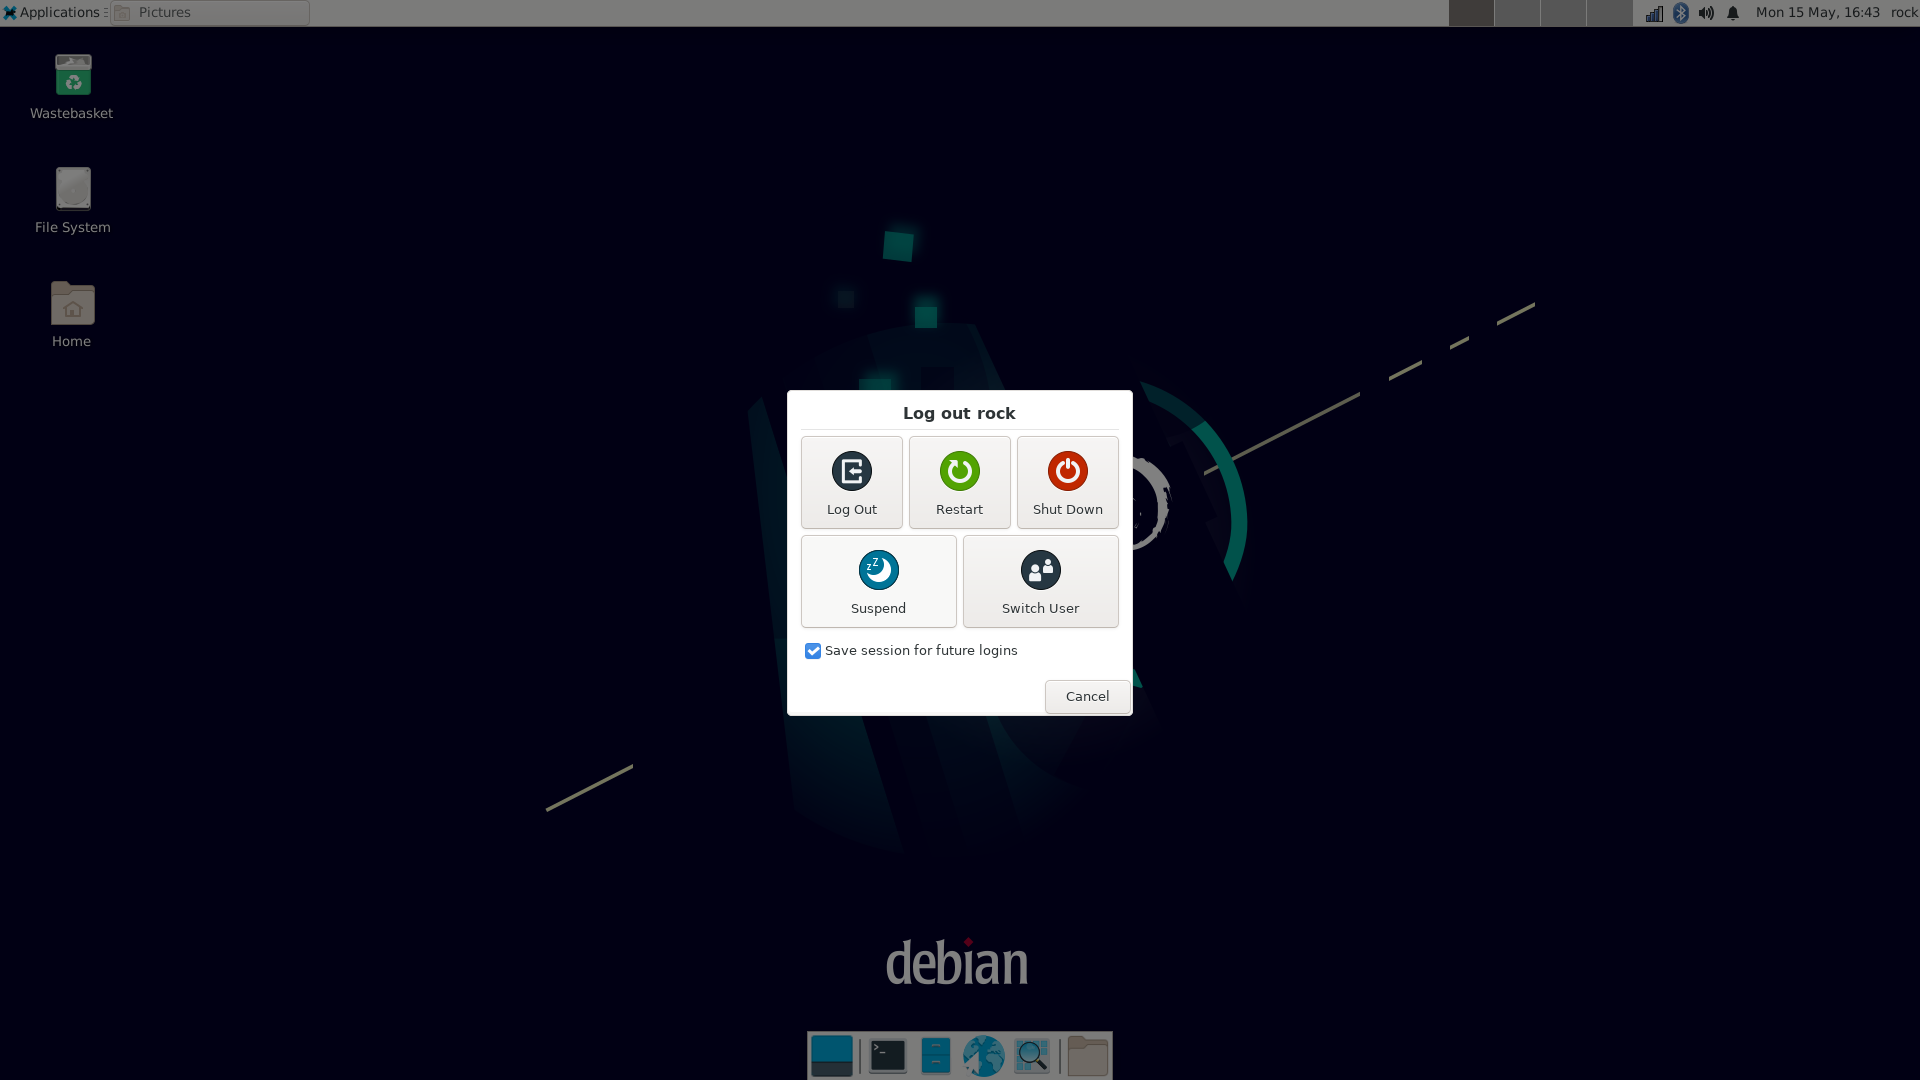
Step 12: Reboot
Now that everything is configured it’s time to reboot the system to enable the changes:
- Click Applications -> Logout -> Restart
Let the system reboot, log back in and you are ready to go!
Step 13: Adding Applications
Over 50K Open Source free software applications are available in the Debian Package Repository (Debian repo) most of which work with the ROCK 3C. You can search or browse the Debian repo in several ways by visiting the Debian Website.
Once you know the name of the package, it can be installed along with any dependencies using apt in Terminal as superuser.
Here we are installing the Jupyter Notebooks which is an open-source project for creating and sharing interactive Python documents and code:
$ sudo apt install jupyter-notebookMany applications will add entries in the main menu system so you can access them easily.

Step 14: Power Button
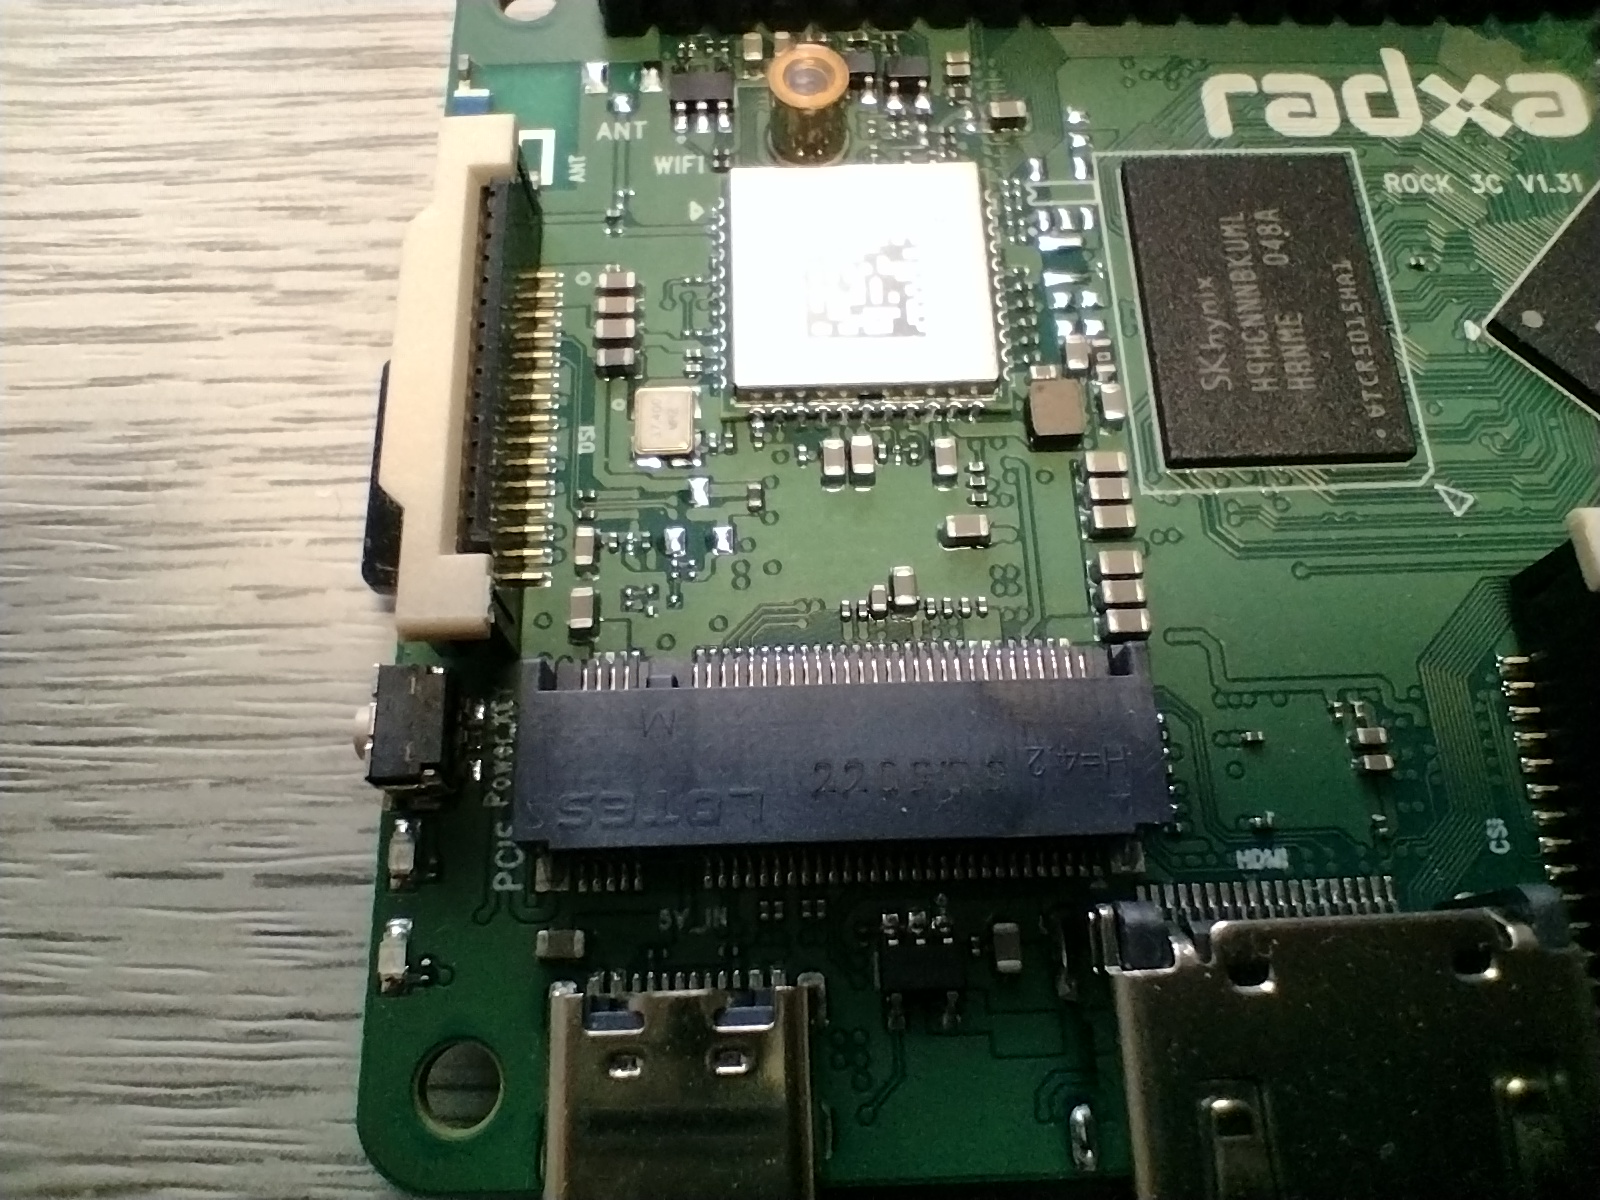
A really useful feature of the ROCK 3C is the power button, located close to the M.2 connector. It can be used to shutdown the system safely, reducing the risk of damaging the SD / eMMC memory. It can also bring the system up again if you leave the power supply connected.
- Short pressing the button will open the Log Out dialogue where you can select Shutdown or holding the button down for a few seconds will force shutdown to the low power state. The green LED will remain on but the blue LED will go off after a few seconds.
- Short pressing the button again will wake the system up – the green LED will remain on and the blue LED will start to flash after a few seconds.
- In the low power state – with just the green LED on, it is safe to turn off / remove the power supply completely.
Step 15: eMMC (Optional)
One of the big advantages of the ROCK range is the provision to add eMMC storage modules. These are available in 16GB, 32GB, 64GB and 128GB versions. eMMC memory is much faster and more durable for use in Single Board Computers because it is designed for that purpose.
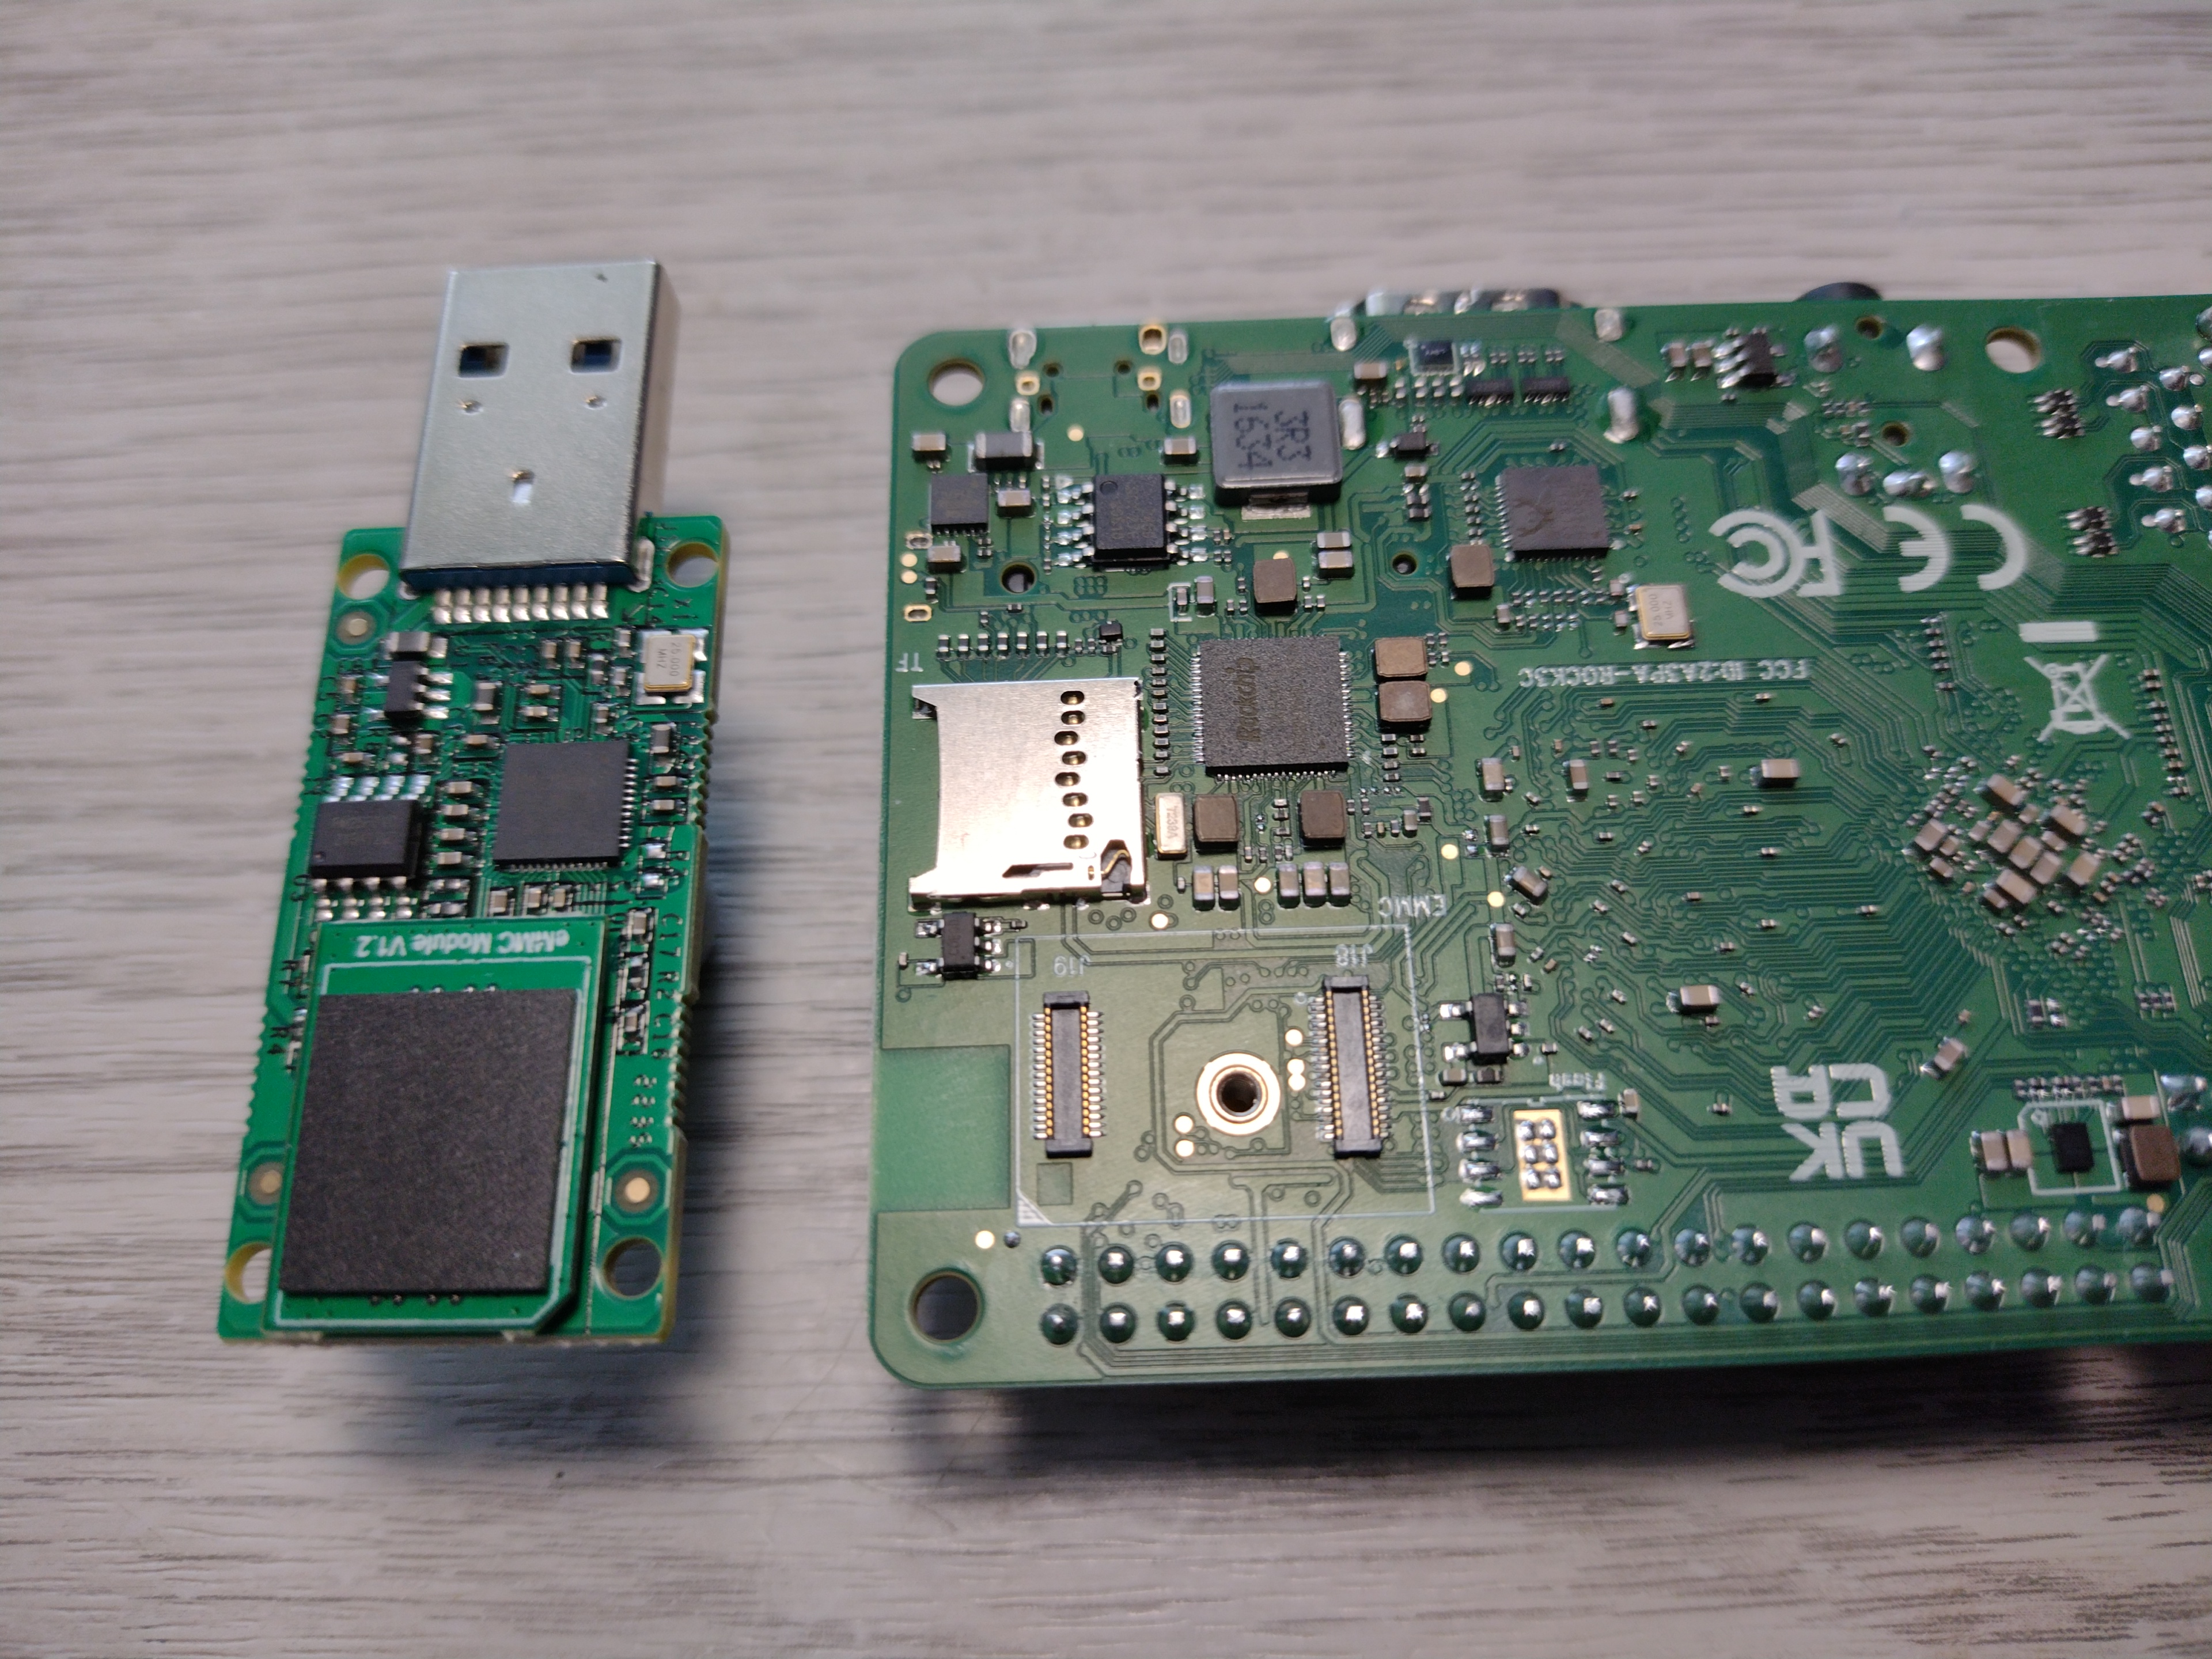
The image below shows a 16GB module fitted to a USB reader / writer. The picture also shows the eMMC connectors J18 & J19 for the module on the ROCK 3C below the SD card connector.
To flash the OS image onto the eMMC module, attach it to the USB writer (note the orientation) and plug it into your PC. The module will show up just like an SD card so follow the instructions in Step 2.
When flashing is complete, eject the device from your PC, unclip the module and clip it to the ROCK 3C. The module connector should click into place with the orientation clearly marked on the PCB.
Now you can boot the board without an SD card and enjoy a performance boost!
Summary
If you have followed all the steps in this guide you will have a nicely configured Debian desktop running on your ROCK 3C all setup for general use to boot from either SD card or eMMC media.
There are now thousands of Open Source software applications at your fingertips which can be added to your system, from programming environments, audio and video editing tools, office applications, scientific software and gaming, so start exploring!

Excited to discover what other ROCK single-board computers, compute modules and accessories are coming next into our range? View more in our ROCK Shop, and find the perfect Raspberry Pi alternative. You no longer need to hunt for stock!
ROCK Shop


Let’s invent the future together
What’s your challenge? From augmented reality to machine learning and automation, send us your questions, problems or ideas… we have the solution to help you design the world. Get in touch today.