Our guide to the Raspberry Pi Pico covers everything you need to know, from how it works, what makes it unique, how to get started, and what you can make.
The Raspberry Pi Pico is the very first microcontroller created by the world-famous Raspberry Pi Foundation. It’s a tiny, affordable and flexible bit of kit that’s perfect for learning to program with MicroPython and C!
In this ultimate guide to the Raspberry Pi Pico, we’ll cover:
• What the Pico microcontroller is
• What makes it different to other boards, focusing on the RP2040 chip
• How the Pico works, looking at the make-up of the board
• What you can create with it, including fun Raspberry Pi Pico programming ideas
• How to get started with the Pico
So, if you’re ready to learn more about the potential of the Raspberry Pi Pico and how you can harness its power, dive in below!
What is the Raspberry Pi Pico?
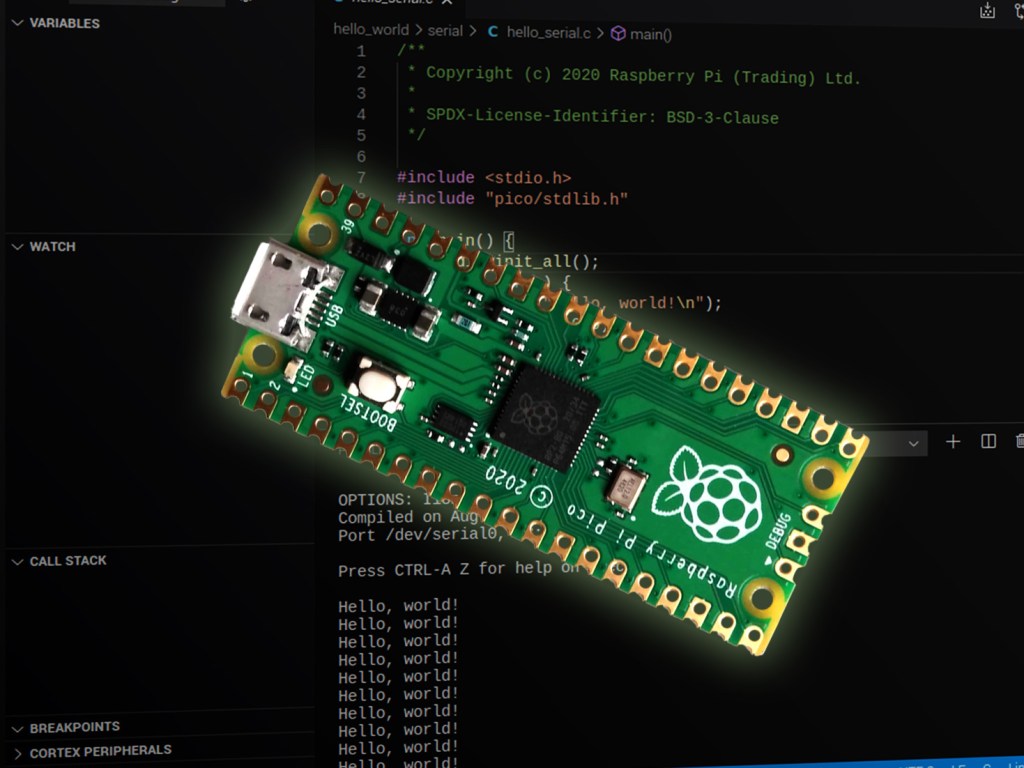
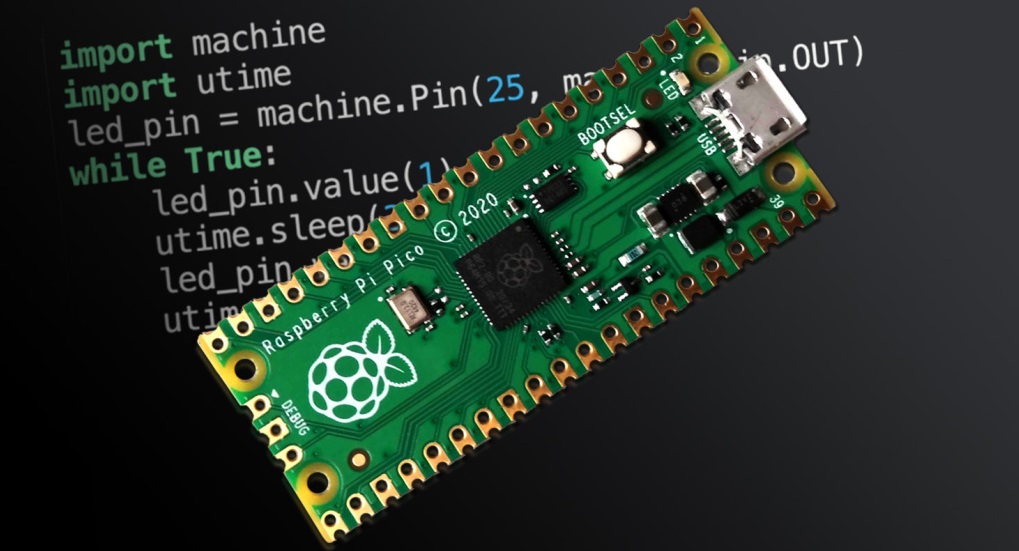
The Raspberry Pi Pico is an innovative microcontroller that was released into the world in January 2021. It’s easy to program from your computer, Raspberry Pi or even another Pico using MicroPython or C.
The Pico is the first microcontroller ever designed by the Raspberry Pi Foundation, a company you may already know for its user-friendly microcomputers. But the Pico isn’t here to replace the Raspberry Pi range. It’s a different type of device, which you can use with or independent of a Pi.
Whereas a Pi is great for different computing activities like games and browsing the internet, microcontrollers focus on specific tasks as part of the electronics system they’re built into. This could mean controlling lights, buttons, sensors, motors, displays or other parts.
In comparison to computers, microcontrollers like the Pico are:
• Great for specific computing projects, rather than a range of different tasks
• Pared back, featuring a processor, small amounts of memory and onboard peripherals that give instructions to a larger system
• Smaller in physical size and cheaper, with less power usage too
• Stable and predictable as they focus on doing one job well
Microcontrollers are a common part of our everyday lives too. If you’ve ever used a keyboard, a television or almost any electrical device, you’ll have used something with a microcontroller inside.
Raspberry Pi Pico RP2040 Microcontroller Board

OKdo Raspberry Pi Pico Kit
Get your Raspberry Pi Pico and essential accessories in our quality OKdo Raspberry Pi Pico Kit. The kit includes a Raspberry Pi Pico microcontroller board as well 3 x headers and a micro USB cable to get started with. We have also included a quick start guide to coding your Raspberry Pi Pico using Micropython – programming just got easier.
What makes the Raspberry Pi Pico different?
There’s lots to love about the Pico – but the real magic comes from its RP2040 chip, which is the very first of its kind.
The Raspberry Pi Foundation designed it in-house to pack in a whole lot of power and functionality into a tiny package. The team aimed for high performance on specific tasks, flexibility to talk to any external device, and low cost, to make the Pico available to as many keen developers as possible. They achieved all three goals!
Here’s a breakdown of the Pico’s key features:
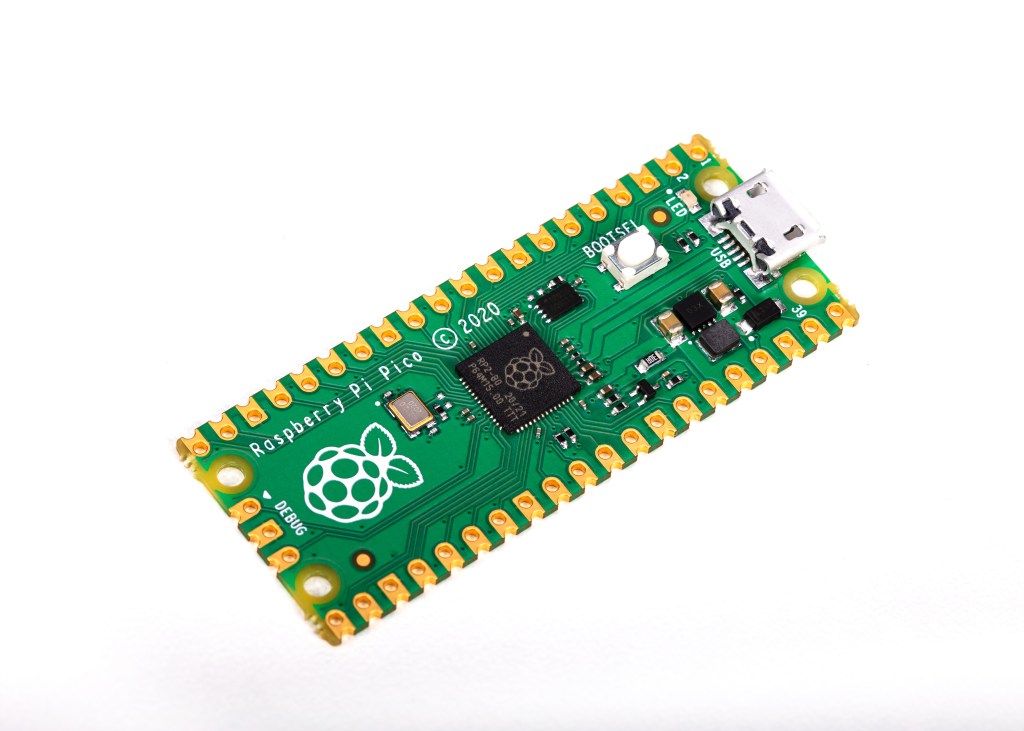
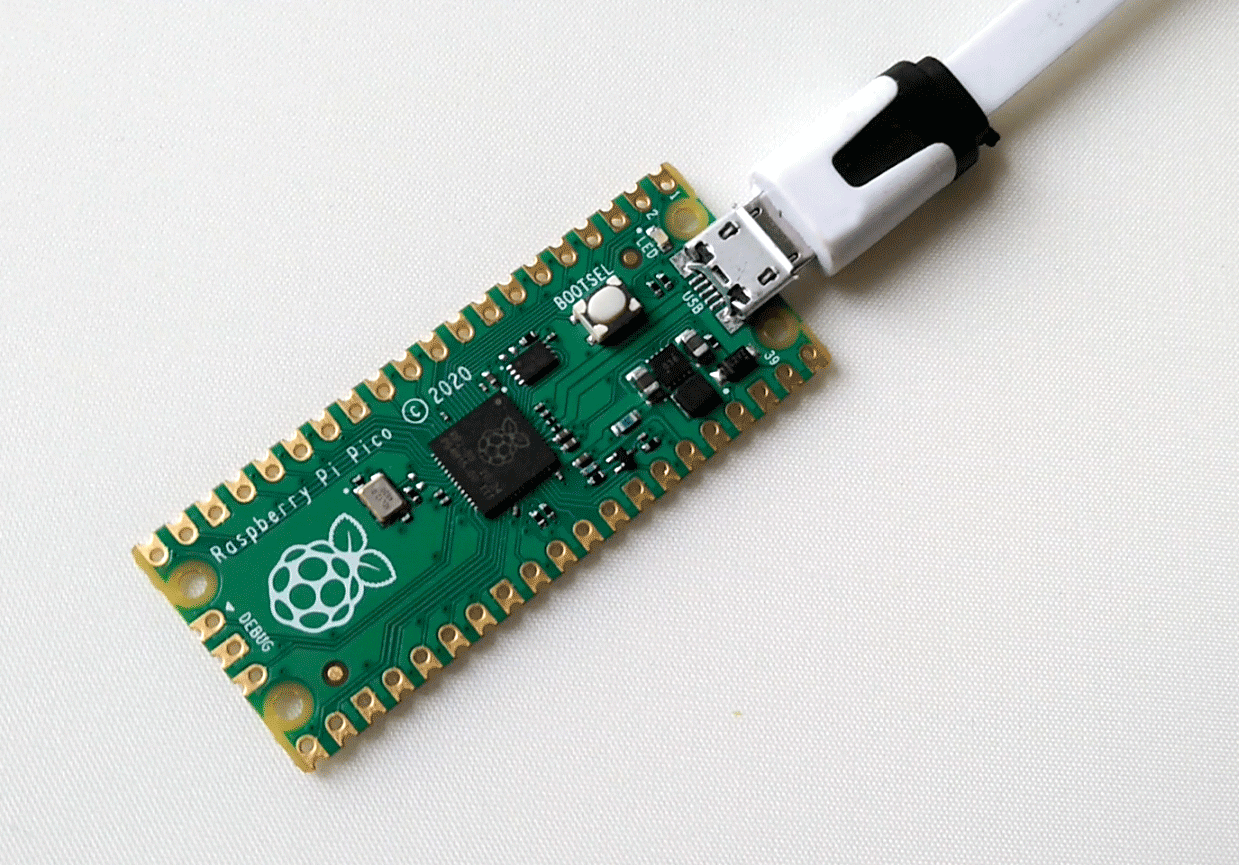
- Micro-USB port for power and data
- Board dimensions of 21mm x 51.3mm
- 40 pins with through-holes for surface mounting
- 3-pin ARM Serial Wire Debug (SWD) port
- Dual ARM Cortex M0+ running at 133 MHz
- 30 GPIO pins
- 264kb of SRAM and 2MB of flash memory (which is a lot for a microcontroller)
How does the Raspberry Pi Pico work?
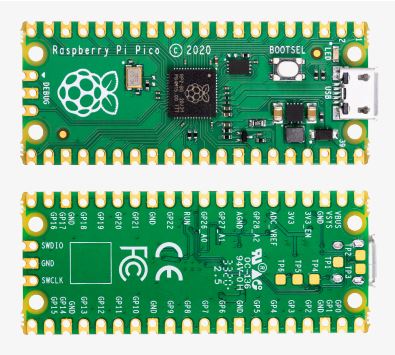
Getting to know the layout of the Pico can help you better understand how the board works. The Pico is built around the RP2040 microcontroller chip – and it’s this chip that does much of the hard work.
The RP2040 contains a processor and 264kb of memory. This memory executes the programs you send to it by communicating instructions to the board’s pins, known as input/output (IO).
You can then control components by connecting header pins. On the very outside of the board meanwhile are castellations, which allow you to solder the Pico to other boards for more advanced projects.
At the top of the Pico is a micro-USB connector. You can power your Pico from a computer or battery by connecting a micro-USB cable. This connection also allows you to write programs from a PC, laptop or Pi onto the Pico, which will run whenever powered up!
What can you create with the Raspberry Pi Pico?
Here’s where the fun really begins! You can use this tiny microcontroller to power lots of exciting development projects. Whether you’re a beginner wanting to learn more about MicroPython or an experienced user looking for a challenge, the Pico’s flexibility makes it suitable for a range of skill levels too.
Below are five Raspberry Pi Pico programming ideas that can give you a flavour of this device’s potential. The Raspberry Pi community is always sharing great projects like this online for you to have a go at yourself.
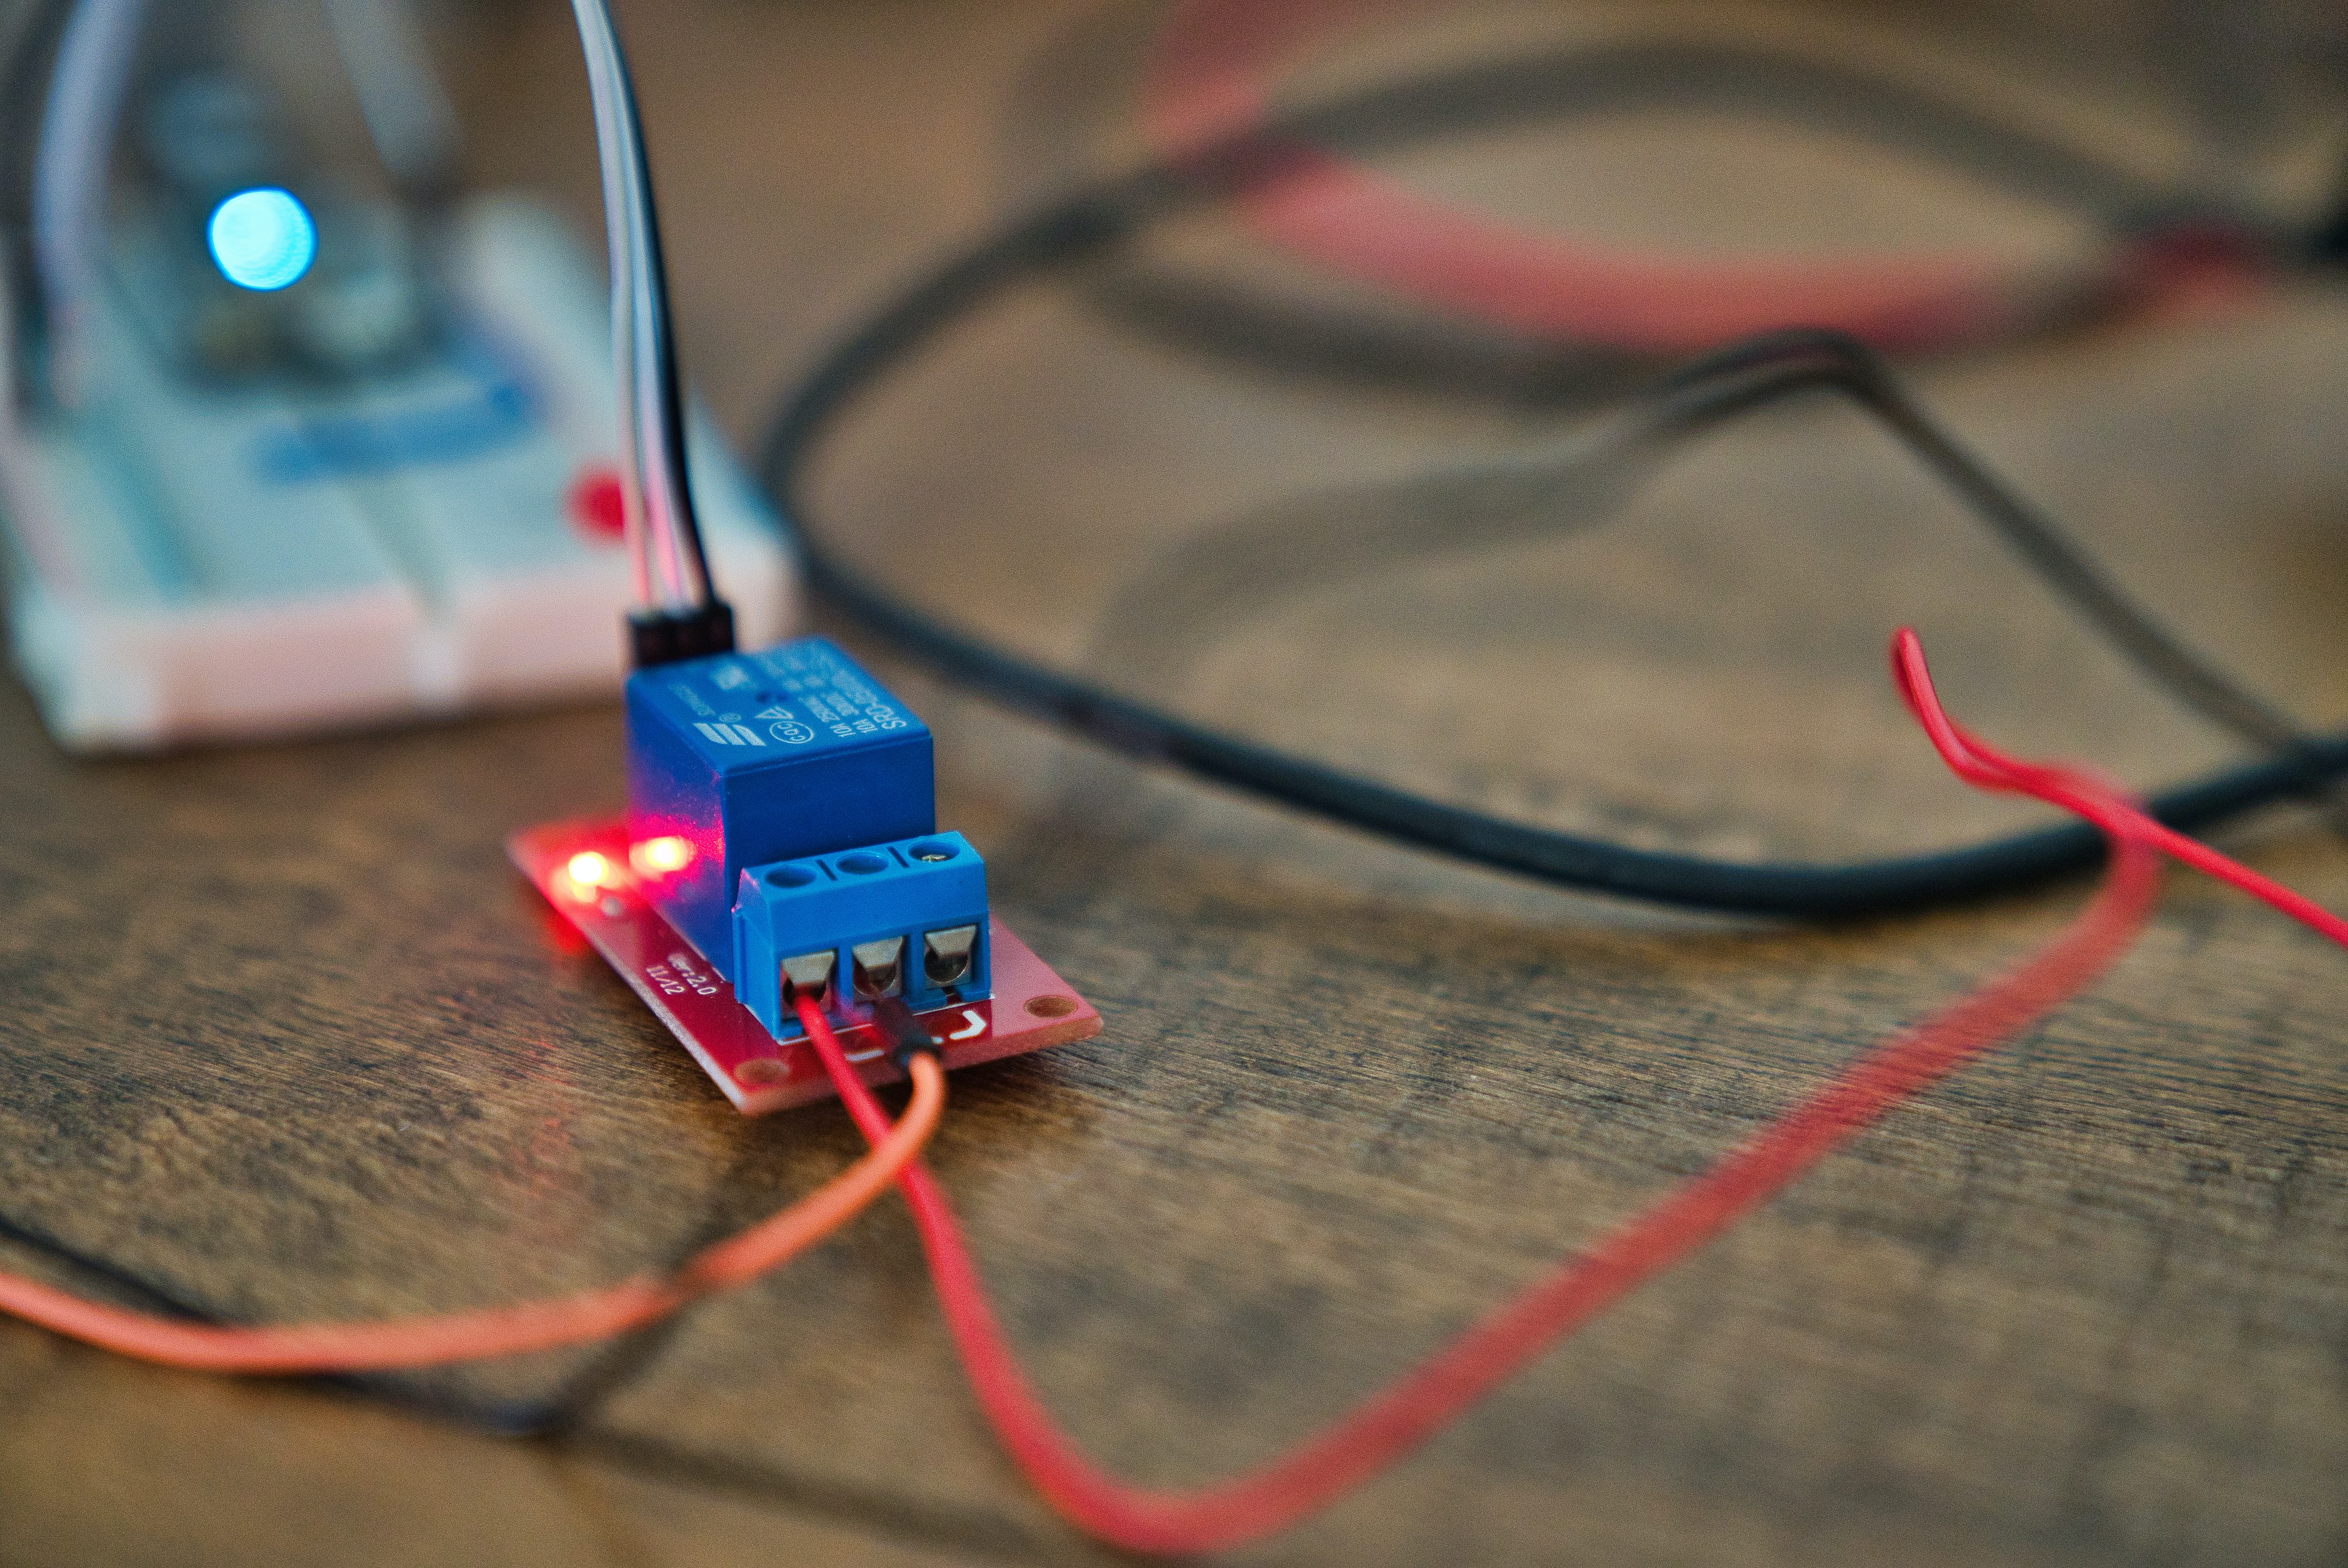 | 1. Scare off intruders with a burglar alarm You guessed it – microcontrollers are also used in alarm systems! By connecting a passive infrared (PIR) sensor, this Pico project will detect foreign movement around defined entry points and trigger a buzzer sound. Add a flashing LED light for an even more startling effect! |
 | 2. Check the weather with a weather station The Pico offers lots of data-logging potential too – so why not use this functionality to check what the weather is up to? Connect an appropriate sensor to record temperature, humidity and air pressure, and present the readings on an electronic display. |
 | 3. Brighten things up with an automatic light system Tired of getting up to switch the light on or off? Start building your very own smart home with an automatic LED light project. This project uses a light sensor to monitor changes in light intensity and increase or decrease the brightness of an LED bulb. |
 | 4. Cool off with an automated fan An automated fan build is perfect for keeping your cool in summer! Similar to the automatic light system, you can use a temperature sensor to monitor room temperature and increase the speed of a fan as things heat up. |
 | 5. Stop, start and go with a traffic light controller Do you ever wish you had the ability to control traffic? A microcontroller can give you that power! Create your own mini pedestrian crossing by writing a program to change the colour and timing of multiple LEDs in the style of a traffic light. |
Get started with Raspberry Pi Pico today
Are you ready to start developing now that you know more about this board and what it can do? Once you’ve ordered your very own Raspberry Pi Pico, our guide to getting started with Raspberry Pi Pico and MicroPython explains everything you need to know about setting your device up.
After this you’ll be ready to start building a range of creative projects – including some of those in the OKdo projects hub!
Here are some of our other Raspberry Pi Pico Getting Started Guides to follow:
Official Raspberry Pi Guide: Getting Started with MicroPython on Raspberry Pi Pico
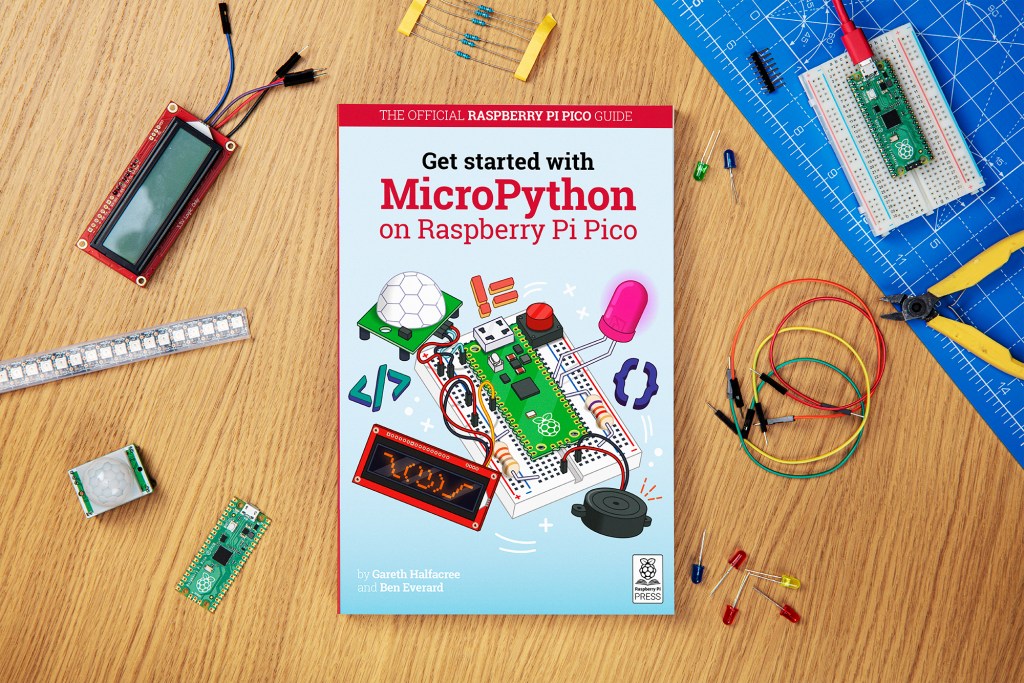
This official Getting Started with MicroPython on Raspberry Pi Pico Guide from Raspberry Pi will help you to get the most out of your Raspberry Pi Pico. It will teach you how to use the beginner-friendly language MicroPython to write programs and connect hardware to make your Raspberry Pi Pico interact with the world around it.

