Wear your heart on your sleeve with the micro:bit
This project will guide you step by step on how to set up your micro:bit to display and send a heart message to your loved one using radio, accelerometer, and the button functionality of the micro:bit. It’s an easy and fun project to make!
Using Python code, you will program your micro:bit via connection to your laptop so that you can send love messages to your loved ones. In addition, the BitWearable Kit will allow the micro:bit to be powered by batteries, allowing you to wear the micro:bit watch and connect with your beloved anywhere you are.

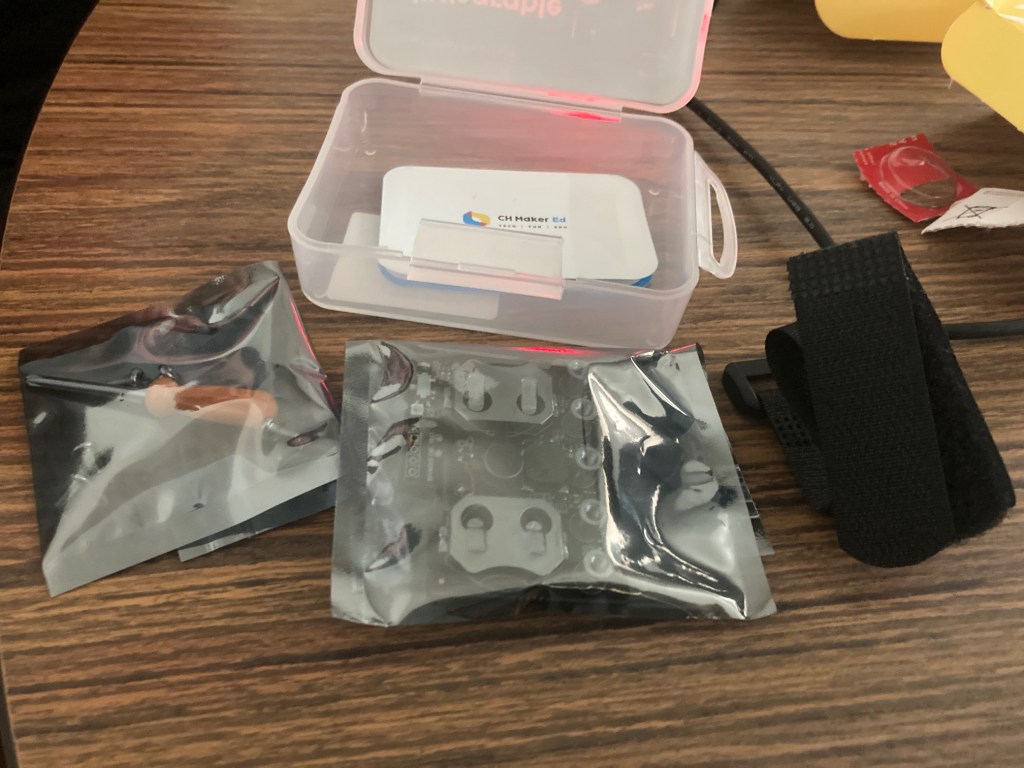
Step 1: Unpack the contents of the BitWearable Kit
Inside the kit, you will find the strap, screws, screwdriver, and the micro:bit board. The board has holders for lithium batteries that need to be inserted into the board to power it.
Step 2: Insert batteries into the micro:bit board
Open the batteries and place them inside the two board holders with positive facing you. Then attach the strap into the holes as seen in the picture below.

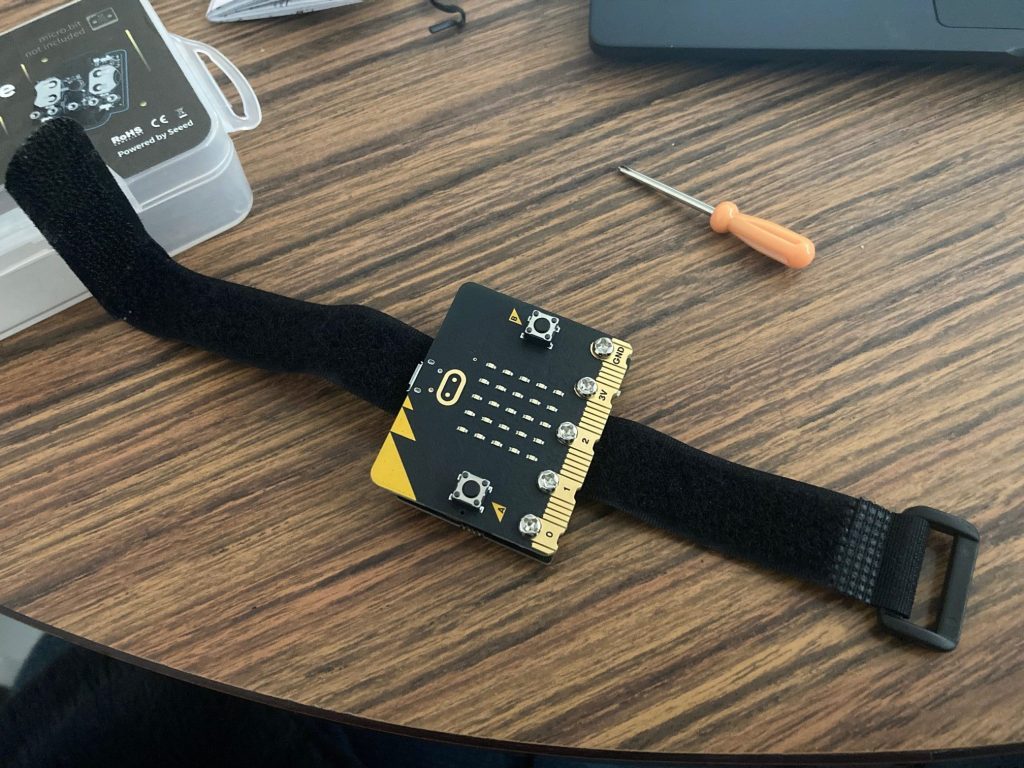
Step 3: Screw the micro:bit to the BitWearable Kit
Place the micro:bit on top of the board and then screw all five screws to hold it in place.
Step 4: Plug the micro:bit into your computer
Attach the USB cable into the computer and insert the other side into the connector of the micro:bit at the top. Power on the micro:bit at the back of the board from “Off” to “On”.

Step 5: Enter the Python code
Go to https://python.microbit.org/ and enter the following code:
from microbit import *
import radio
radio.config(group=2)
radio.on()
while True:
    message = radio.receive()
    if message:
        display.show(Image.HEART)
        sleep(600)
        display.show(Image.HEART_SMALL)
        sleep(600)
    if button_a.is_pressed():
        display.clear()
        radio.send('HAPPY_VALENTINES')
Step 6: Flash the code to your micro:bit
Now click ‘Connect’ to connect to your micro:bit, then click ‘Flash’ to move the code to the micro:bit.
Step 7: Repeat for the second micro:bit
Plug in the second micro:bit and repeat all the above steps.
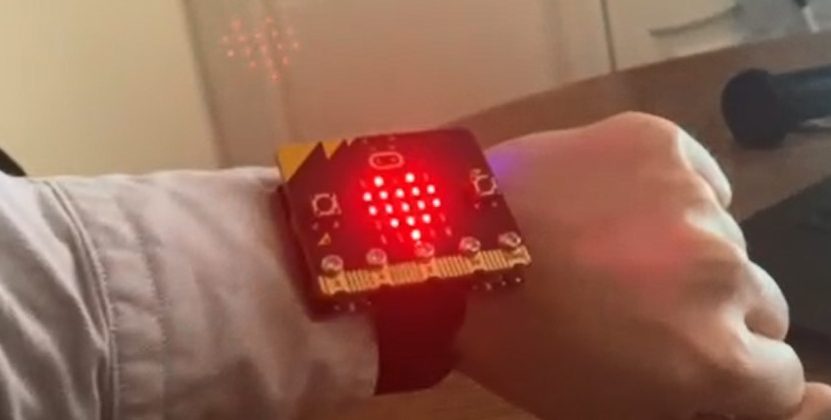
Step 8: Run the code to send your message
Mode 1
Press the ‘A’ button and you will see a big heart followed by a small heart that appears on the receiving micro:bit. Press the ‘A’ button on the receiving micro:bit to send a big heart followed by a small heart back.
Mode 2
Optional: Instead, you can use the accelerator to send a heart with a wrist shake instead of pressing the button.
To do this, modify the code as follows:
from microbit import *
import radio
import random
radio.config(group=2)
radio.on()
while True:
    message = radio.receive()
    if message:
        display.show(Image.HEART)
    if accelerometer.was_gesture('shake'):
        display.clear()
        radio.send('heart')
Mode 3
Optional: You can take the code further by adding a message (‘HAPPY VALENTINES’) to scroll across.
Use the code below:
from microbit import *
import radio
radio.config(group=2)
radio.on()
while True:
    message = radio.receive()
    if message:
        display.show(Image.HEART)
        sleep(600)
        display.show(Image.HEART_SMALL)
        sleep(600)
    if button_a.is_pressed():
        display.clear()
        radio.send('HAPPY_VALENTINES')
Summary
We hope you’ve enjoyed making this fun project! This micro:bit project is an easy and fun guide that walks you through step by step how to set up your micro:bit to display love messages and turn it into a unique Valentine’s Day gift for your loved one. Moreover, you can turn your micro:bit into a wearable watch using the BitWearable Kit and create a symbolic love token.
You can now wear your heart on your sleeve with the micro:bit!
![]()
Have you got inspired to build more micro:bit projects? Check out our Projects Hub and try out your next exciting project.
Not sure where to start? Discover our micro:bit Getting Started guides.
![]()
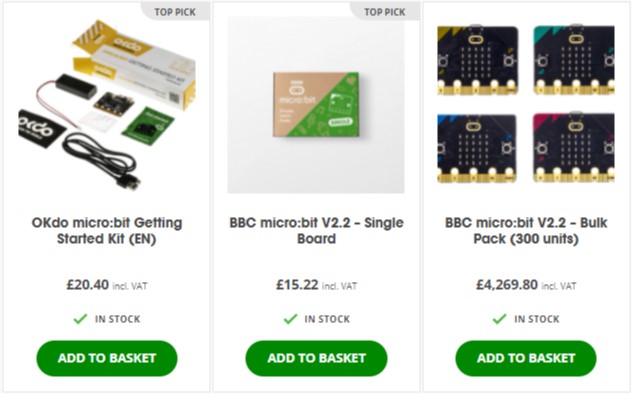
Check out our micro:bit shop on OKdo and have fun programming with the best selling micro:bit!
Like what you read? Why not show your appreciation by giving some love.
From a quick tap to smashing that love button and show how much you enjoyed this project.

