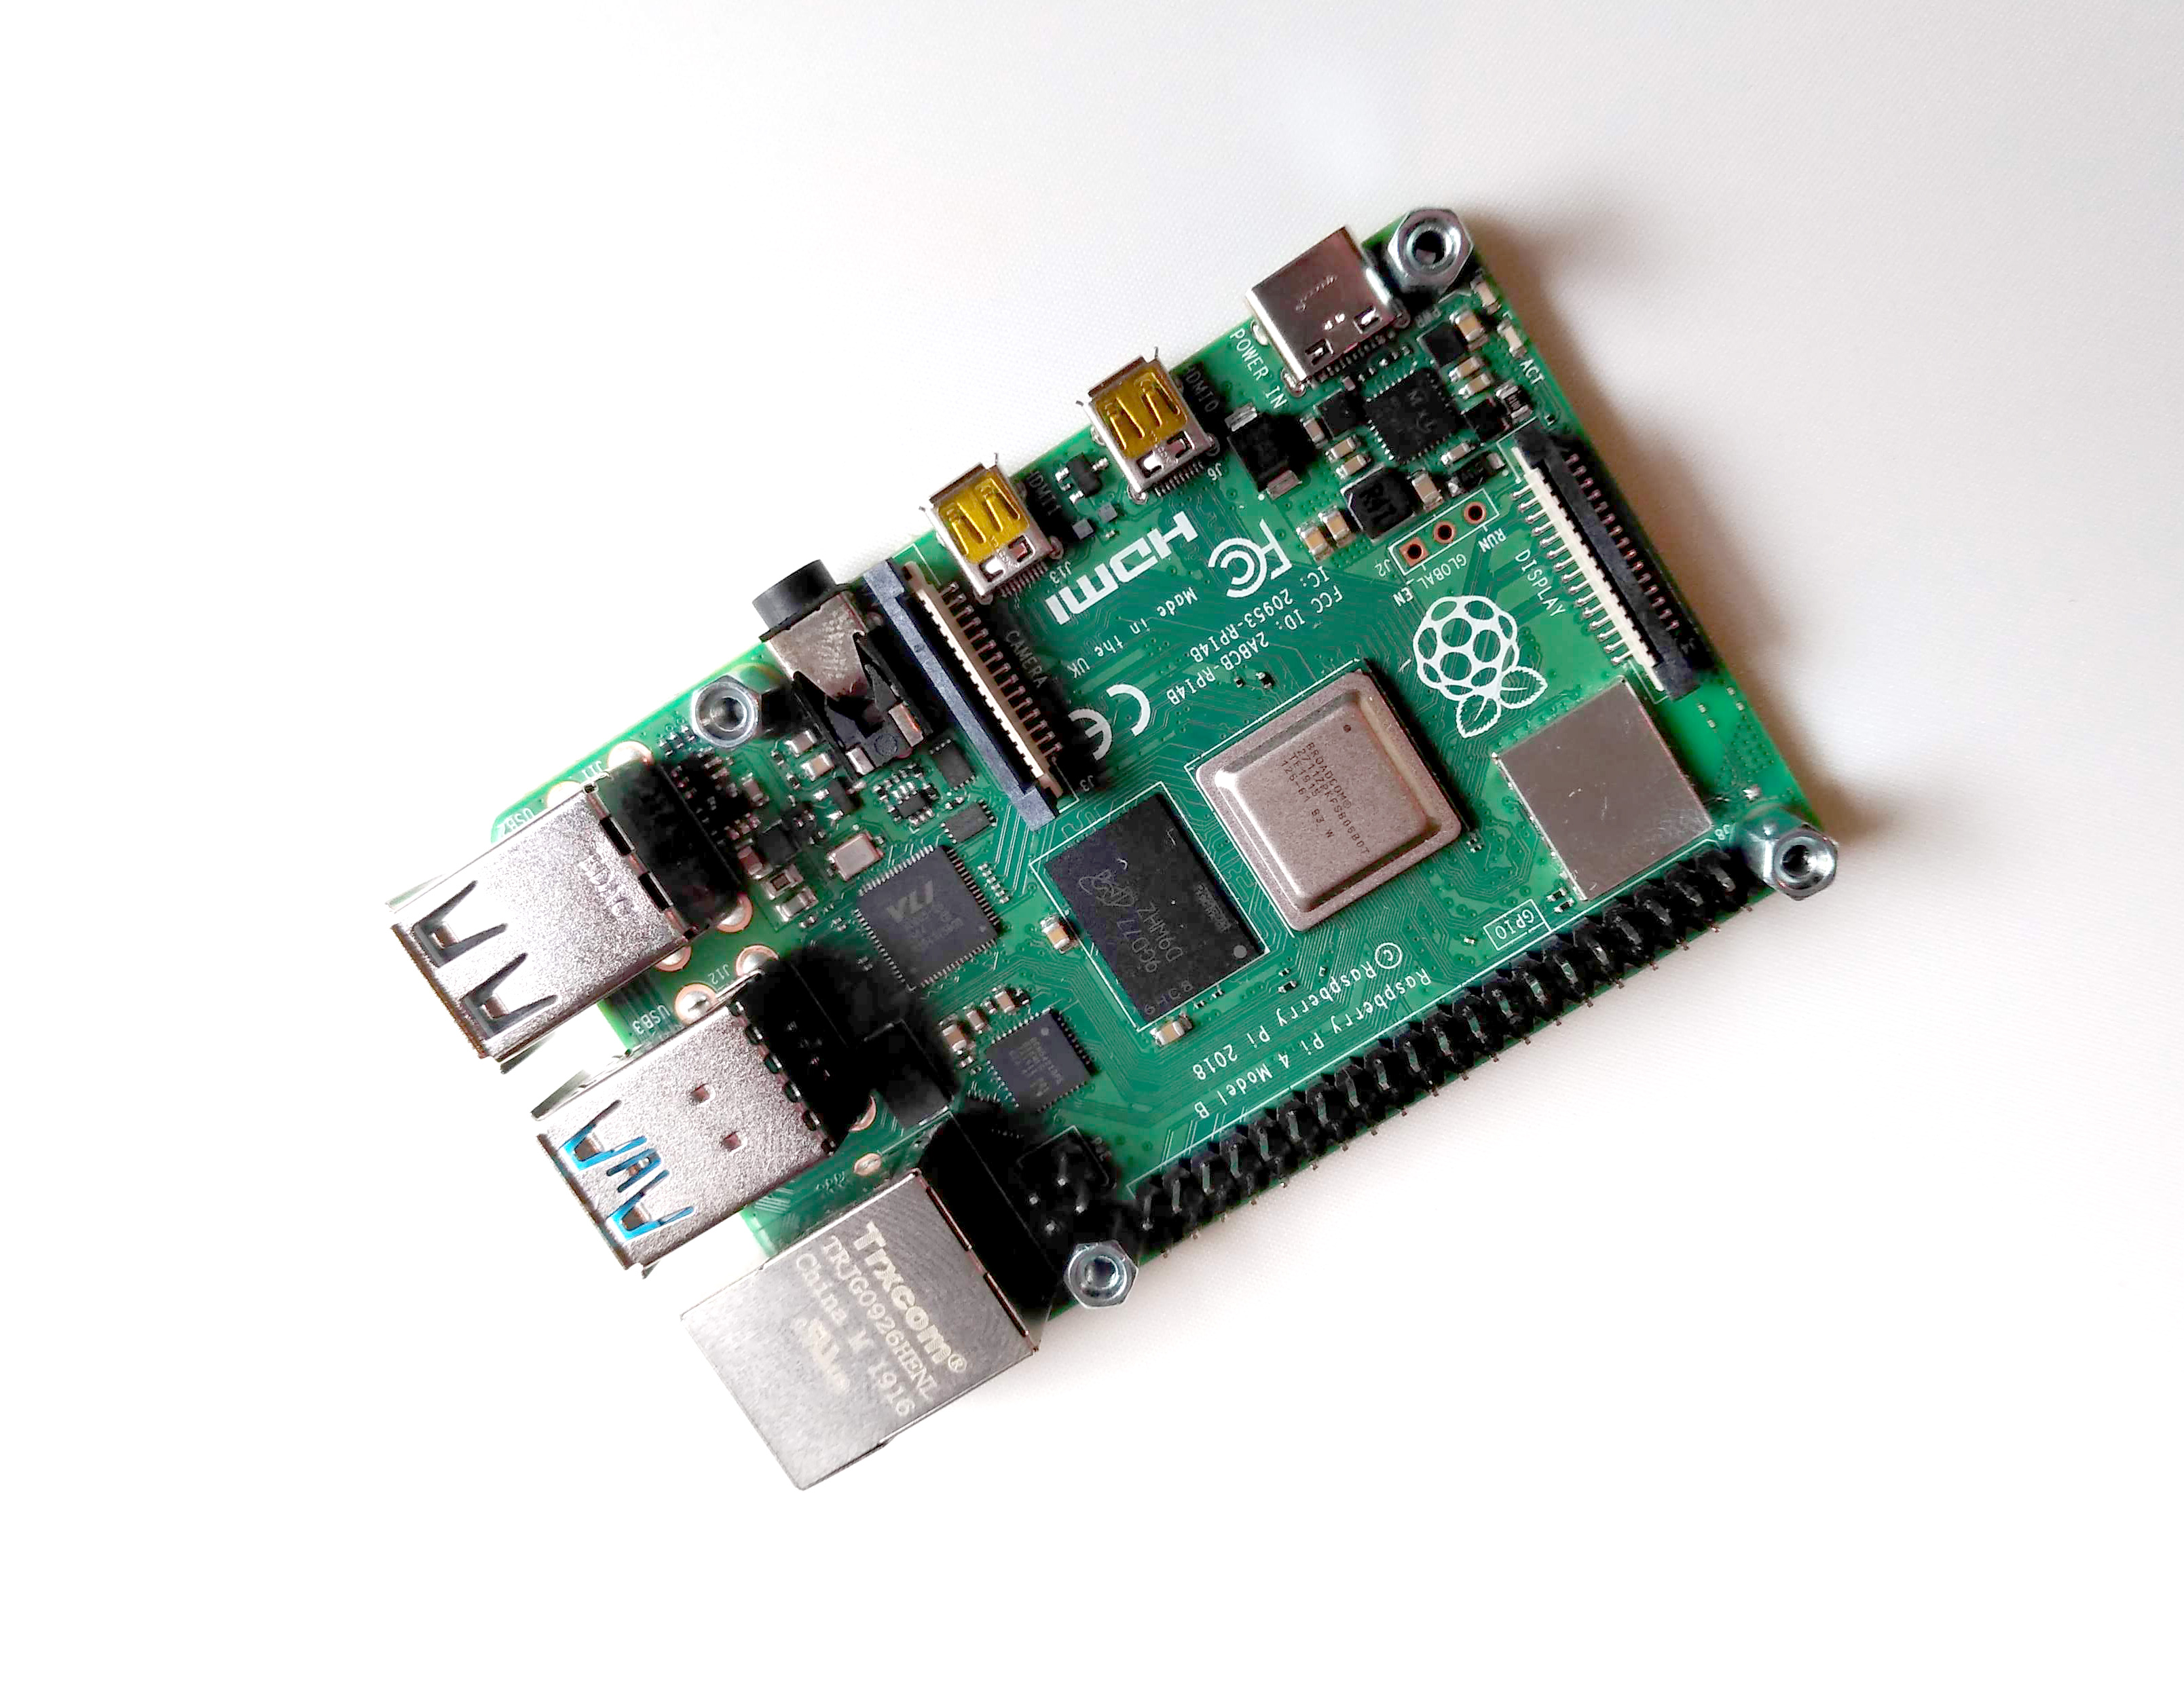
Power Over Ethernet (POE) is a way to power the Pi 4 using its ethernet port, making it easier to supply power and network connectivity through a single cable. This is useful when the Pi4 needs to be installed in positions away from power sockets and wifi such as for CCTV installations where a camera module needing power and fast networking is used.
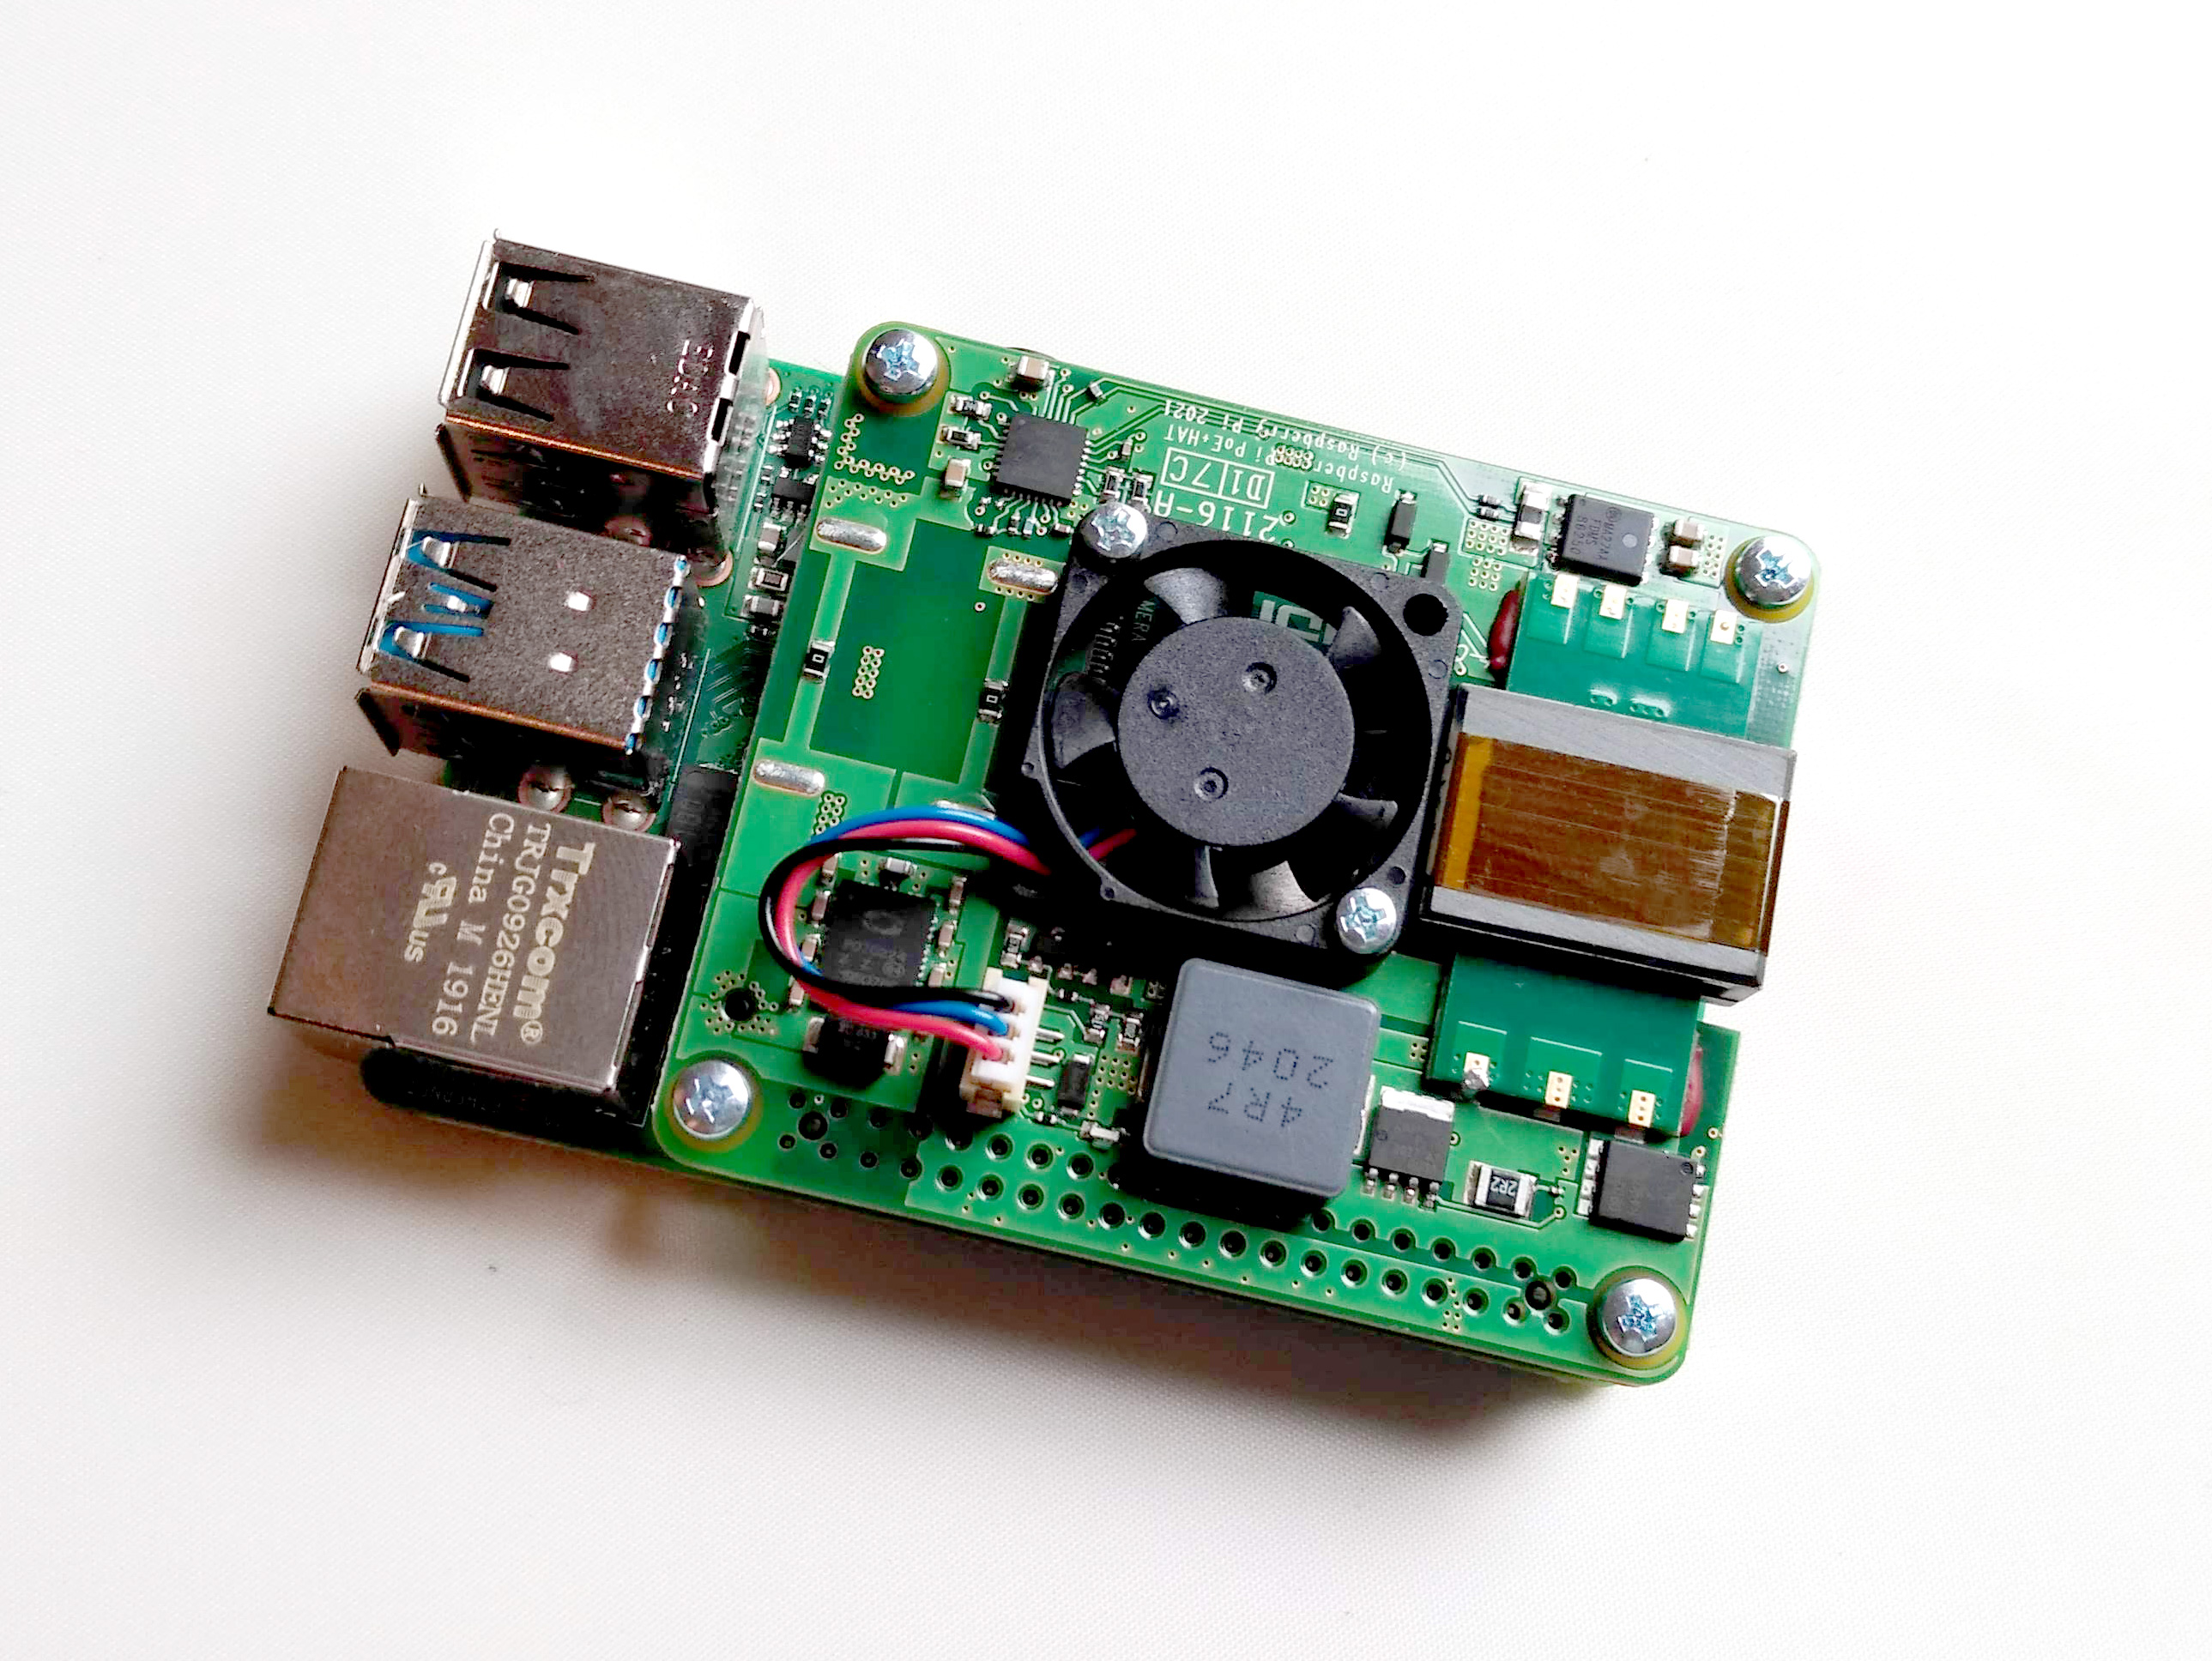
This project uses the POE + Hat which is a low-profile add-on board that attaches to the GPIO header connector on the Pi4. It includes an integrated cooling fan.
POE uses standard Cat5 ethernet cables, but you do need a POE network or you can use a POE injector module. This adds power to an existing standard network connection which is the approach taken by this project. In this way, POE can be used on any office or home network.
1. Get your Pi ready
- Start by attaching the POE + Hat to the Raspberry Pi using the 4 standoffs and screws provided with the hat.
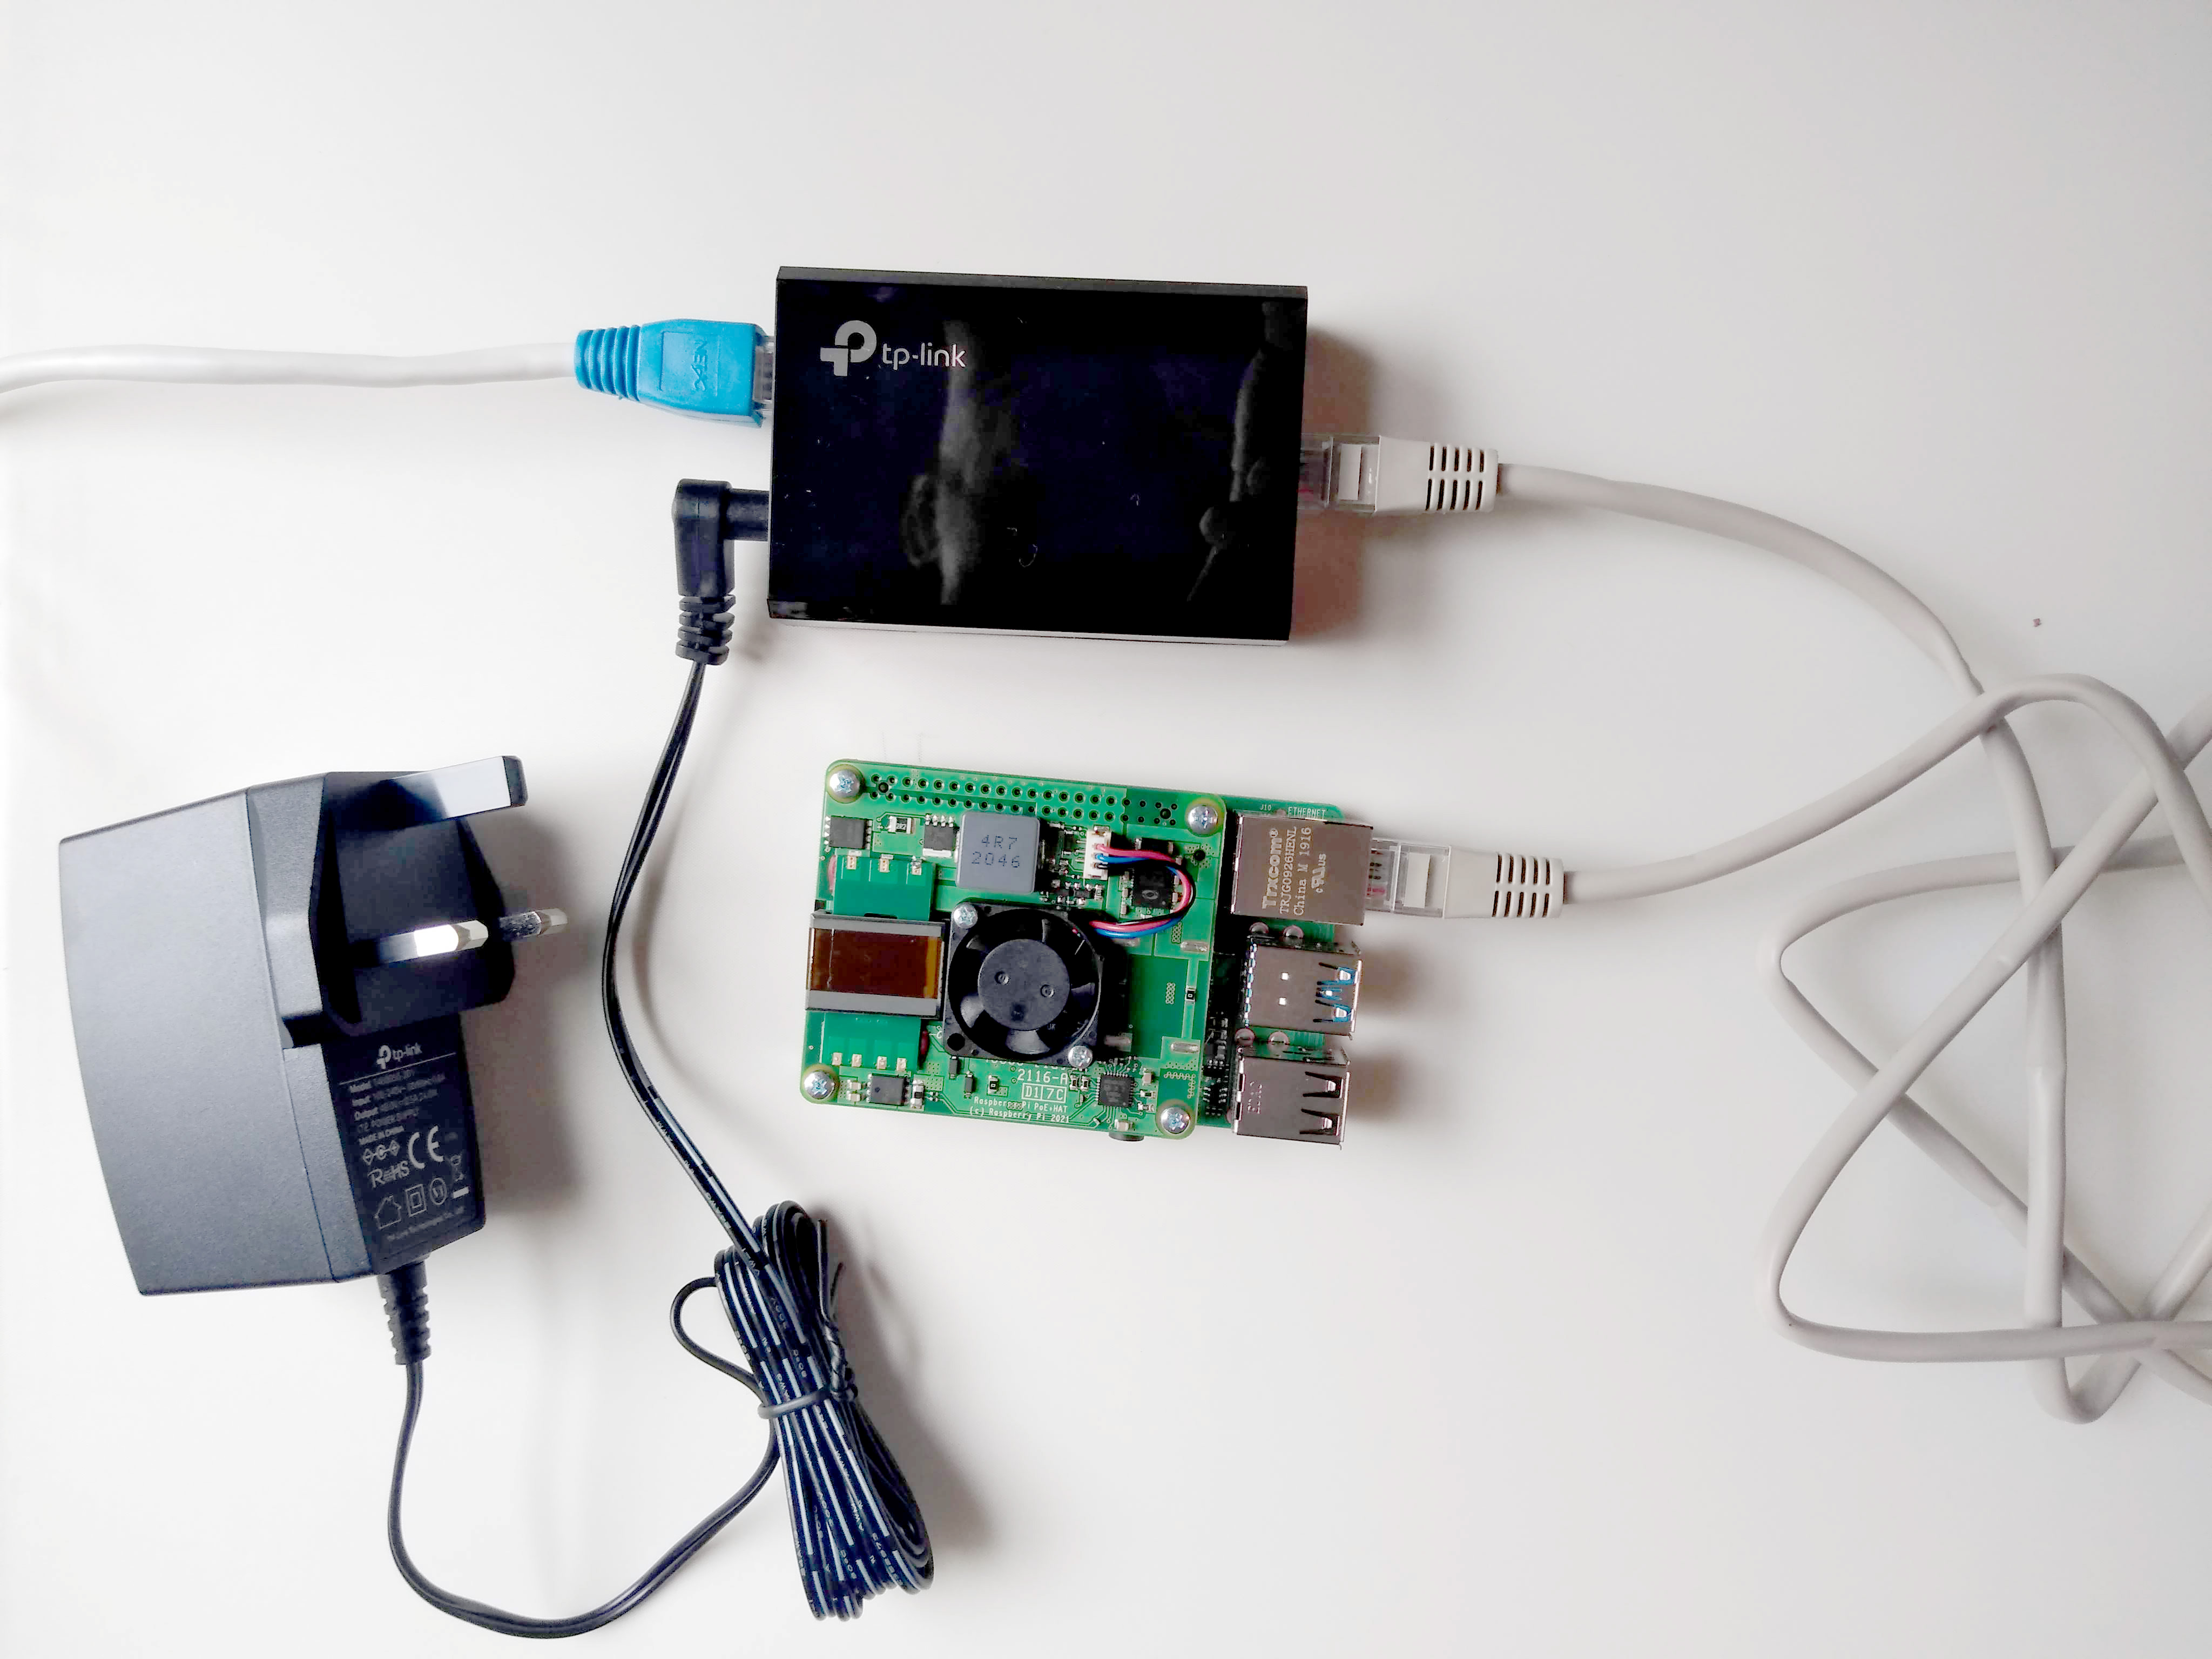
2. Connect POE injector
- Power is injected into the network node using a dedicated POE injector module. The unit has two ethernet connections, one for connecting it to a router or switch (labelled IN) and the other to connect the injector to the Pi4 (labelled OUT).
- There are different POE standards, the POE Hat requires power sourcing equipment that conforms with POE IEEE 802.3af. This standard can detect that the Pi4 is attached and supply the correct amount of power.
- Make the connections but do not power on yet.
3. Prepare SD card
- Because it’s common to use POE devices without a monitor and keyboard attached, this project uses Raspbian Lite for its operating system. This requires an 8 or 16MB SD card.
On the host computer download Raspberry Pi OS Lite image from here.
- Use Balena Etcher which is a free app on Windows 10 or Mac OS to flash the downloaded image to the SD card. You can get it here.
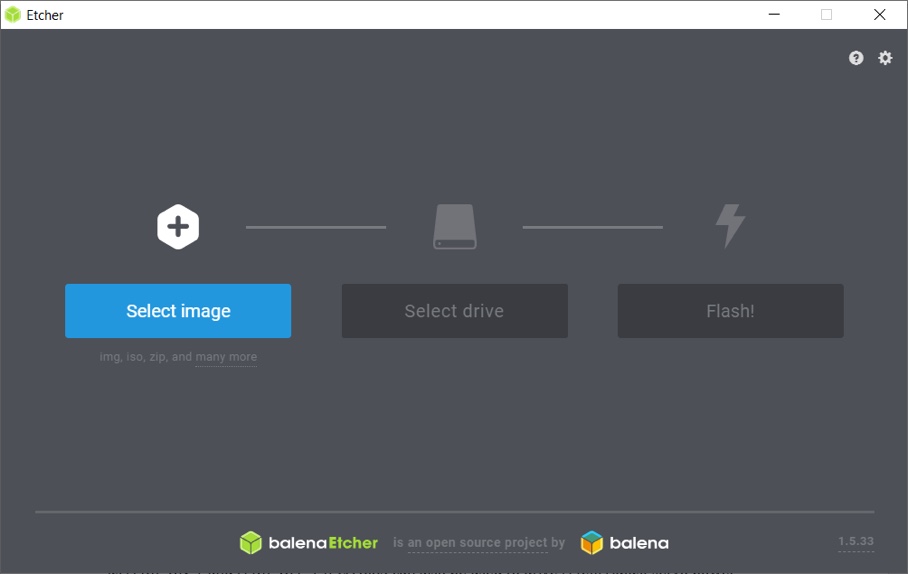
- Follow the onscreen instructions and when the process has finished, eject the SD card from the PC.
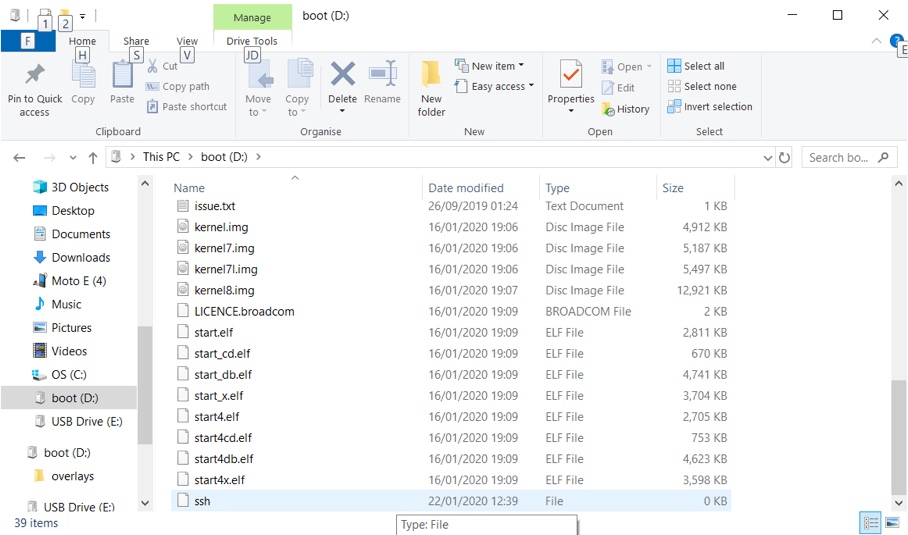
- Re-insert the SD card in the PC card reader again and navigate to the boot drive. Create a new file named “ssh” in lower case and without any extension.
While creating an empty file is easy to do on a Windows machine, on MacOS you’ll need to use Terminal:
- Enter the following ensuring to include your SD card’s path:
cd /Volumes/path_of_micro_sd_card/
- Then create an empty ssh file:
touch ssh
Ssh is a special file that the Pi will find when it boots. It will allow remote login from an SSH client running on another PC.
- Eject the SD card from the computer’s card reader and insert it in the card slot of the Pi.
- Switch on the POE injector, the Pi should power on and boot.
4. Remote access
Windows 10 and Mac OS both have SSH clients built-in. These can be used to access the Pi4 securely via SSH from another computer on the same network.
- Open a Command / Terminal window on the host computer and type the following command using the default username “pi” and password “raspberry”:
ssh pi@raspberrypiAfter allowing the SSH fingerprint to be added, you should now be logged into your Pi via SSH.

5. System configuration
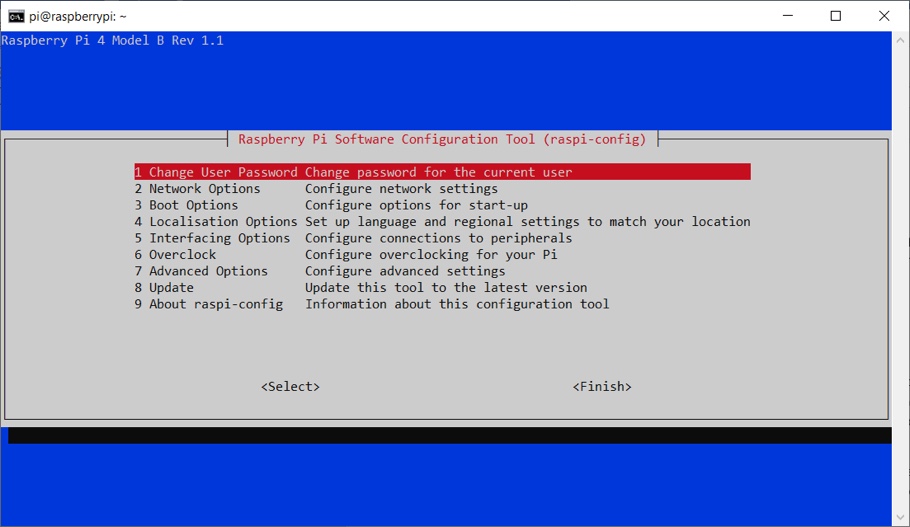
You can configure the Pi to change the password, network hostname and update to the latest version of the software by using “raspi-config”.
- Type the following command to run it:
sudo raspi-config
Raspbian Lite comes with hundreds of useful packages already installed. If you need any extra ones, add them with the “apt” command:
sudo apt install
6. Safe shutdown
Before removing power it’s important to safely shutdown the operating system. Do this by running the “poweroff” command. This will protect your SD card from corruption:
sudo poweroff
- Once the yellow activity LED next to the red power LED on the Pi4 has stopped flashing it’s safe to remove the power.
- Switch off the POE injector or disconnect the ethernet cable from the Pi4.
The green and yellow LED’s on the ethernet connection will remain on even when the OS has been shut down safely.
Like what you read? Why not show your appreciation by giving some love.
From a quick tap to smashing that love button and show how much you enjoyed this project.

