Monitoring indoor air quality can help you improve the environment in which you live and work in. The OKdo Air Quality Kit for Raspberry Pi is an easy to use kit for measuring air quality of the indoor environment. The data collected is connected to the AllThingsTalk Cloud, allowing you to view it via the internet.
The Air Quality Kit comes complete with a Grove Base HAT for Raspberry Pi, Grove Temperature & Humidity Sensor Pro (Asong AM2302 ) and Grove VOC & eCO2 Gas Sensor (Sensirion SGP30), plus all connectors. The parts are also available separately along with Python sample code.
At the end of this project, you will have a fully functioning smart indoor air quality monitoring system that’s connected to the Cloud.
1. Assembly
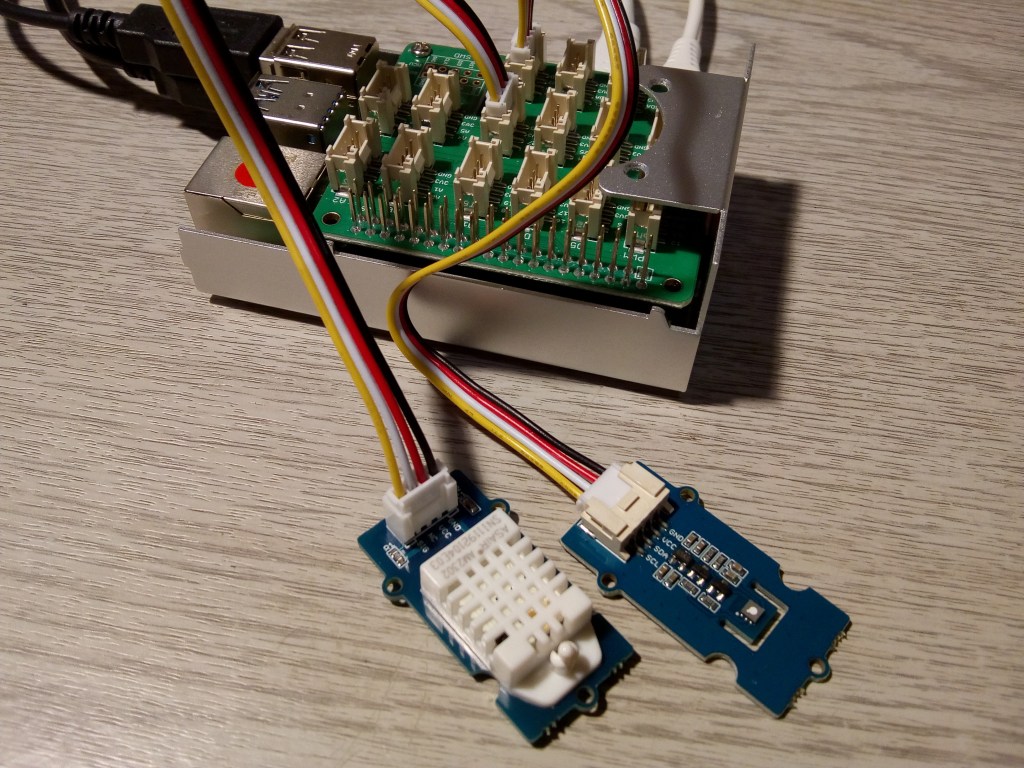
- Attach two stand-offs to the underside of the Grove Base HAT opposite to the 40-pin connector. With the Pi 4 removed from its case, push the HAT down firmly on the connector. Now slide the unit into the case and secure with the other two screws.
- The combined Temperature and Humidity sensor (bottom left in picture) uses a digital interface. The Base Hat has 7 digital connectors (Marked D) so it can be attached to any of these. In the picture, we are using D26 to match the reference in the client code that follows.
- Grove combined VOC & eCO2 sensors (bottom right in picture) use an I2C interface. The Base HAT has 3, I2C connectors (Marked I2C). Either of these can be chosen as this is a bus system and all three connections are equivalent.
2. Get your Pi ready
- Use the Full Desktop version of Raspbian. If this is not already installed on your system, follow the steps here .
- Start up your Pi and follow the on-screen instructions until you are at the desktop.
- Open Terminal from the Menu Bar and cut & paste the following commands at the prompt.
The following dependencies should already be installed:
sudo apt install git python-pip python3-pip
- Install the Grove.py Python library
This command needs to be run as a single line – the dashes and spaces are significant – it also takes a couple of minutes to run
curl -sL https://github.com/Seeed-Studio/grove.py/raw/master/install.sh | sudo bash -s -
You should get a message informing you that the installation was successful. Do not proceed until this message is displayed.
- Install the Grove Temperature & Humidity Pro sensor drivers:
cd ~
git clone https://github.com/Seeed-Studio/Seeed_Python_DHT.git
cd Seeed_Python_DHT
sudo pip3 install .
- Install the Grove VOC & eCO2 sensor drivers:
cd ~
git clone https://github.com/Seeed-Studio/Seeed_Python_SGP30.git
cd Seeed_Python_SGP30
sudo pip3 install .
- Install the AllThingsTalk Python SDK:
cd ~
git clone git://github.com/allthingstalk/python-sdk.git
cd python-sdk
sudo pip3 install .
3. Setup AllThingsTalk Maker Cloud account
- Open the browser, go to allthingstalk.com and sign up for a free account. Once that is complete it will take you to the Playground page where you can set up your kit.
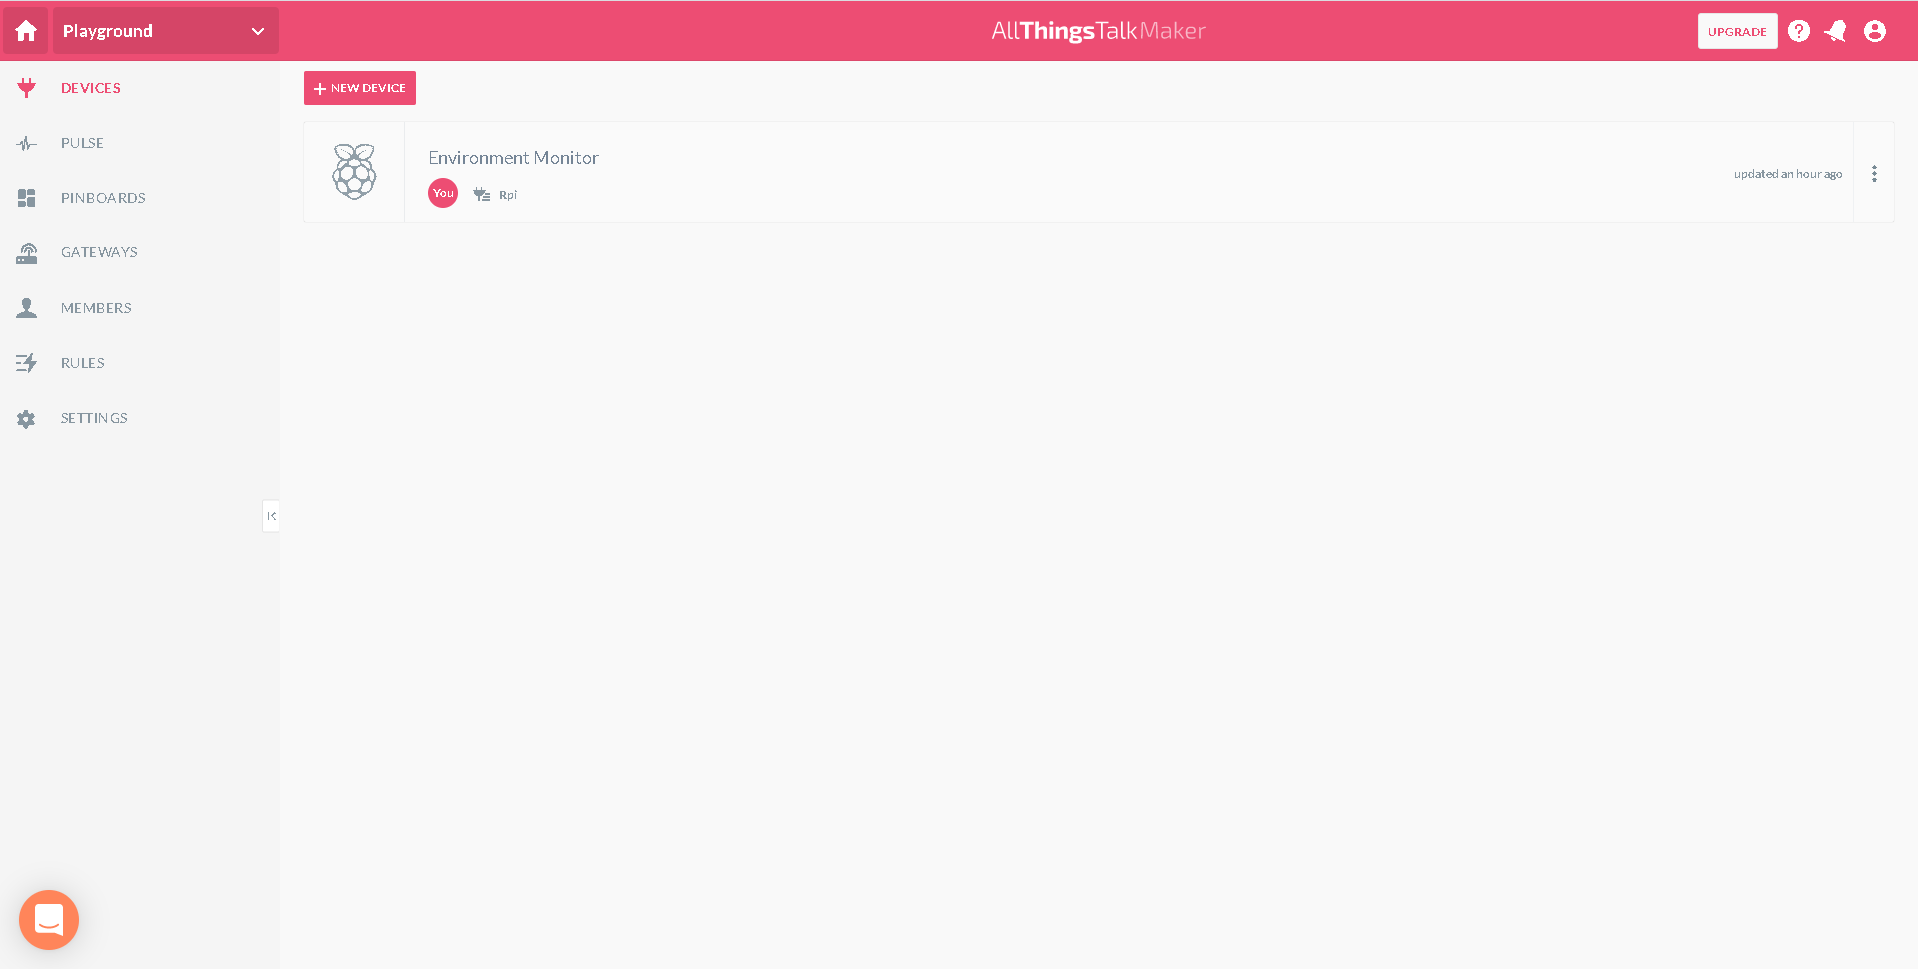
- Click on New Device and choose Air Quality Kit for Raspberry Pi
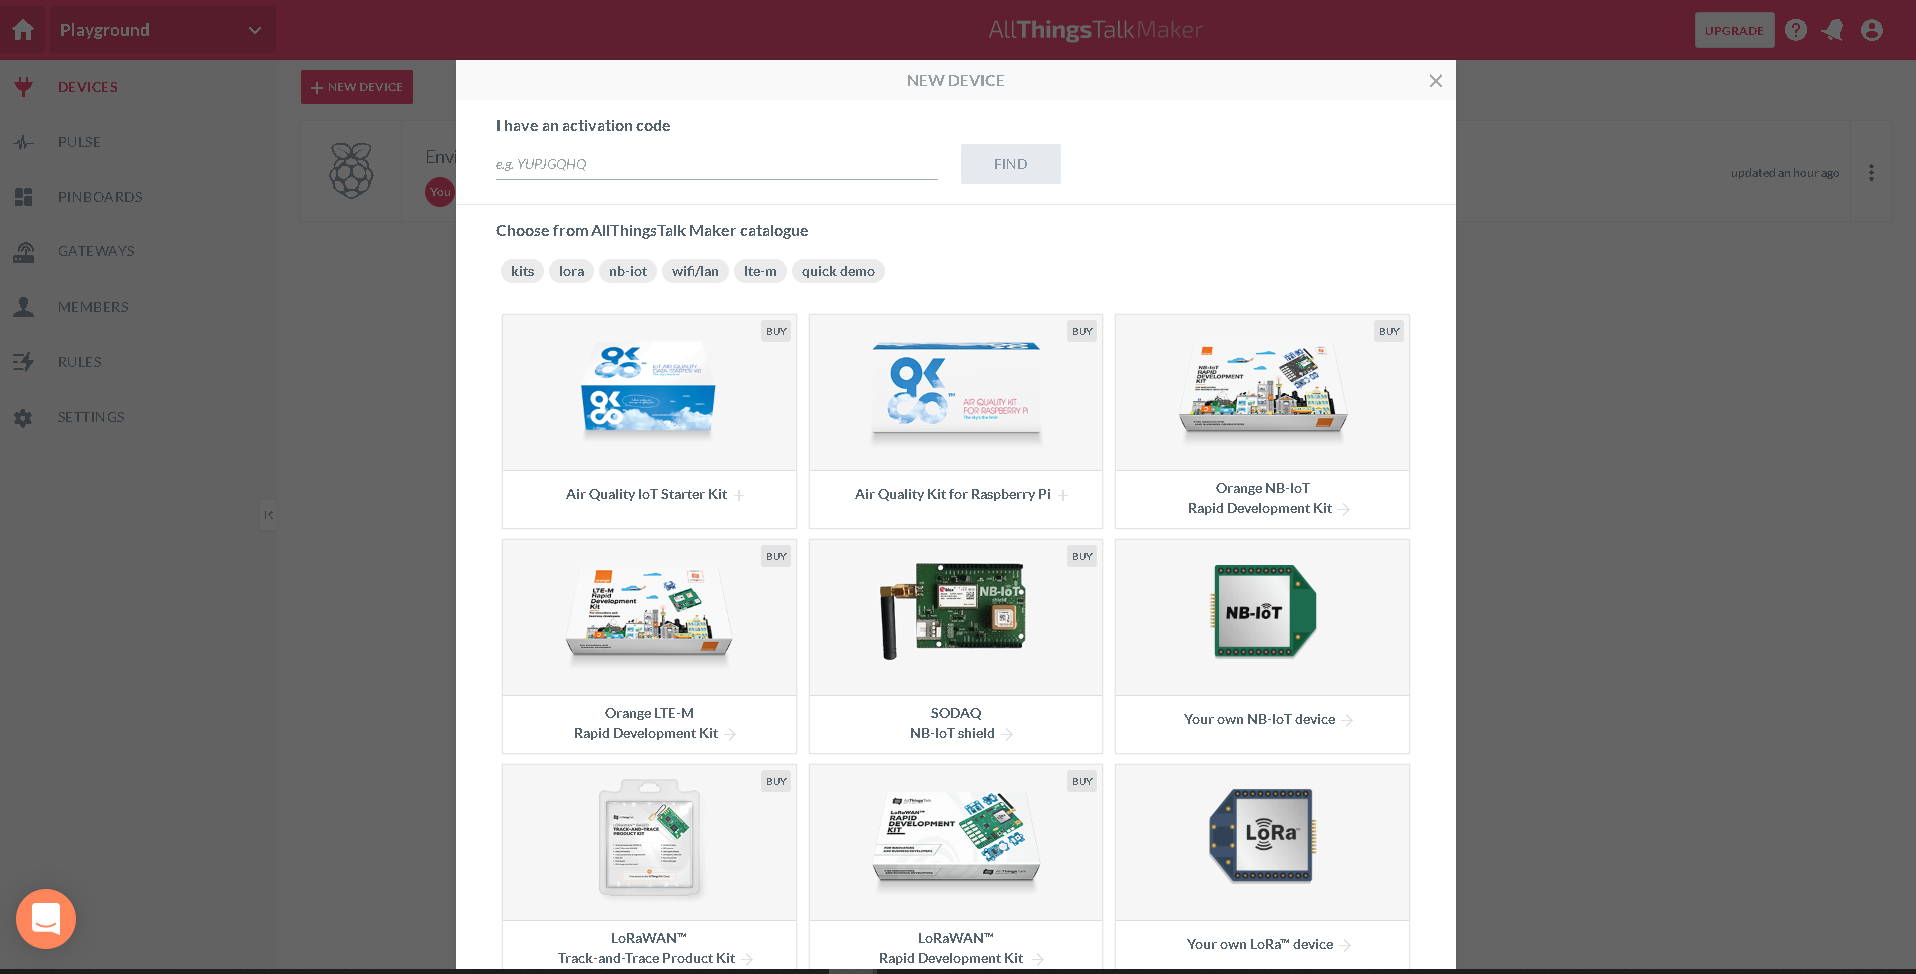
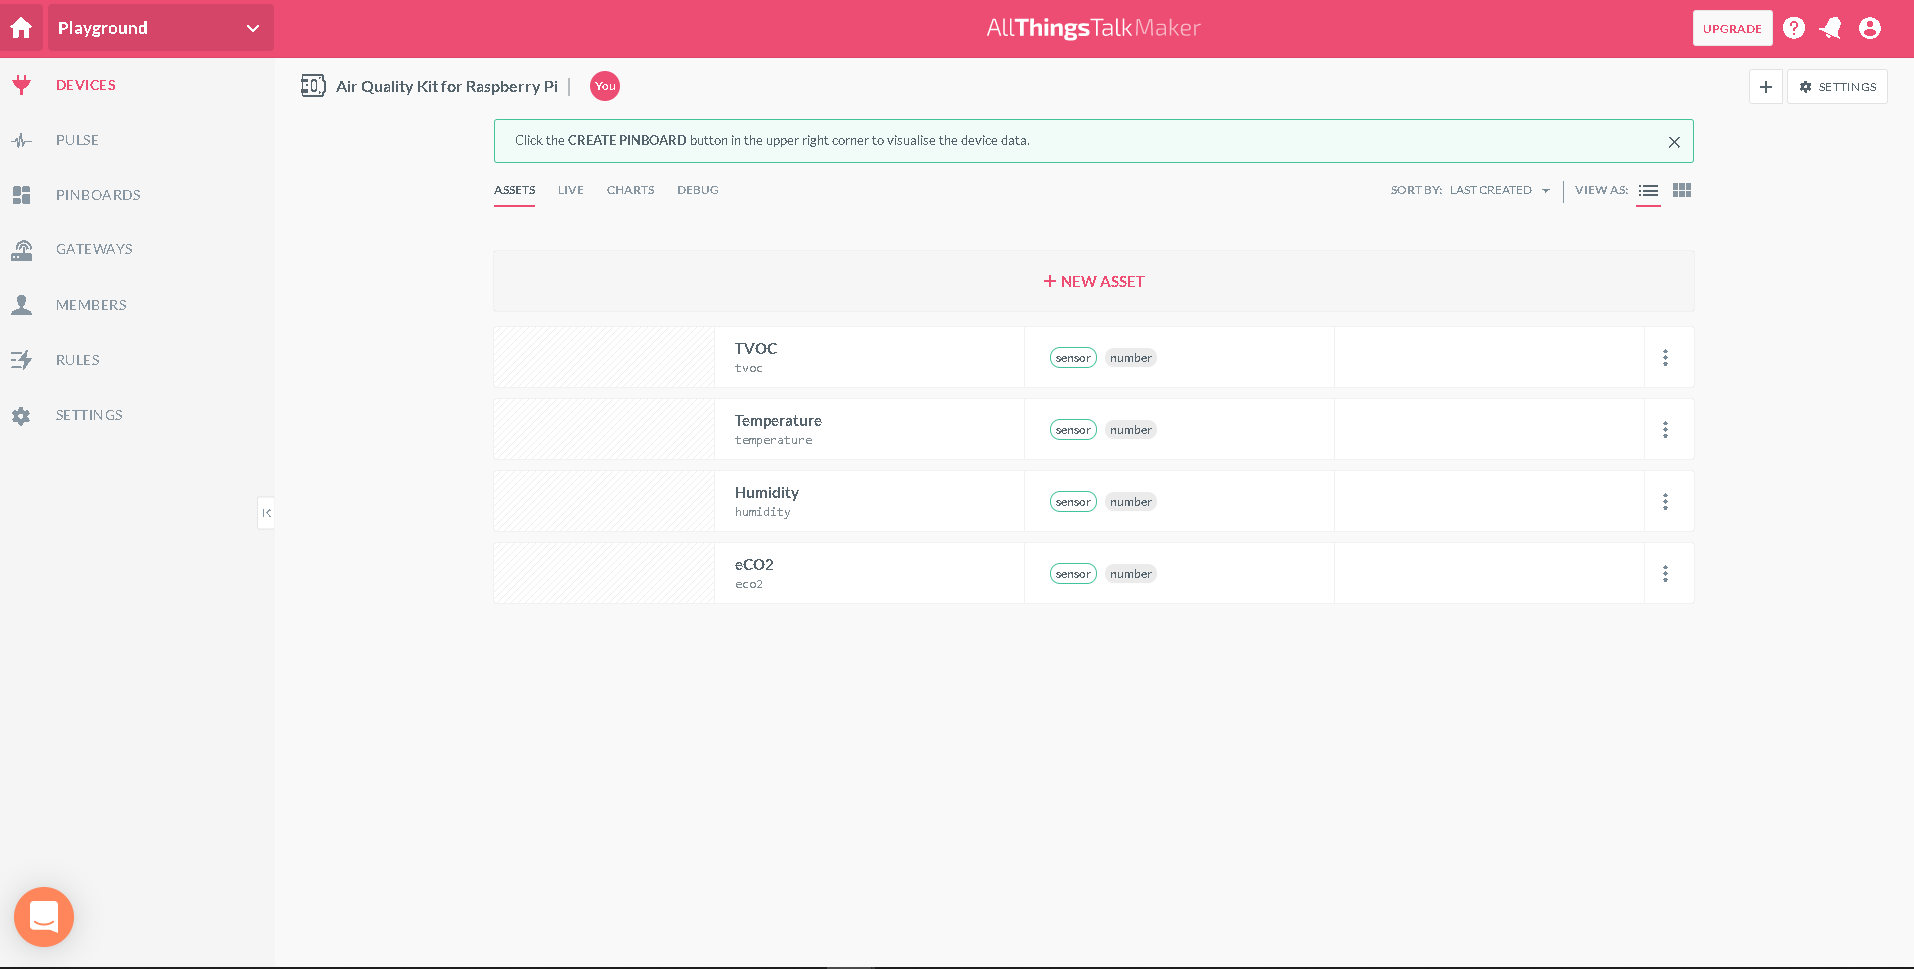
This creates a pre-configured template for the Air Quality Kit consisting of the 4 different sensors which are known as Assets.
4. Python IoT client
The Grove Python libraries and AllThingsTalk SDK have already been installed on the Pi 4. These are used to create the client that will take readings from the sensors and update the cloud.
- Open Thonny on your Pi and enter the following:
import time
import seeed_sgp30
import seeed_dht
from grove.i2c import Bus
import allthingstalk as talk

DEVICE_TOKEN = 'maker:4Pbcra08QeXWW1VeVmCHLnzEet61IpzbsWEAFkT'
DEVICE_ID = 'we6B8WbVKeYWXQWNLzaQFQyQ'


# New OKdo client wrapper class
class AirQualityMonitor(talk.Device):
    temperature = talk.NumberAsset()
    humidity = talk.NumberAsset()
    eco2 = talk.NumberAsset()
    tvoc = talk.NumberAsset()


# Create sensors
temp_humid_sensor = seeed_dht.DHT("22", 26)  # DHT22 type, digital port D26
gas_sensor = seeed_sgp30.grove_sgp30(Bus())  # I2C bus 1 default

# Create OKdo client
client = talk.Client(DEVICE_TOKEN)
monitor = AirQualityMonitor(client=client, id=DEVICE_ID)

while True:
    # Read sensors
    humid_pc, temp_c = temp_humid_sensor.read()
    eco2_ppm, tvoc_ppb = gas_sensor.read_measurements().data

    # Update cloud
    monitor.temperature = temp_c
    monitor.humidity = humid_pc
    monitor.eco2 = eco2_ppm
    monitor.tvoc = tvoc_ppb

    print('temp: {0:.1f} C humidity: {1:.0f} %'.format(temp_c, humid_pc))
    print('eco2: {} ppm tvoc: {} ppb'.format(eco2_ppm, tvoc_ppb))

    time.sleep(5)
5. Add keys
Go back to the browser and click Settings on the Asset page for your kit and choose Authentication to view the Tokens for that device.
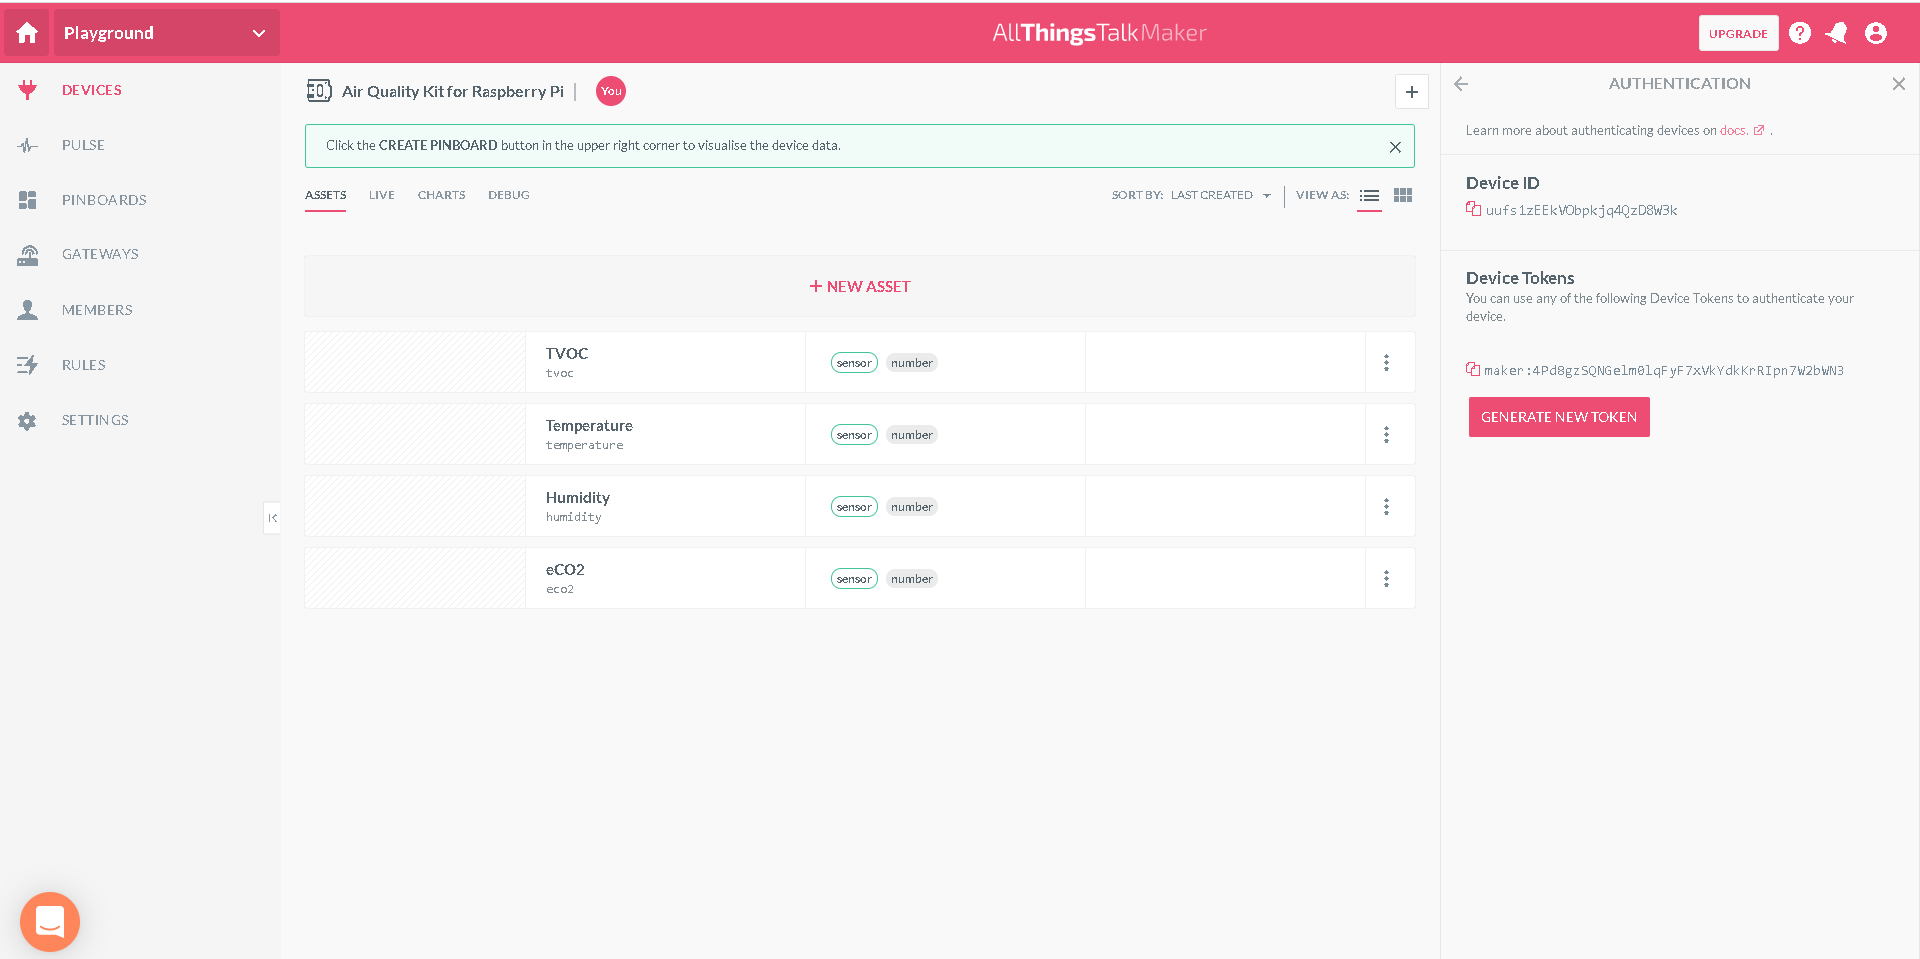
- Copy each token and use them to replace the values for DEVICE_TOKEN and DEVICE_ID at the top of the client code listing. Save the changes.
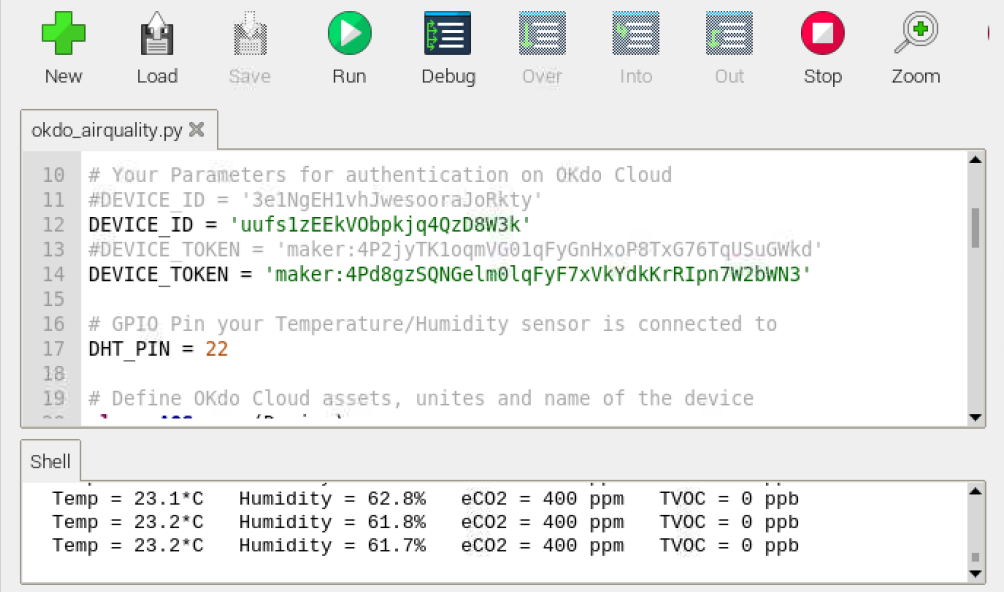
6. Run Code
- Click Run in Thonny to check that everything is connecting and sending data. You should see values from your sensors printed in Thonny’s shell window
VOC and eCO2 sensors take a few minutes to start sampling accurately.
- Go to the AllThingsTalk Maker Cloud console in the Browser.
After a few seconds, the Asset fields in your console should update every 5 seconds with your sensor readings.
Summary
You now have your Air Quality Kit for Pi 4 setup and connected to the AllThingsTalk cloud, with sensor updates occurring every few seconds, so you can monitor your indoor environment.
The Grove sensors in the kit are an example of the many kinds of sensors in the Grove range, making it quick and easy to build all sorts of sensor-based projects. Most of them have Open Source Python libraries ideal for use with the Pi 4.
In the AllThingsTalk Maker Cloud console, alerts can be set up to trigger rules when sensors reach threshold values using web, email or push notifications. You can also view the data represented as a custom dashboard or as live graphs.
Now your air quality sensors are connected to the Cloud and are accessible from almost anywhere.
Like what you read? Why not show your appreciation by giving some love.
From a quick tap to smashing that love button and show how much you enjoyed this project.

