This project will guide you step by step on setting up a line following robot using the BBC micro:bit that stops when it senses something within a certain distance using the ultrasonic and line following sensor.
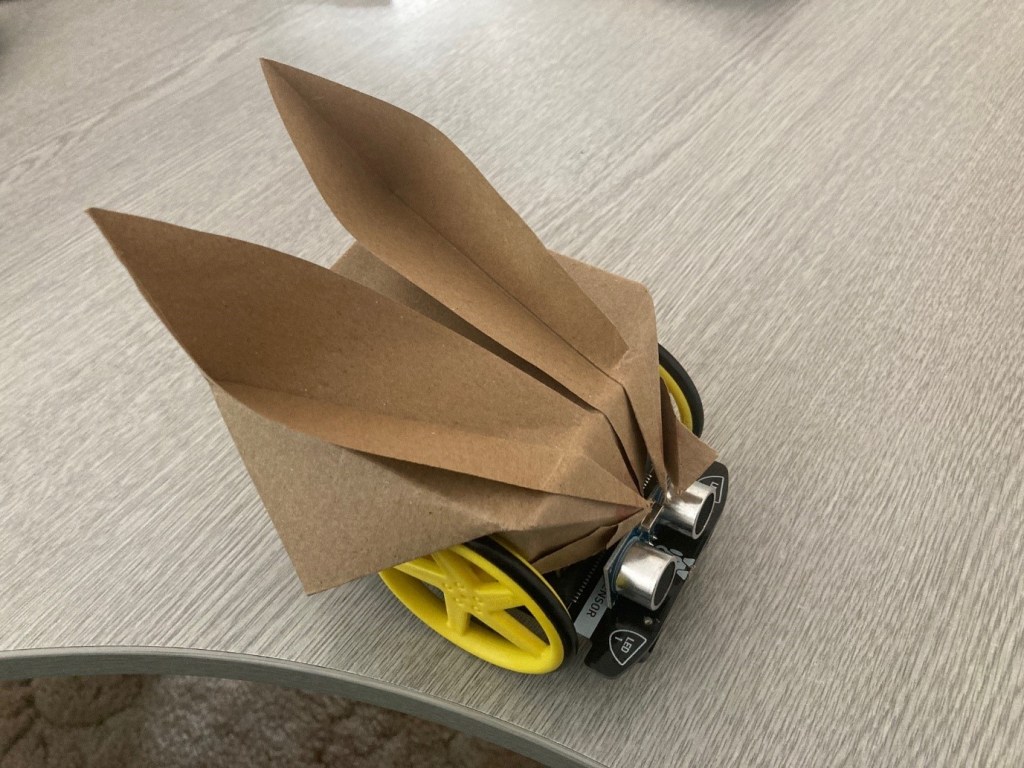
Let’s see an overview of how the bunny robot follows a line and how it reacts when having a barrier in front of it:
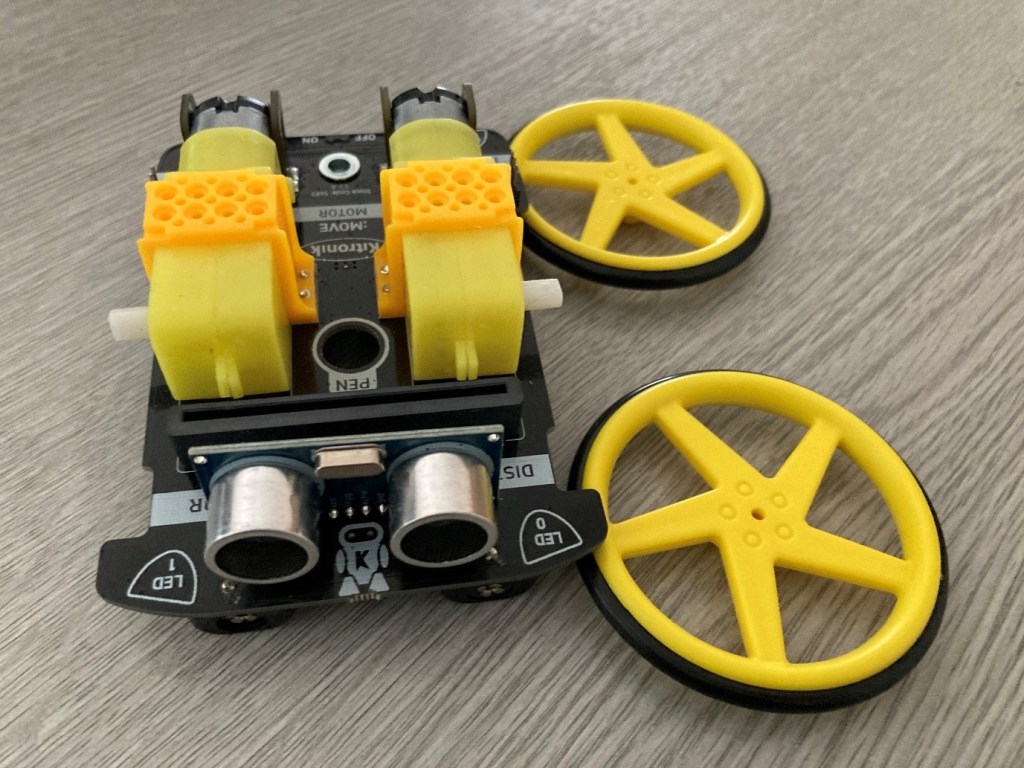
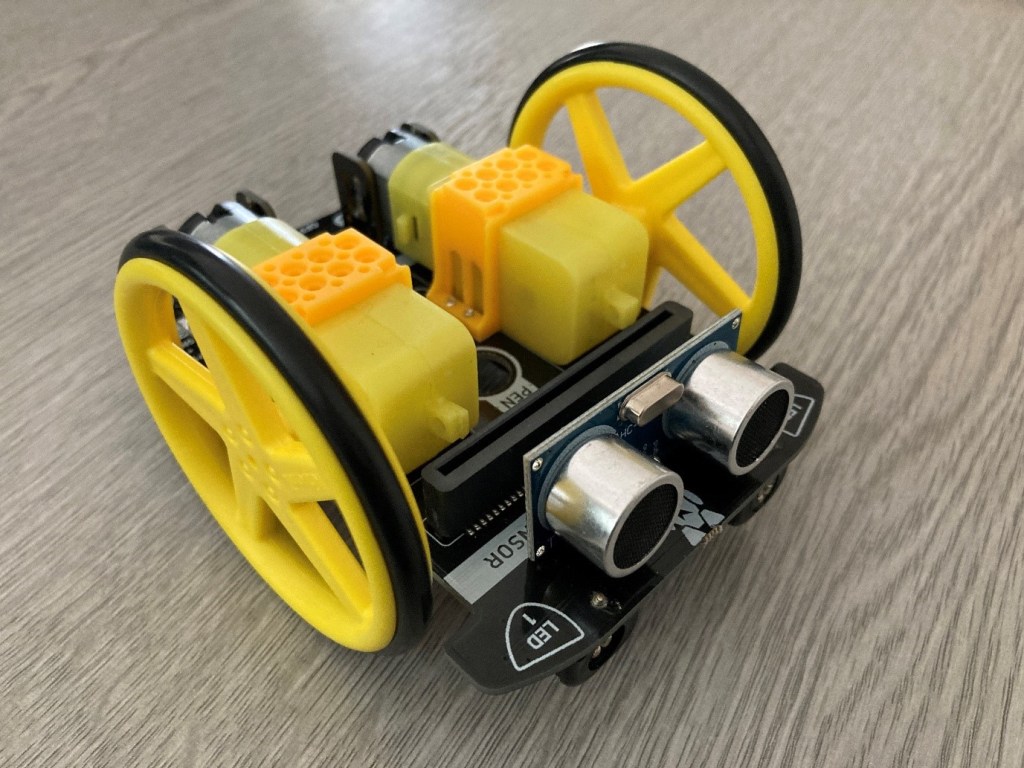
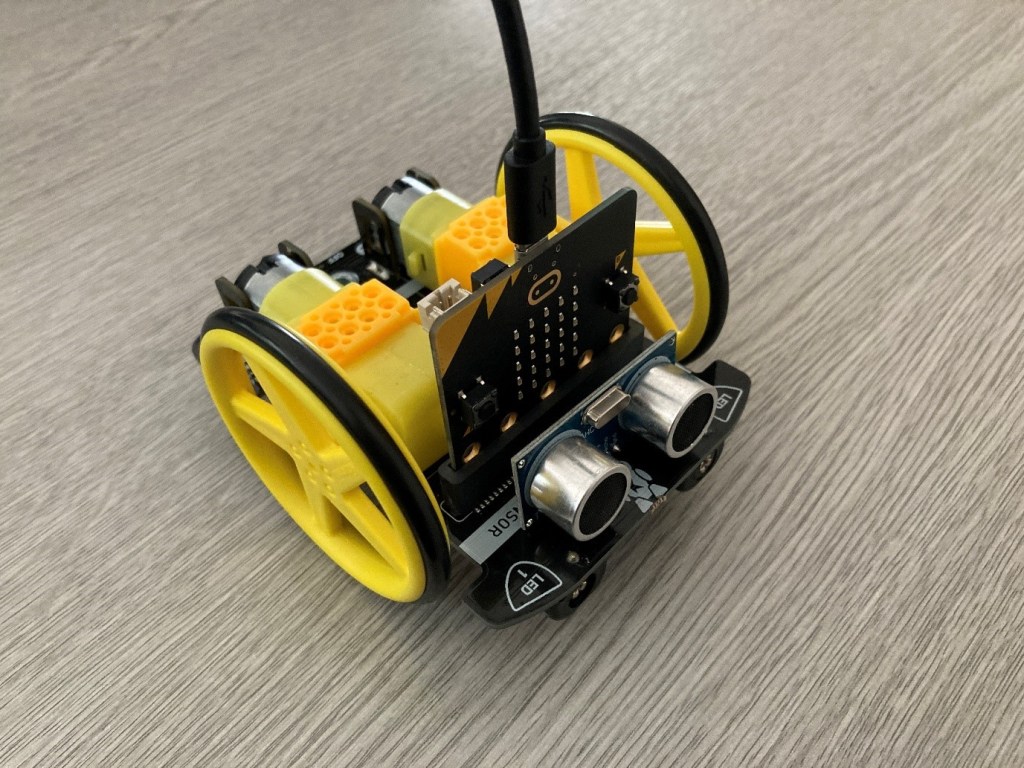
Step 1: Unpack and build the robot
Unpack the robot. Put the rubber on the plastic wheels, and then push the assembled wheels onto the robot.
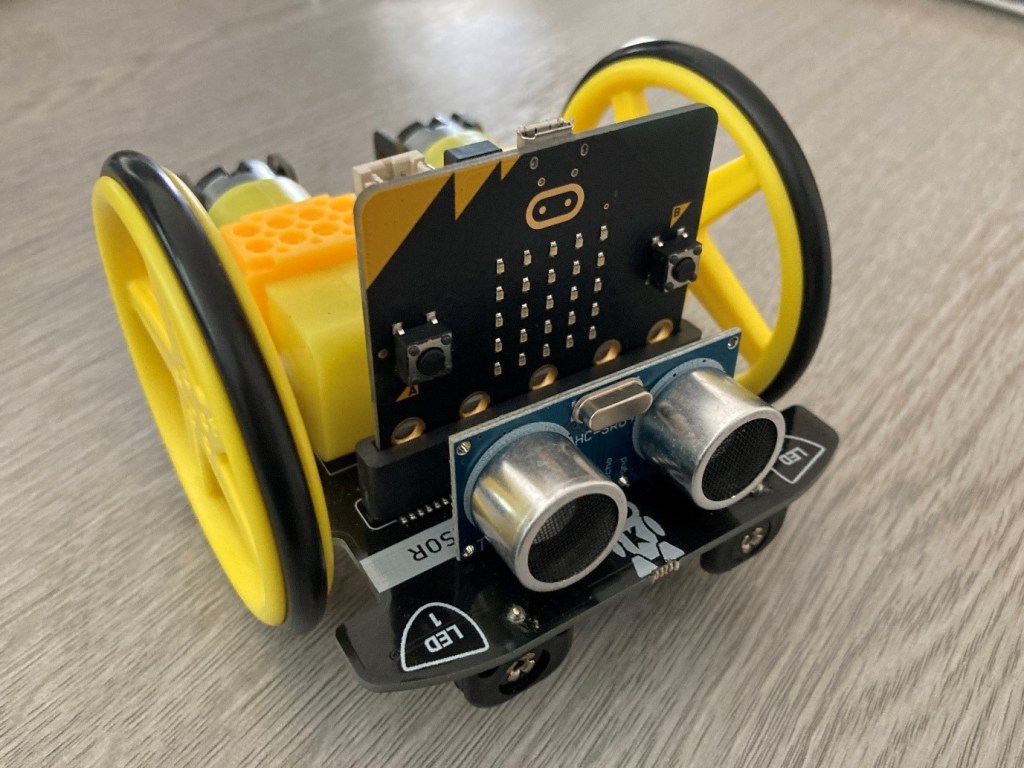
Step 2: Put the micro:bit into the device
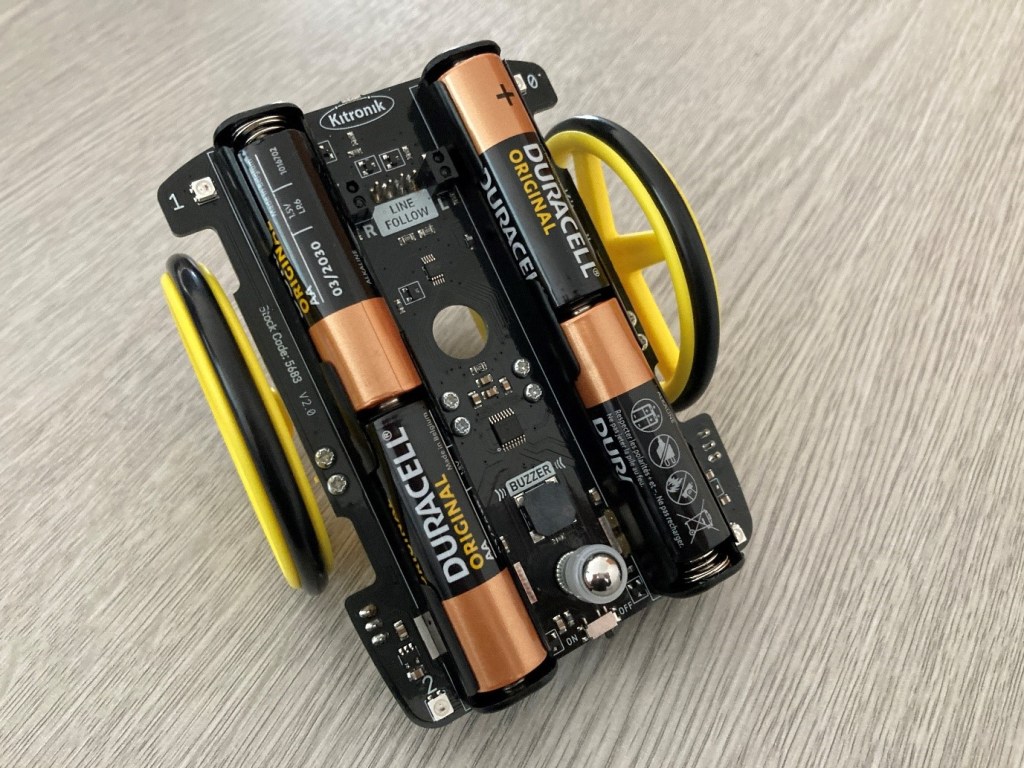
Step 3: Put the batteries into the device
Step 4: Plug the USB connector into the micro:bit and your computer
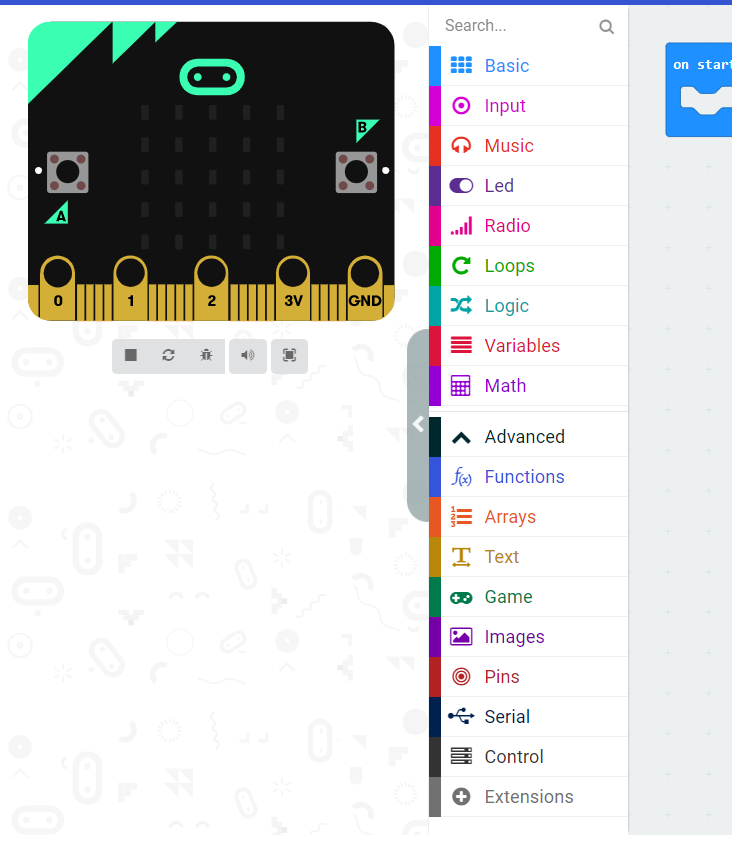
Step 5: Install the :Move Motor extension
Go to Microsoft MakeCode for micro:bit (microbit.org) and select a new project. Choose a name such as Bunny Project. Click on “Advanced” and click “Extensions”.
Search for Kitronik, and you will see the extension code:

Click the “kitronik-move-motor” picture. This will now install the extensions you need, and the Move Motor extensions will be added to the sidebar.
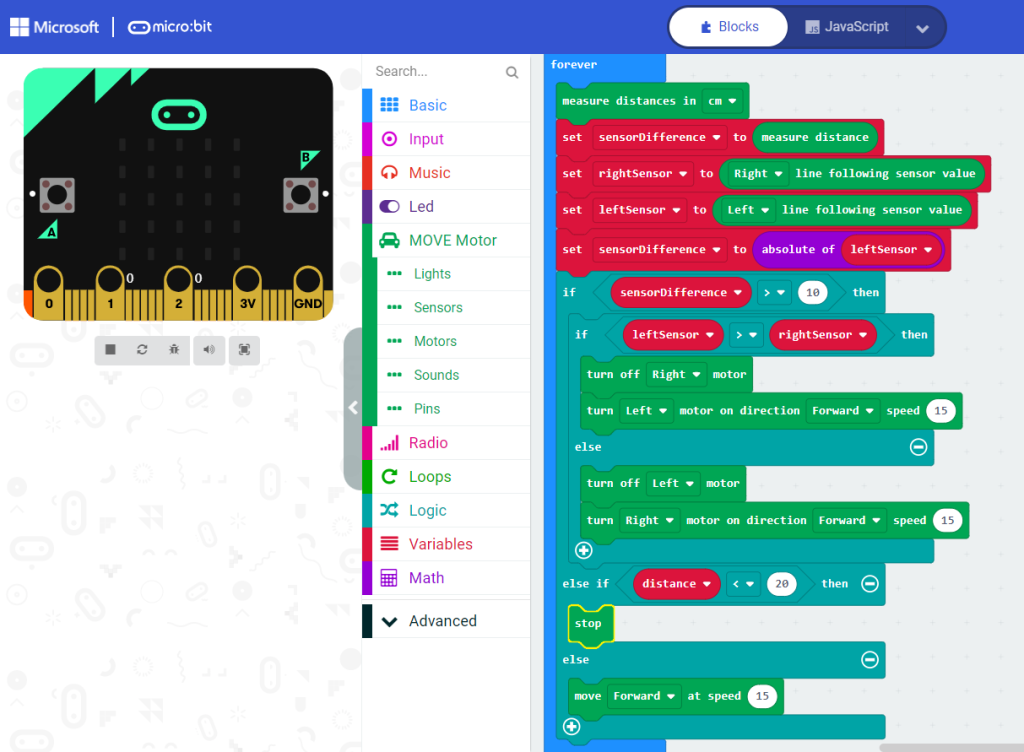
Step 6: Code the robot to follow a line
- Create a rightSensor variable, a leftSensor variable, and a sensorDifference variable.
- Set both the leftSensor and rightSensor variables to their corresponding physical sensor.
- Set the sensorDifference variable to be an absolute of the leftSensor minus the rightSesnsor variable.
- Next, apply some logic with an IF statement where:
- if the sensorDifference is more than 10, then if the leftSensor is more than the rightSensor, then turn off the right motor and turn the left motor in the direction of forward at speed 30;
- else, turn off the left motor and turn the right more in the direction of forward at speed 30;
- else move forward at speed 15.

Download the code to your micro:bit. Put the device over your bit of paper with a line on it and turn the device on (making sure the line is in the middle of both the left and right sensor). The robot should now follow the line.
Step 7: Code the robot to stop if it senses something in its path
Add a measure distance in cm, followed by adding a variable for that measured distance called distance. Add in an additional else if to the main logic stating that if the distance variable is less than 20, stop the motor.
Download the code to your micro:bit, put the device over your bit of paper with a line on and turn the device on (making sure the line is in the middle of both the left and right sensor). As the robot follows the line, put something in its path, and it will stop!
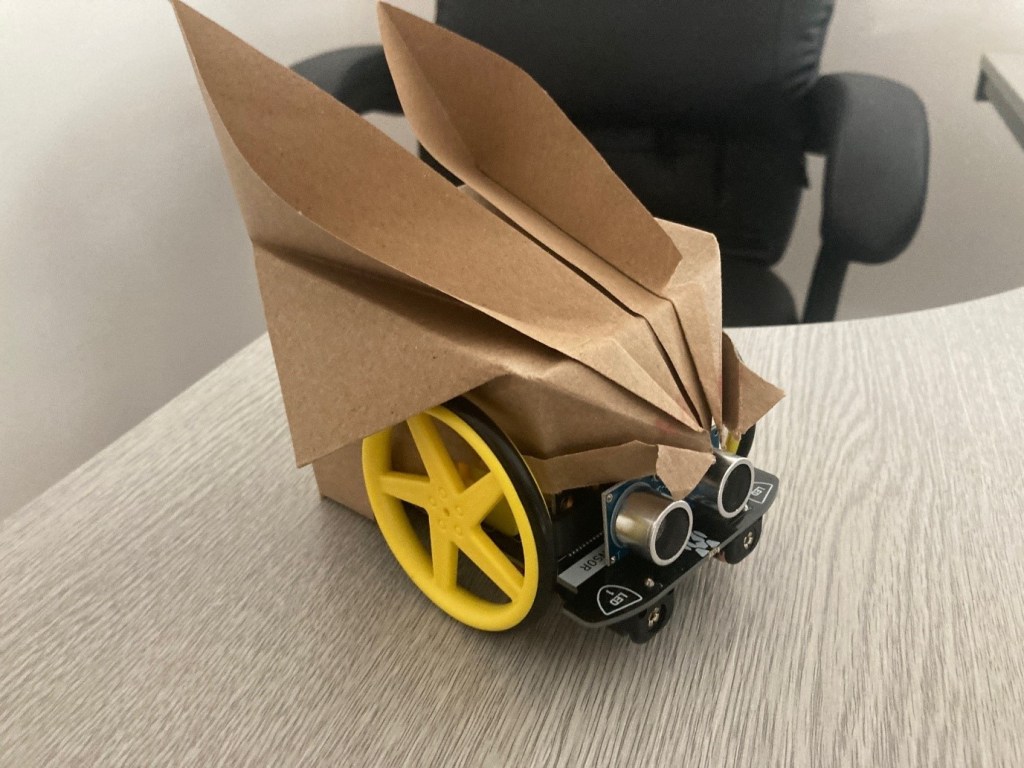
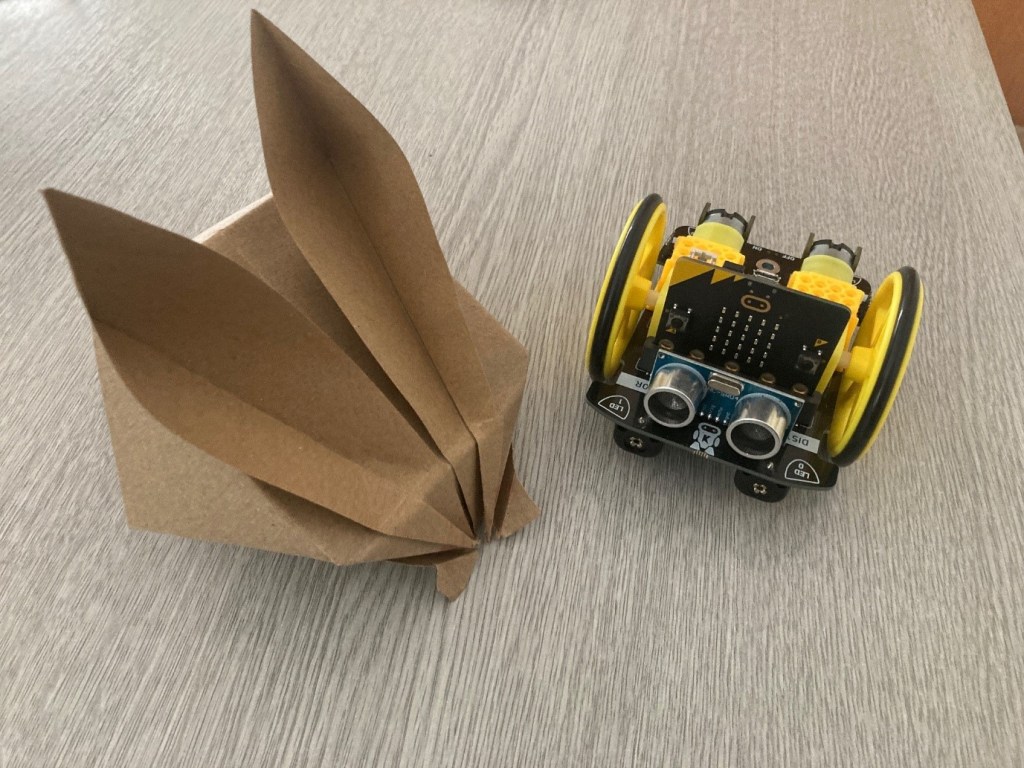
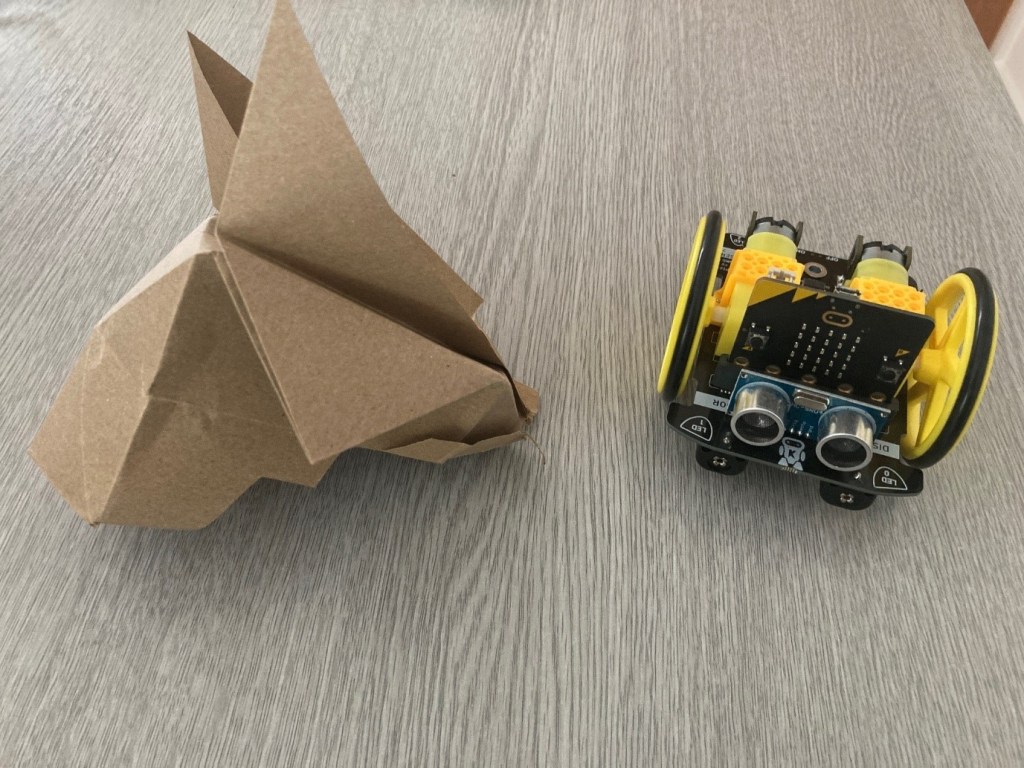
Step 10: Make a bunny to go over the robot
You can follow the following video Easter Origami Inflatable Bunny. (Easy Instructions) (Full HD) – YouTube to make an easter bunny, simply cut out the bottom in order to fit the bunny over the robot.
Summary
This project is a fun and easy way to learn basic programming and robotics skills. What’s more, it offers the perfect opportunity to use the best-selling BBC micro:bit board and create a fun line following bunny robot.
From the multitude of micro:bit projects available in our Projects Hub, this easy to follow 10 step project is ideal for beginners and fantastic for engaging children in learning through play.
Discover our full range of Educational products here.
Like what you read? Why not show your appreciation by giving some love.
From a quick tap to smashing that love button and show how much you enjoyed this project.
